
Buddies, ©voyager, all rights reserved
In nature, nothing is perfect and everything is perfect.
– Alice Walker
Buddies, ©voyager, all rights reserved
In nature, nothing is perfect and everything is perfect.
– Alice Walker
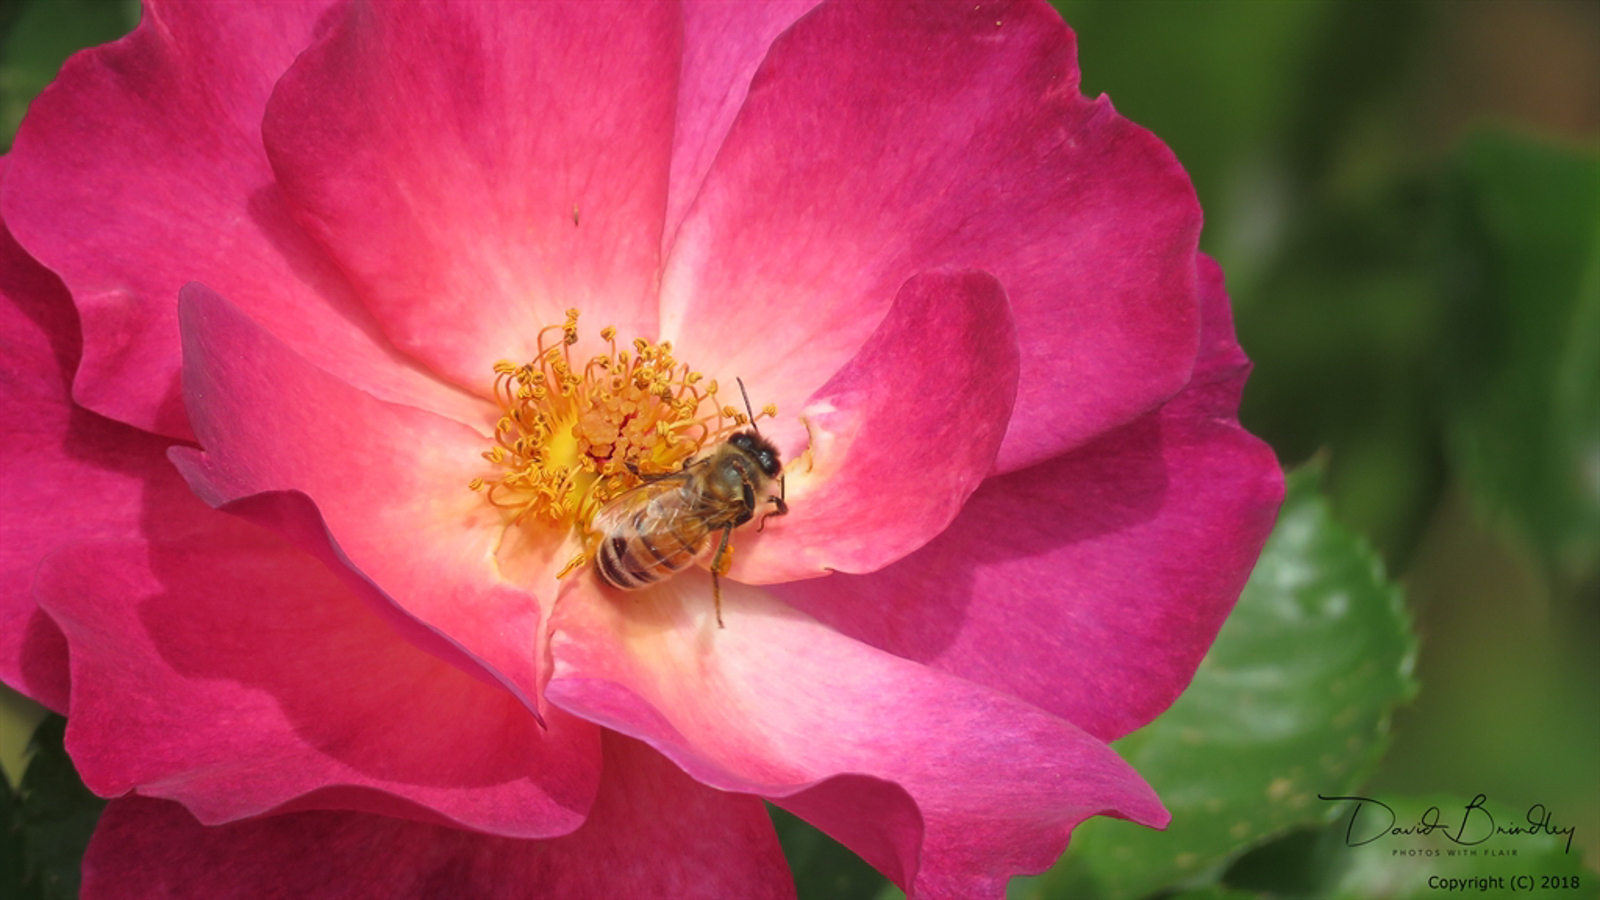
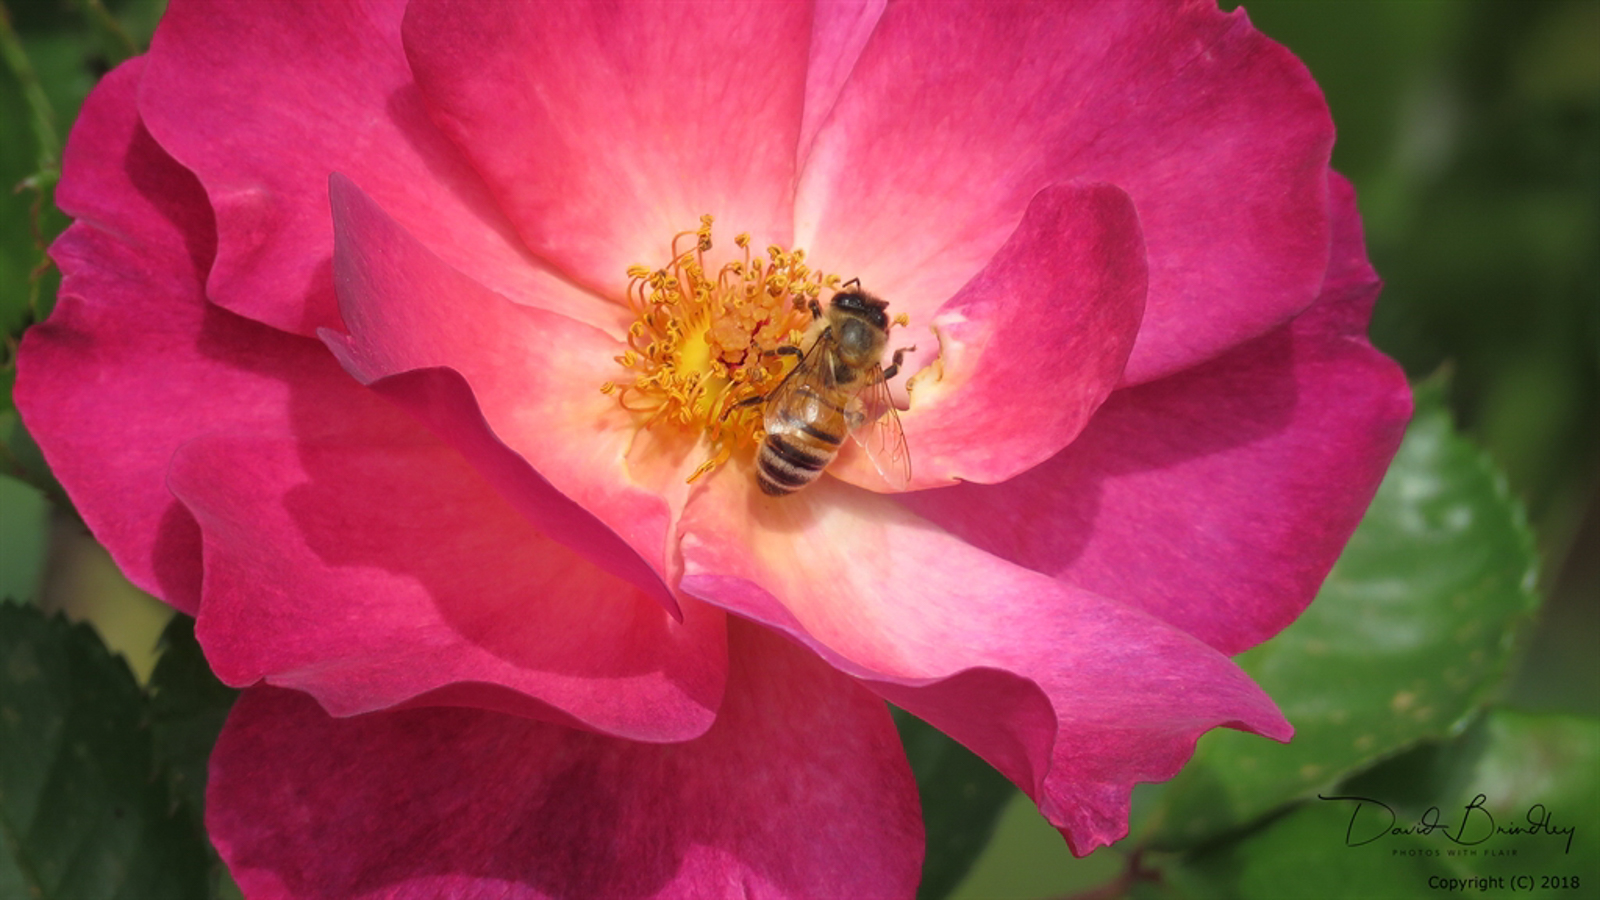
DavidinOz has treated us to roses today and they are grand. Just look at those crisp petals, that bright colour and all that beautiful light. Why, I can almost smell them. The photos were taken at the Renmark Rose Festival and the busy bee makes them positively perfect. They’re just the tonic I needed to banish the November blues. Thanks for sharing, David.
©David Brindley, all rights reserved
©David Brindley, all rights reserved
Today you get voyager’s walk without Jack. I was in Toronto over the weekend to visit a friend so I thought I’d share some shots of Front Street. Everywhere you look the city is gearing up for all that mindless and debt-inducing Christmas shopping and this year it looks like Union Station is going all out Lego. So far they’ve placed 3 giant Legos in the square along with a totally Lego fireplace complete with Lego stockings hung with care. The large white board is also going to be all Lego and it has mind-numbingly small numbers. Lots of numbers, each one waiting for an individual normal size Lego block. It must take a crew of several people days to put it all together. I’ll ask my friend to send me photos of the finished project and I promise to share.
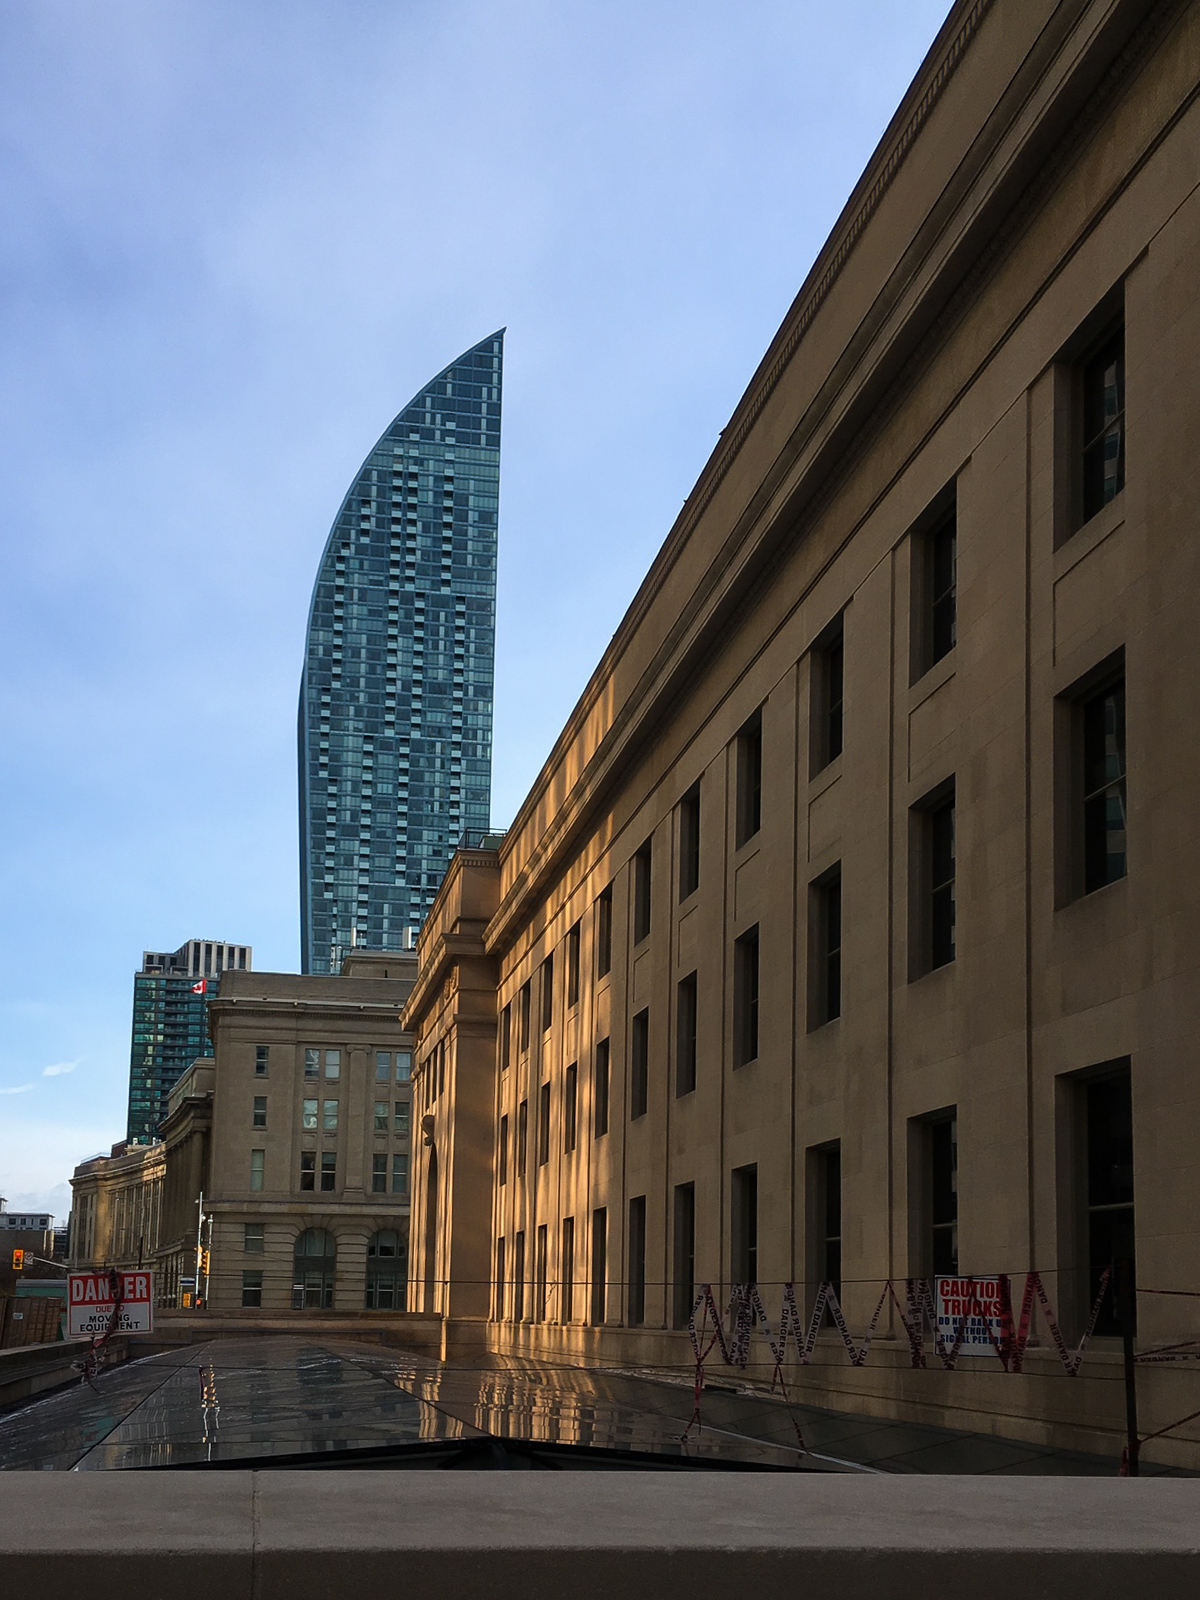
Front Street, looking east, ©voyager, all rights reserved
So, the ammosexual’s wet dream came true, a good guy with a gun has managed to stop a mass shooting. Yet they seem to be suspiciously quiet about it, and nobody is lauding the hero, I wonder why?
Well, the problem is, he was the wrong color and was shot to death when police arrived, because they mistook him for the miscreant.
Now I am pretty sure that the fact that the poor guy was black has played a role in the police officer’s decision to shoot first and ask questions never. No doubt the murderous police officer will see no repercussions and any mention of subconscious racial bias will be ignored. But lets put that aside for now, because the whole scenario has another problem, and one that cannot be brushed aside as “political correctness gun grabbing libtards going mad” by even the staunchest NRA stooges.
That is the problem of how policing in a state where everybody has a gun is supposed to work?
The saying “Only a good guy with a gun can stop a bad guy with a gun” was always a sham and american gun lovers know it. However I do not remember anyone ever giving an answer to the question – how are police supposed to recognise who is the good guy and who is the bad guy? Or for that matter, if a random good guy with a gun walks in on a situation of two guys guns ablaze at each other, how is he supposed to recognise who is the good guy to join and who is the baddie?
Armed society is not polite society. Armed society is dysfunctional society. The only way to stop bad guys is not allow them to get guns in the first place. Which in this case includes the police officer – one not insignificant fact about this case is that the black security guy has managed to subdue the assailant without killing him. Something the police officer did not even attempt to do.
When last time I ranted against parents, it’s my esteemed colleagues this time. And sorry guys, this one’s on you. Of course #notallmaleteachers are problematic, many of my male colleagues are wonderful, dedicated people who work hard for their students, but those colleagues who are problematic are overwhelmingly male.
One issue is the sexualisation of girls. While my school is grades 5-10, my building only holds 5-7, so we’re talking about children. Some time ago one of our headteacher team asked who was teaching a certain class now, because there was a new girl here for that class. Their teacher asked, loudly, probably within earshot of a kid between 11 and 12 “is she nice and pretty?”.
A colleague at a different school told me about a male colleague who had told a primary school girl who had misbehaved “if she liked pushing? Because soon she would be pushed a lot and she would like that, too!”
In the first case, we reacted quickly with several women saying in unison that this was not OK. In the second case, my colleague, young, new at school, female, was too shocked to say anything.
Another aspect is the discipline issue. For many teachers (not just the male ones, but they’re loudest about it), kids have to obey and to function. If they don’t, well, that’s their problem. So today I had a fight with one of them. There was an incident with a kid who is totally beyond (self) control right now. I’m not going to go into details, but think your basic tragic neglected childhood that leads to aggression and delinquency. While the kid causes a lot of problems, he also has a lot of problems. But just hearing about the incident, that guy went “he needs to disappear from here, immediately!”
Not just that this isn’t possible anyway, because the school for kids with severe behavioural problems has a waiting list, we cannot just “disappear” problematic kids. I snapped that yes of course, that’s the solution to all our problems, send the kids away. He tried to argue that “we just don’t have the resources and we have to think of the other kids”. I told him we were working at it.
He later tried to make peace by telling me that it wasn’t meant as an attack on me (because I’m the special ed teacher) and I told him that this wasn’t about me, this was about how he was talking about a child. Fuck that shit. I know those kids are exhausting and draining, because I get them all. But they’re children. Children who have been told they’re good for nothing for their entire lives and thank you for adding to their sense of not being worth shit and nobody wanting them.
Thankfully our principal (also a dude, #notalldudes, eh?) is firmly on my side. Not that he was involved in that conflict, but in seeing those kids as children in need, not problems to get rid of.
Kestrel has finally shared some of her jewellery making with us and it’s phenomenal. What starts out as a pile of horsehair becomes ordered and ultimately beautiful at the hands of a master artisan. I’ll let kestrel explain the process…
I’m working on my website and one of the things that needs to be done is to re-shoot all the photos. Since most of my work is custom (in other words, people send me hair from their own horse, and then I make stuff out of it for them) I don’t have things in inventory, and that means I had to re-make all the items in order to take new photos. One of the things I like about my work is being able to transform my materials, whatever they may be but in this case a messy pile of hair, into something orderly and worth having.
©kestrel, all rights reserved
Some of the braiding was done before it occurred to me to take a photo, but that messy pile of hair is going to be turned into 6 bracelets: 3 that are an 8-strand braid, and 3 that are a 25-strand braid, one each of white, chestnut and black. In case you are wondering: that messy pile of hair is made up of 1,761 individual hairs. That I had to count. On purpose. I don’t usually sit down and figure out things like that, because I just really don’t want to know; it’s a little depressing. But, if one is going to braid hair, one must first count it.
©kestrel, all rights reserved
Part way finished, you can see the 3 8-strand bracelets are done and I’ve just started on the black 25-strand bracelet.
©kestrel, all rights reserved
All done! It looks very different from how it started out. Now what I have to do is take good photos of each product so that hopefully, people will want one of these made from their own horse’s hair as a keepsake or memento. Just another day (OK, actually it was about two weeks) in the life of a braider.
Thanks for sharing, kestrel. I’m astonished at the precision and beauty of the finished product. I can’t begin to imagine the amount of work involved, especially the counting! These are surely cherished keepsakes. Why, it’s enough to make me wish for a horse of my own.
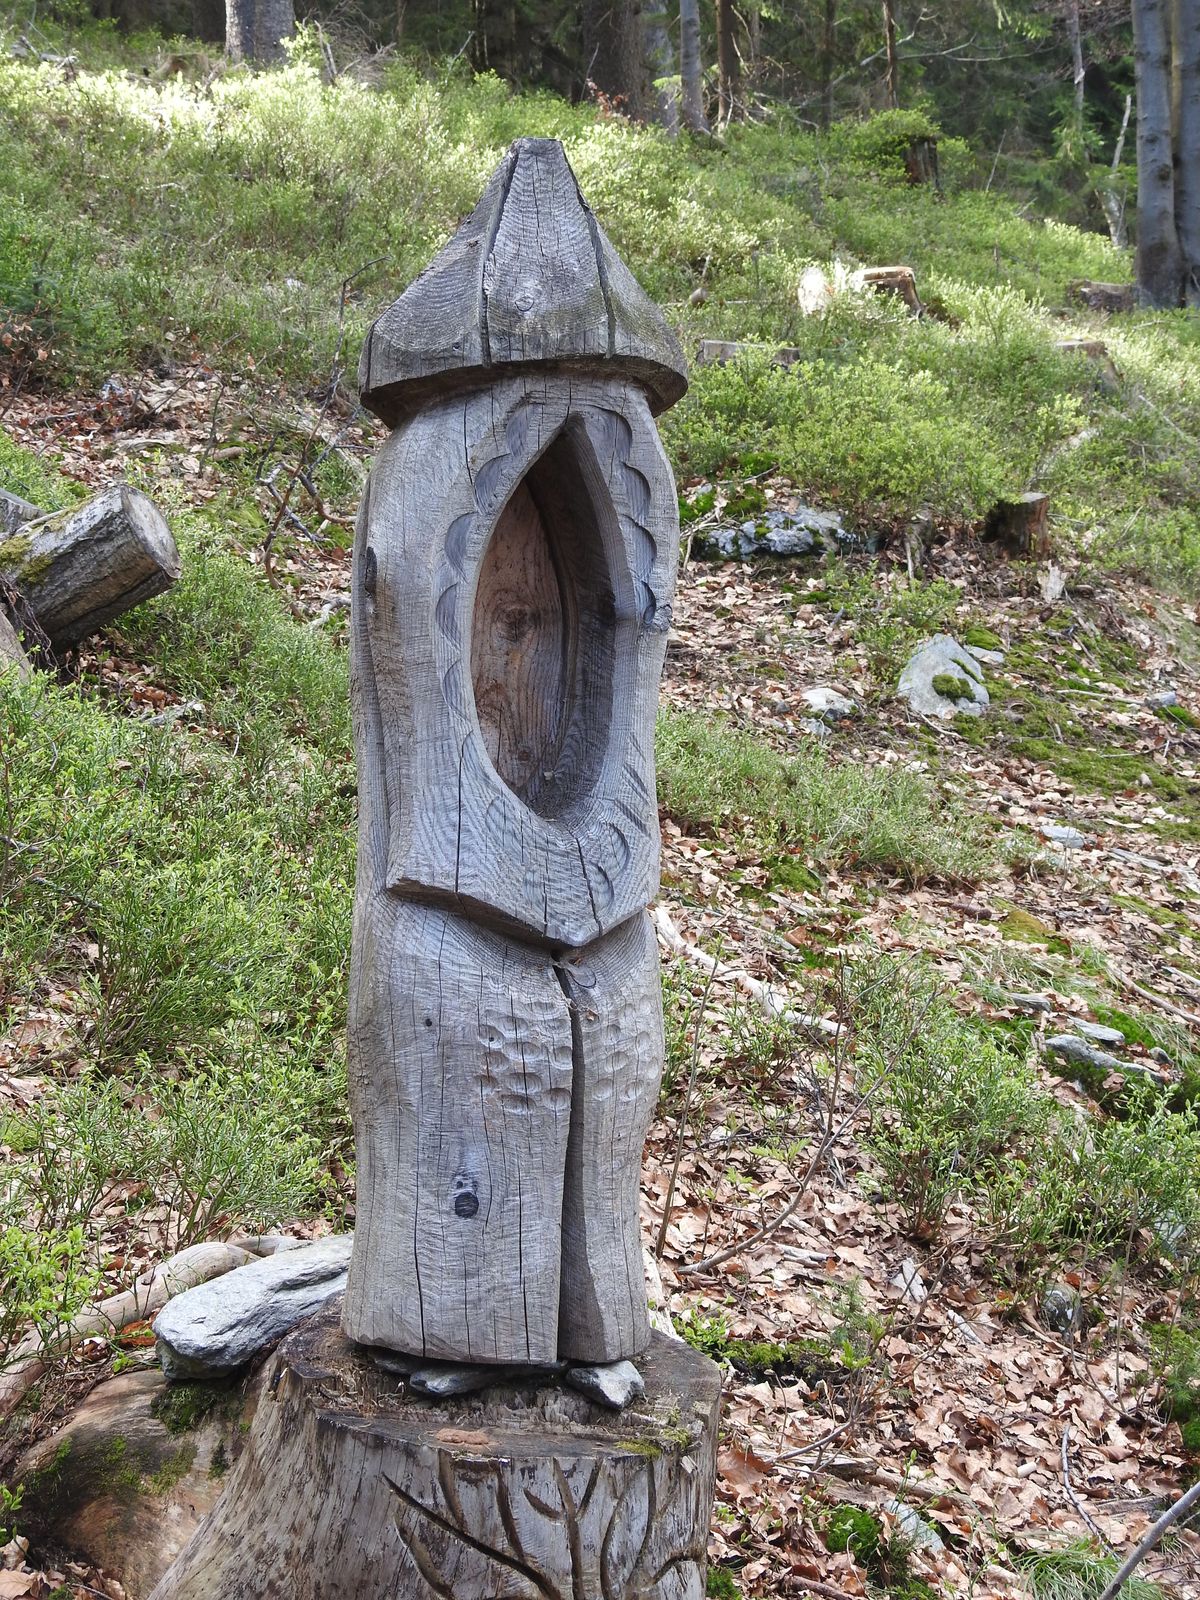
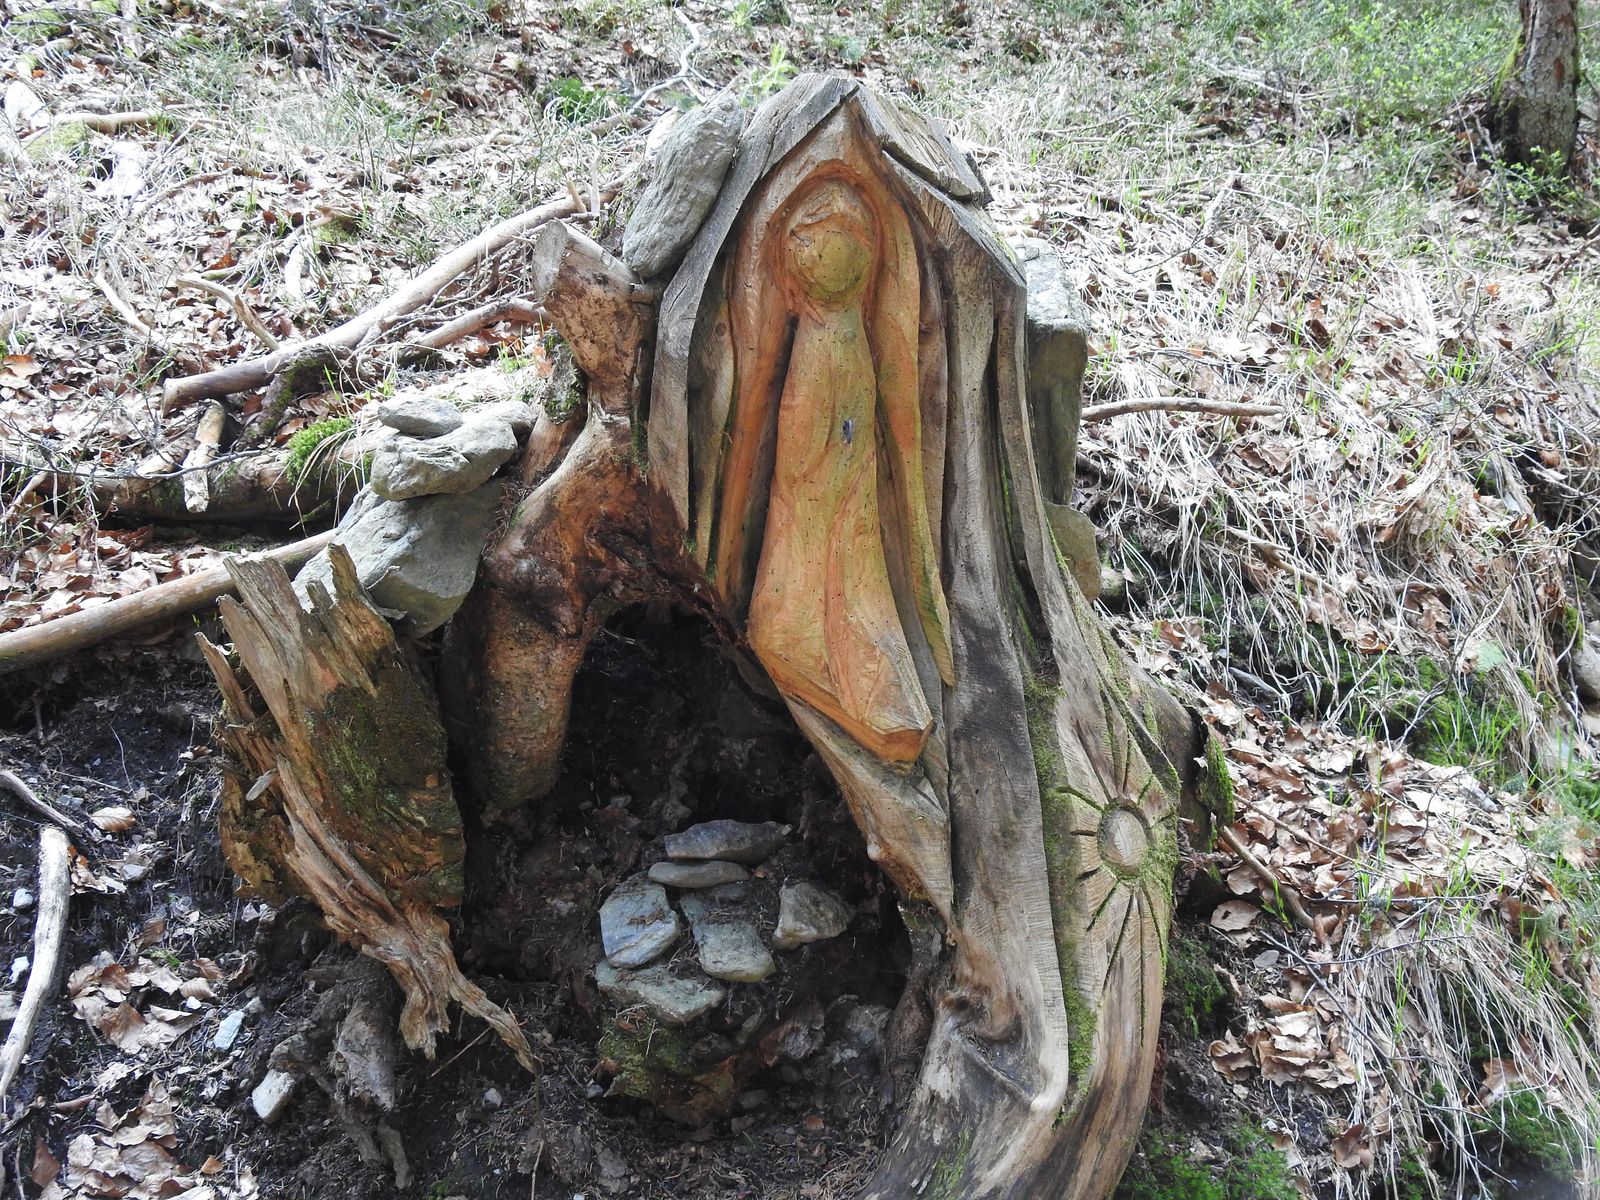
A few of the statues had an abstract look to them and they had metal hooks, very probably for hanging up lanterns.
©Charly, all rights reserved. Click for full size.


This week we have glorious fall colour from Avalus,
Lets begin with some brightly coloured leaves from the first of October.
Golden walnut trees, red wild grapes and assorted green plants.
And it was quite good timing, just half a week later, the walnuts were all leafless.
Your timing was perfect, Avalus. All that deep, rich autumn colour shot against a clear blue sky. Thanks so much for sharing.
Herbstfarben, ©Avalus, all rights reserved

Herbstfarben, ©Avalus, all rights reserved

Herbstfarben, ©Avalus, all rights reserved
Well, the end of last week was a pile-on of stuff, and even as I’m recovering, I have another work trip scheduled this week – that’s another two days of basic work productivity gone and done. At least I’m not going far this time, just down to Vilnius, and I don’t have to drive. I’m hoping my fellow travellers will let me nap in a corner. I’m just tired right now.
Anyhoo. The rat race is never-ending, as demonstrated by this video (the end was a real exercise in futility).
And you still get a song.

Still holding on, ©voyager, all rights reserved
“This oak tree and me, we’re made of the same stuff.”
― Carl Sagan
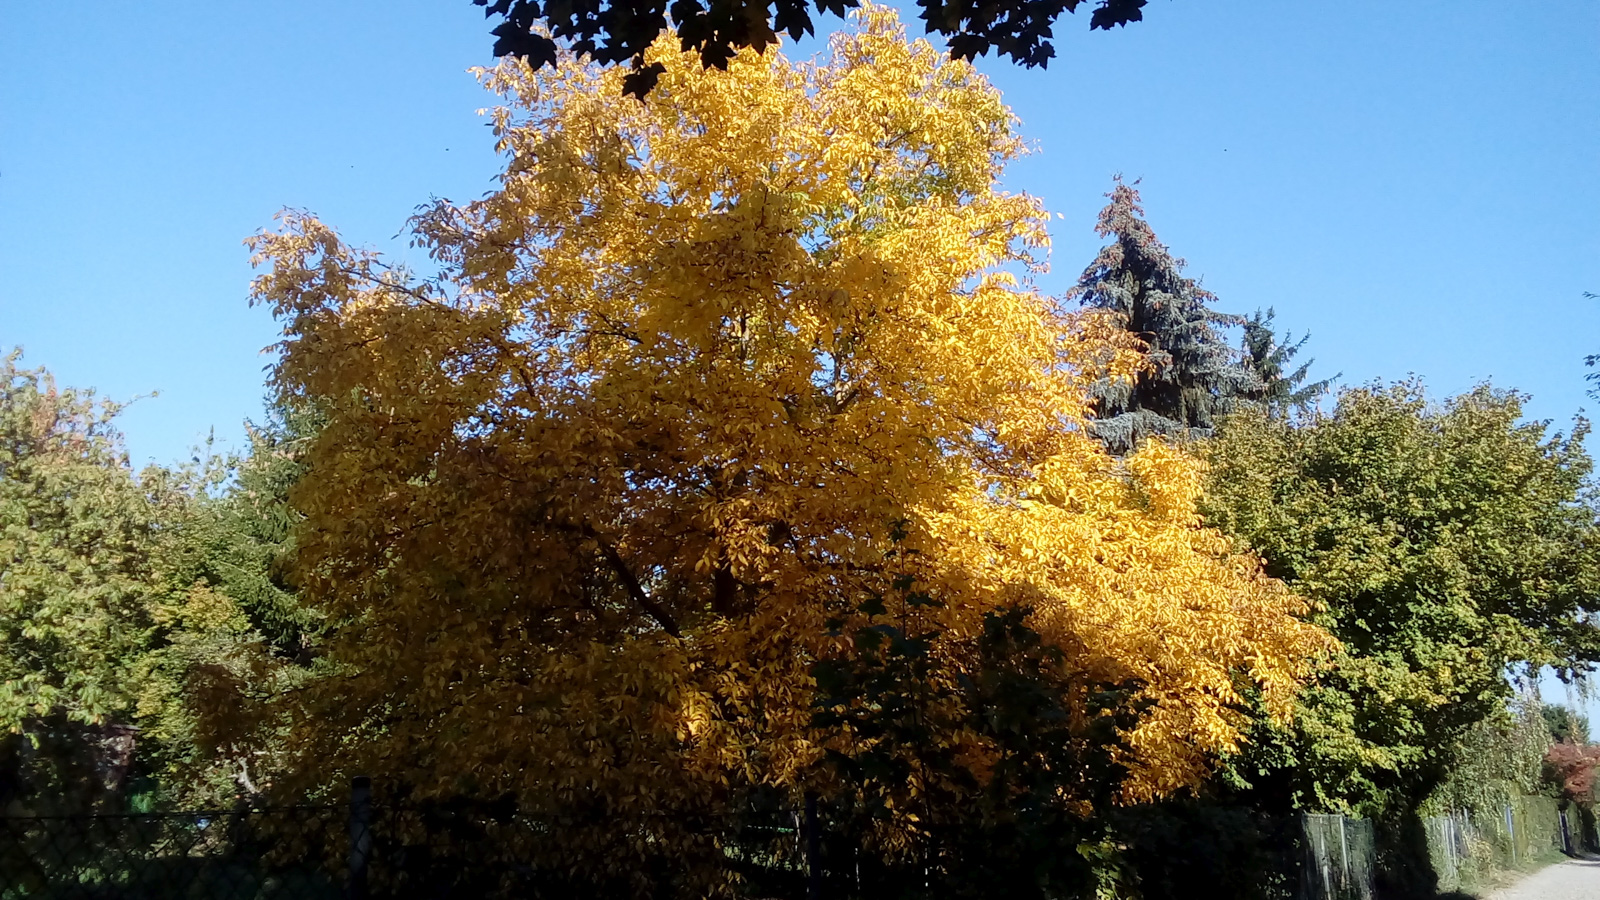
The signs of autumn from Nightjar,
These are the four signs that I look for every year before I can safely declare autumn has arrived. Leaf colour, autumn snowflakes, mushrooms and green grass. I was able to check all four boxes by the end of October, which is good!

1. Leaves change colour and glow in the sun
Some more of the Patagonian sealions, the big bull.

©Giliell, all rights reserved. Click for full size.

©Giliell, all rights reserved. Click for full size.

©Giliell, all rights reserved. Click for full size.

©Giliell, all rights reserved. Click for full size.

©Giliell, all rights reserved. Click for full size.

©Giliell, all rights reserved. Click for full size.

©Giliell, all rights reserved. Click for full size.

©Giliell, all rights reserved. Click for full size.

©Giliell, all rights reserved. Click for full size.

©Giliell, all rights reserved. Click for full size.

©Giliell, all rights reserved. Click for full size.
These are my recollections of a life behind the iron curtain. I do not aim to give perfect and objective evaluation of anything, but to share my personal experiences and memories. It will explain why I just cannot get misty eyed over some ideas on the political left and why I loathe many ideas on the right.
Last time I visited this theme I mentioned the logic that was presented to us in order to argue that means of production in our socialist country do belong to the people. What was never mentioned, and what took a really long time to me to realize, is the fact that even in capitalism is a lot of people who do indeed own the means of production. I do not mean the corporate overlords, the robber barons of modern era, but people who actually really work.
For example lets say that I either decide that I do not wish to be a corporate drone anymore, or my supervisor finally decides that my expertise is not enough for him to put up with my quirks (like honestly and without beating around the bush telling him when his department designs crap, or being rather cranky when I miss a meal). My backup plan in such a case is to try to make custom knives for sale.
It is possible to make living that way, others have managed it so why not me? However should it come to that, there are three realistic scenarios:
1) I flop and after a time of trying to establish myself on the market I will have no other option than to get employed again.
2) I will get a foothold on the market big enough to live by for reasonable time, perhaps even until retirement.
3) I will get a good foothold on the market to the point that I will not be able to satisfy the demand for Charly made knives on my own, so after a while I might need to employ for example part-time employees to help with some lower-skill jobs whilst I myself would concentrate on the high-skill jobs. Like the Finnish knife-maker about whom I posted a video a few weeks ago.
This example shows the transition between a small-scale producer and a big scale producer. In scenario 2 there is no ambiguity whatsoever – the person who uses the means of production owns them. In the scenario 3 it gets a bit murky – the owner of the means still does work rather a lot, but their employees do not own the means of production at all. And really, would it be fair in such a case for me to give them a portion of my shop in addition to the wages? I do not think it would.
However of course then there is the american dream, where one makes it through the stage 3 to stage 4, where one does only the employing, and not the actual working. I personally would never wish for that, but there are people who do. And then there is the stage 5, where one does not have a hand in making anything ever but simply inherits the company, or buys it wholesale.
Like so many other things in life, this is not black-white, there is actually a nearly continuous spectrum of options.
The problem with the regime was that it dealt with this spectrum by completely ignoring its existence. Any and all ownership of means of production that was not via the proxy of the state was illegal, period. All the little artisans, small shop owners, small farmers etc. who indeed worked their own asses of in addition to perhaps employing a few people were viewed as no different from big factory owners who never lifted a finger to work in their lives. For the regime, there was no difference between Charly making knives in his workshop on his own and Donald Trump cheating his contractors and not paying his employees fair wages. They both were bourgeoise exploiters and both had to be dealt with harshly.
As a result not only the big factories with awful working conditions got confiscated, but also all the little workshops, shops and farms. The whole middle-class was wiped out and made illegal without any nuance.
In the 60s there was an effort to rectify this injustice (along with others), but it was quashed by military intervention from USSR.
As a result, a lot of people rightfully resented the regime, because they were in very real sense of the word robbed by it.