Our south wall used to be shaded by a rabbit shed, later converted to a chicken hoop. Ever since I demolished that, the sun was directly blazing at it. It does not heat the house much because it is well insulated, but I felt somehow that the space is wasted. After some thinking, I have decided that it would be an ideal space for growing runner beans, one row, close to the wall. Runner beans do not mind the low-quality soil, so they do not need to be fertilized and thus there is no risk of polluting our well which is down the slope exactly on the opposite side of the house.
Last year was somewhat poor, the beans did not grow that much. There was enough rain, but not enough sun for them to really prosper. Even so, the harvest was big enough that we still did not eat it all.

© Charly, all rights reserved. Click for full size
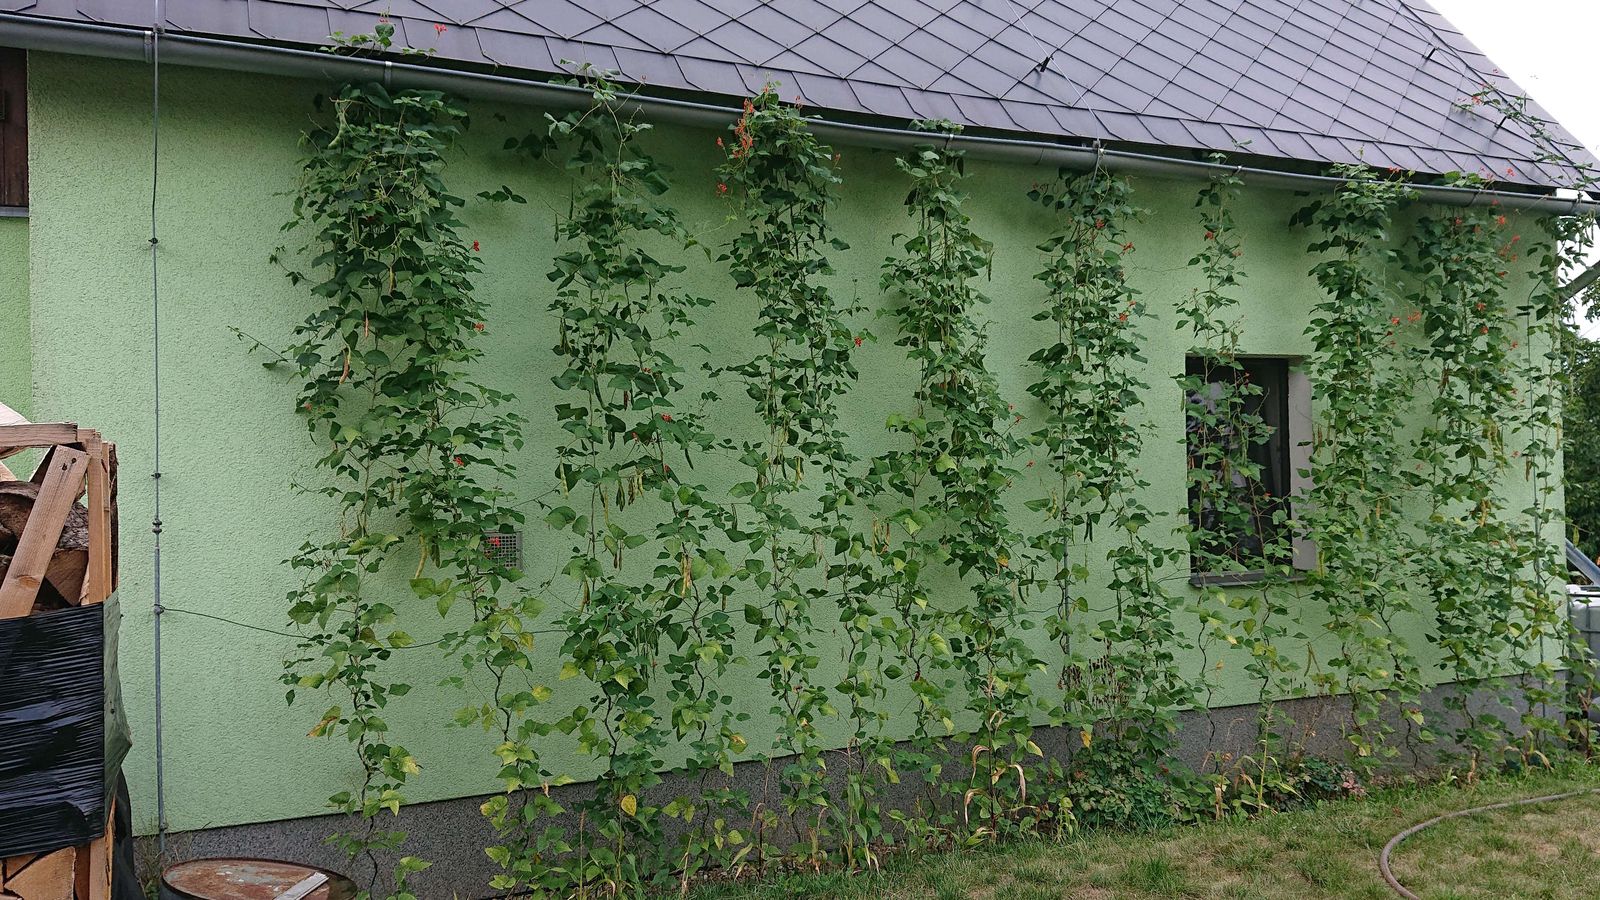
This year the weather was extremely hot and dry again. However, we managed to collect enough rainwater in the spring to be able to water the beans the whole time sufficiently, so they prospered enormously and covered the whole wall.
© Charly, all rights reserved. Click for full size
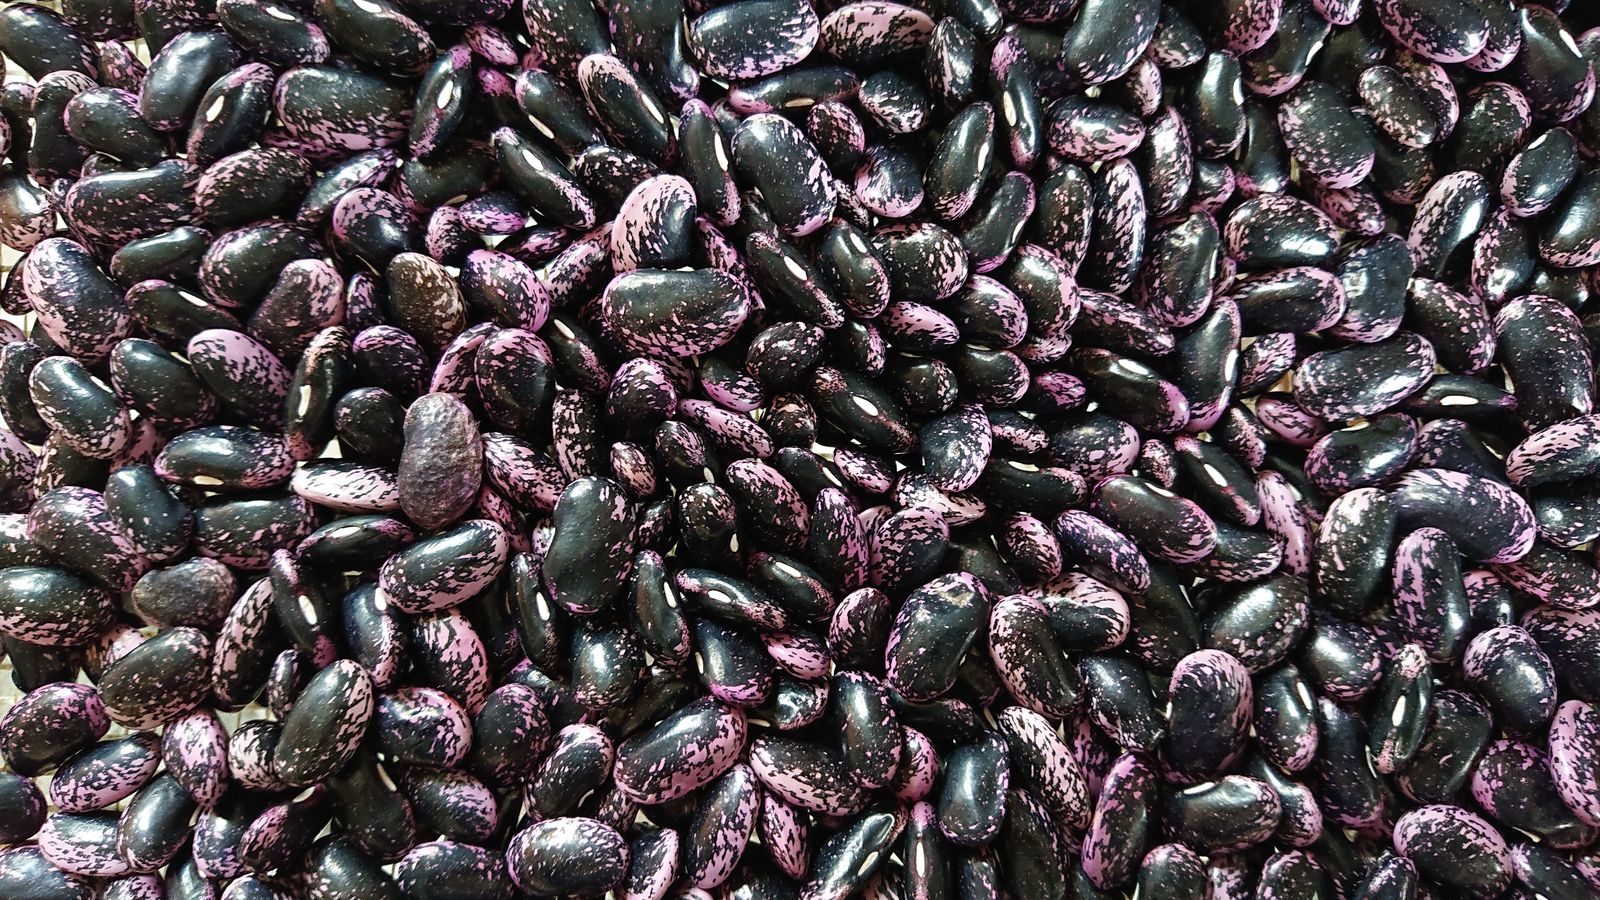
They are still blooming and they will continue to grow until the first frost. I will probably wait for two more weeks, then I will harvest all green immature pods and clip the plants so they do not waste energy on growing and instead mature the remaining pods quicker. But maybe I won’t bother. The harvest looks extremely promising even so, I will have to convince my mother to cook beans more often. I like them better than chicken anyway.
© Charly, all rights reserved. Click for full size
I am thinking about buying seeds of other vine beans and planting them next year en masse on the vegetable patch where this year grew potatoes. But I like runner beans the best because they are big and thus they require the least work per weight when shelling. We used to have white runner beans too, but I haven’t seen them in shops for a long time. I could not put seeds consistently aside, because the white and red beans hybridized and after two-three years I had neither white nor purple beans but a mish-mash.


