Kestrel mentioned some commercial blackening compounds containing Tellurium and that train of thought sent me down a path of thinking whether I do or do not have some chemical compound containing sulfur anions, which too react with copper to make a black color. And I realized that I do because a solution of polysulfide is sold as a common fungicide. It does not work on brass directly, but if that brass is first coated with copper, then it does work. So I did exactly that, and voila! It takes a long time, but it works.

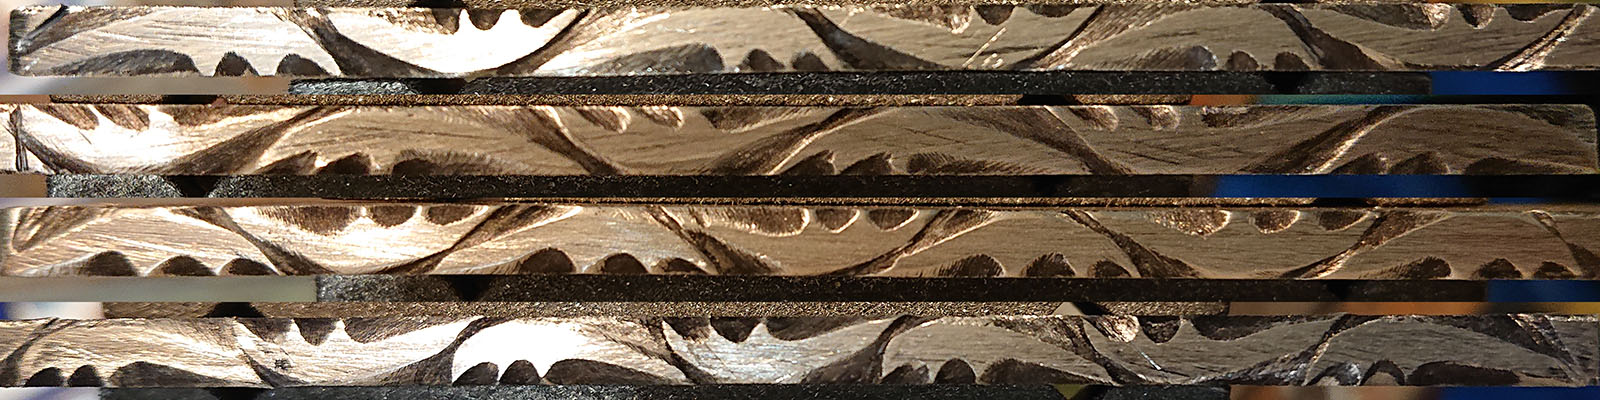
© Charly, all rights reserved. Click for full size.
It is not pitch-black, it has a bit of bluish-grey tint to it, but under a coat of wax or lacquer, it would be a lot darker. I consider it a definitive success.
I am wondering whether it would be possible to make pictures on brass with different patinas. As a kind of colored etching process. I do not see a reason why that should not work.