It took me four months to finish the batch of knives that I started in July. I have documented every hour that I have worked on knives, and the results are not good. I have only managed to work about 20 hours a week. Plus some hours that I have not counted, like when I was making new tools, repairing or improving them, etc.
Please allow me to whine a bit about the causes of that.
I either have chronic fatigue or I am a chronic hypochondriac. I am reluctant to go to a physician right now, partly because of the ongoing pandemic and partly because of last year when after several months of pain, I never got a conclusive diagnosis – and the pain only subsided after a course of steroids that I got for a really bad but unrelated virus (possibly flu) that snuck up on me right before Covid hit Europe. So I am not all too optimistic about our GP being able to help me with this.
I have been more or less tired ever since that possible flu. You remember that short walk in the forest in August when I brought home two full shopping bags of ‘shrooms? It took me three days to get over that, and one of those days my legs hurt so much I was barely able to go to the loo. After just several hours of hand-sanding knife handles my back and hands hurt for two days. Etc. etc. ad nauseam. Add to that the necessity to spend time carting my parents to/from doctors, stacking firewood to the cellar, caring for my trees, and the result is that I do a lot less work than I want to.
I have never seen the point of exercise because my body never reacted to it the way other people’s bodies seem to. I did get stronger, but only in relation to my starting point. In high school, when I could exercise under professional supervision free of charge, after months of work I was barely getting just below the level where my schoolmates have started. This year is that – only worse. I am not going exactly downhill, but just barely. Plus my hands started to hurt again two weeks ago. With the sun gone, I have at least looked at what safe dose of Vitamin D I can take in supplements and I am taking that because it seems to help a bit.
Whining over. I hope it gets better. At least it is not getting worse.
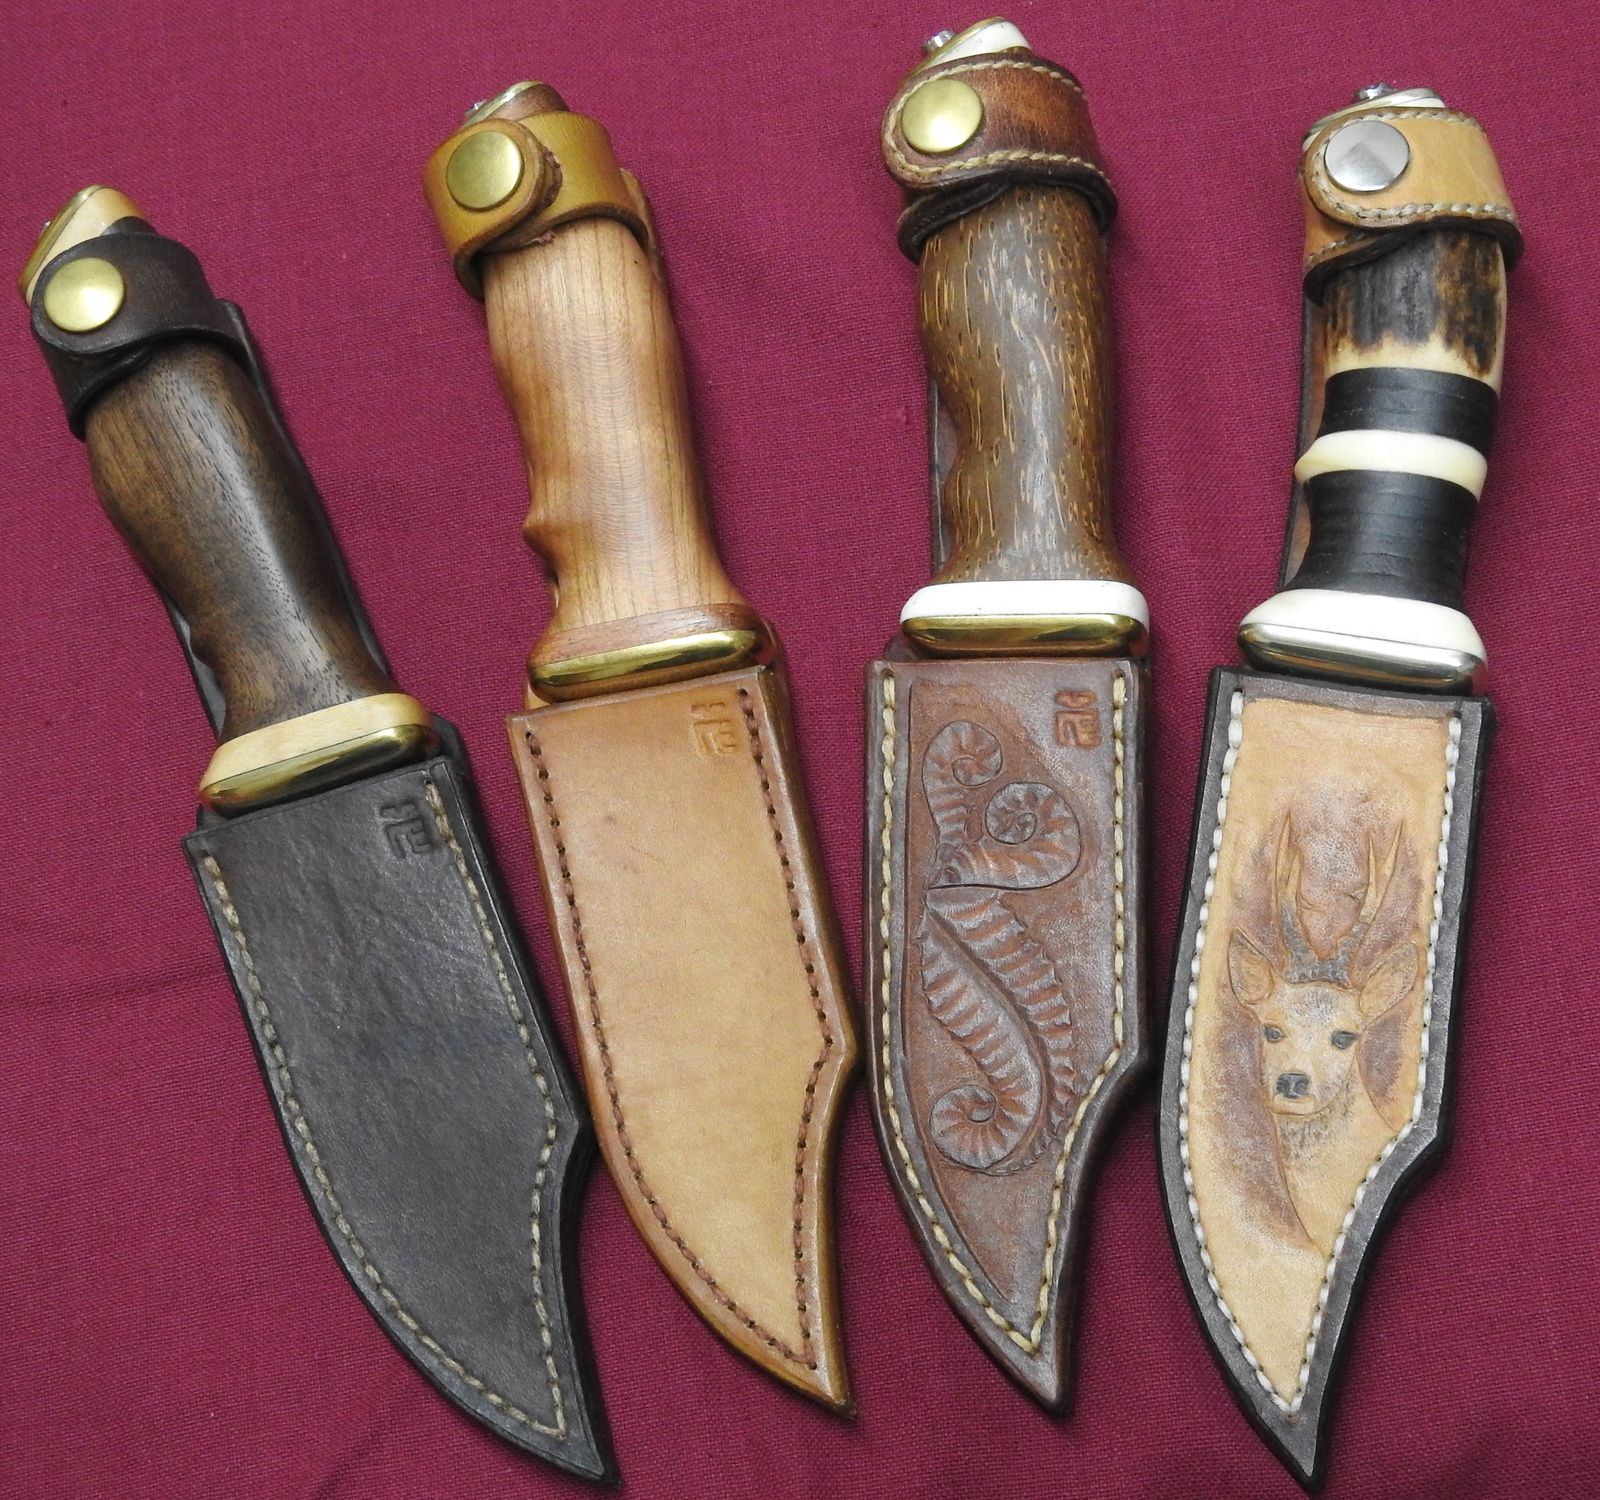
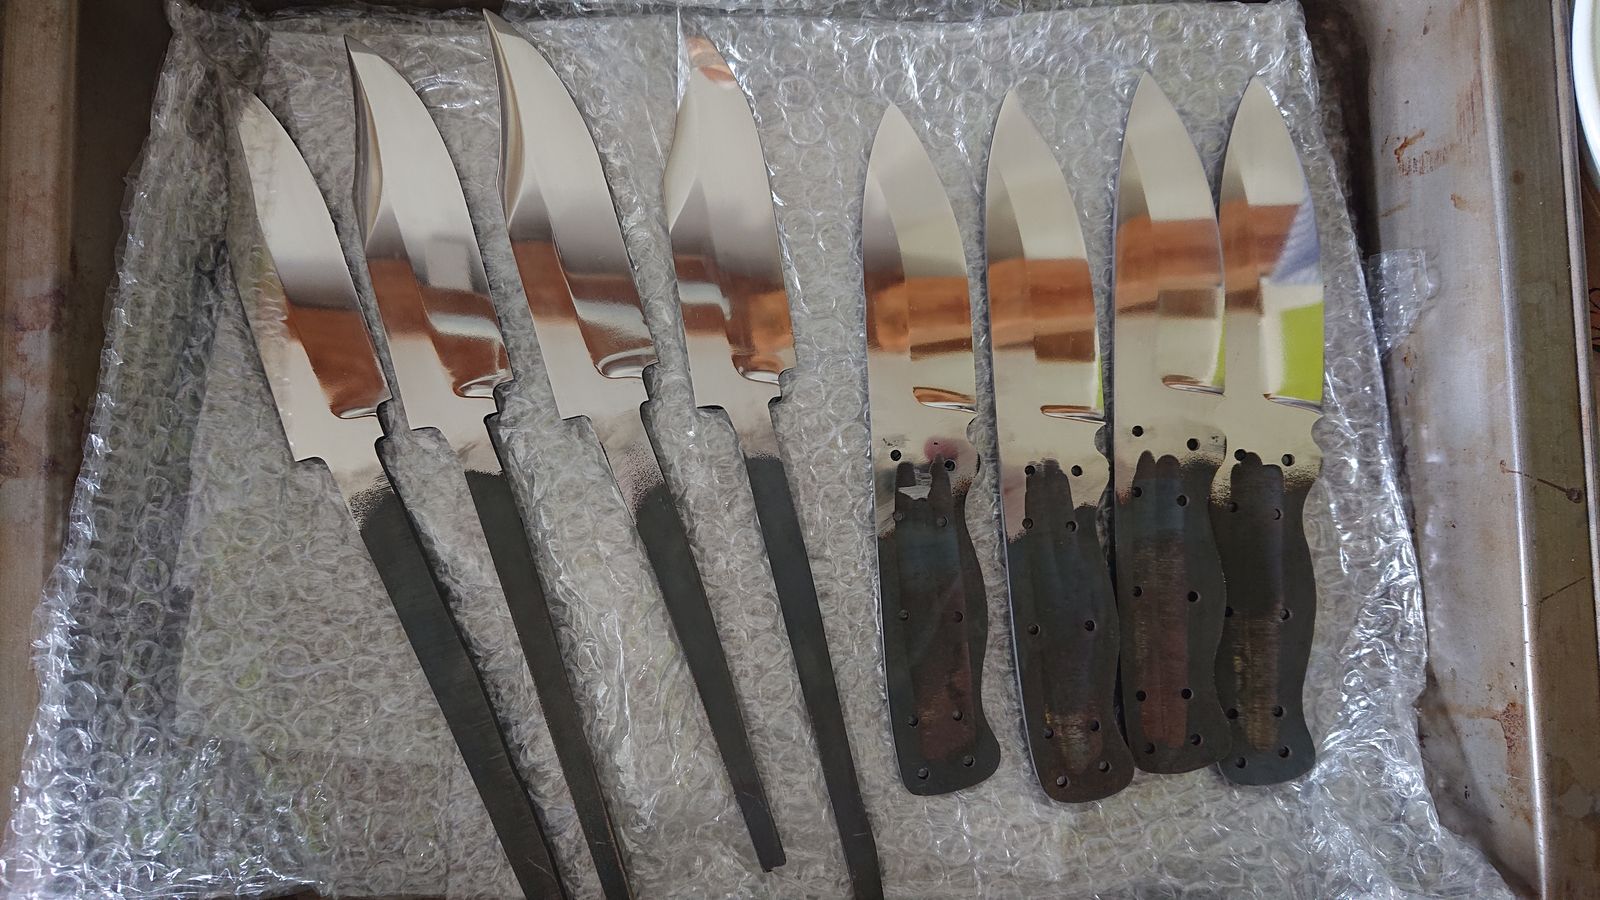
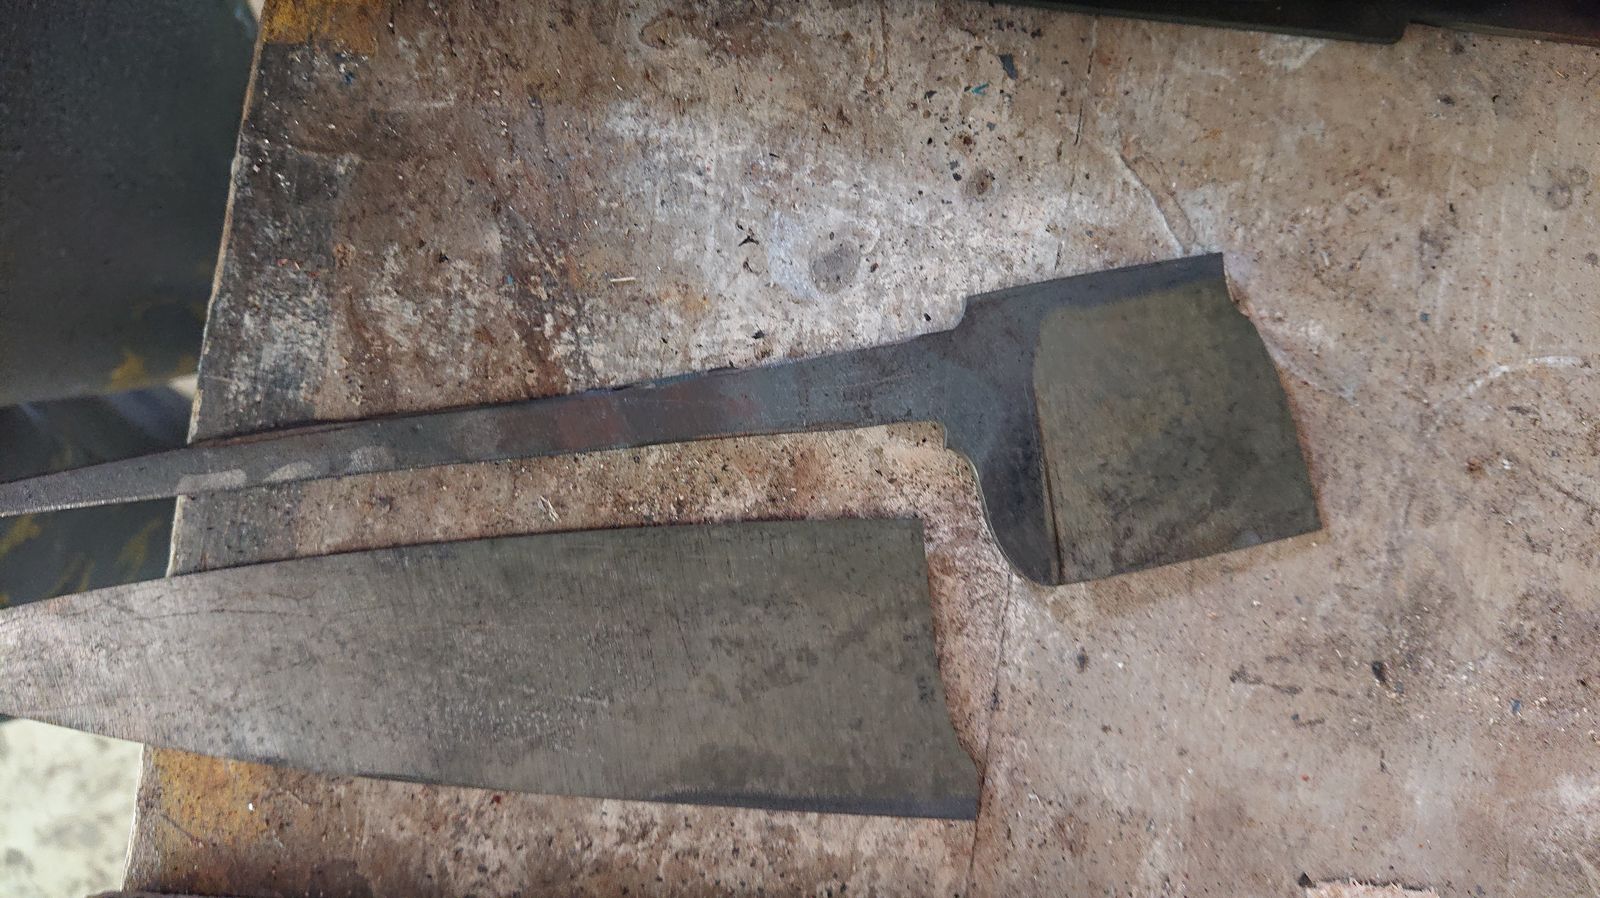
The last knives I have finished are four universal kitchen knives from a batch of five blades. One of those blades was not suitably hardened after all- near the tang was about 2 cm soft part. I do not need to toss it, but I do need to try and quench it again with the next project.
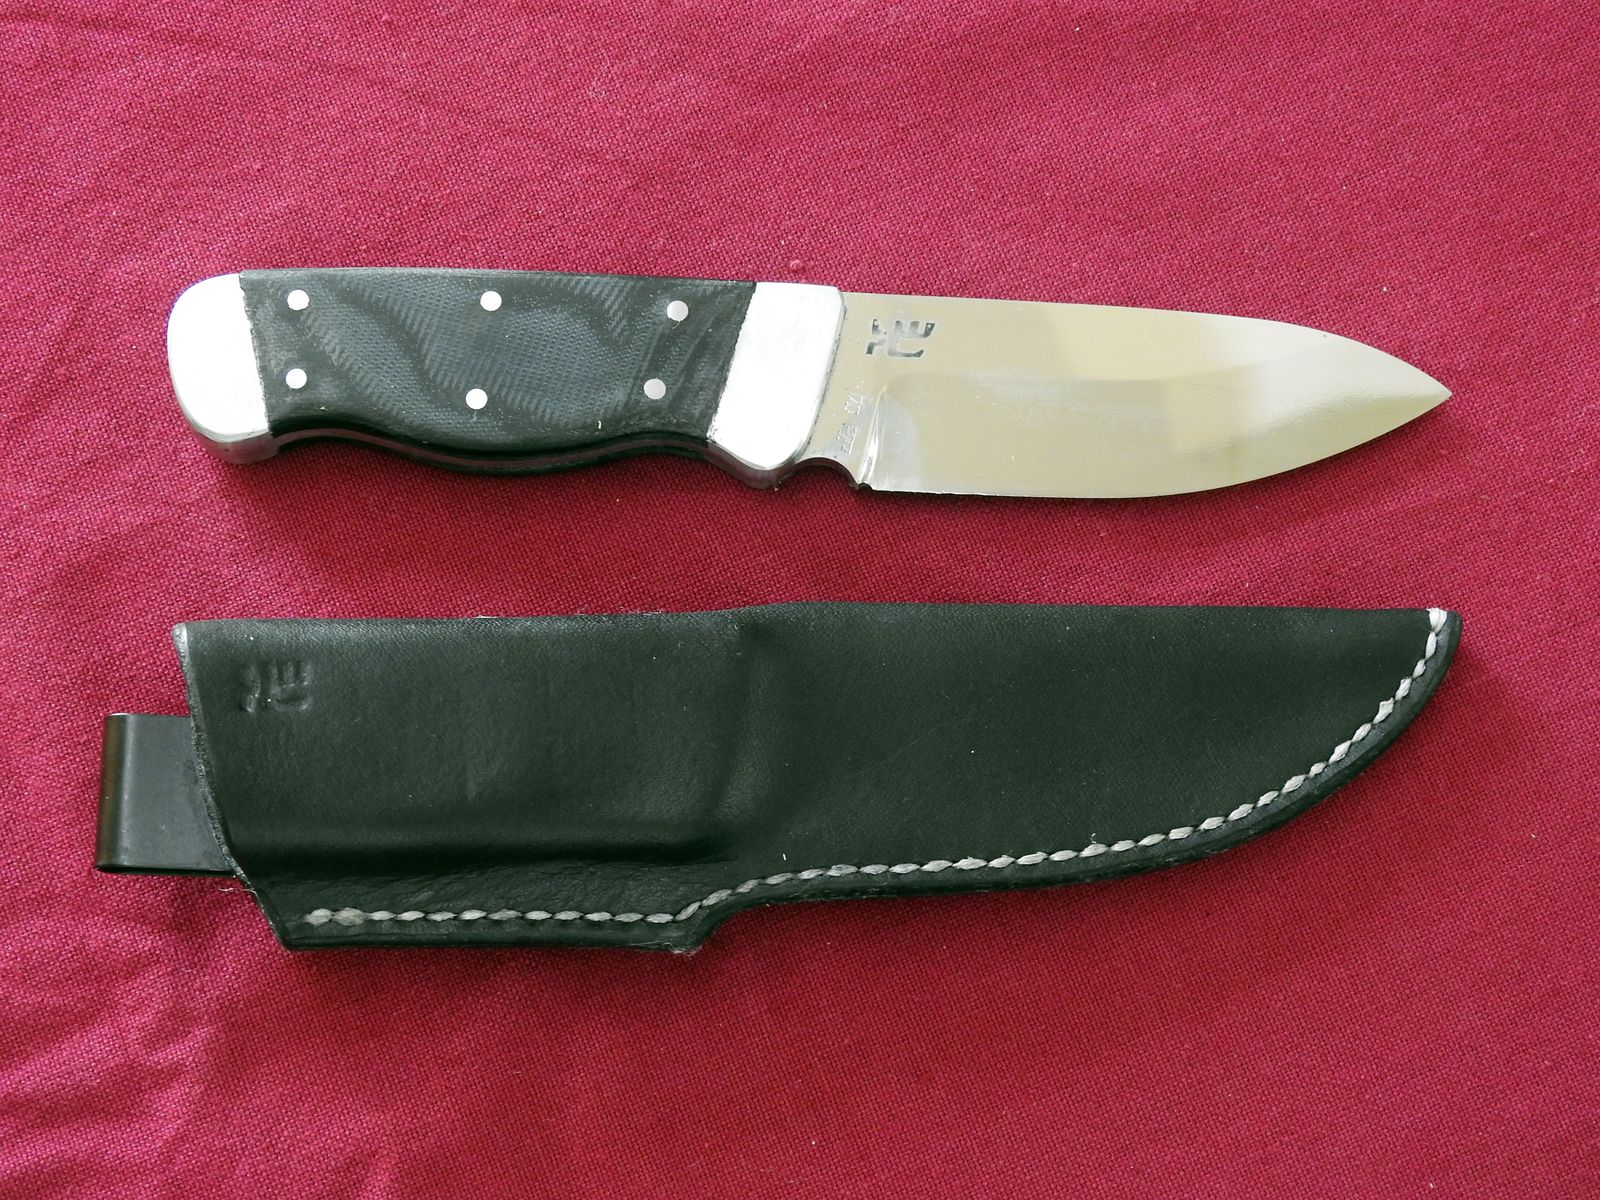
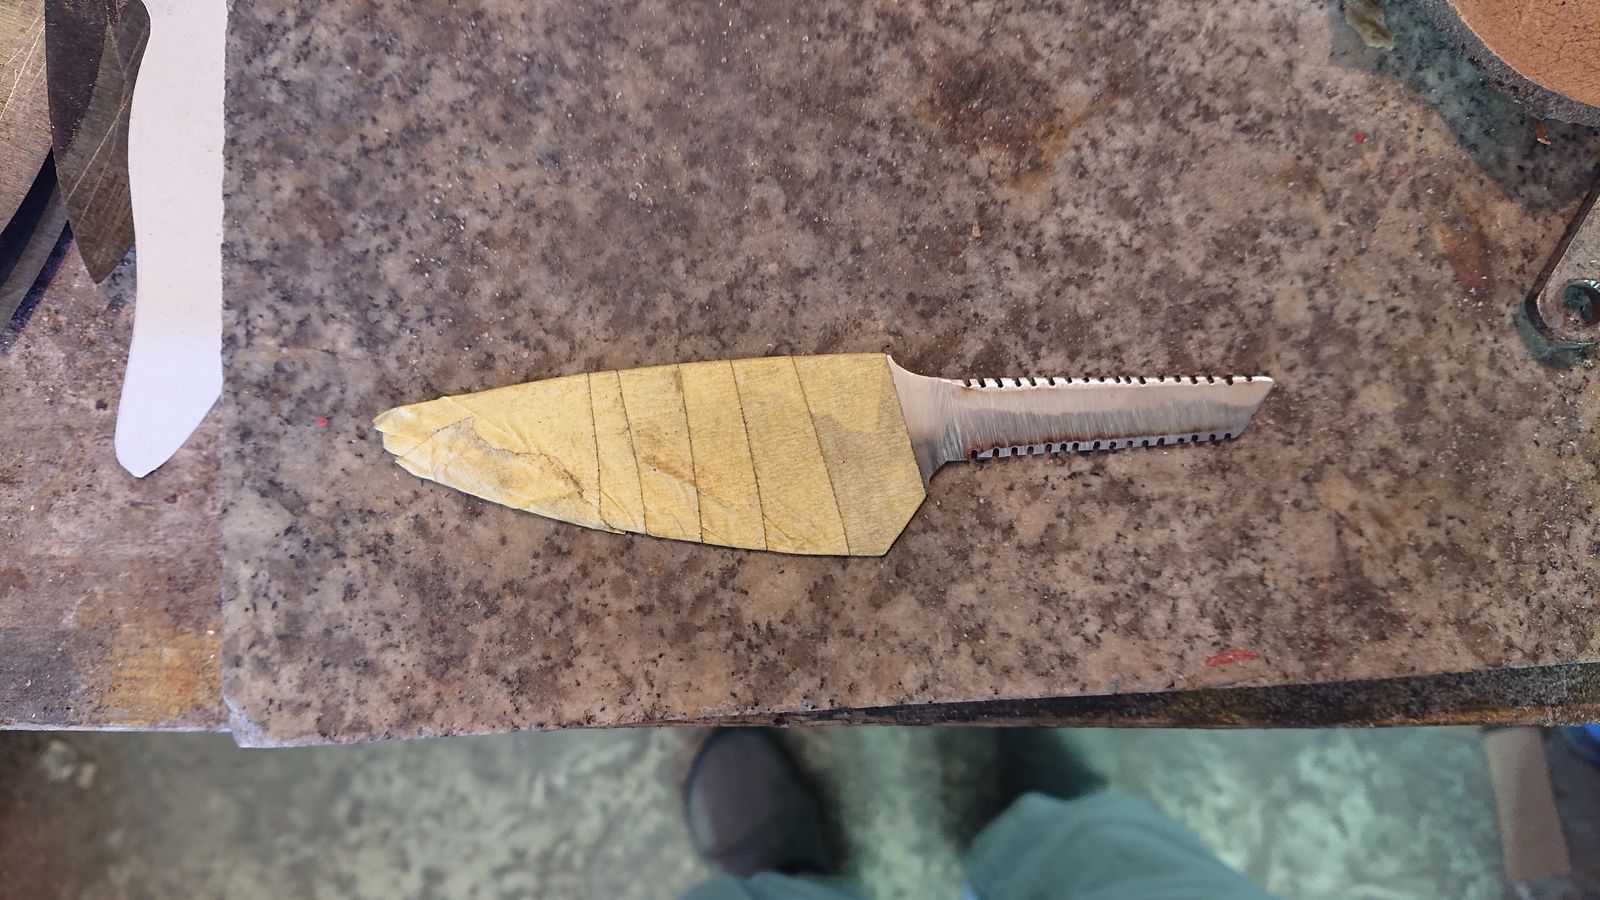
These are a bit heavier and thicker (3mm) than my previous knives of this type because they are made from what was left over from the slabs for chef knives. I have also changed the geometry of the handle a bit – instead of a rounded rectangular profile it has a rounded trapezoid profile. They are also about 2-4 mm thinner overall and 5 mm thinner and shorter at the front to better allow a choked-up grip with thumb and index finger on the blade. And they are pointy this time.
One knife has the handle from apricot wood and I have tried tubular pins filled with the same wood. I think it looks good and I will use that idea in the future again.

© Charly, all rights reserved. Click for full size.

© Charly, all rights reserved. Click for full size.
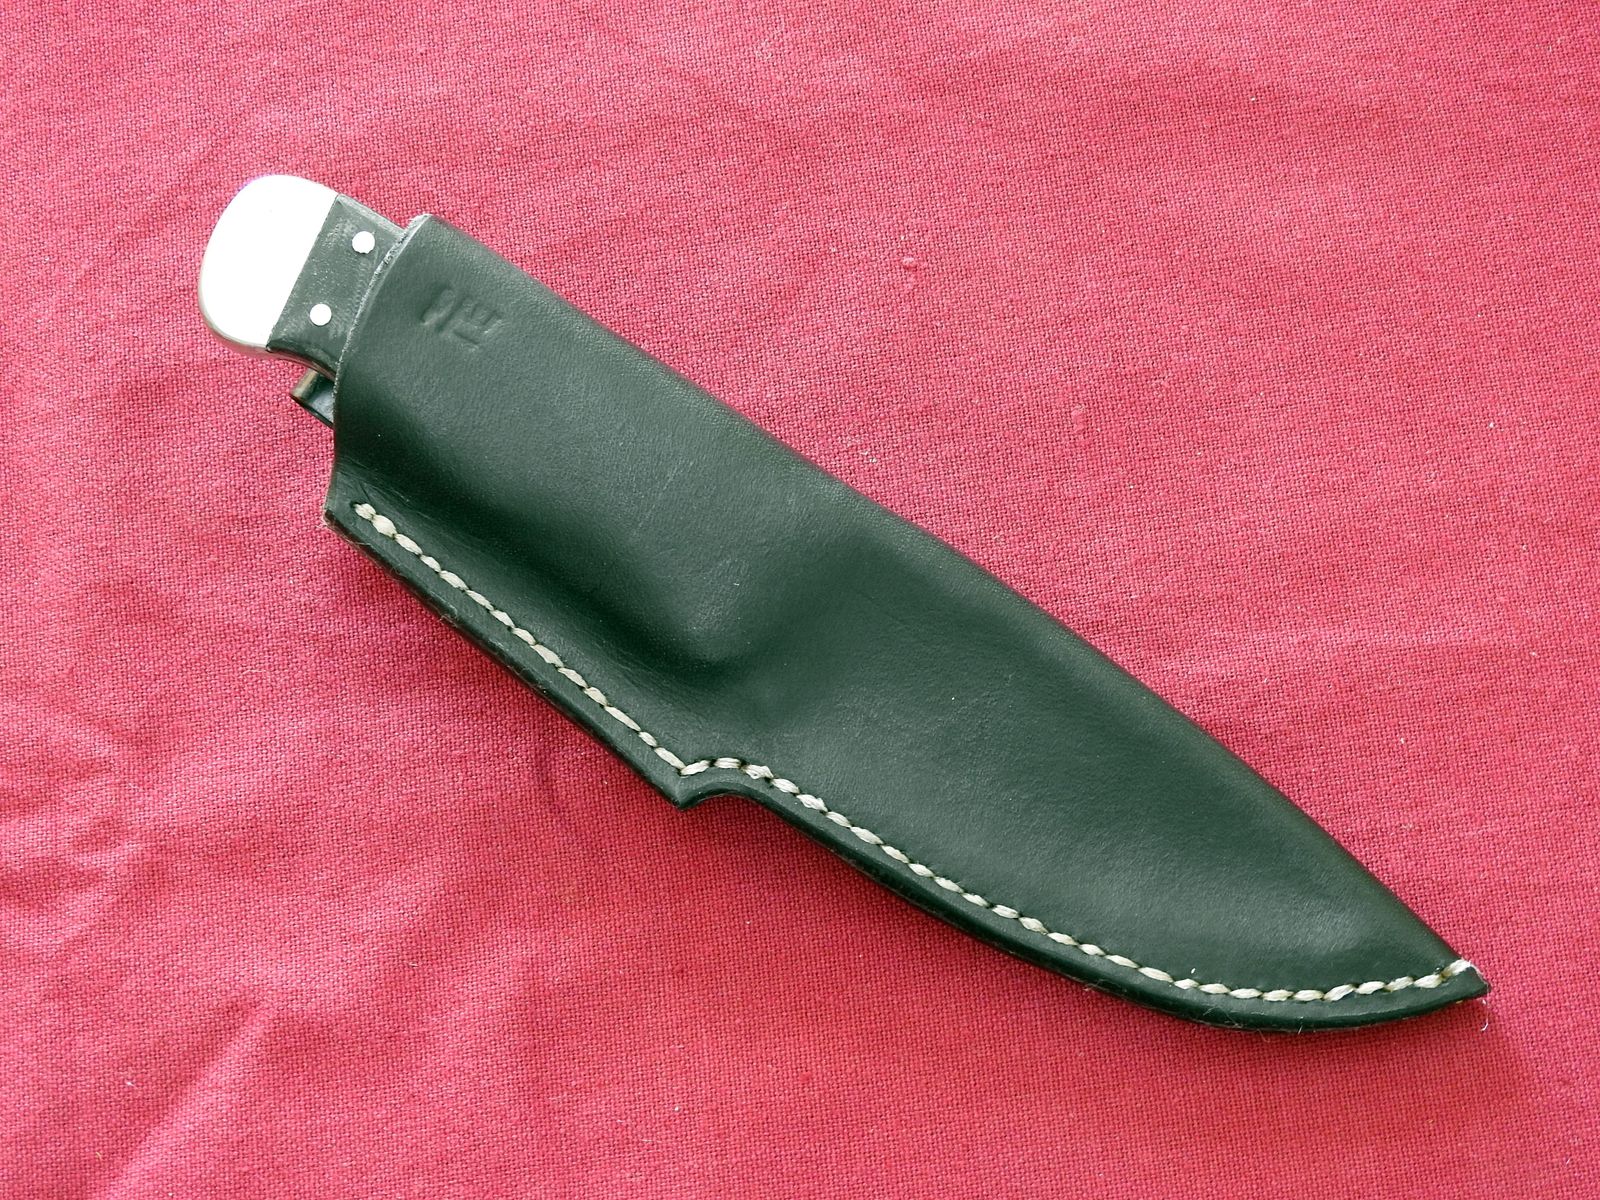
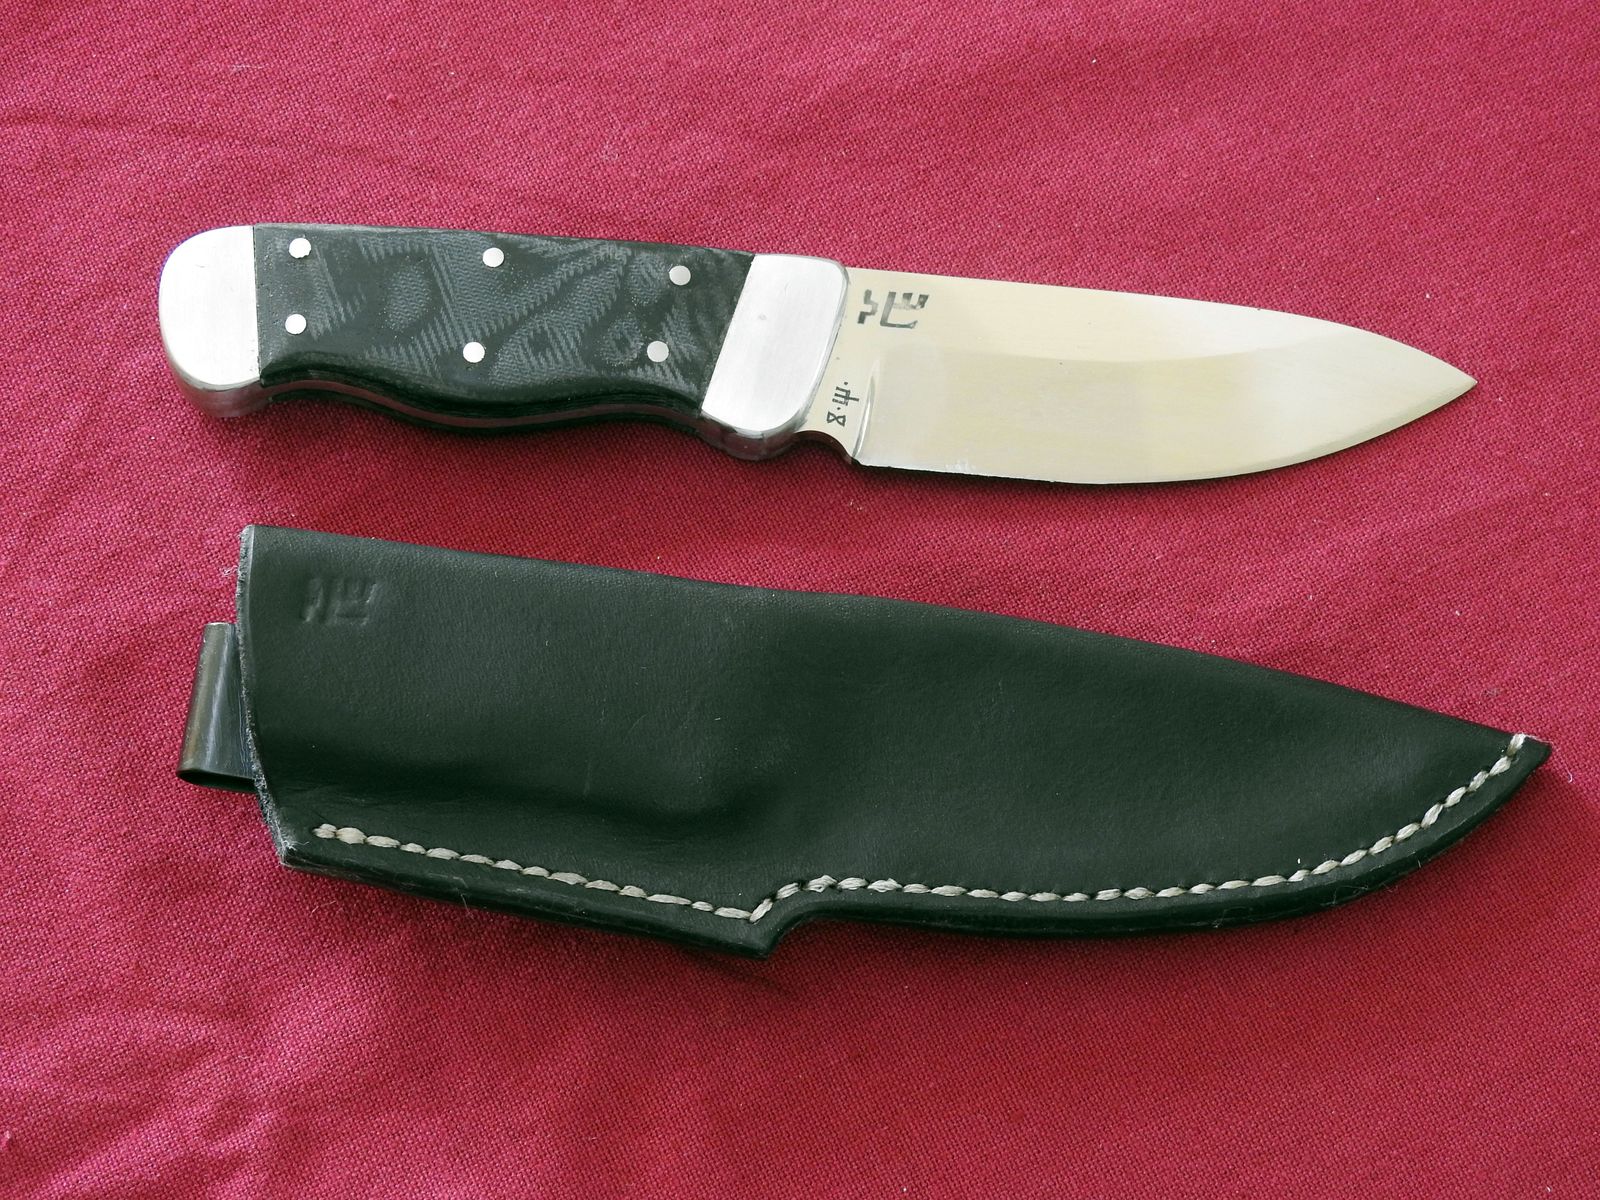
Two knives have the handles from pickled black locust. It is perfidious wood, in the future, I have to be more careful – the scales were probably not fully dried when I ground them to final size and they shrunk on me a tiny bit when I was finishing the surface with resin. So the tang does exceed the handles a tiny bit. That can happen due to a bad shaping job too, but that was not this case – they were perfectly flush originally, I swear. Lesson learned I have to put this wood in the oven for an hour or so before glue-up and grinding the outline. Now I can forget the lesson before finishing the next batch.

© Charly, all rights reserved. Click for full size.

© Charly, all rights reserved. Click for full size.

© Charly, all rights reserved. Click for full size.

© Charly, all rights reserved. Click for full size.
And last was fitted with padauk wood that I have again got for free with steel shipment. A prime example that there really is no need to use tropical woods, it does not look that much better than the black locust.

© Charly, all rights reserved. Click for full size.

© Charly, all rights reserved. Click for full size.
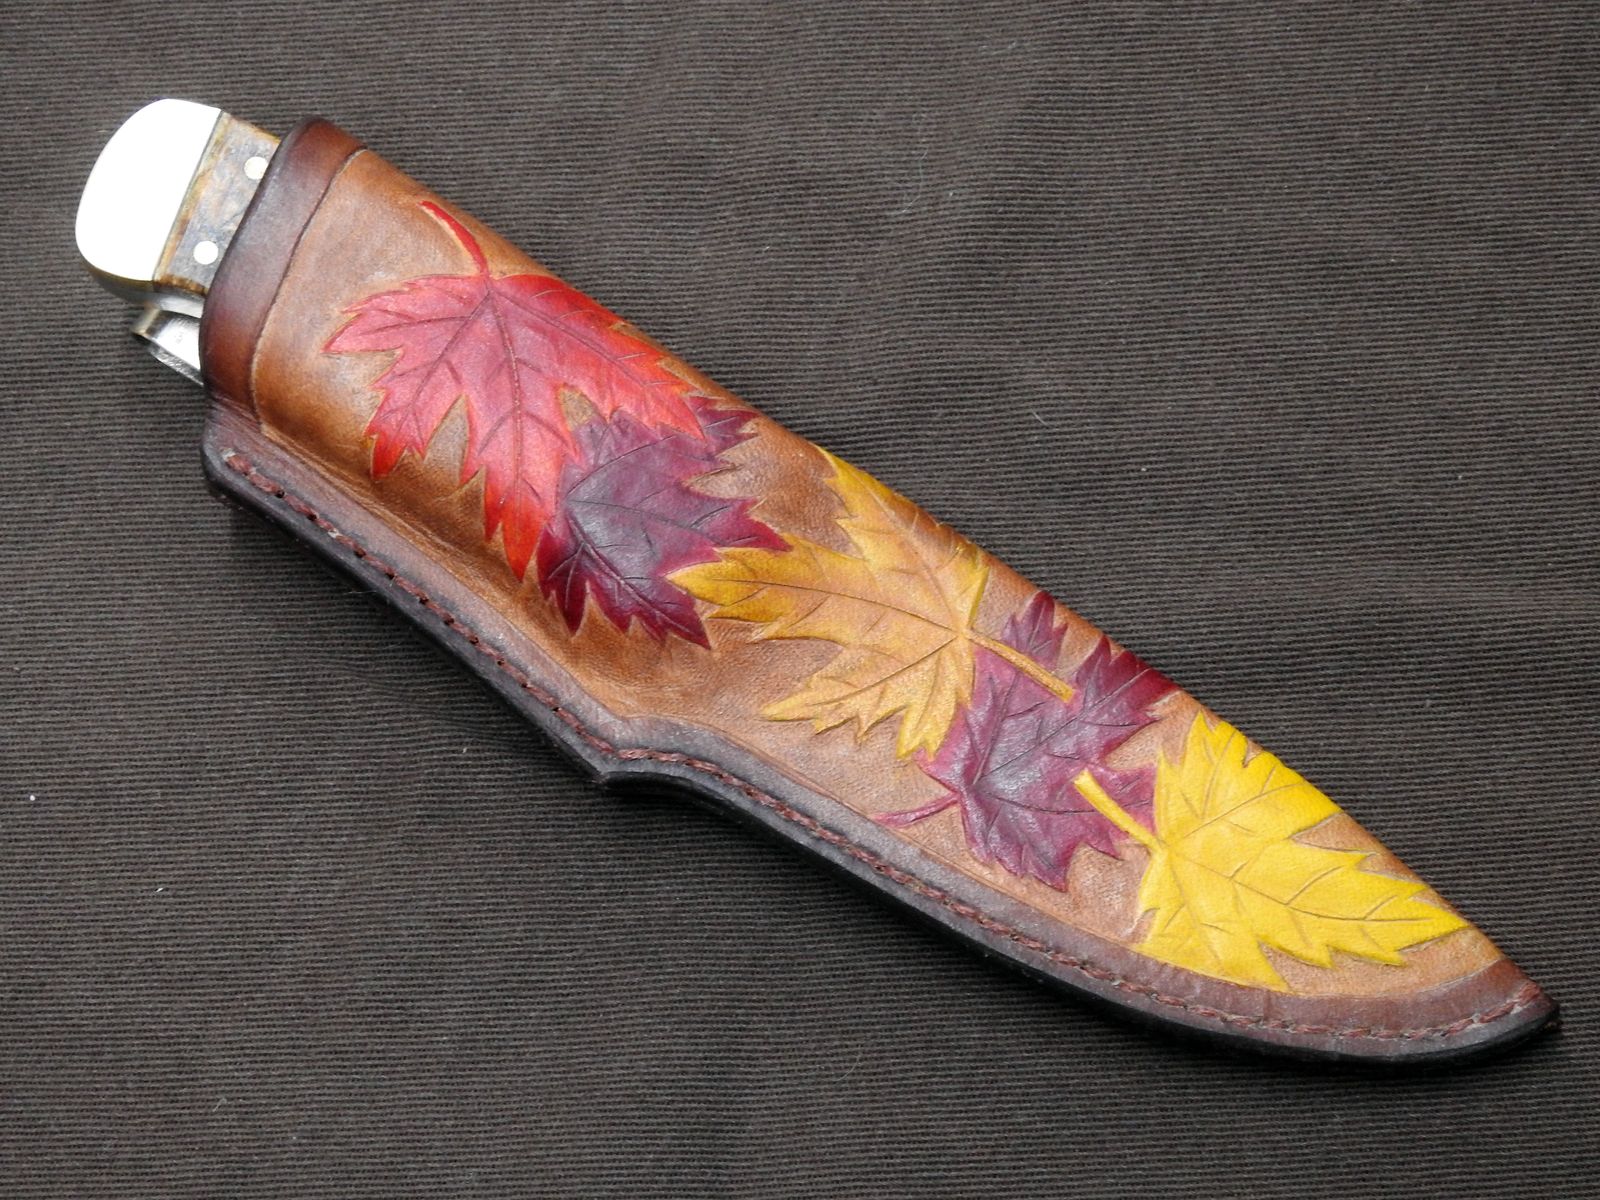
Knives are a bugger to shoot, I will have to build myself some better lighting system. Either the blade is over-exposed, or the handle is under-exposed, or the colors are off, or all three.
If you are interested in knife making, on Sunday I will start a detailed series about my next knife-making project. Not because I am qualified, but because I want to.