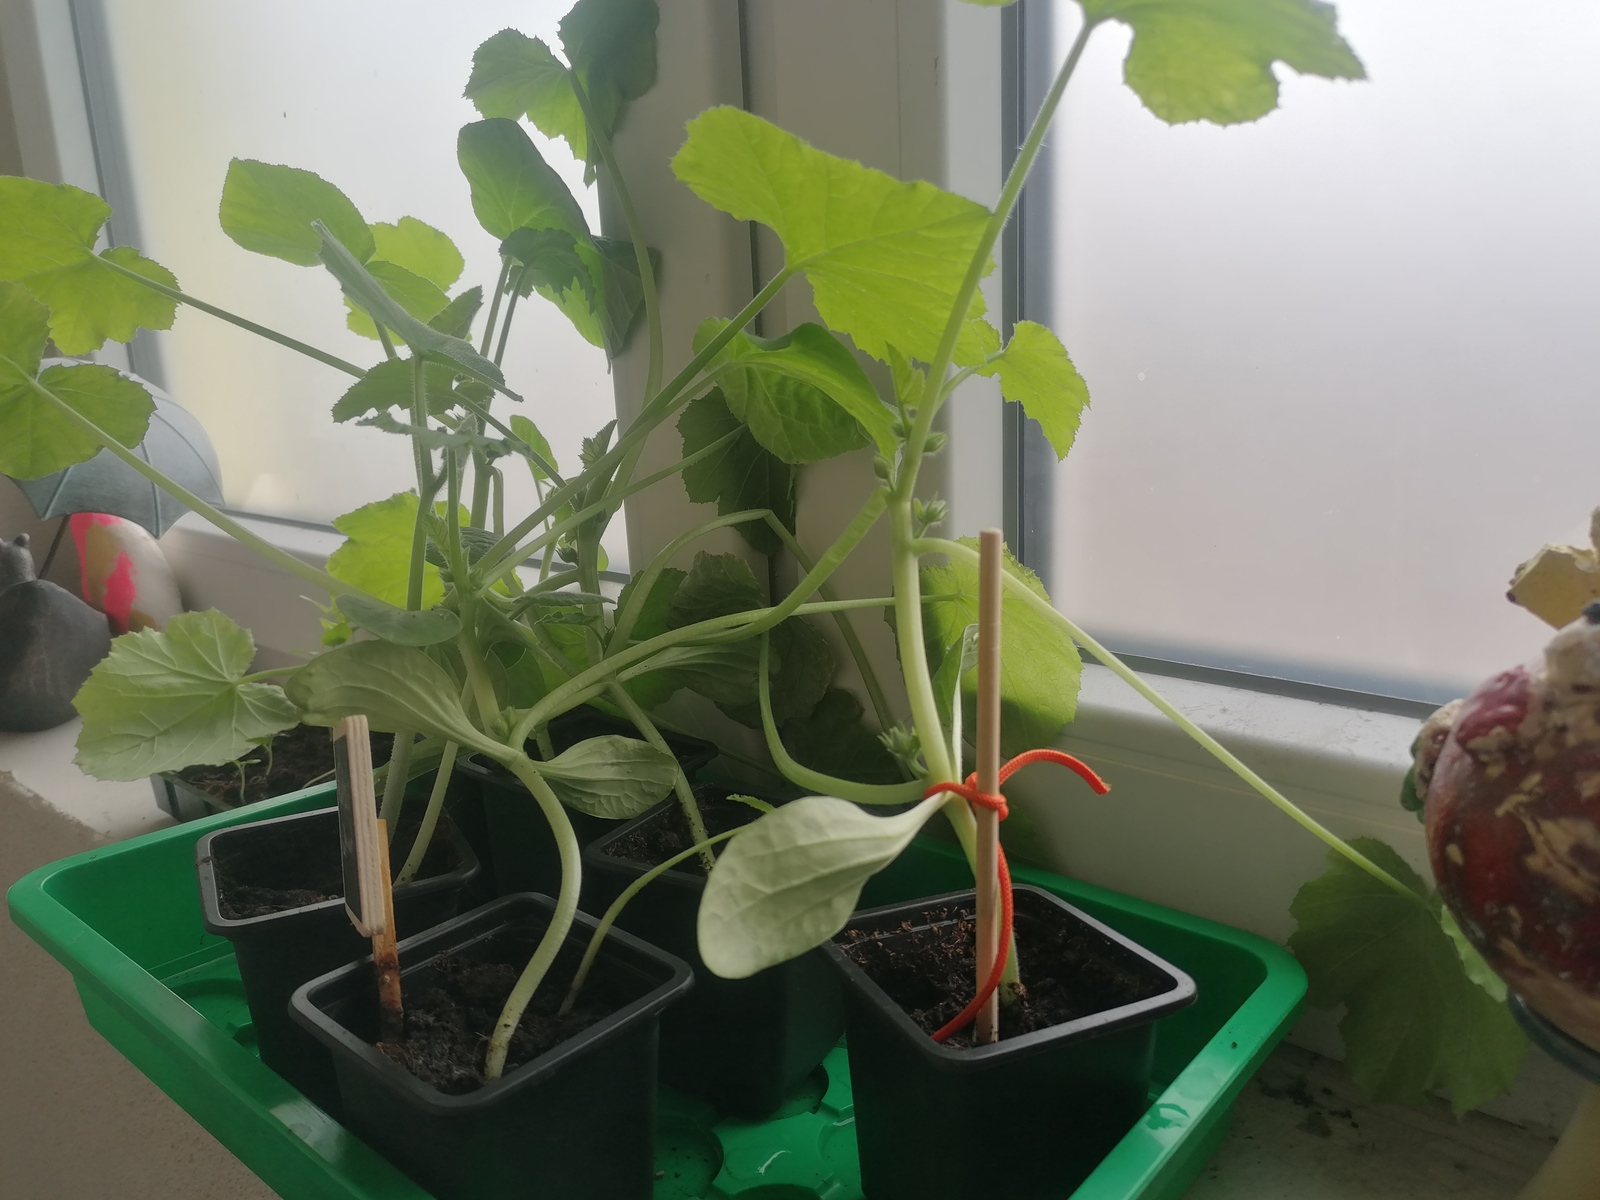
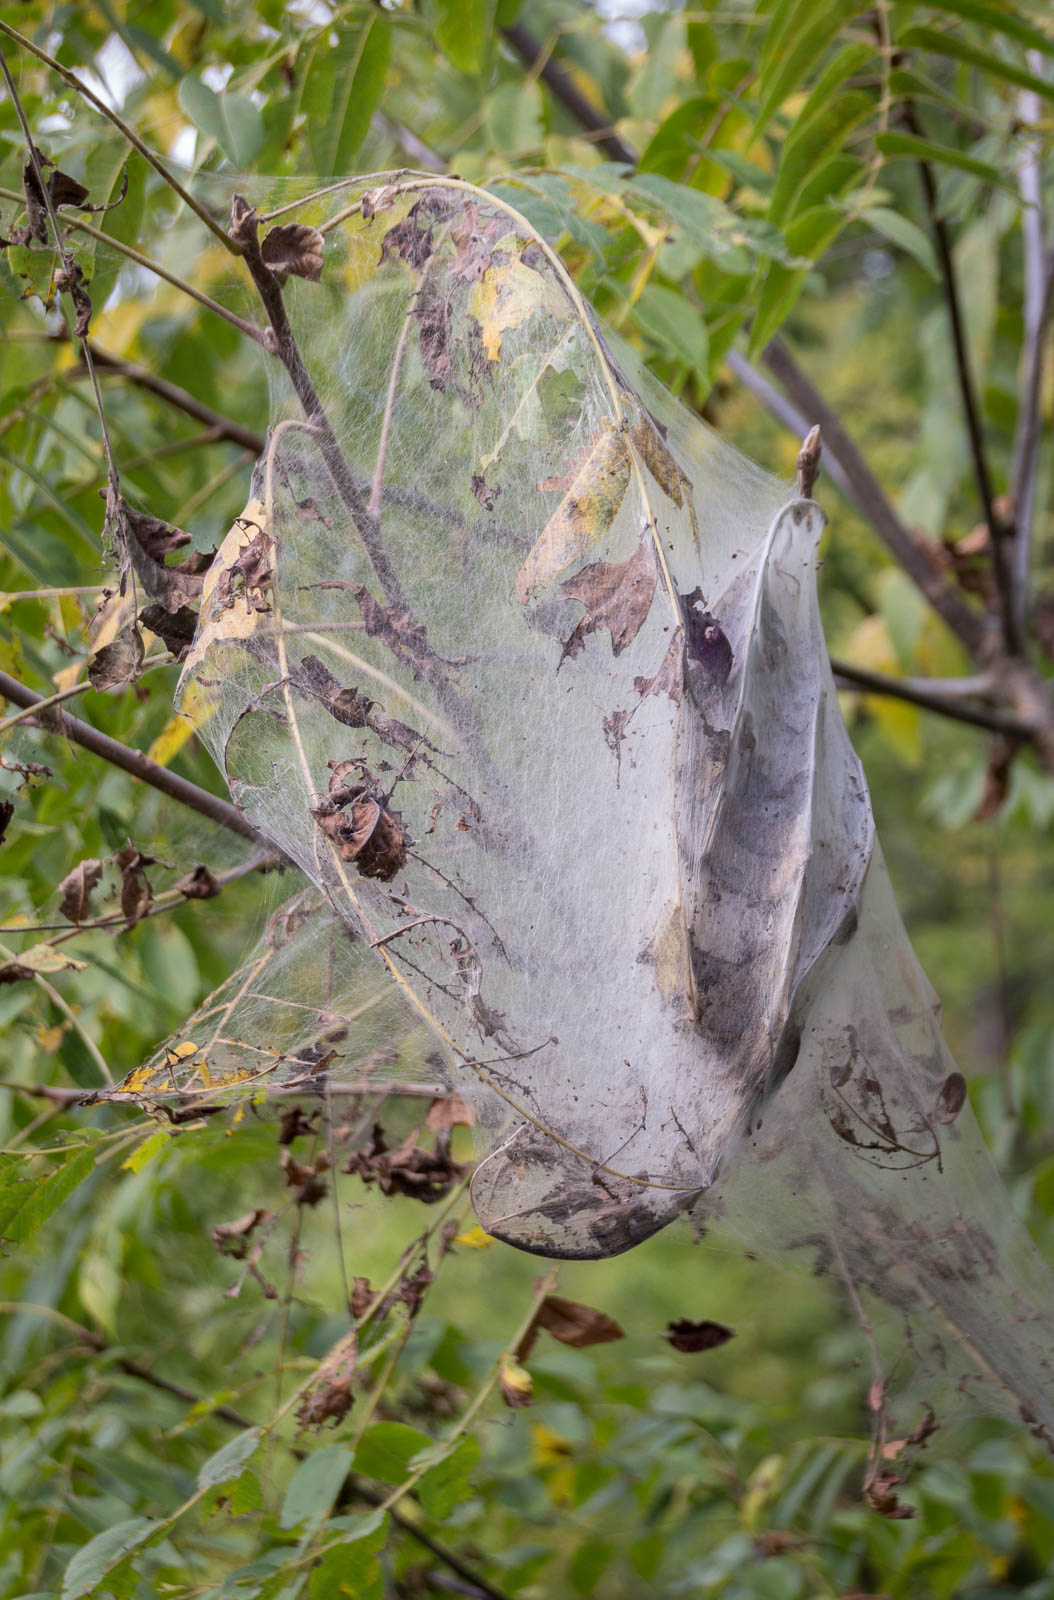
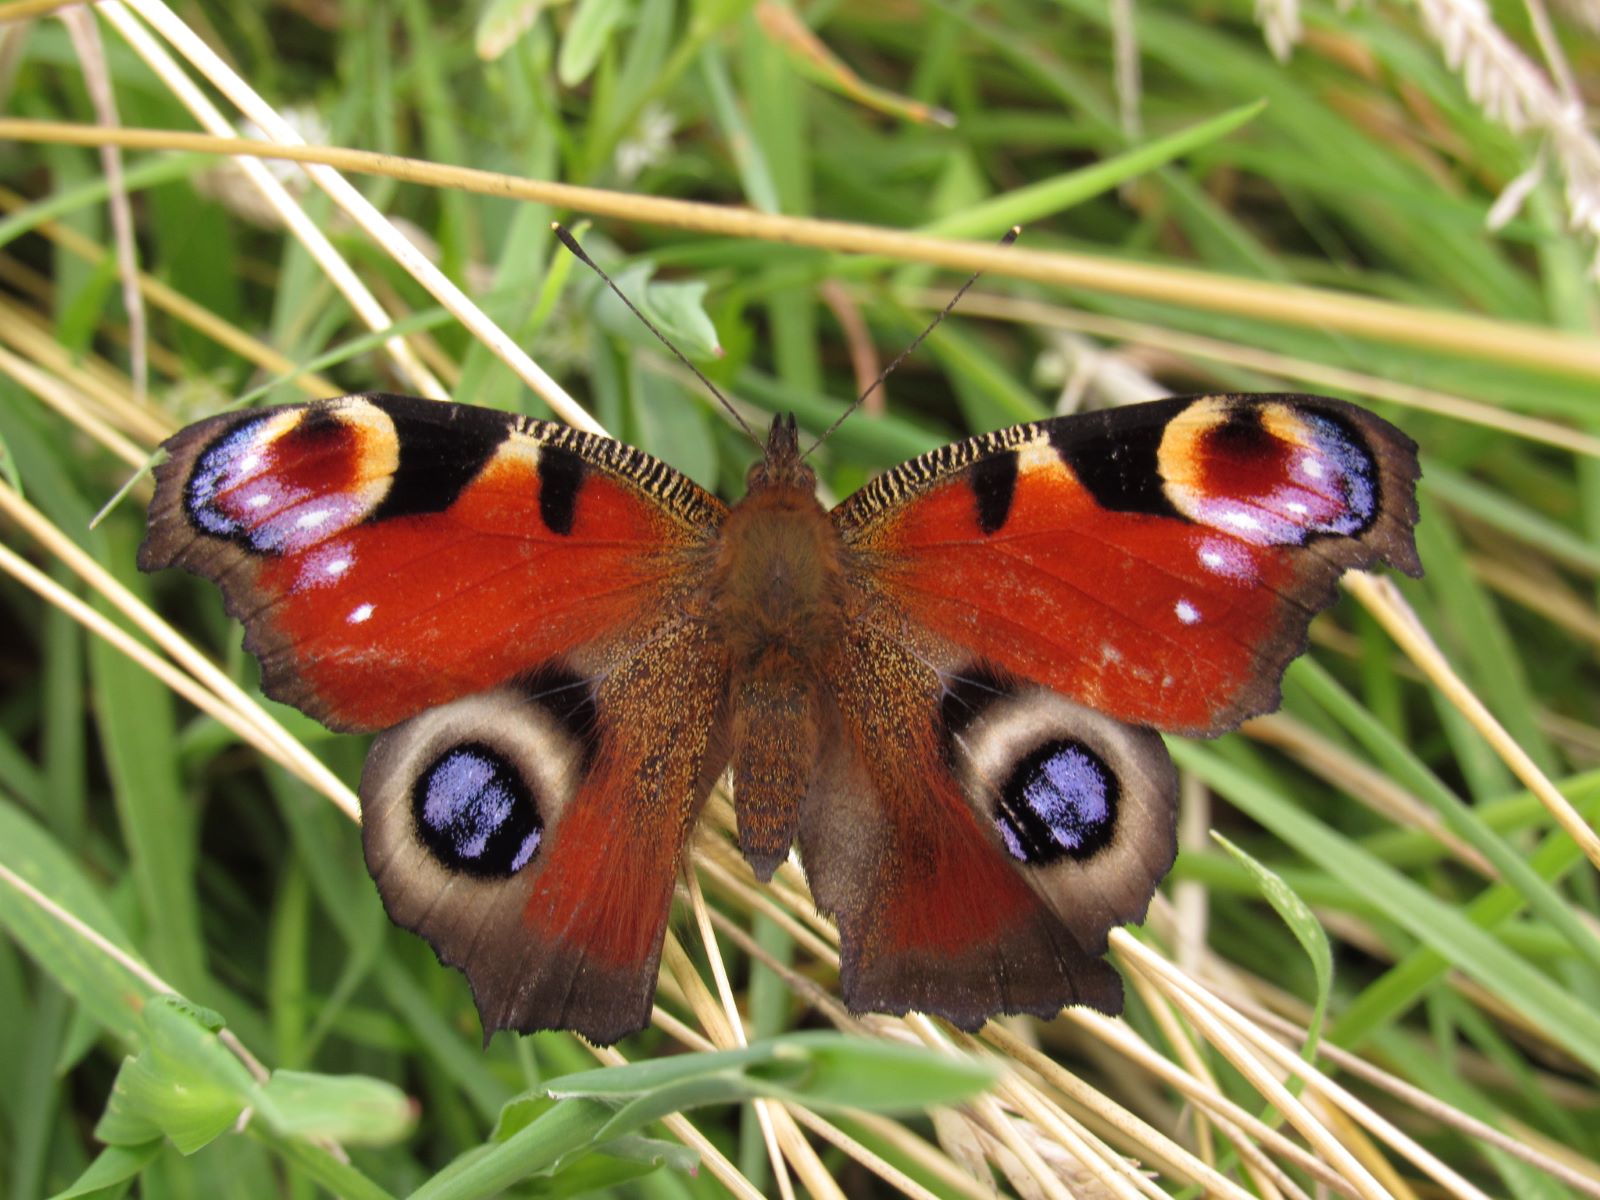
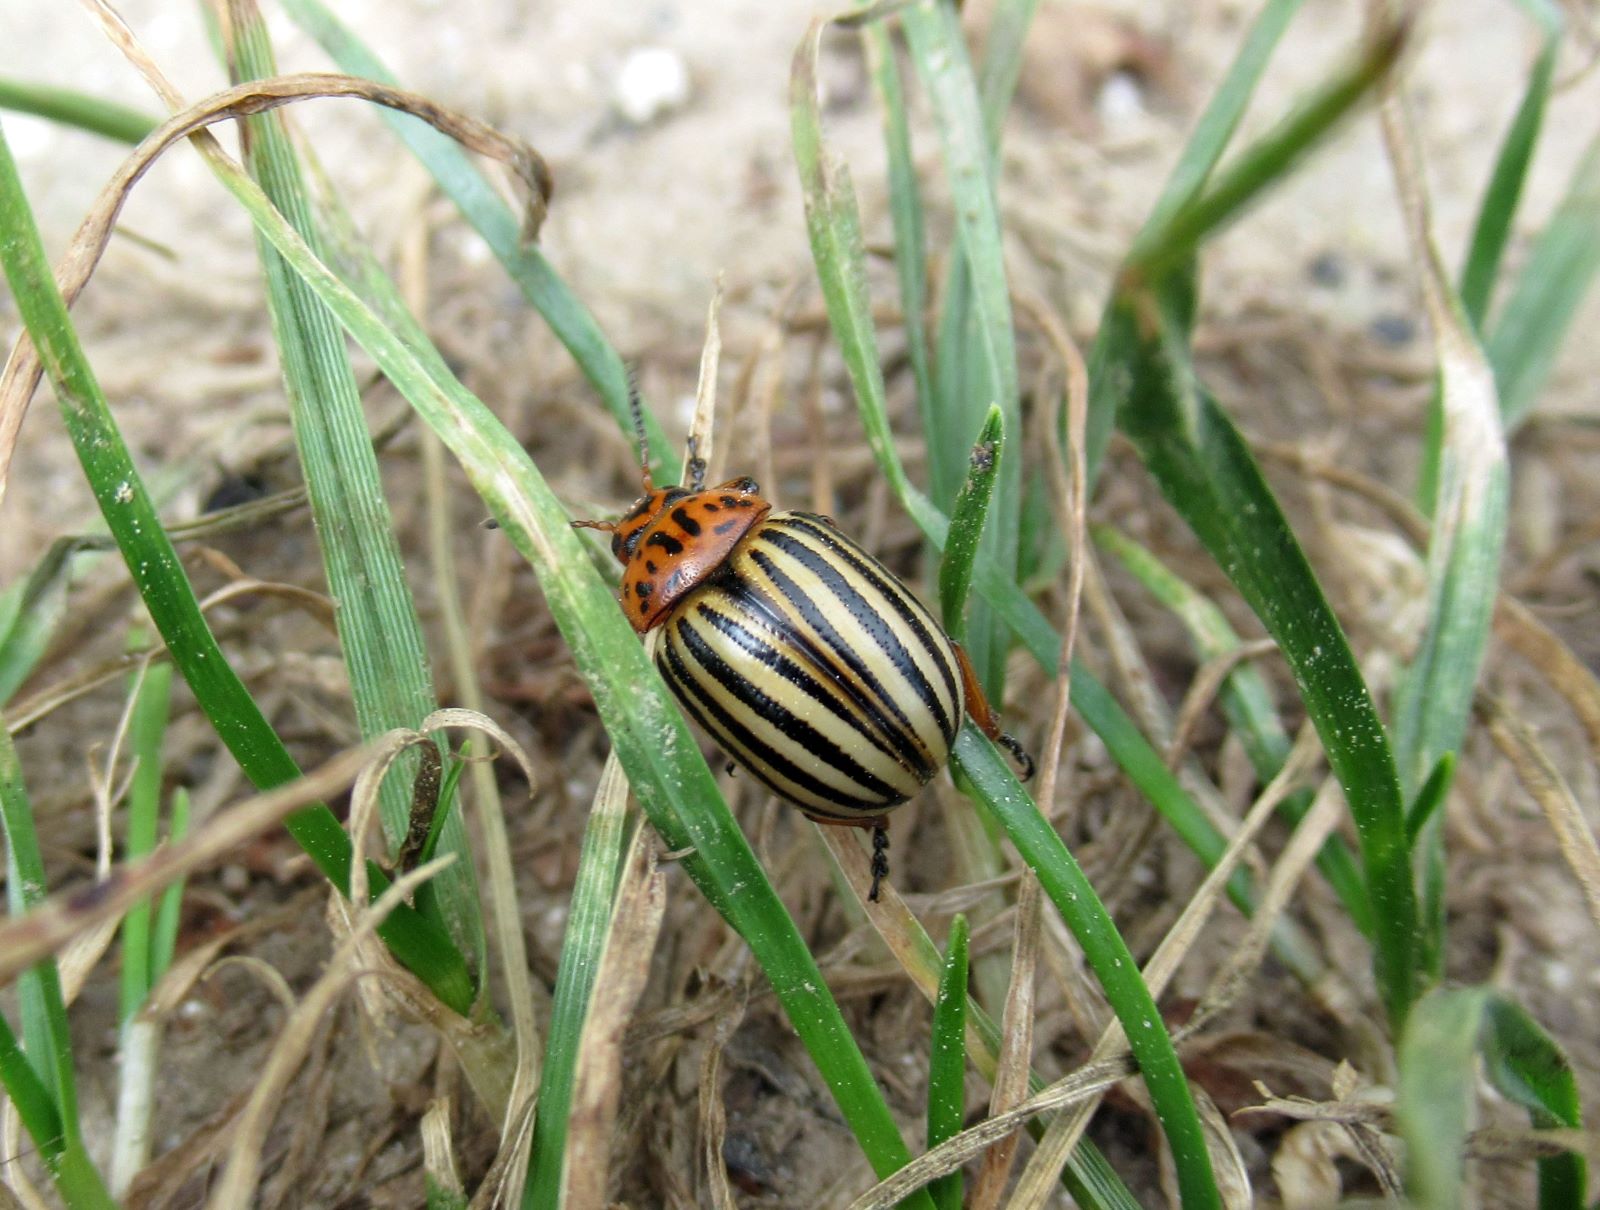
I have planted several sunflowers this year. Slugs did a number on them, but they did manage to blossom at least somewhat. And there are some pretty critters showing along so there will be a series of pictures in the next few days.
Today this beautiful female great green bush cricket. I was afraid of these when I was a wee little kid.

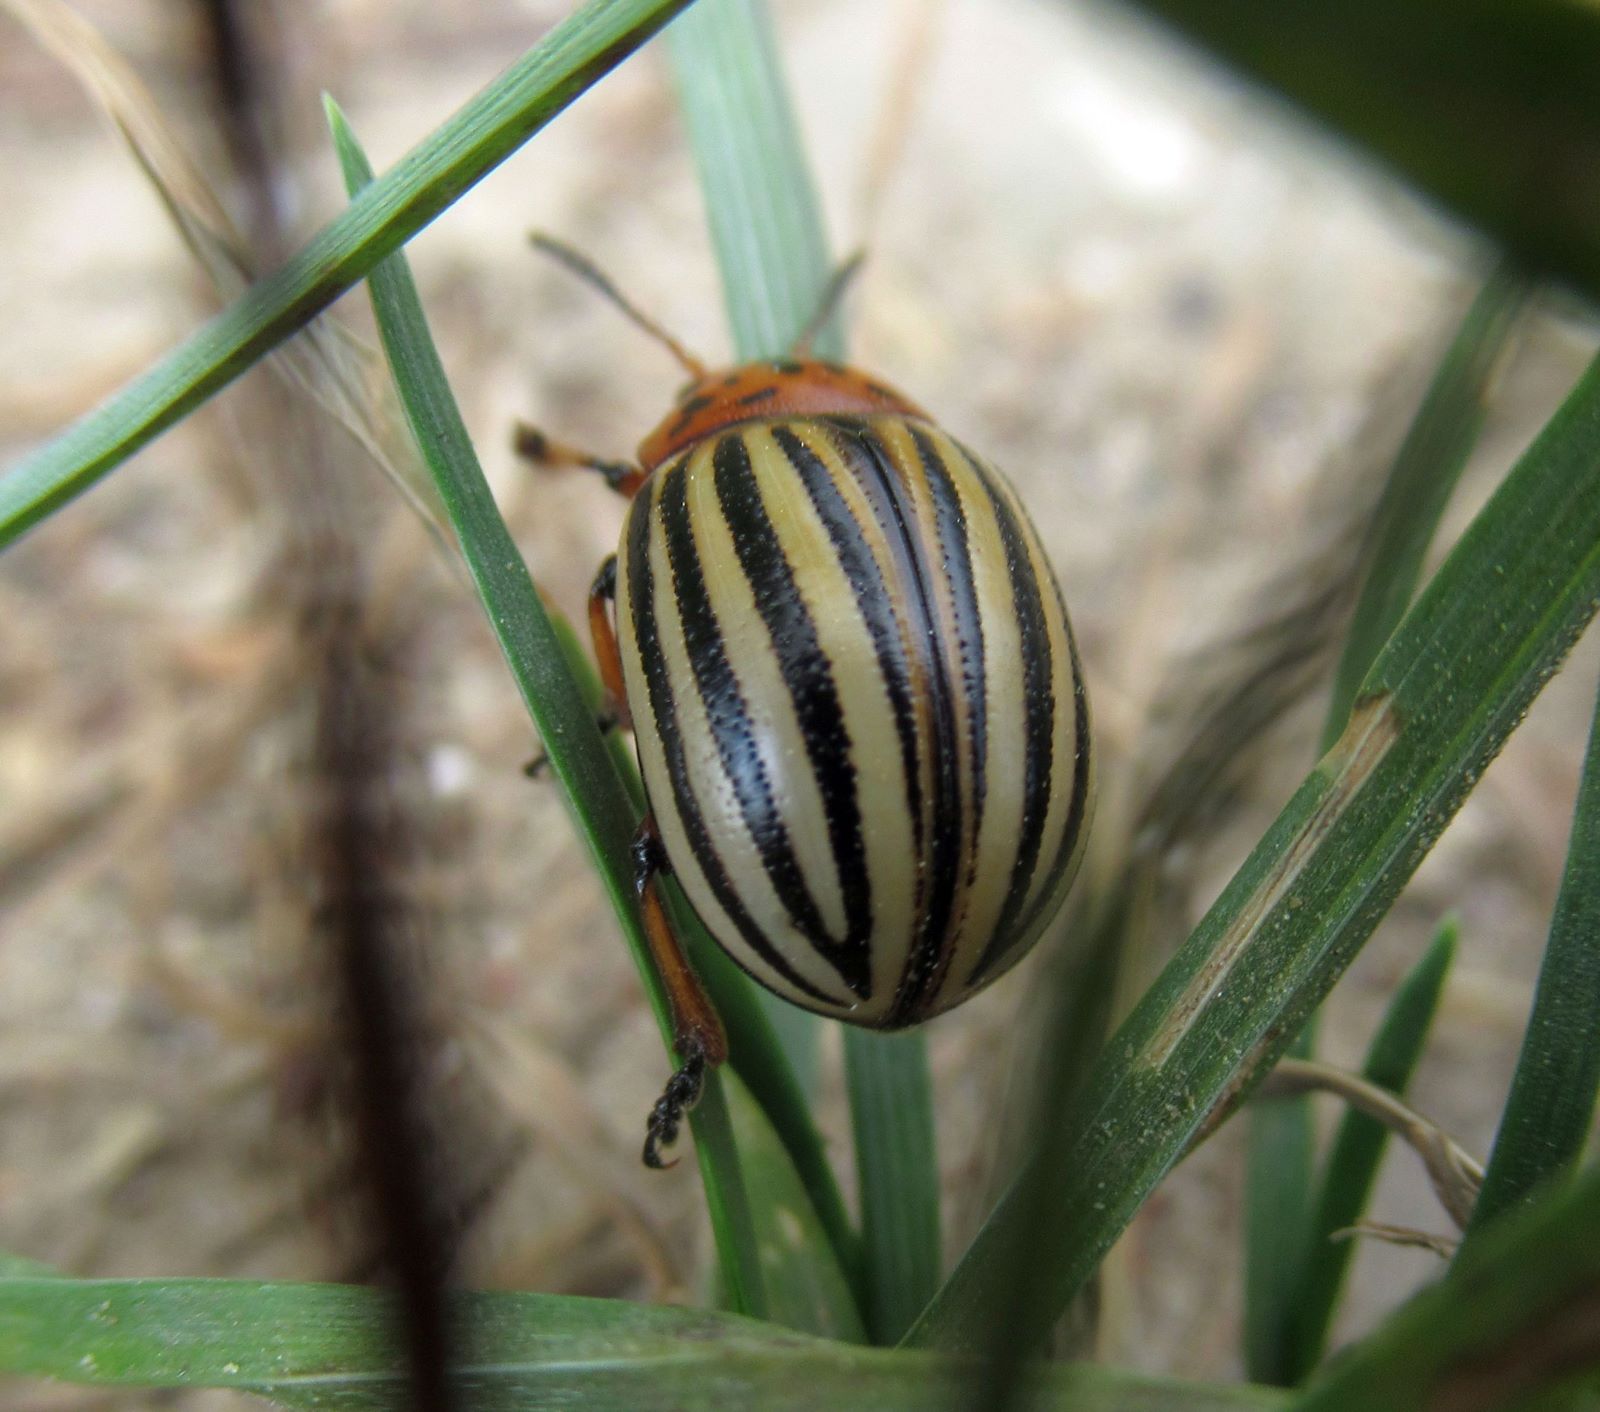
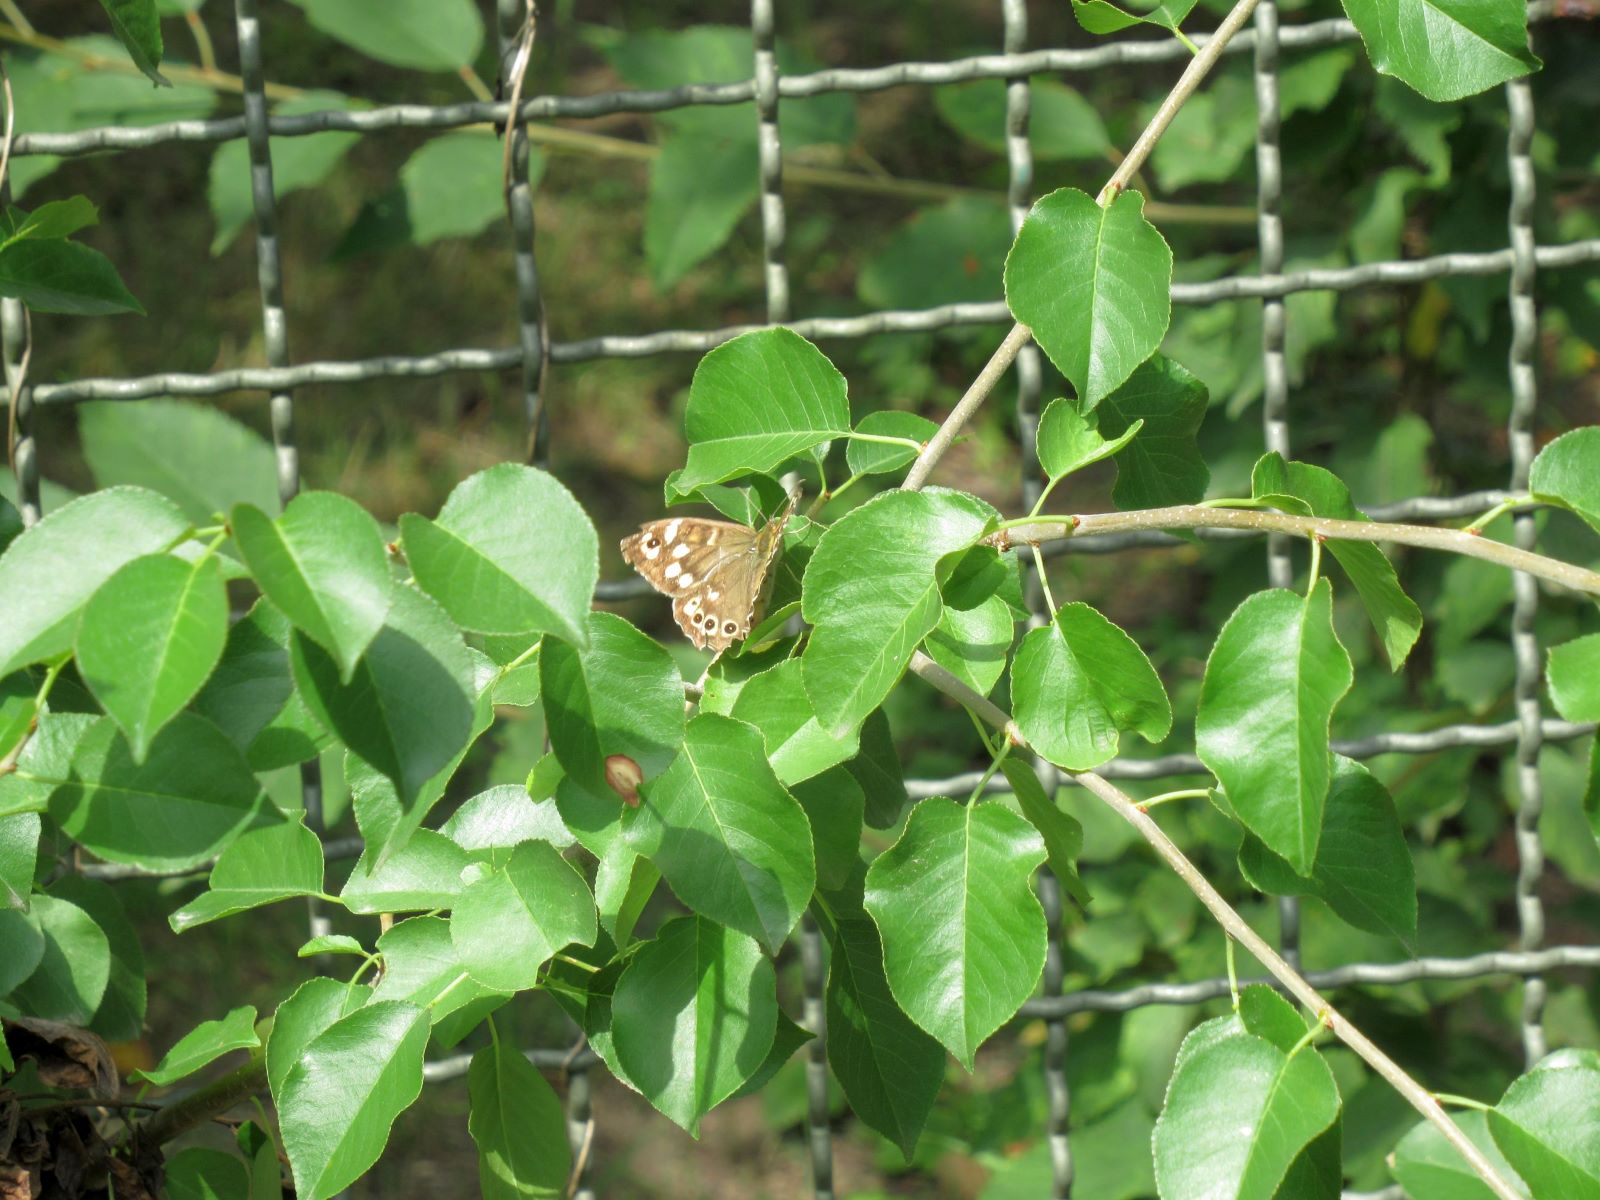
© Charly, all rights reserved. Click for full size.
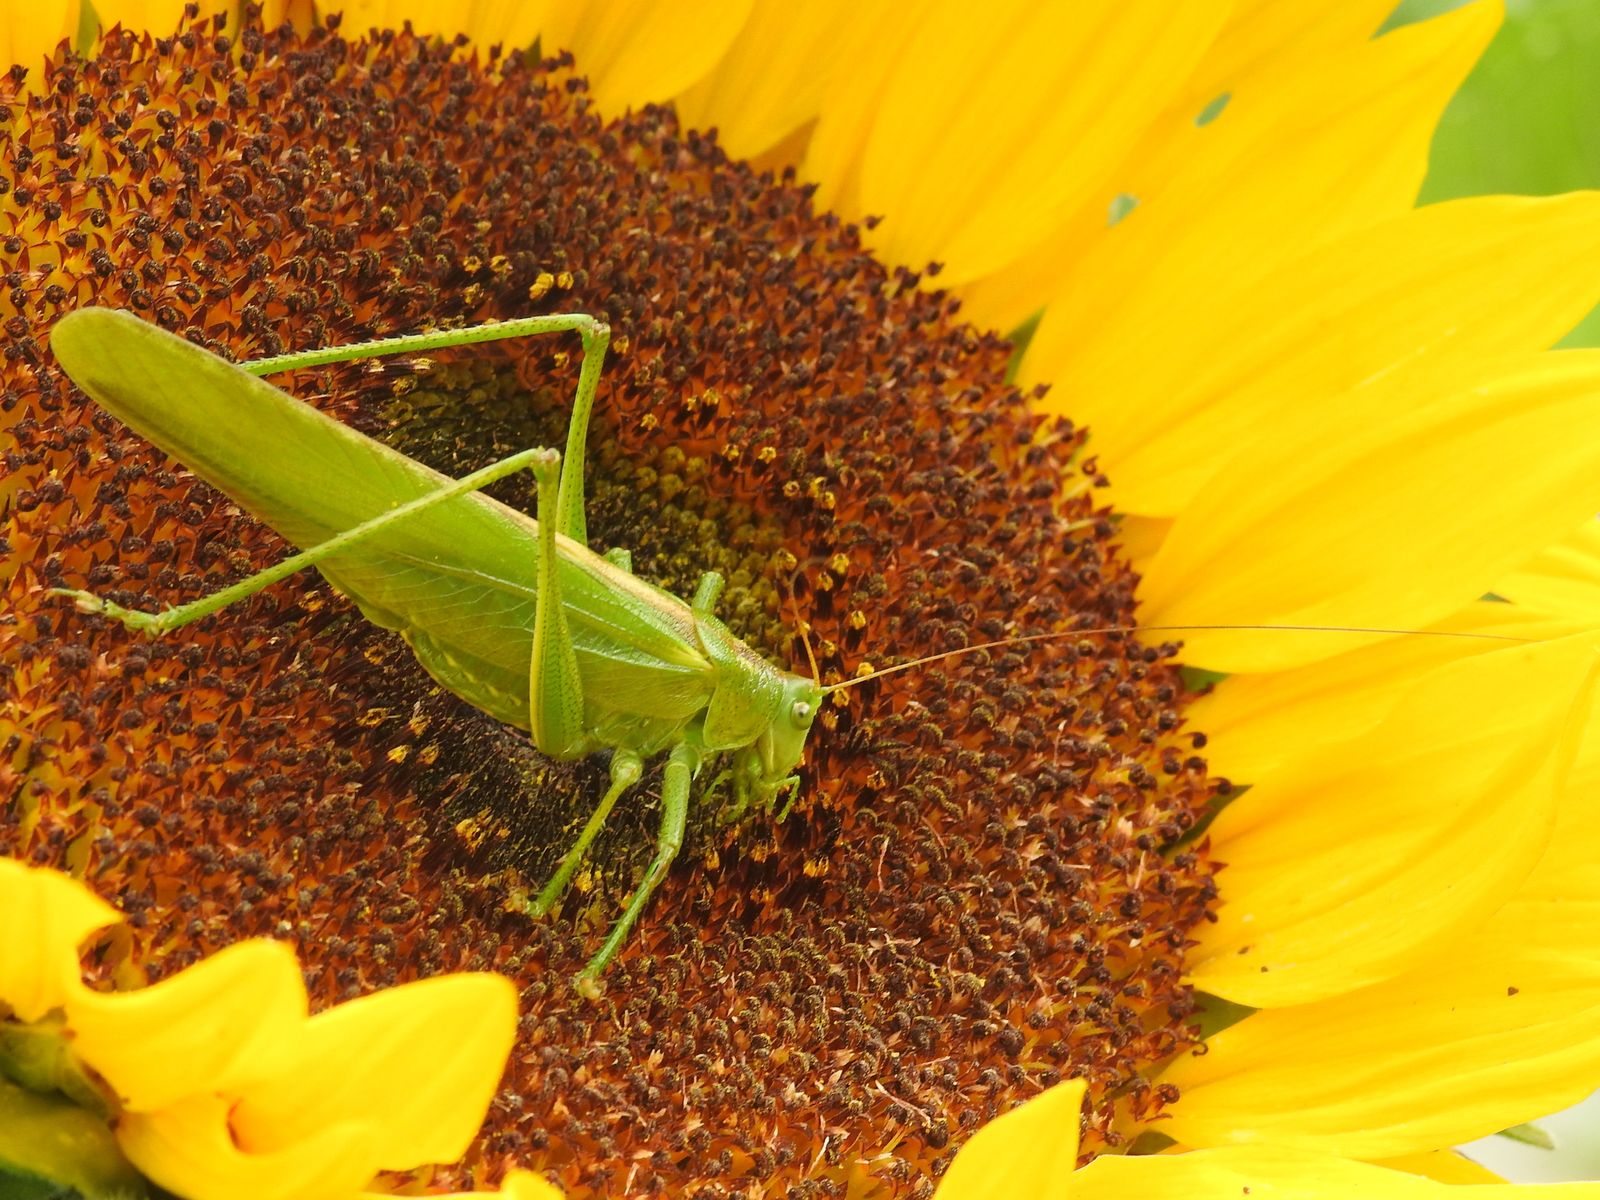
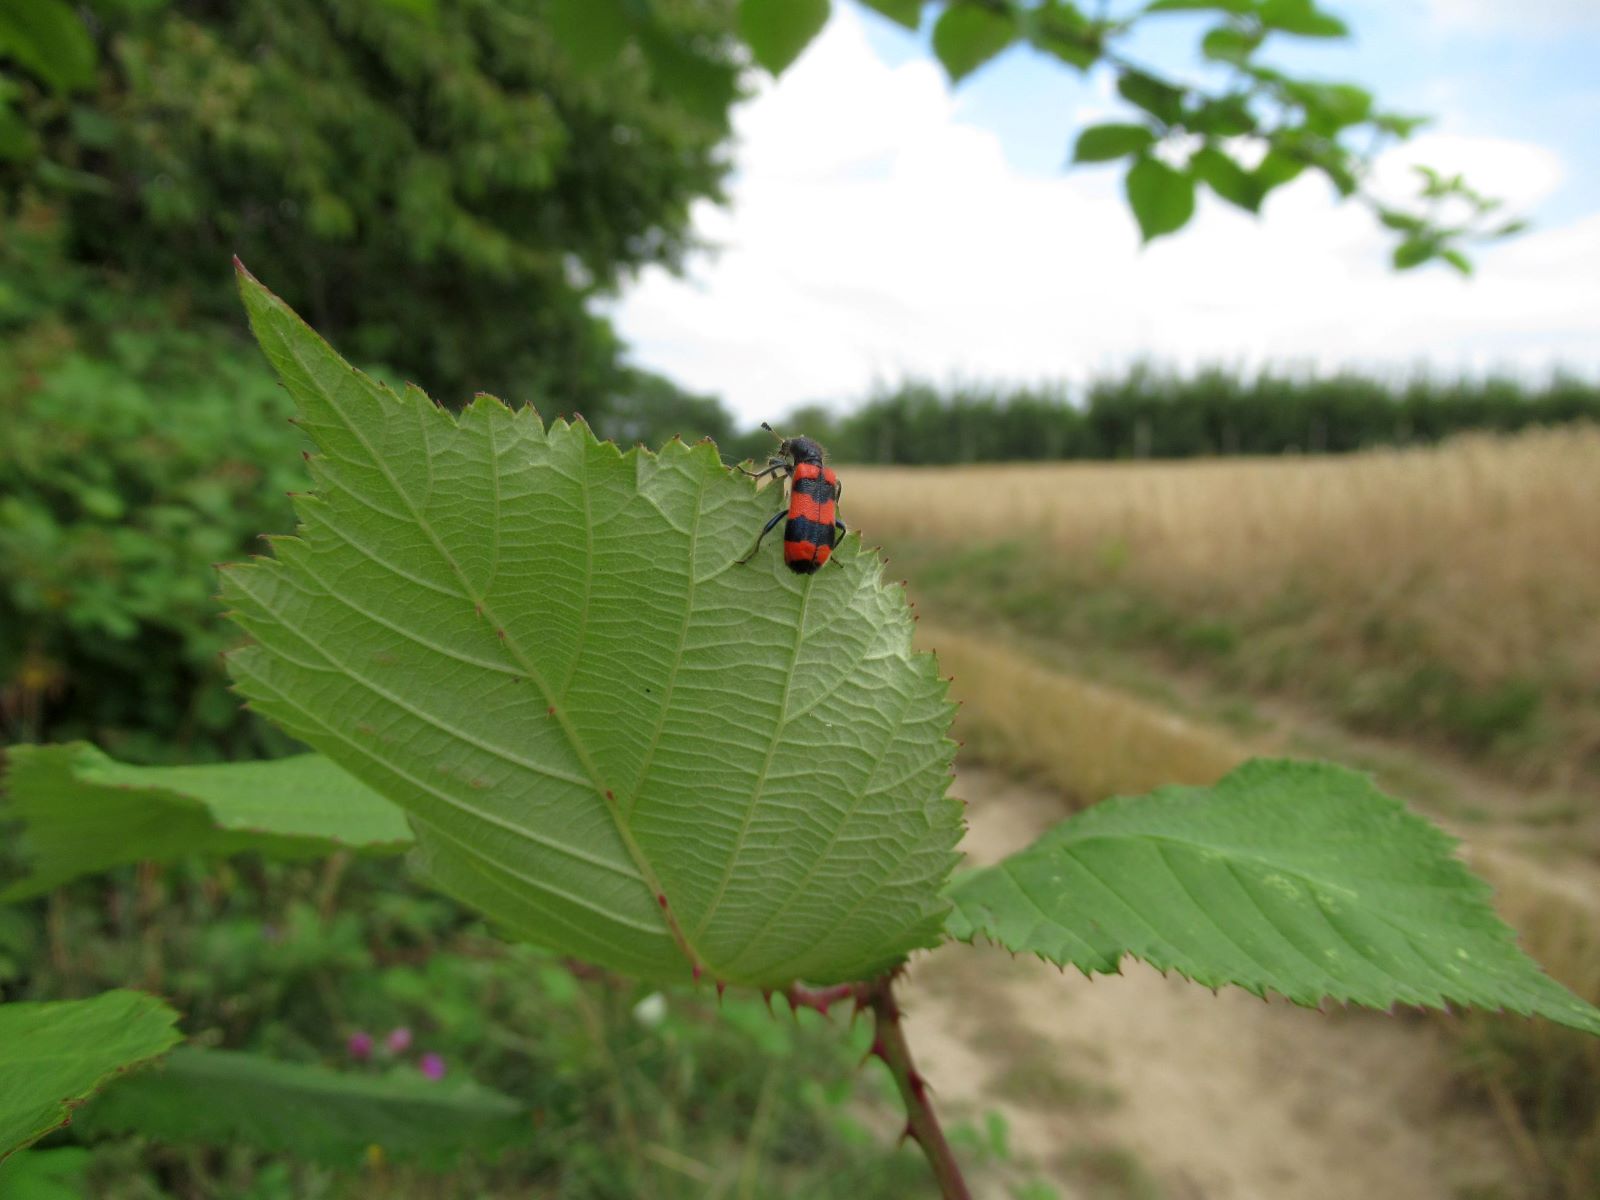
© Charly, all rights reserved. Click for full size.

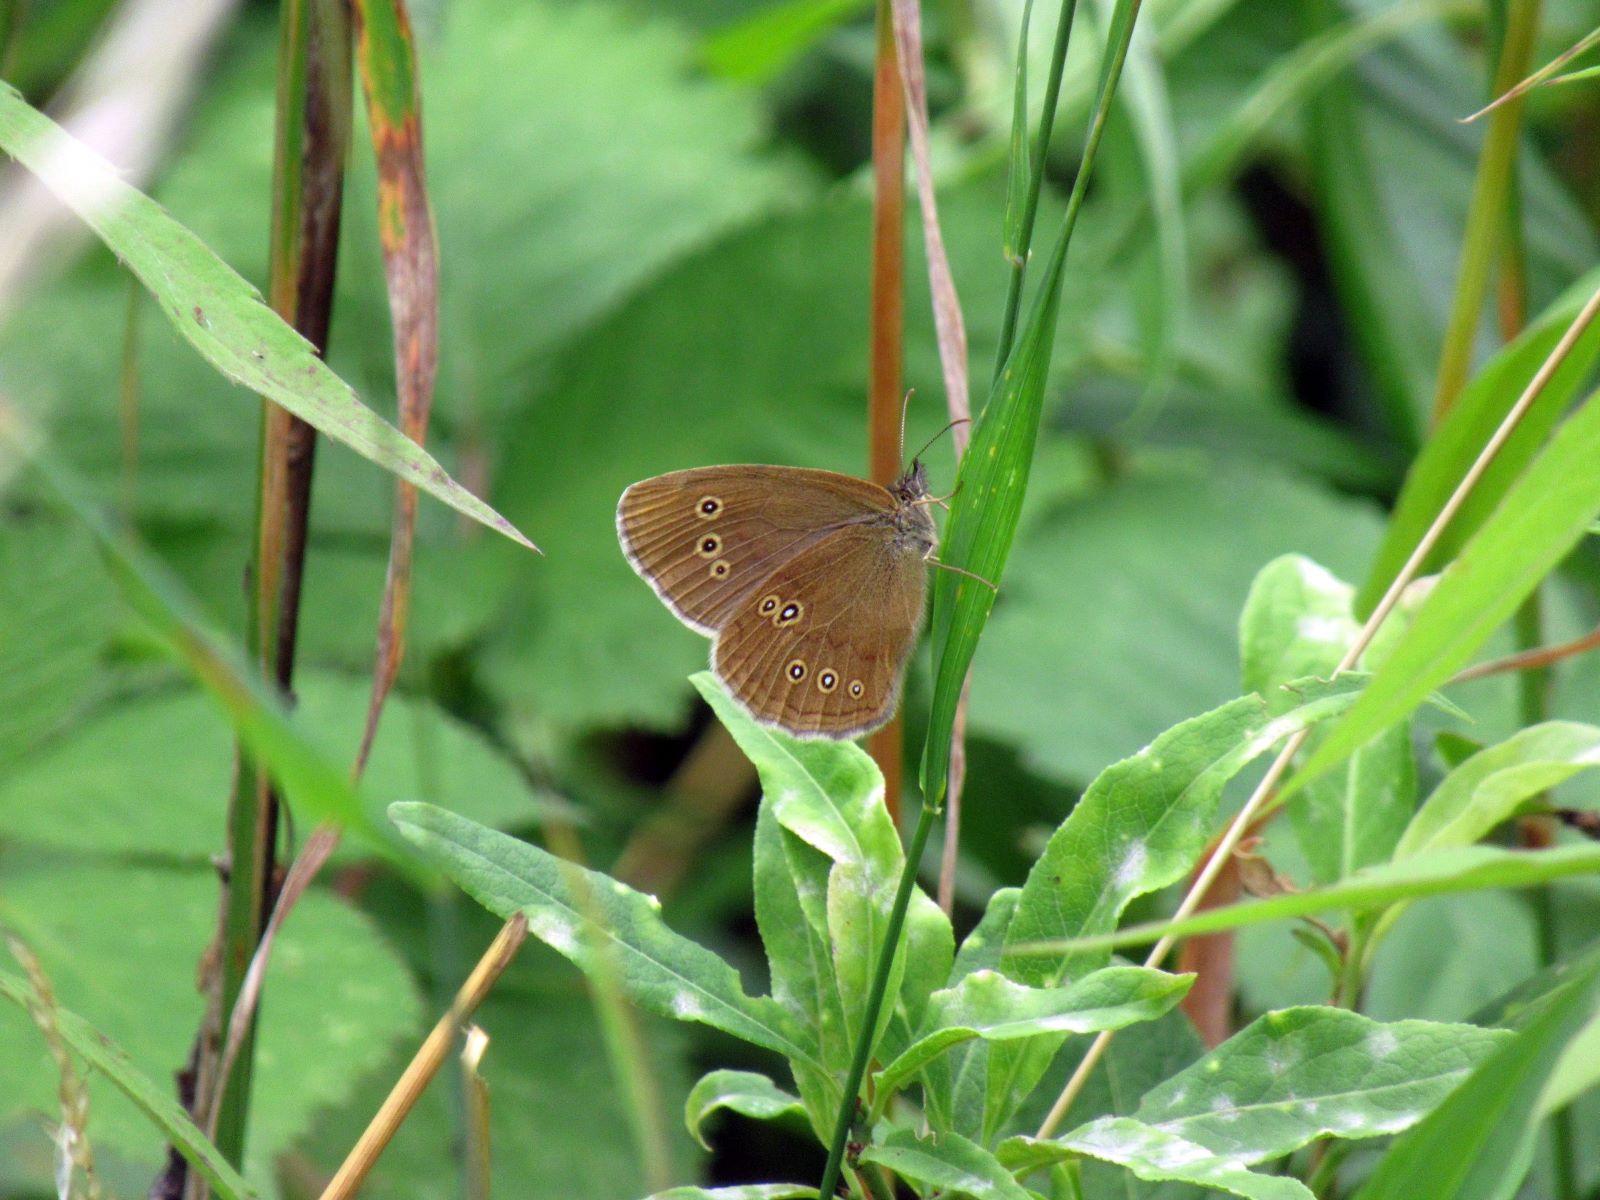
© Charly, all rights reserved. Click for full size.