I hope to use my new sharpmeter to get some knowledge about, well, sharpness. And since I am going to be playing at science whilst doing so, I have decided that I will write down the predictions for my tests. The tests will not be blind, because I will be doing both the sharpening and testing and there will still be some subjectivity to these tests, but nothing is perfect. I am doing these tests to gain some knowledge and I will share that knowledge for free but there will inevitably be bias.
The first test that I intend to perform is the influence of grit on edge sharpness. I think that after establishing the bevel with 180 grit the cutting force will go down significantly with the next steps, but it stops changing significantly above 400 grit. My reasoning for this is the fact that it is possible to get a knife shaving-sharp with ca 320 grit stone and at 320-400 grit usually the wire edge/burr falls off. I think that I have mentioned in the past in comments somewhere – either in Marcus’s place or here – that going above 1000 grit in sharpening makes little sense function-wise, although I cannot find the comment now. I will go up all the way to trizact A6 belt (the equivalent of 2000-2500 grit) in the experiment.
The second test that I intend to take is the influence of the sharpening angle. There was a heated debate between me and Marcus on this issue a while back -click- and I really want to test it (caveat from the first paragraph applies doubly). I expect the force needed to cut the thread to rise exponentially, i.e. slowly from 10-25°, then some more for 30° and even more for 40° and again even more for 45°. I won’t test sharpening angles steeper than 45° because it makes no sense IMO since a 45° sharpening angle means a 90° edge. I know from praxis that knives sharpened at 15°, 20°, and 25° can be shaving-sharp. I do not know much about the 30° angle, since that is extreme and I only sharpen hatchets and axes at that angle and I never even tried to get those to shaving-sharp. They do cut paper though.
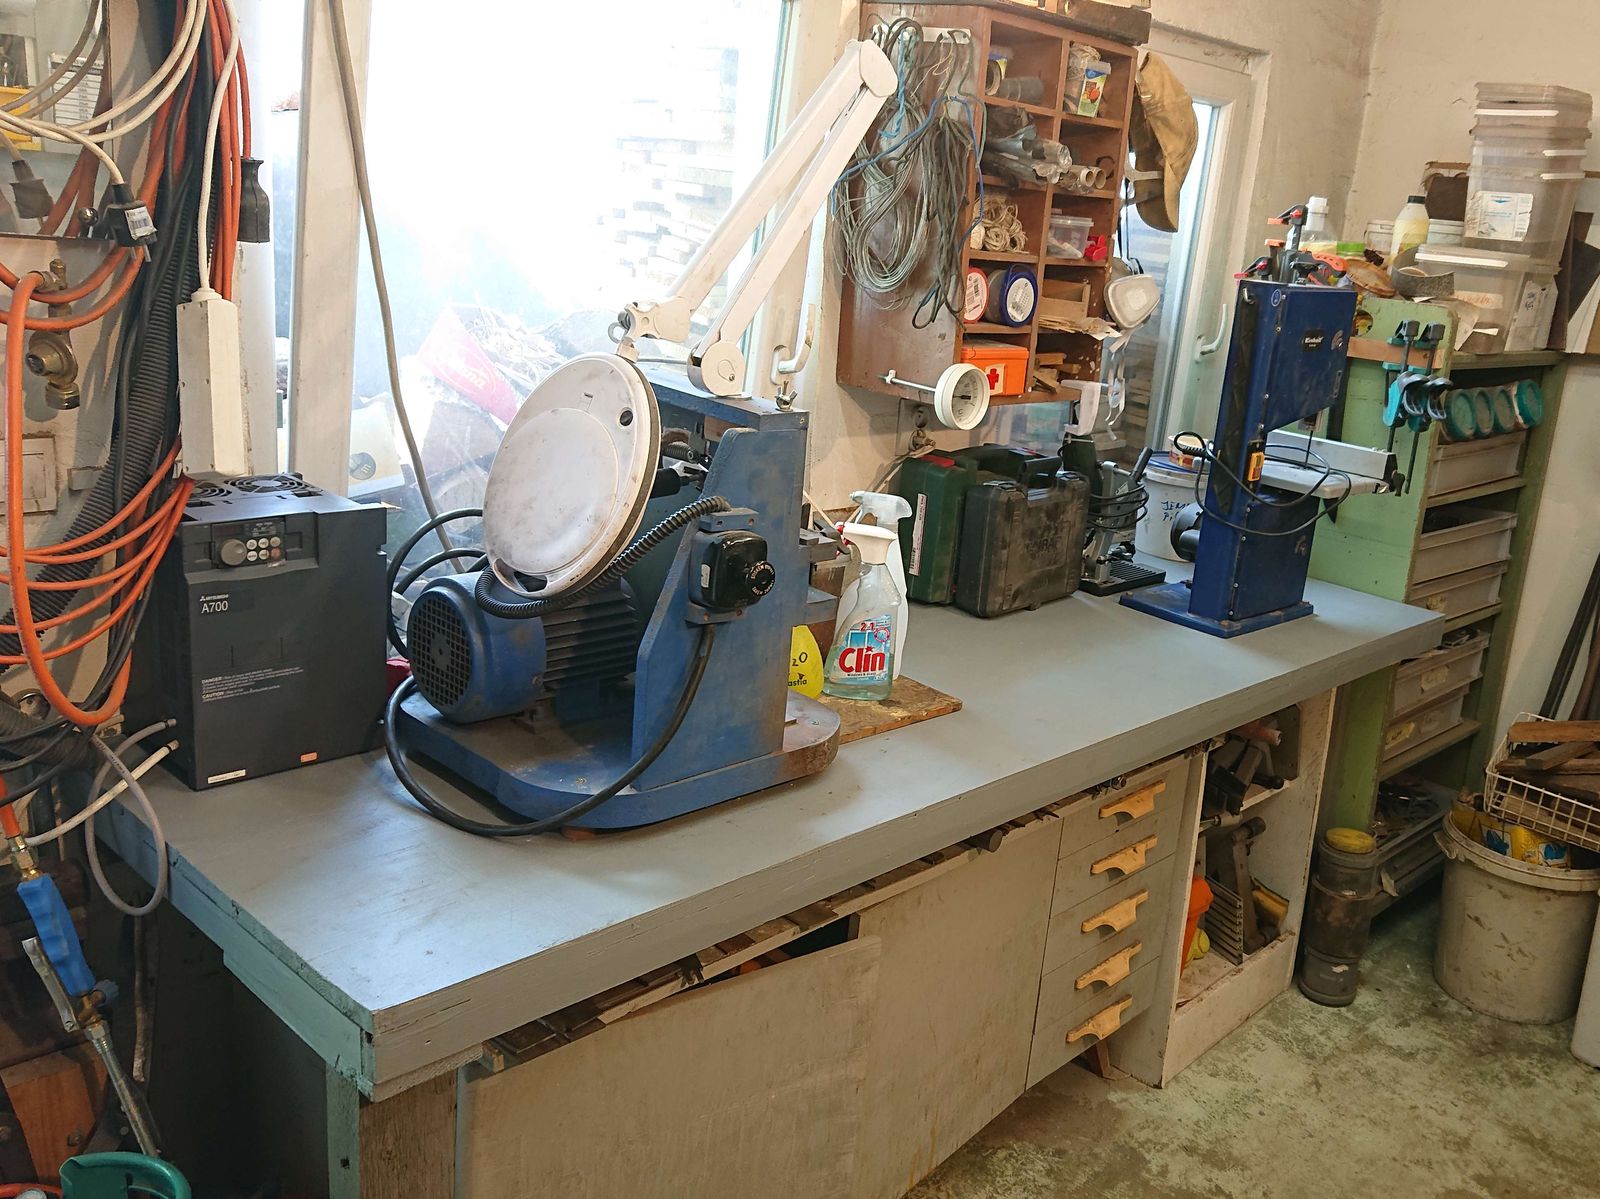
So, sometime this week I shall heat the workshop again, sharpen some steel offcuts (probably pieces of old hacksaws) and go measuring.