Some beautiful fungi from Avalus.

©Avalus, all rights reserved.

©Avalus, all rights reserved.

©Avalus, all rights reserved.

©Avalus, all rights reserved.
Some beautiful fungi from Avalus.
©Avalus, all rights reserved.
©Avalus, all rights reserved.
©Avalus, all rights reserved.
©Avalus, all rights reserved.
I’ve got 2 gorgeous photos from Nightjar to share today.

© Nightjar, all rights reserved. Click for full size.

© Nighjar, all rights reserved. Click for full size.
This species is not native where I live, it migrated all the way here from the Mediterranean late in the 20th century. I have never expected to see it in my garden since it still requires a generally warmer climate than what used to be normal here. I guess we can chalk that up to global warming – and this year’s summer was uncharacteristically humid and cold, almost like it used to be when I was a kid.
Pictures below the fold, beware of an intimidating and beautiful spider. This specimen is not particularly big – the abdomen is just about 7-8 mm in length. Maybe she is not fully grown yet. [Read more…]
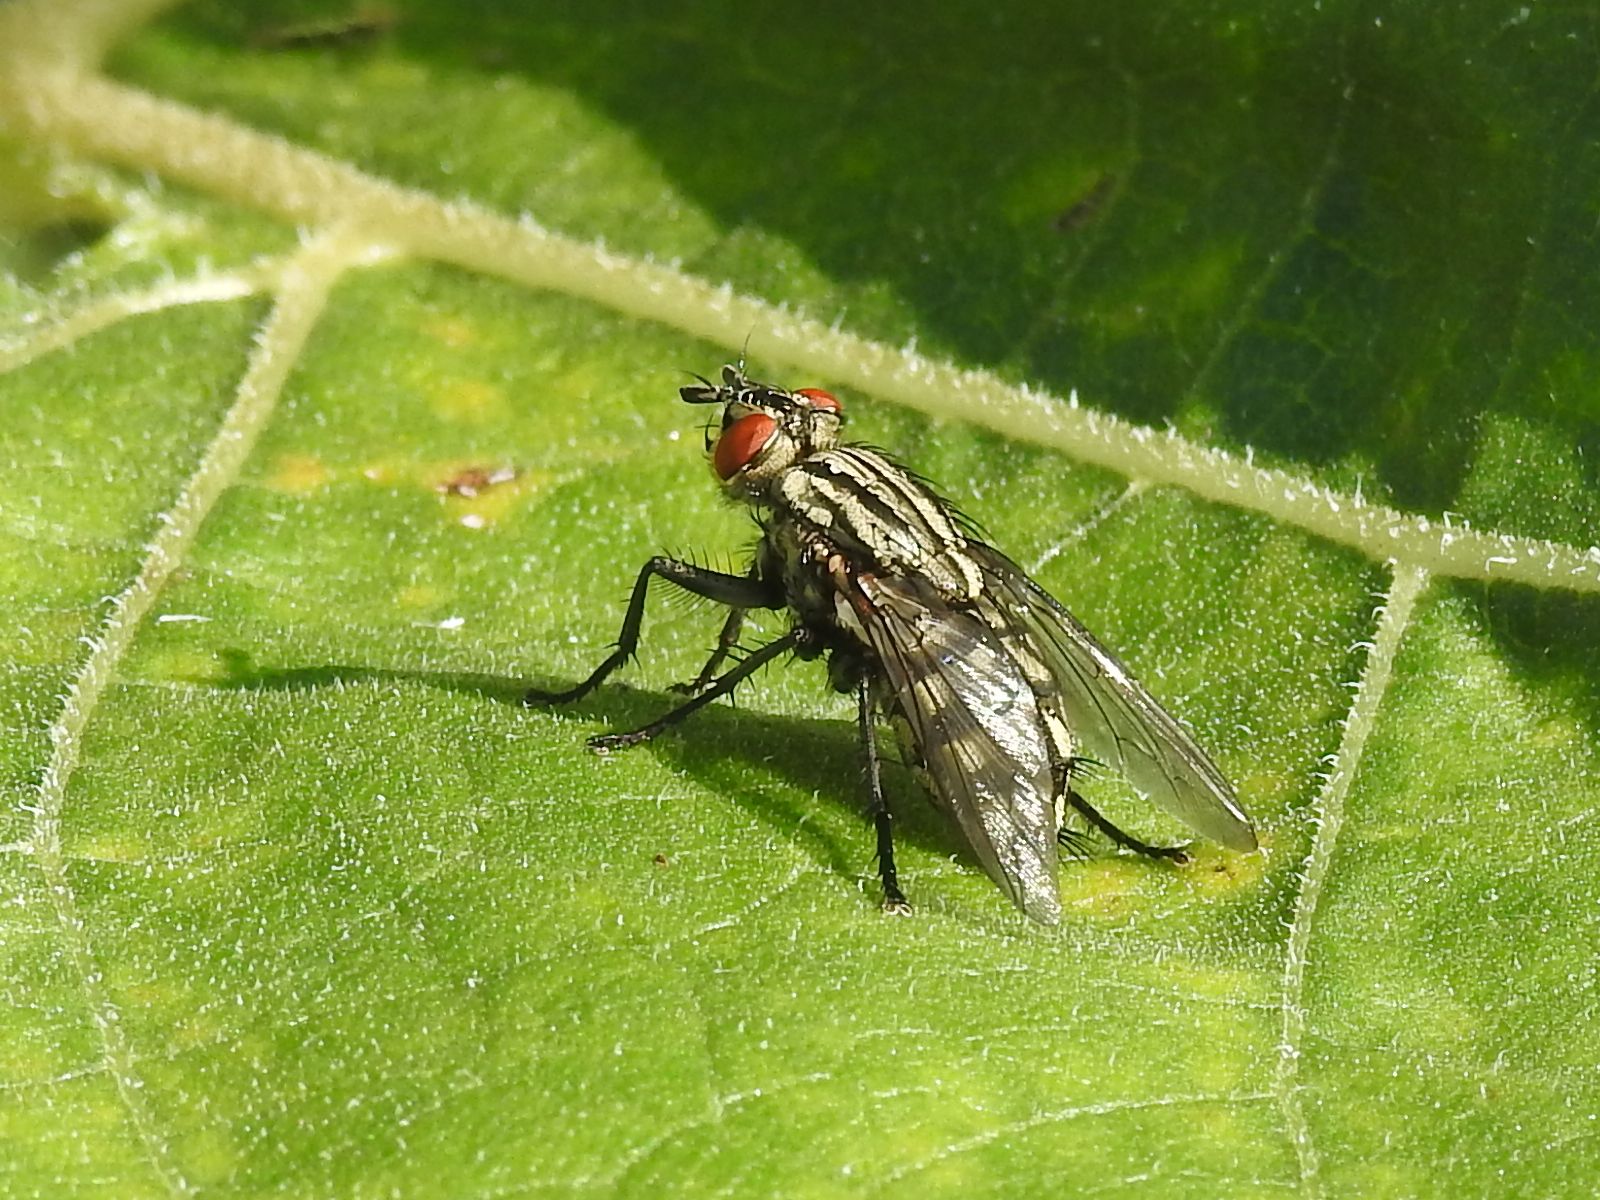
I have no clue what species of fly this is, but it looks sleek and dynamic.

© Charly, all rights reserved. Click for full size.

© Charly, all rights reserved. Click for full size.
Flies are often unhygienic, pestilence spreading, and in many ways annoying buggers. But I do admit that I like how they look.
© Charly, all rights reserved. Click for full size.

© Charly, all rights reserved. Click for full size.
© Charly, all rights reserved. Click for full size.
I did not feel like working on knives today, so I have decided to make the measuring pin from brass. It took me rather longer than I expected because I had to work out several things on the fly and there were therefore several failed attempts and repairs. But I managed it in the end and the result looks kinda cool. And it works just as well as the wooden one, in addition to being ever so slightly more precise.

© Charly, all rights reserved. Click for full size.
The bent brass pin on the right is screwed and glued into the lower half of the pin and goes through a hole in the upper half where it has slight (several tenths of a mm) clearance.

© Charly, all rights reserved. Click for full size.
Here you can see the upper jaw, where a ground wood-screw holds the spring tightly in place. In combination with the bent brass pin, this holds both jaws fixed against each other so the tips do not misalign (too much) when used.

© Charly, all rights reserved. Click for full size.
On the underside is no screw. Originally I thought that two bent brass pins in the back portion will do the trick. But it did not work at all, it turns out that make something like that precise enough by hand is impossible (for me at least). When you look closely at the pictures, you will see that there are plugged holes where that second pin was. If I were making another one, I would try to ditch the guiding pin altogether and fix both jaws to the spring with a screw. Whether it would work better or not I do not know, since I stopped tinkering as soon as I got a working product.
And the second tool that I have made today is a center scribe.

© Charly, all rights reserved. Click for full size.
It is a piece of black locust wood onto which are fixed two small ball bearings. The axes are just press-fitted both into the wood and into the ball bearings. Black locust is strong enough to hold and if it splits, I will make the body from aluminium, this was just a proof of concept.

© Charly, all rights reserved. Click for full size.
Here you can see the other side. The wood-screw goes all the way through and just the tip pokes out between the ball bearings. Should it turn out necessary, I will eventually replace the screw with a re-ground drill bit, but for testing, a screw was a readily accessible and easily applicable piece of hardened steel.

© Charly, all rights reserved. Click for full size.
To scribe the center on a flat bar (in the future on an outlined blade) it is simply inserted between the ball bearings so it rests firmly on both of them and on the screw tip. When dragged through (for example downwards on the photo, assuming the tip of the tang is down), the screw tip inscribes a line that is very close to the center. Not perfectly, but I can also scribe a second line by dragging the piece of steel through the assembly in the other direction (putting the tang up in the photo and dragging that way). These two lines very close to each other are sufficient enough for me to grind the blades symmetrically, after all, it is better than what I have used so far.
The August pattern for the plush of the month was a borb, a combination of bird+orb. I didn’t want to spend a lot of money on fabric, but wanted to use up some of my stash and found grey and orange, so I decided to go for a cockatiel, which meant I only needed to order a bit of yellow plush. Also, cockatiels are cute and we used to have them when I was a kid.
I terms of sewing, this was much easier than the dearest deer. The only downside is that I looked like I’d blown up a chinchilla.
Welcome Fluffy!

©Giliell, all rights reserved

©Giliell, all rights reserved

©Giliell, all rights reserved
The eyes are actually made from epoxy resin. When the resin was nicely sticky I put two old buttons into it so I could sew them on. By the way, fluffy is filled with what used to be three 40×40 cm Ikea cushions (Cheaper than buying filling, because everything marked as “craft supplies” gets at least a 200% price hike)

©Giliell, all rights reserved
In these pics, Fluffy is sitting where Fluffy is supposed to be: on my couch so I can lay my head against her. But you are only allowed to guess once: She got borbnapped by a smart kid who knows exactly how to make eyes at her mum.

©Giliell, all rights reserved
At least she found a friend…
When grinding blades, it is important to have the ridges, fullers, and similar as symmetrical as possible, especially before quench. An asymmetrical blade has a much higher probability of warping or bending in the quench.
On an unhardened blade, one can scribe markings with a scribing needle and/or compass, but once the blade is hardened, that is no longer possible. And I still want my blades to be at least mostly, even though not perfectly, symmetrical too.
I used to measure the symmetry with a help of a folded piece of paper that I have cut with shears so that it has two perfectly aligned points. When folded over the blade, I could easily-ish check if the points align on the ridge on both sides and thus check where I shall grind more during the polishing to keep the symmetry.
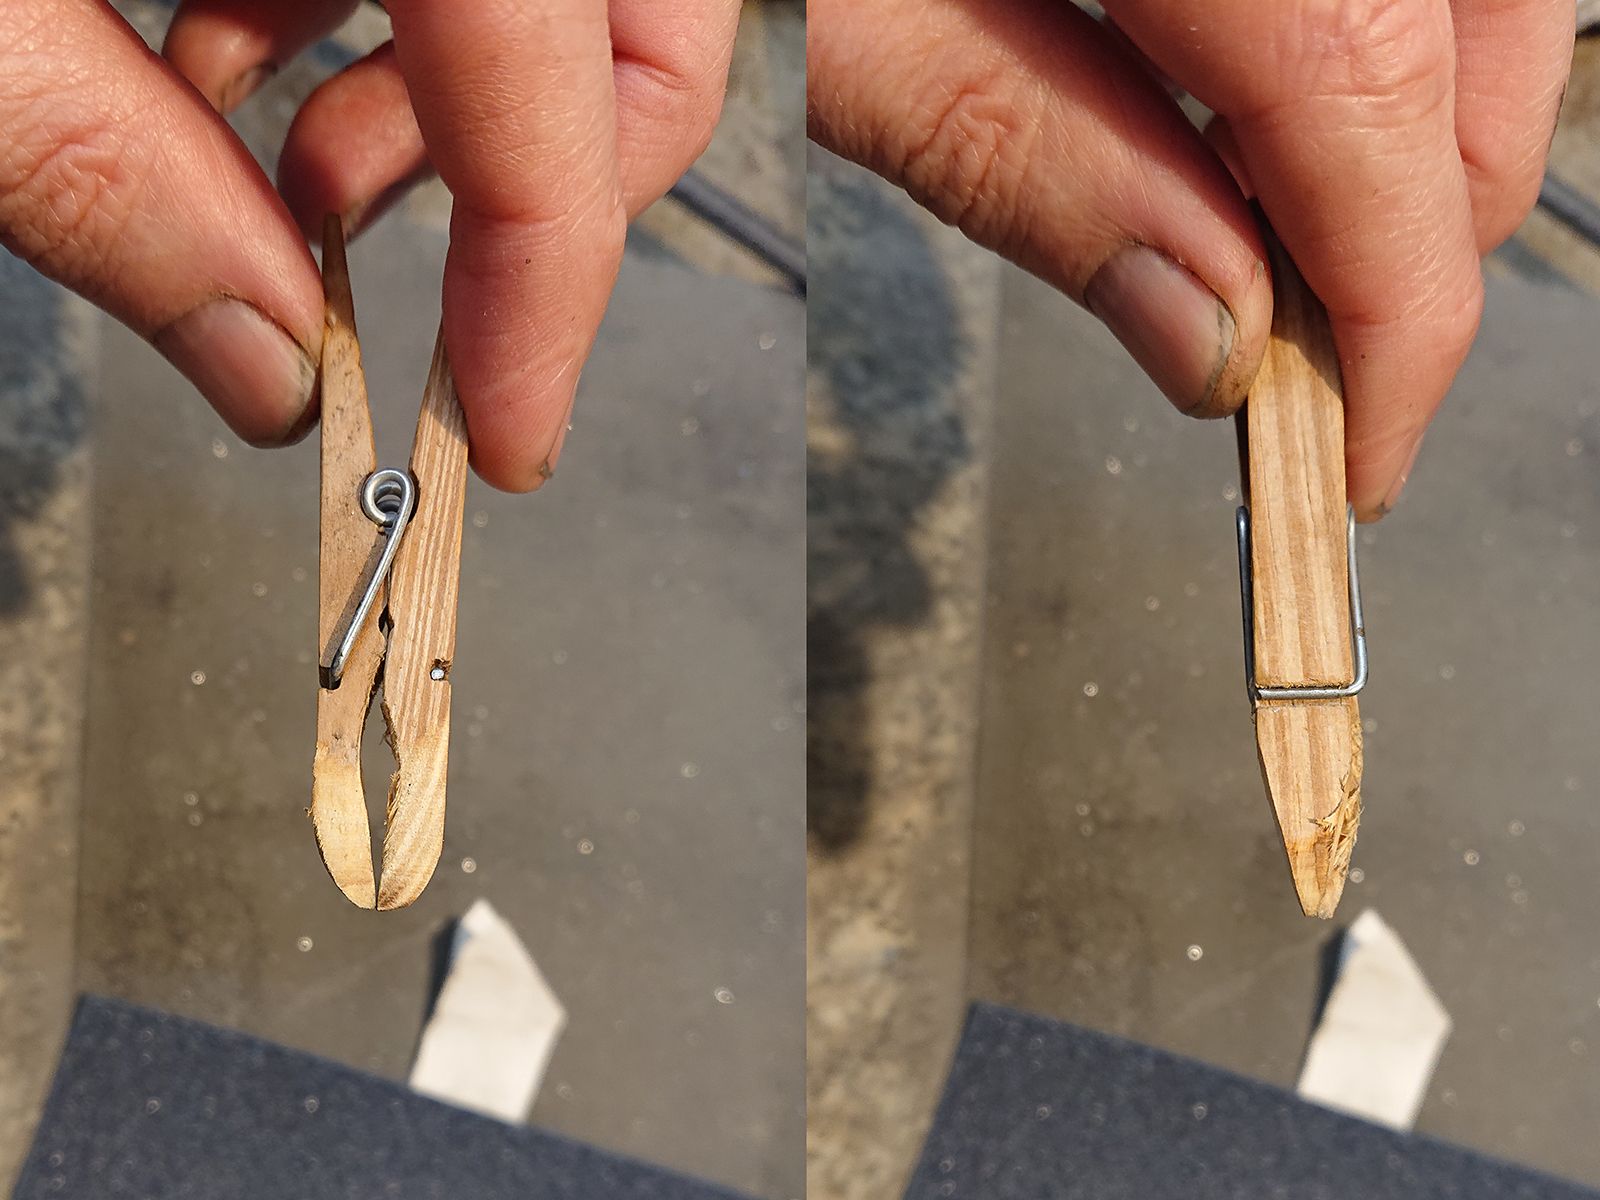
But the pieces of paper get wet and manky in the process, and I kept of course losing them so I had to make new ones over and over every day and sometimes several times a day. And today I finally got an idea how to replace them with something much better and hopefully permanent. I took one wooden clothespin and I ground it in about 5 minutes to sort of mini-calipers that can be clipped onto a blade
© Charly, all rights reserved. Click for full size.
This pin is made from softwood so I could not make the point too refined, but I do not need to. I want to make my blades mostly symmetrical, not perfectly symmetrical. And anyhoo, I shall, in the future, probably make a better and more precise one out of brass, this is just a proof of concept.
And it works well, here you can see it in use. It shows that the ridges on both sides are within few tenths of a mm apart, and that is good enuff for me, that is a difference that cannot be seen with the naked eye and is not easy to measure even with calipers.

© Charly, all rights reserved. Click for full size.
.
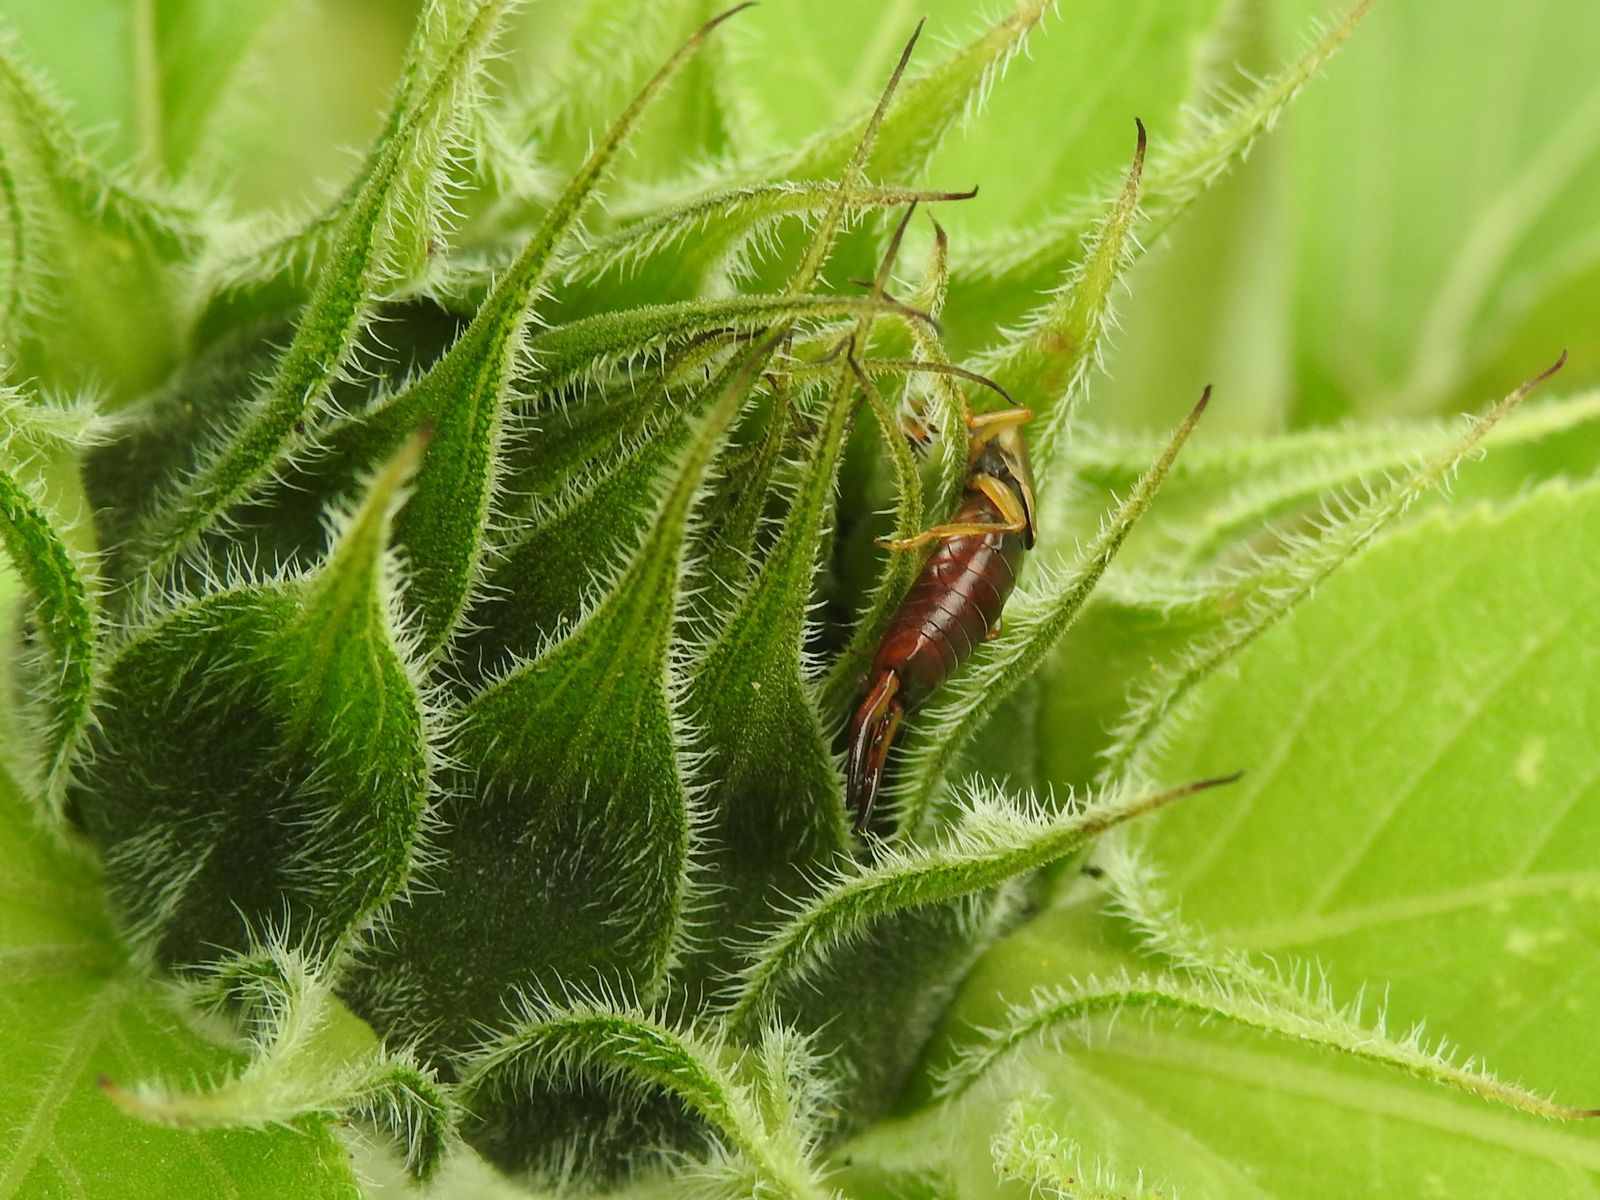
Earwigs are not normally associated with flowers, but they can occasionally hide in the flower buds if they provide enough dark end enclosed space to hide in. This one did not manage to completely hide because this bud is healthy and still well enclosed with leaves. Some other flower buds were badly damaged by slugs – hollowed out in the middle – and those were positively filled with earwigs to the brim.
I do not know why many people fear earwigs, they are completely harmless and very shy animals. When disturbed, their only worry is to scamper off somewhere secluded and dark as soon as possible. They do not climb into ears to eat our brains, but they do eat mites and aphids, so they are an asset in the garden.
© Charly, all rights reserved. Click for full size.

© Charly, all rights reserved. Click for full size.
Today was a blade quenching day because according to the weather forecast, it might have been the only sunny day in a while. Luckily, I have managed to finish a batch of 8 blades to a sufficient state for hardening so I set out to do it first thing in the morning. And when I was taking fireclay bricks – not for fireplace, just to hold the quenching oil receptacle upright and steady – this fellow was hiding from yesterdays deluge in a crack. It got lucky I did not squish it flat when taking the bricks.
When I put it in the sun, it has spread its wings, soaked in some warmth, and buggered off pronto so I only managed to snap one picture with my phone. But it came out quite well, I think.

© Charly, all rights reserved. Click for full size.
It is small tortoiseshell Aglais urticae. These beauties justify the existence of stinging nettles.
I’m pleased to present another fancy bat drawing by Joseph Zowghi. I love the way this artist makes bats look so gentle and appealing, as well as the meditative element the artist creates through repetition.
It’s based on Pteropus conspicillatus, the spectacled flying fox of Australia.©Joseph Zowghi, all rights reserved
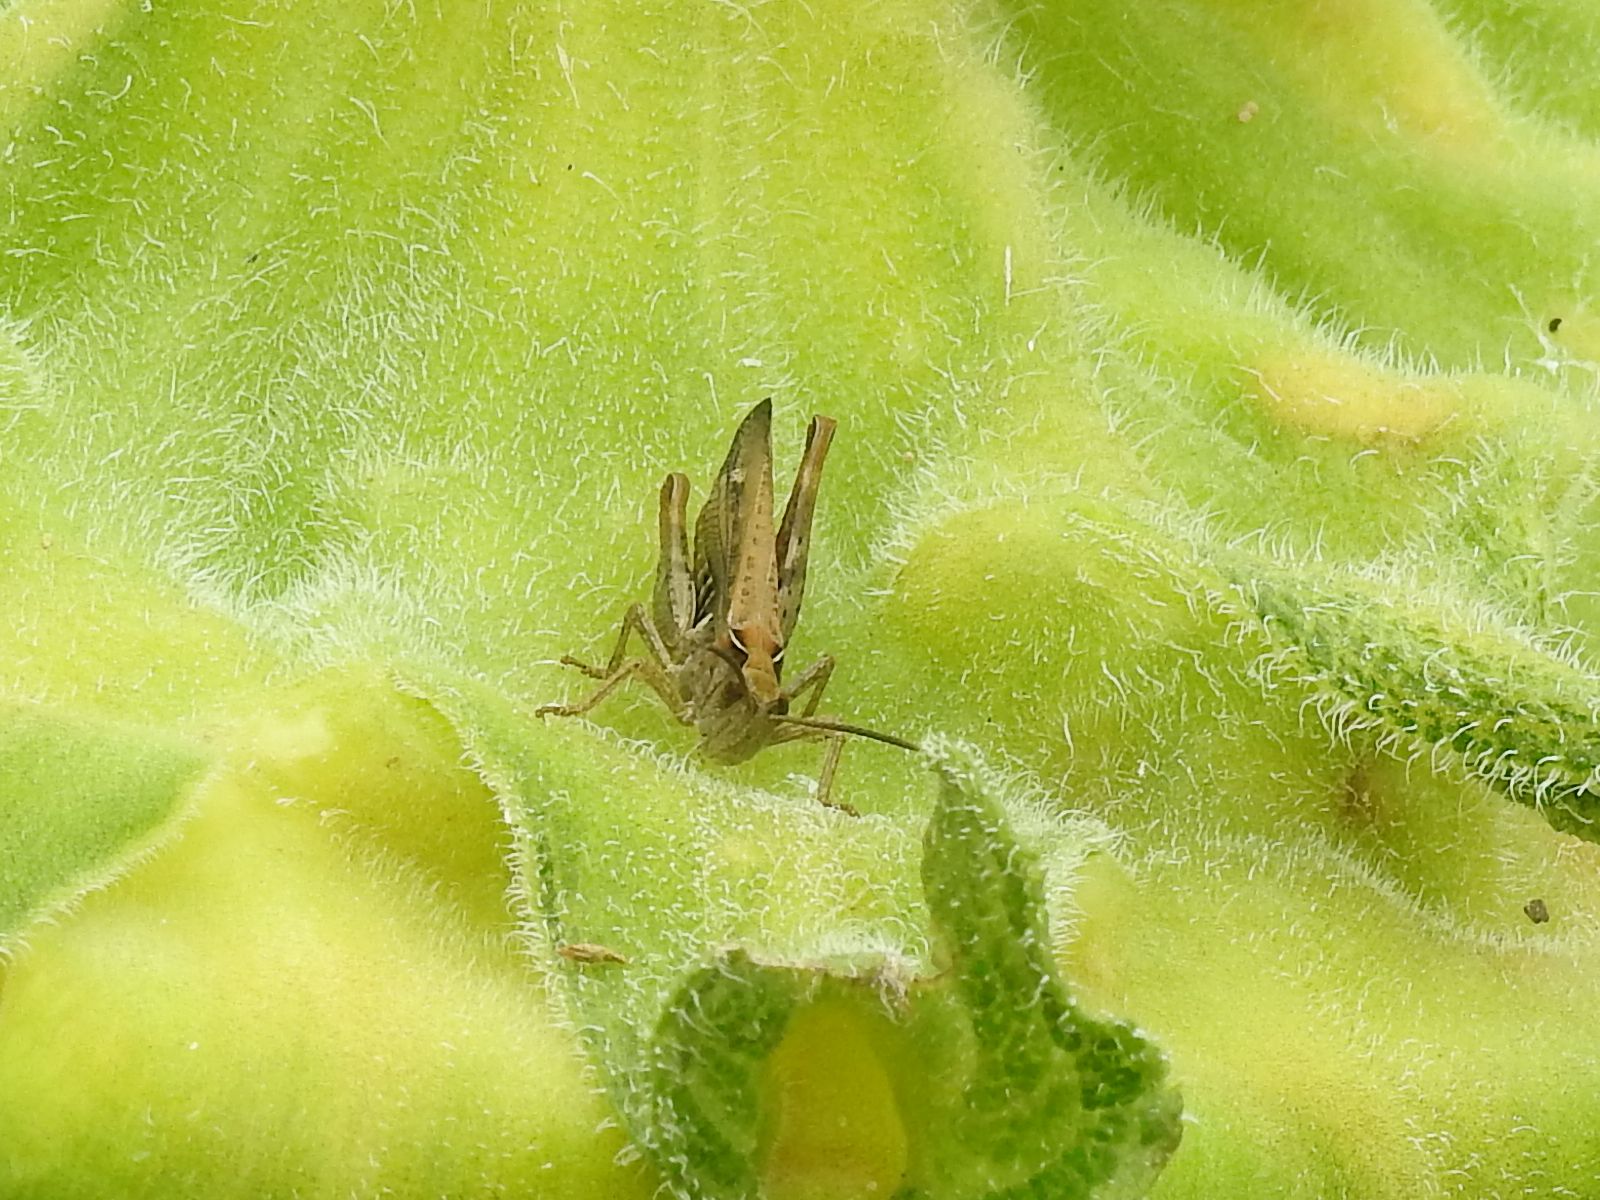
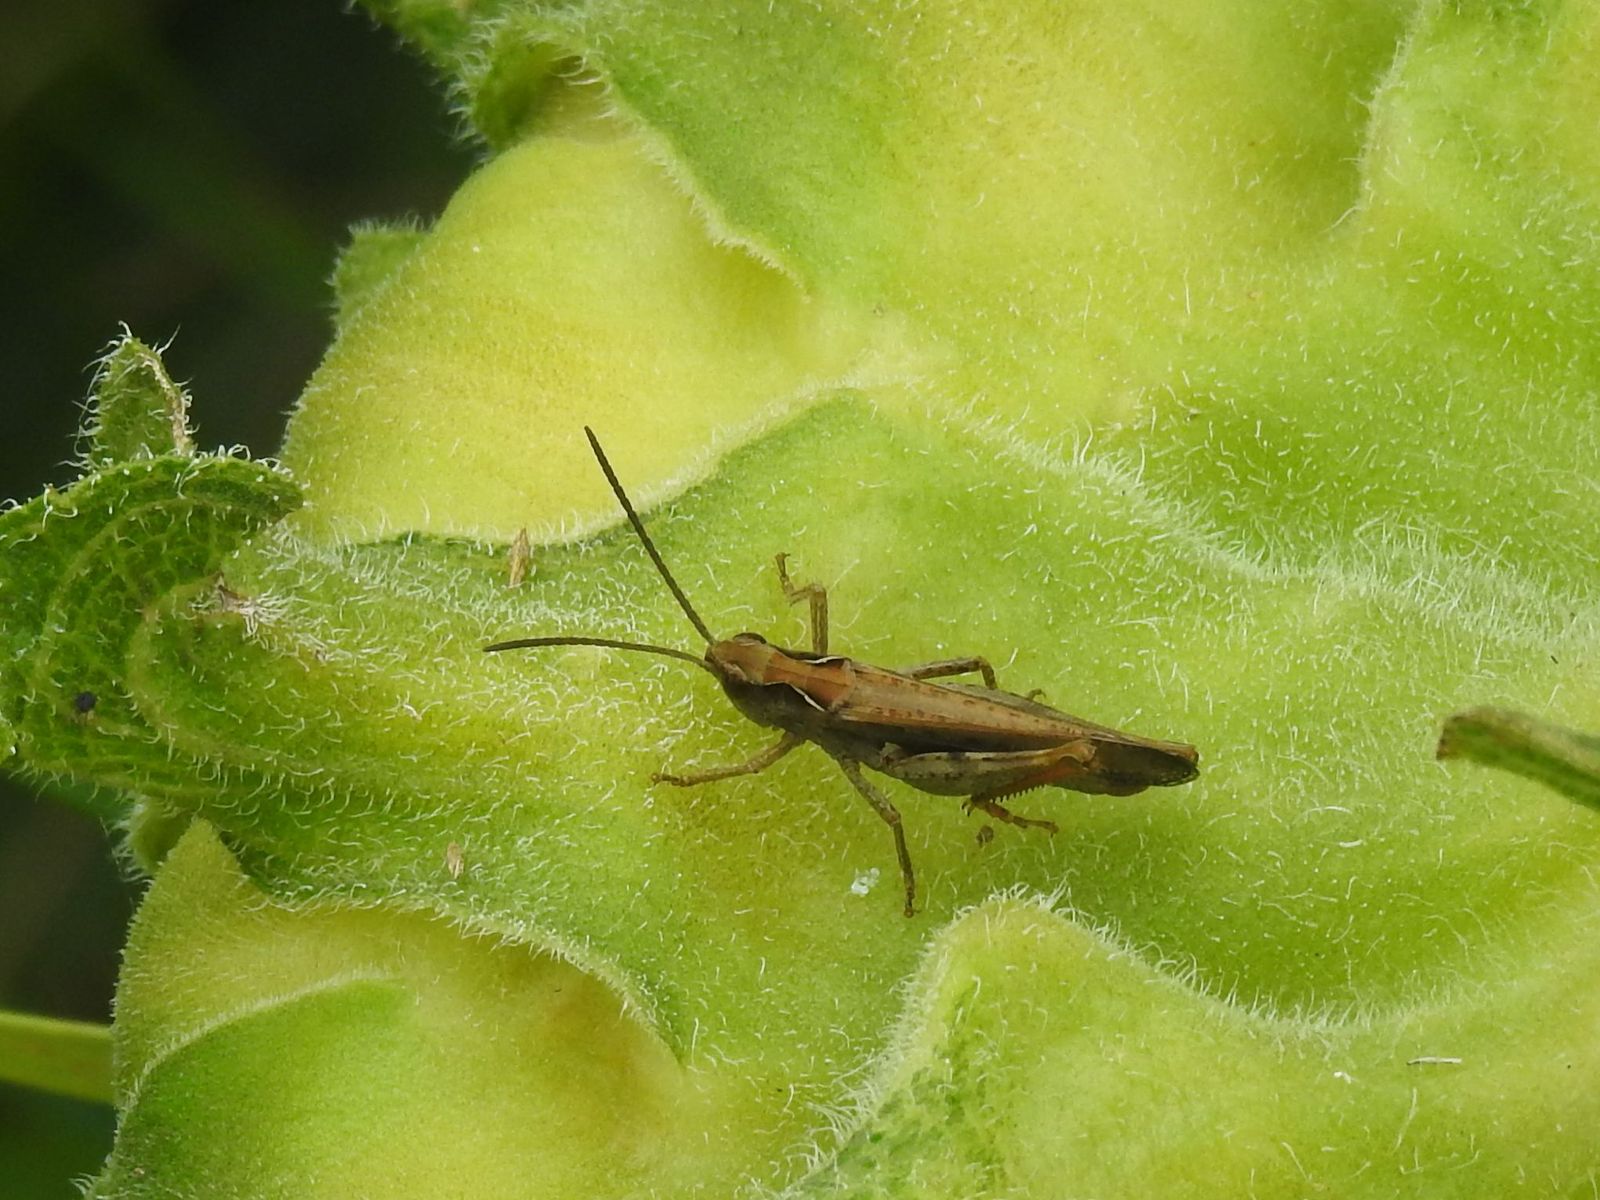
There is plenty of grasshoppers around, and technically they are a pest. However, unlike slugs, I have never noticed them do any noticeable damage on crops, local species seem to prefer grass over anything else.
This individual is the only one that I have seen sitting – just sitting, not munching – on one of the sunflower plants. And it stayed long enough in one place to get shots from different angles.

© Charly, all rights reserved. Click for full size.
© Charly, all rights reserved. Click for full size.
© Charly, all rights reserved. Click for full size.
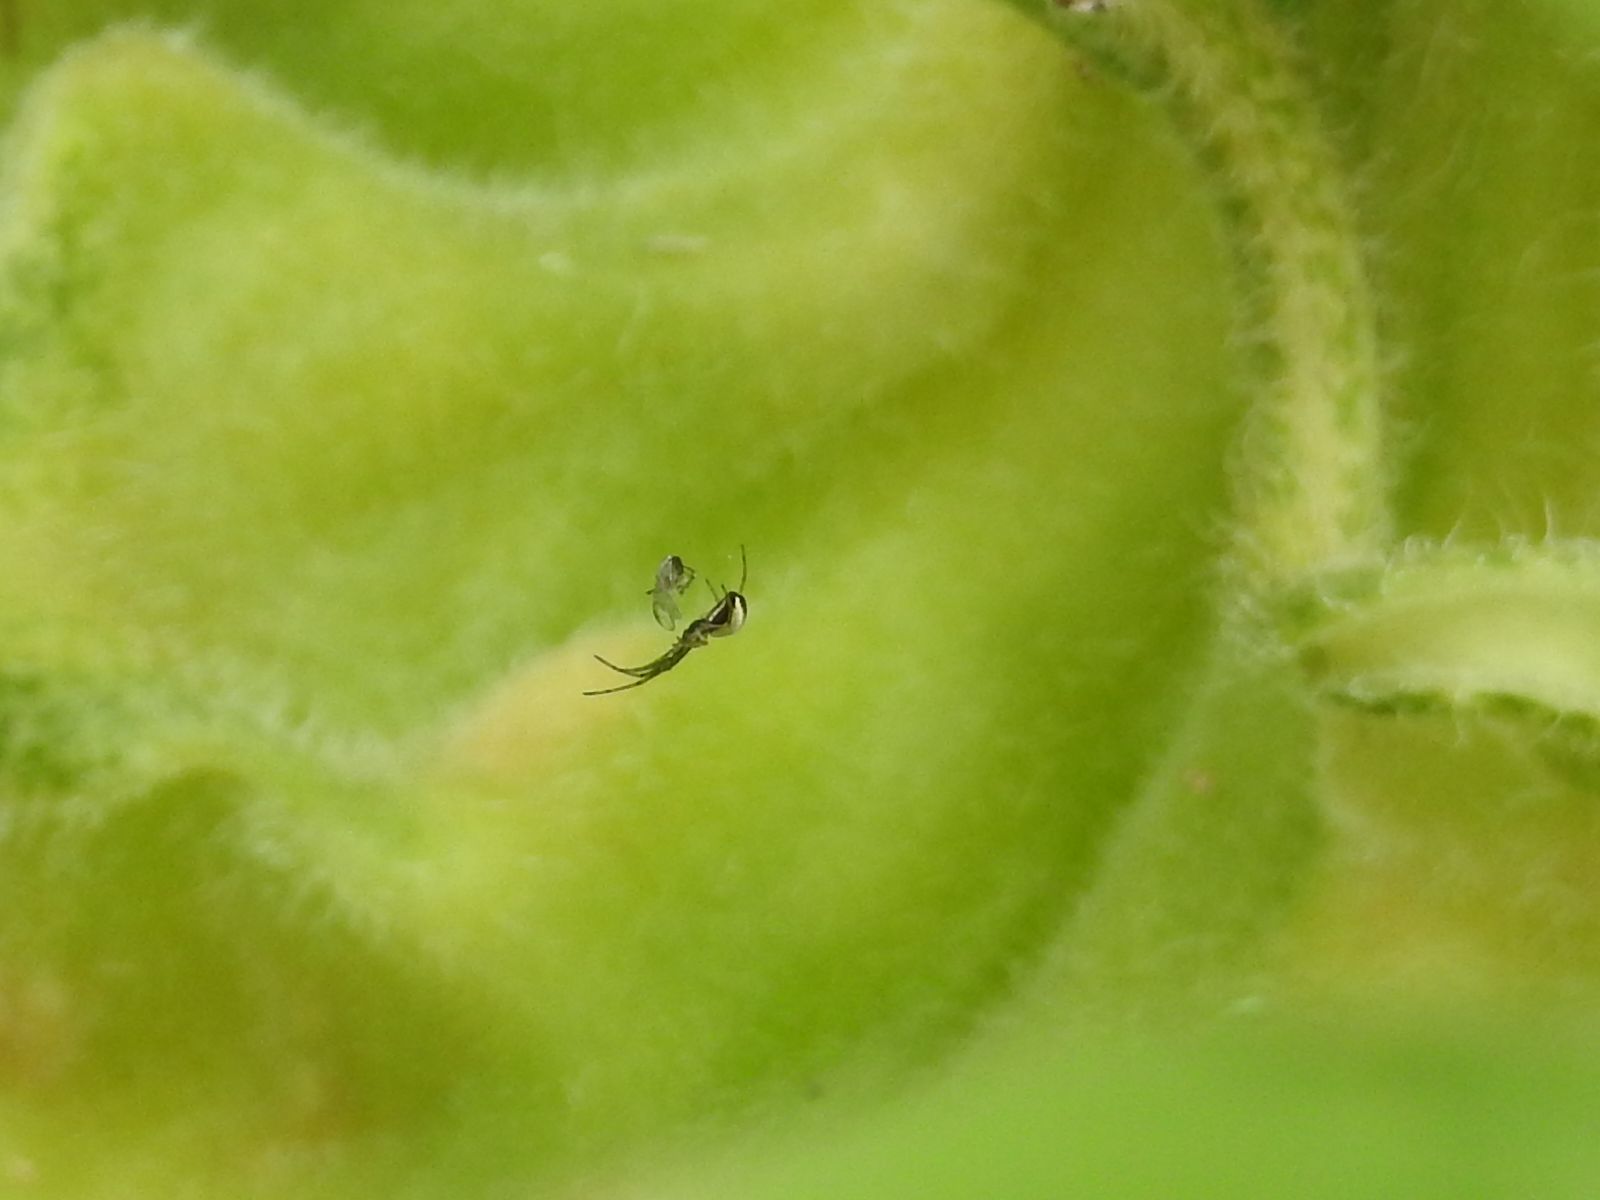
I was not trying to photograph this one. I did not even see it – I was aiming for a grasshopper. But the camera autofocused on this tiny spider who seems to have caught an even tinier insect.
© Charly, all rights reserved. Click for full size.
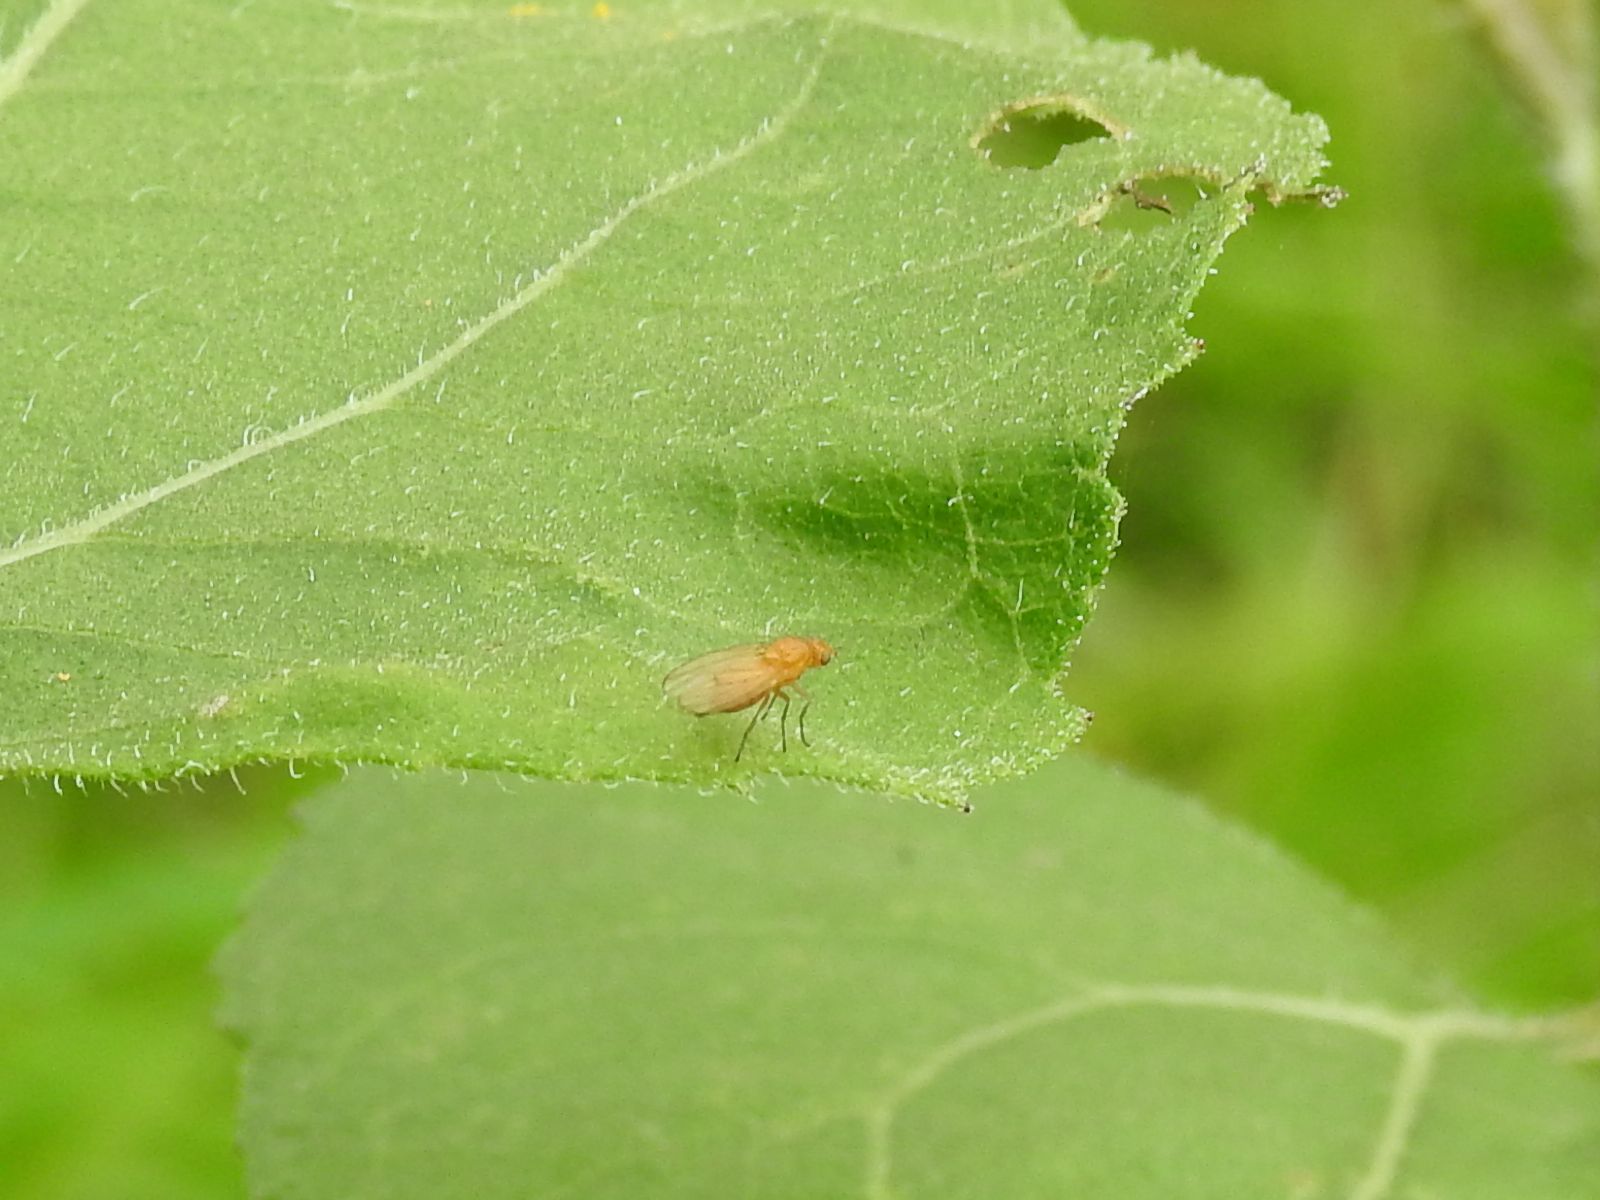
There was a beautiful, big facehugger, bright yellow like a bead. But it was raining and the next day I could not find it. I only found this tiny one, hiding behind one of the petals.

© Charly, all rights reserved. Click for full size.
