From Giliell, click for full size!


© Giliell, all rights reserved.
From Giliell, click for full size!
© Giliell, all rights reserved.
Bad Vulture shots, click for full size.


© C. Ford.

©voyager, all rights reserved
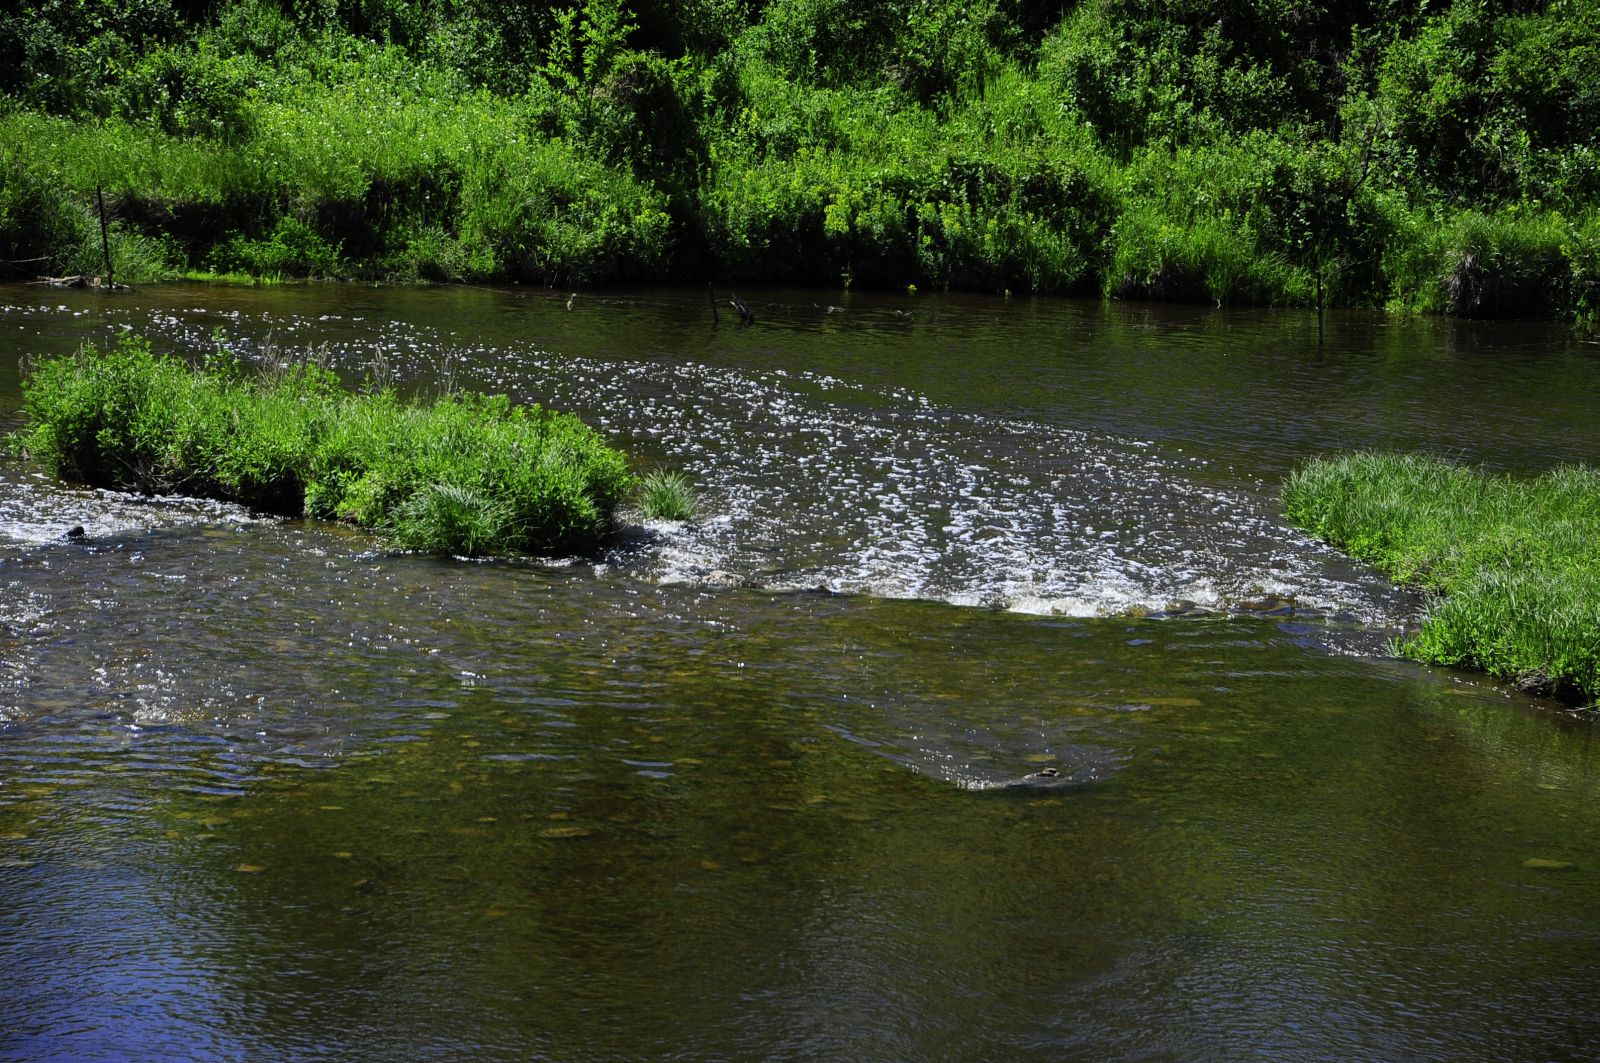
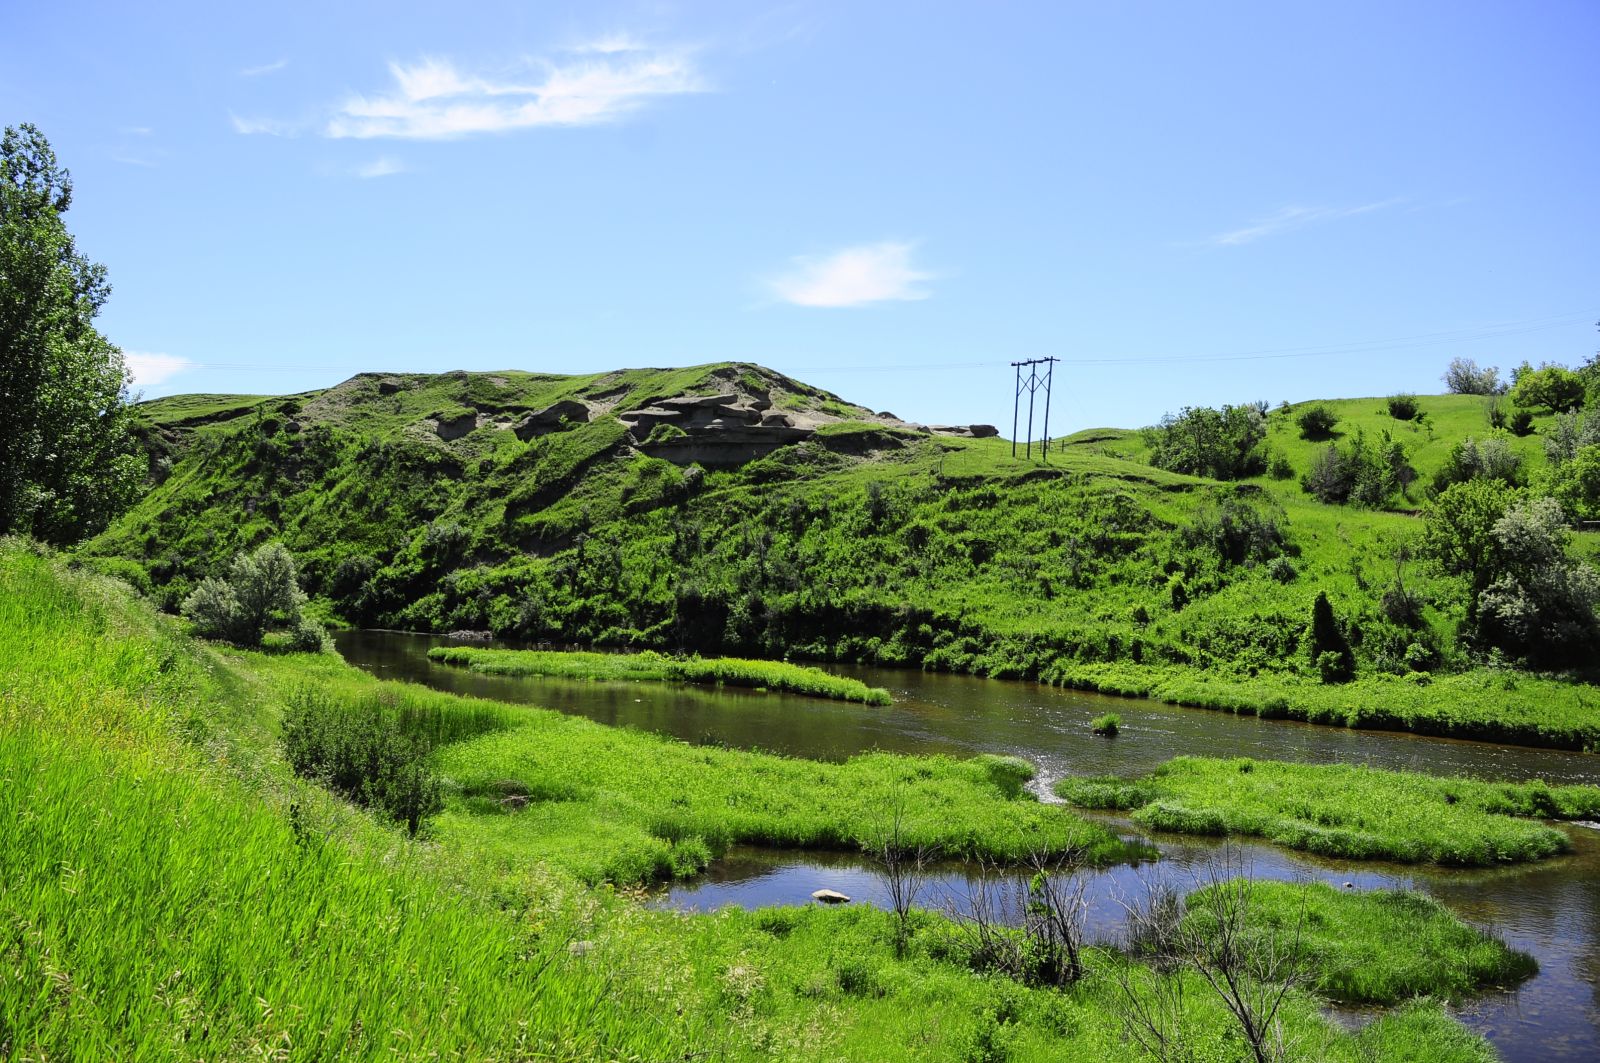
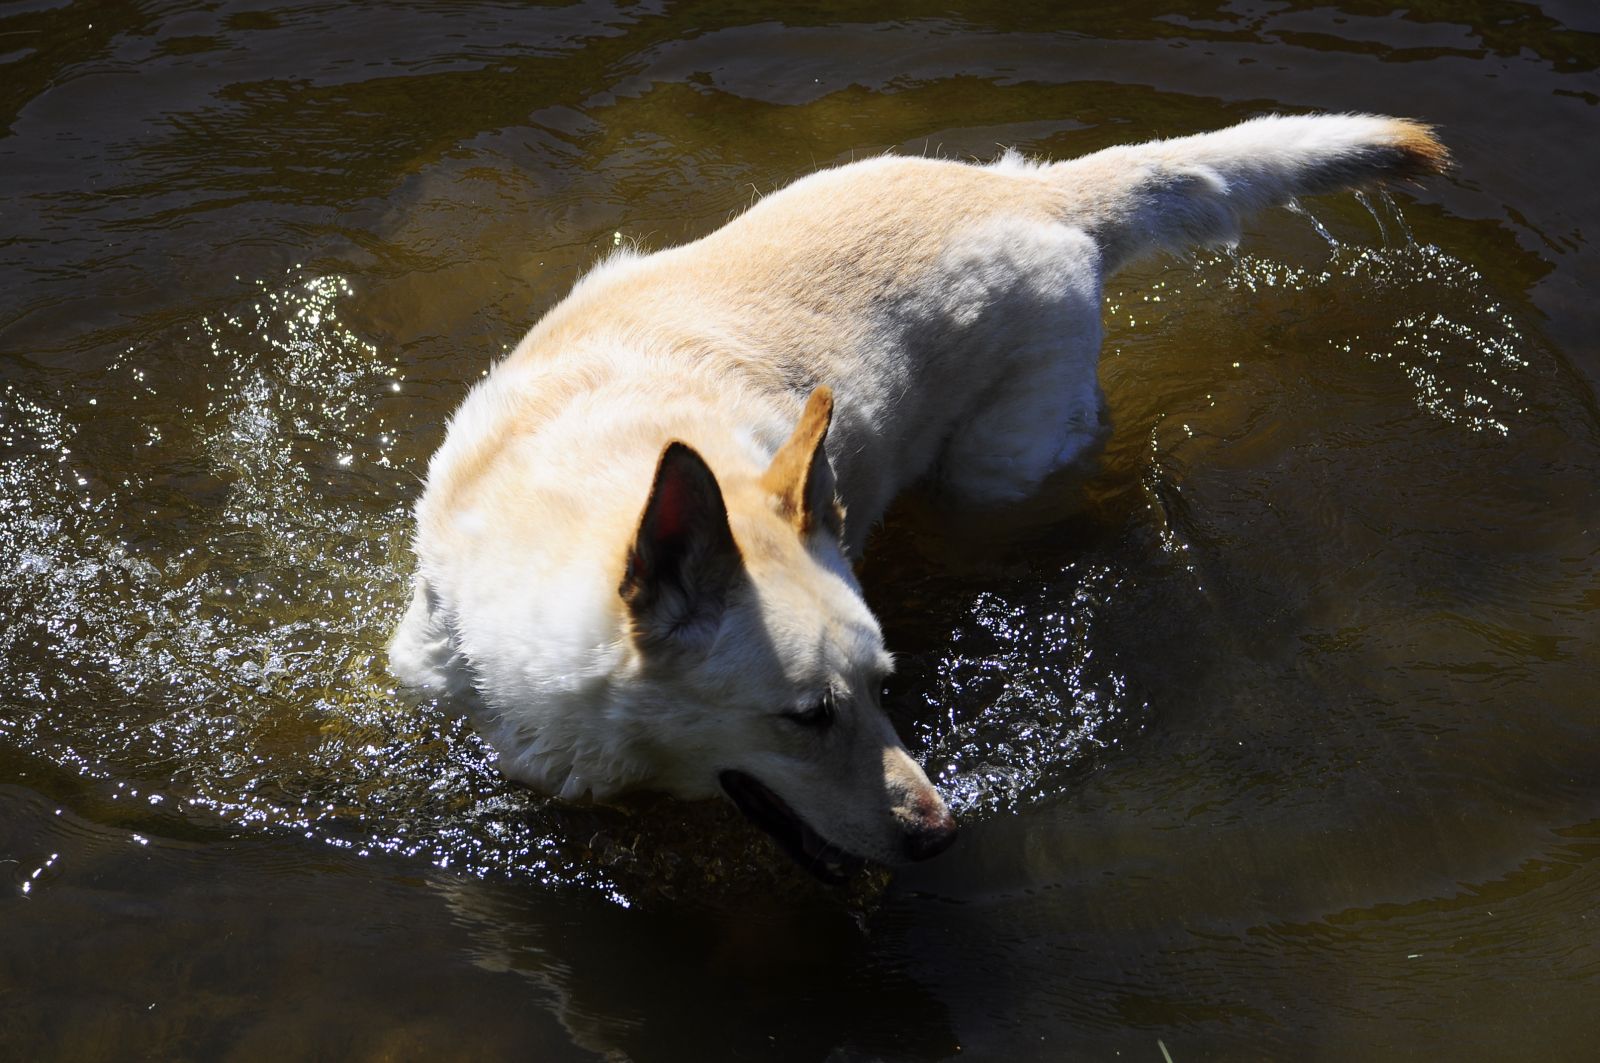
We were overtaken by a swarm of mosquitoes today on our walk by river. We were nearly at the end when the cloud of them descended. Poor Jack got a belly full of itchy, red bites. His mostly naked belly and groin are the only places the buggers can get to him because his fur is so dense. Little bastards got to me too, but my bites are more all over because I am handicapped by not having fur. I don’t know where we’ll go tomorrow, but I do know we won’t be walking beside this beautiful, serene, swampy breeding ground for pestilent, disease carrying, vampire insects who want our blood.
We had a nice trip to Tschida today, and I’ll start going through the photos in a day or three, it will take a while. A good time was had by all, and I’m now going to have a very lazy rest of the day.


© C. Ford, all rights reserved.
The now finished blade came out really nicely, so I will not be ashamed to be associated with it. So I will definitively sign it. However I mentioned already that I do not currently have my own maker’s mark, since the one I used from 10 years age is now used as bluetooth logo. I am not sure whether continuing to use it could lead to legal trouble, but I guess it would lead to confusion. “That knife has a bluetooth? What does it do?”.
I tried to design a new logo, but all designs I came up with either do not appeal to me, or they require quite precise etching process to be made on a blade. And that would definitively not fit this blade, where I aim for as authentic medieval look as I can achieve.
An idea came to me to use my initials, but not in Latin script, but in Glagolitic. At least for this particular dagger. It has the advantage that not only is it a very simple design, it is also thematic – Glagolitic script is the official script of the Witcher 3 game from which the inspiration for the dagger originated. And I am not appropriating other people’s culture.
So today I set out to try how it looks and also to refine/remember my etching process, since I did not do it for quite a long time. For that I yesterday polished a piece of steel from my failed broken machete.
![]() In the past I tried different materials as masking for etching and the best results I have got with material that does not look appealing in the least. But do not worry, it does not smell like what it looks like. It smells actually very nice when worked, because it has been made from equal parts of beeswax, bitumen and spruce resin, all boiled together and poured into water to solidify. I formed it in sticks and for last ten years it collected dust. But it does not spoil and it is just as usable as it was when new.
In the past I tried different materials as masking for etching and the best results I have got with material that does not look appealing in the least. But do not worry, it does not smell like what it looks like. It smells actually very nice when worked, because it has been made from equal parts of beeswax, bitumen and spruce resin, all boiled together and poured into water to solidify. I formed it in sticks and for last ten years it collected dust. But it does not spoil and it is just as usable as it was when new.
![]() When heated with heat gun or even with hair dryer or a candle it quickly gets very sticky and adheres to the de-greased steel quite well. So I heat gently both the steel and the stick and rub them together to transfer some of the sticky material onto the blade. Then I use the air flow from the hot air gun to make an even thin layer. It is important for the layer not to be too thick, because it would be difficult to draw the design in it, but also not too thin because then it could delaminate during etching around the edges (delamination was a huge problem when I was trying to use paraffine btw.).
When heated with heat gun or even with hair dryer or a candle it quickly gets very sticky and adheres to the de-greased steel quite well. So I heat gently both the steel and the stick and rub them together to transfer some of the sticky material onto the blade. Then I use the air flow from the hot air gun to make an even thin layer. It is important for the layer not to be too thick, because it would be difficult to draw the design in it, but also not too thin because then it could delaminate during etching around the edges (delamination was a huge problem when I was trying to use paraffine btw.).
![]() Next step is to draw the design. The layer remains fairly soft and plastic for long time and can be easily scratched through. For this I am using an old compass needle, but for finer design a razor blade or very sharp wood carving knife tip can also be used. It is important to keep the needle clean after every scratch, since the stuff adheres to it too. It is also necessary not only to scratch through, but more like scratch/chisel away. Minor mistakes can be repaired by pressing a piece of the mass on desired place and pressing it gently against the spot until it connects again. After just a few minutes of work under a magnifying glass I was ready to try etching.
Next step is to draw the design. The layer remains fairly soft and plastic for long time and can be easily scratched through. For this I am using an old compass needle, but for finer design a razor blade or very sharp wood carving knife tip can also be used. It is important to keep the needle clean after every scratch, since the stuff adheres to it too. It is also necessary not only to scratch through, but more like scratch/chisel away. Minor mistakes can be repaired by pressing a piece of the mass on desired place and pressing it gently against the spot until it connects again. After just a few minutes of work under a magnifying glass I was ready to try etching.
![]() For just a small logo I did not want to prepare whole big etching bath, so I used the masking mass to glue a bottle cap with cut-out top as a barrier for the etching fluid to remain in place. As a source of electrical current I have used a DC power supply from an external hard drive that has died on me a few years ago – it has an on/off switch which comes in handy. Anode (+) is connected on the steel and cathode (-) on a piece of graphite (a pencil core works too and I used it for very fine etchings in the past). As etching fluid I have used ordinary kitchen salt solution in the past, but today I have tried ferric chloride because I reasoned (correctly) that it will work better. It is solution for etching printed circuit boards diluted approximately 1:10.
For just a small logo I did not want to prepare whole big etching bath, so I used the masking mass to glue a bottle cap with cut-out top as a barrier for the etching fluid to remain in place. As a source of electrical current I have used a DC power supply from an external hard drive that has died on me a few years ago – it has an on/off switch which comes in handy. Anode (+) is connected on the steel and cathode (-) on a piece of graphite (a pencil core works too and I used it for very fine etchings in the past). As etching fluid I have used ordinary kitchen salt solution in the past, but today I have tried ferric chloride because I reasoned (correctly) that it will work better. It is solution for etching printed circuit boards diluted approximately 1:10.
It is important to not use too concentrated solution for two main reasons:
After that I turned the switch on and waited for ten minutes. It was not complete success because towards the end the bath evaporated too much, it got warm and the masking layer delaminated around the whole logo. So I repeated the process once more with only five minutes etching time. I am satisfied with the result, the etching is clear and has nice black color that I know I would not get with table salt. Now I will play with the letters a bit in Photoshop to get the proportions right.
©Charly, all rights reserved. Click for full size.
My latest flower from Rick. :) Click for full size.
© R. Ford, all rights reserved.
From Giliell, click for full size!


© Giliell, all rights reserved.
From rq: beginning of May, one half of the sky was flashing purple and violet (second photo), the other half was a calm bright moon behind slow clouds. I just love these, especially the first one. Click for full size!


© rq, all rights reserved.
Grackle, click for full size!

© C. Ford.
©voyager, all rights reserved
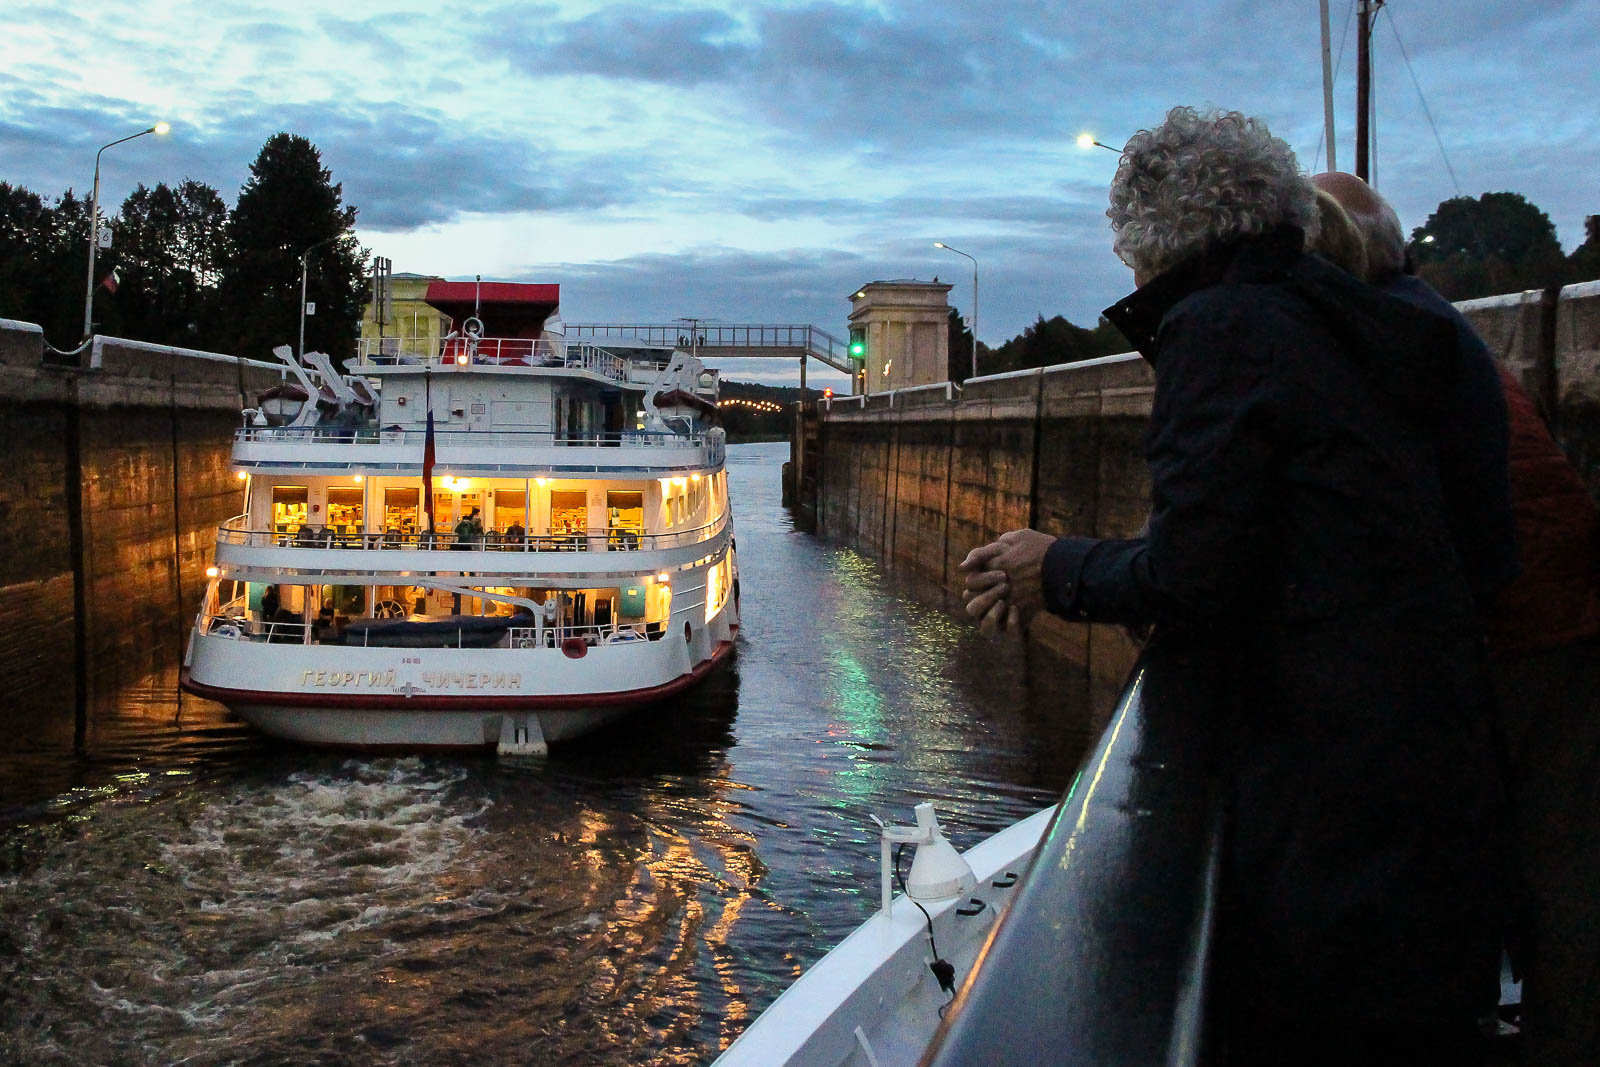
Our ship traversed most of the Moscow Canal at night so I don’t have many photographs, but I think the story of how the canal came to be is tragic and deserves to be told.
The Moscow Canal was built between 1934 and 1937 under the direction of Stalin. It was a massive engineering project, larger in scope than either the Panama or Suez Canals. The project included 7 concrete dams, eight earthen dams, 8 hydroelectric power stations, 5 pump stations, 11 locks, 15 bridges and the Northern Passenger and Cargo Terminal. This massive system was built rapidly, being entirely completed in under 5 years. It was a huge accomplishment for the fledgling Stalinist regime and was celebrated. What wasn’t celebrated or even spoken of was the forced labour of the millions of gulag prisoners responsible for its construction. Their work was brutish and constant, relentlessly continuing throughout the harsh Russian winters. Food and supplies were scarce. Many prisoners lost their lives. Our group was told that if the project needed more workers, Stalin would simply direct the KGB to make more arrests.
The canal connects the Moskva River with the Volga River and gives Moscow access to the Baltic Sea, the White Sea, the Black sea, the Caspian Sea and the Sea of Azov. Because of this, the interior city of Moscow is known as the port of 5 seas. Today, the canal is an integral part of life in Russia. It connects the current capital city of Moscow with the former capital city of St. Petersburg and it’s vitally important to doing business in the country. It’s also beautiful, passing through areas of forest and farmland and dotted with picturesque bridges and cottages. Our ship slipped through canal at night, but there was still a bit of twilight as we entered the first lock. This was the first time our ship had moved out of harbour and there was an air of excitement on board. Passengers crowded the railings and spoke excitedly about the adventures that lay ahead. I felt that excitement too, but it was bittersweet because I couldn’t stop thinking about the story of the canal and all those millions of lives ruined or lost in its building.
Link to previous Post – Leaving Moscow
©voyager, all rights reserved
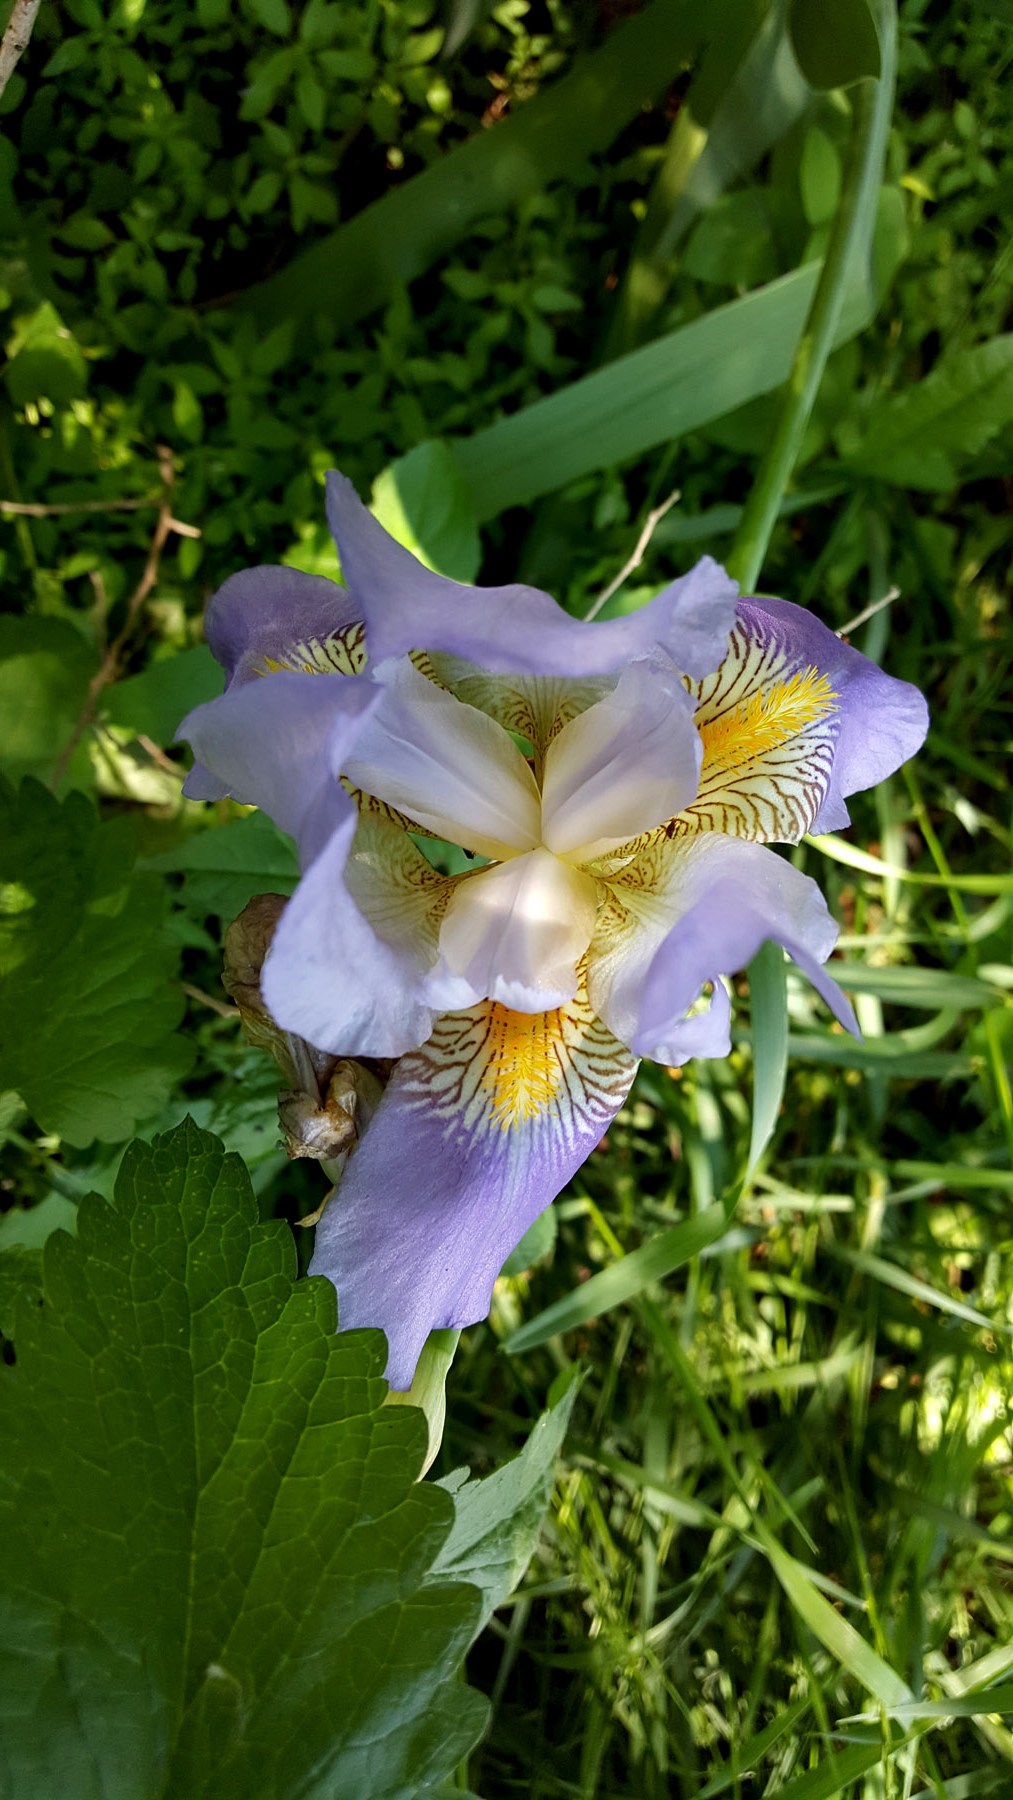
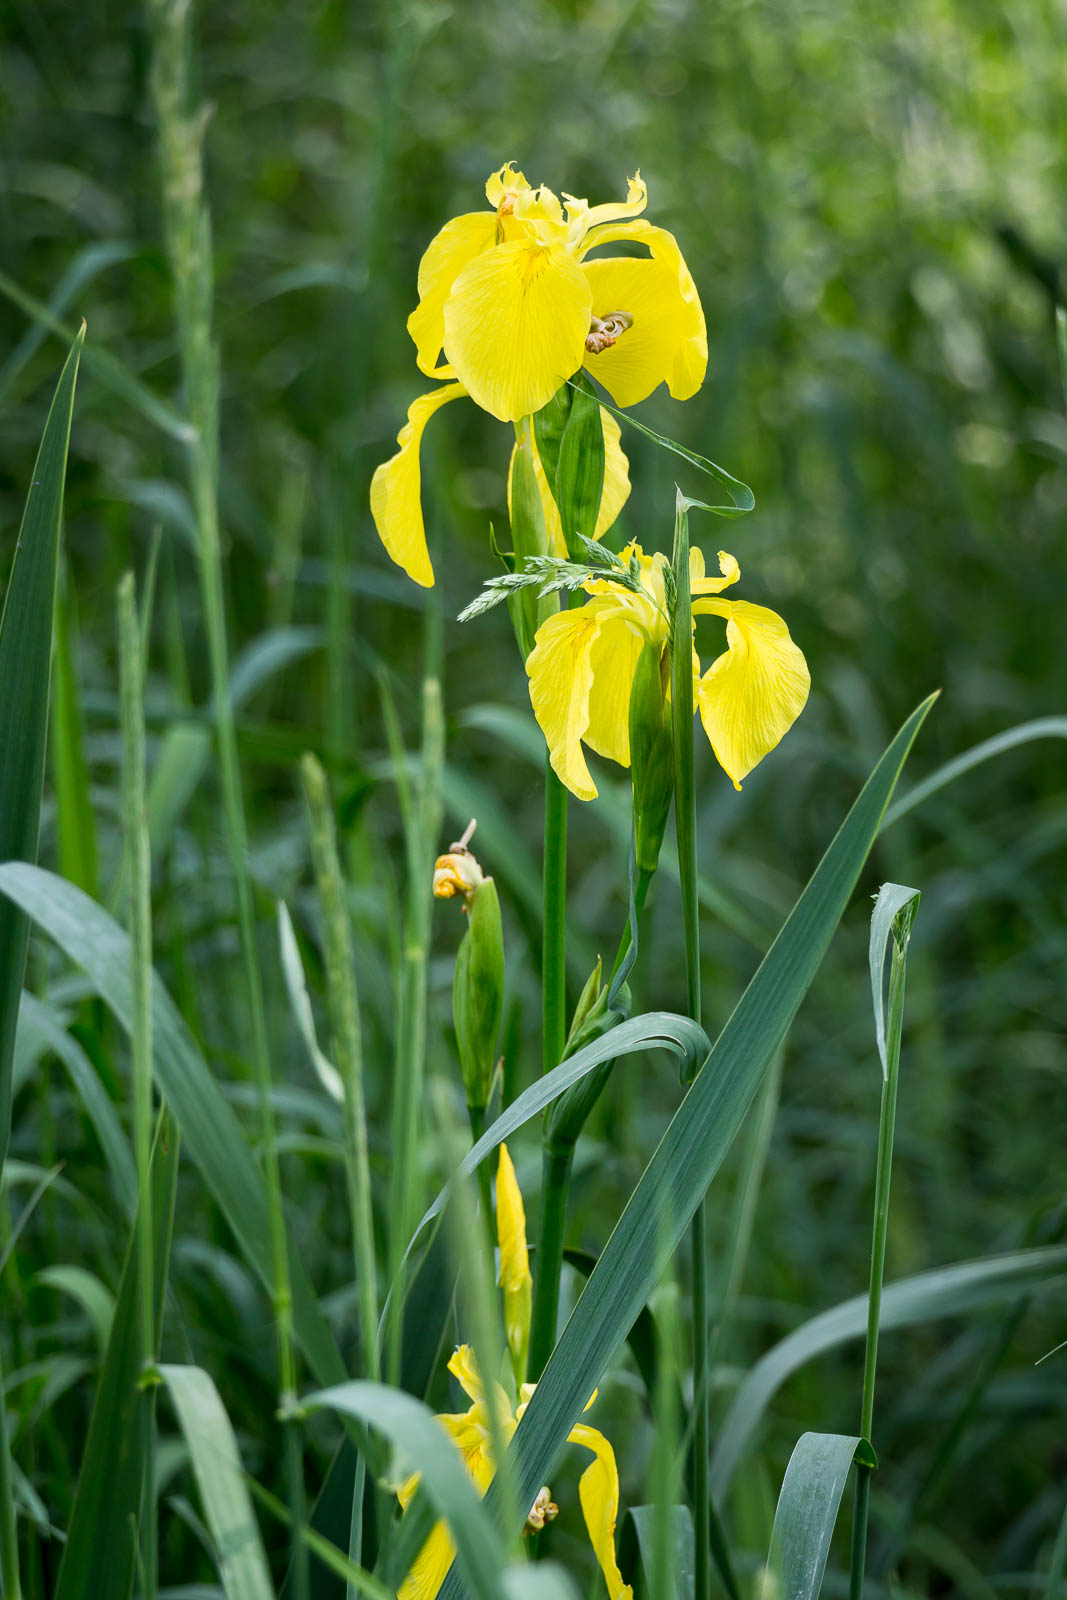
Most of the wild iris that Jack and I find is small and purple so I was quite surprised to come upon this patch of tall, bright yellow plants. I’ve never seen iris this colour or size in the wild and that makes its finding a special treat. Only one plant was still in flower, but I’ve marked the location and next year I hope to get here when the full show is blooming.
Click for full size. I swear, Death’s face in The Count is a dead ringer for Peter Cushing. Death also gets in a bit of arse kicking in The Knight. Text translation in the comments.

