There are always too many things happening over here at Badger Forge. Usually, that’s good but sometimes I feel like I am woefully behind and it stresses me out.
Currently I have a small letter opener, a scottish dirk, a cooking cleaver, and a chef’s knife in my queue. I have plenty of lead-time and the designs are all sorted out, but I feel like I should be working on other things, so, they just … sit for now. I made one stab at the letter opener (perhaps that is not the right word to use…) and I didn’t get the grind as right as I wanted it, so it has now become a dart.
Before I got sucked into the doors and wiring for the hot shed, I started making some chisels. You may recall the saya nomi I was working on. [stderr] Currently it is sitting on the bench with a beautiful turned oak handle and a strike plate for the end; I just need to fit the handle and assemble the whole thing. I have not been working hard on that because I actually don’t need a saya nomi.
In the meantime I have doors to paint and assemble, J-track to hang, more doors to make, electricity to run, an Anyang Hammer to bolt to the floor, and more electricity to run. I feel like my projects have gotten completely out of control and that’s hardly all of it. There are wood turning projects also spinning (as it were) out of control. I am not complaining – it’s that sense of “OMG I GOTTA GET GOING” that gets me out of bed in the morning. Without the pressure of severe project overhang I’d probably sit in my desk chair playing Elite for a few hours a day.
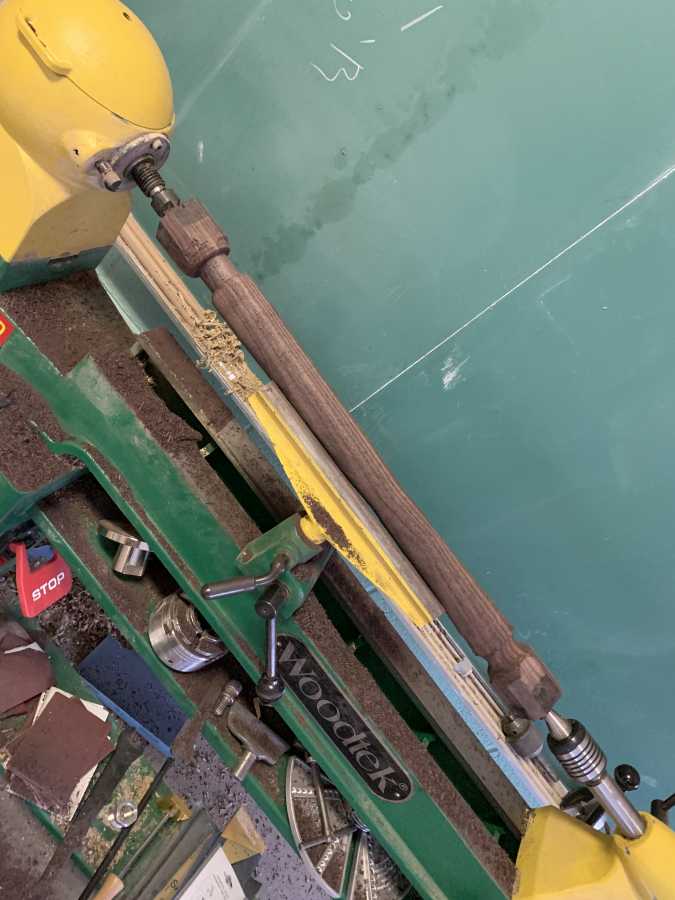
I haven’t posted about the wood lathe because it’s been an old long-term companion of mine and I didn’t really think of it is “new” or interesting per se. [By “constant companion” that means I hauled it from Annapolis, to Woodbine, To Gaithersburg, to Morrisdale PA, and then from my barn to my shop when I bought the shop. It’s only 200lbs and was getting pretty dodgy… But when I started looking at making a proper welded steel stand for the old Shopcraft I decided to just upgrade the whole thing to a less 1950s-era model. Now I have a nice Woodtek that came pre-assembled on a base (! thank you, lord !) and it’s nicely tapcon-bolted into the concrete floor of the wood room. Then, I thought maybe I should look at my chisels.
My lathe chisels are inherited from grandpa, who used the old Shopcraft mostly to make things like violin tuning pegs in ebony. He didn’t do big high pressure work with it. His chisels are itty bitty and there are no bowl gouges or large shapers. So I was thinking “who do I know who could make me a badass damascus skew chisel?”
Then, it hit me. Fortunately, I was wearing a face shield.
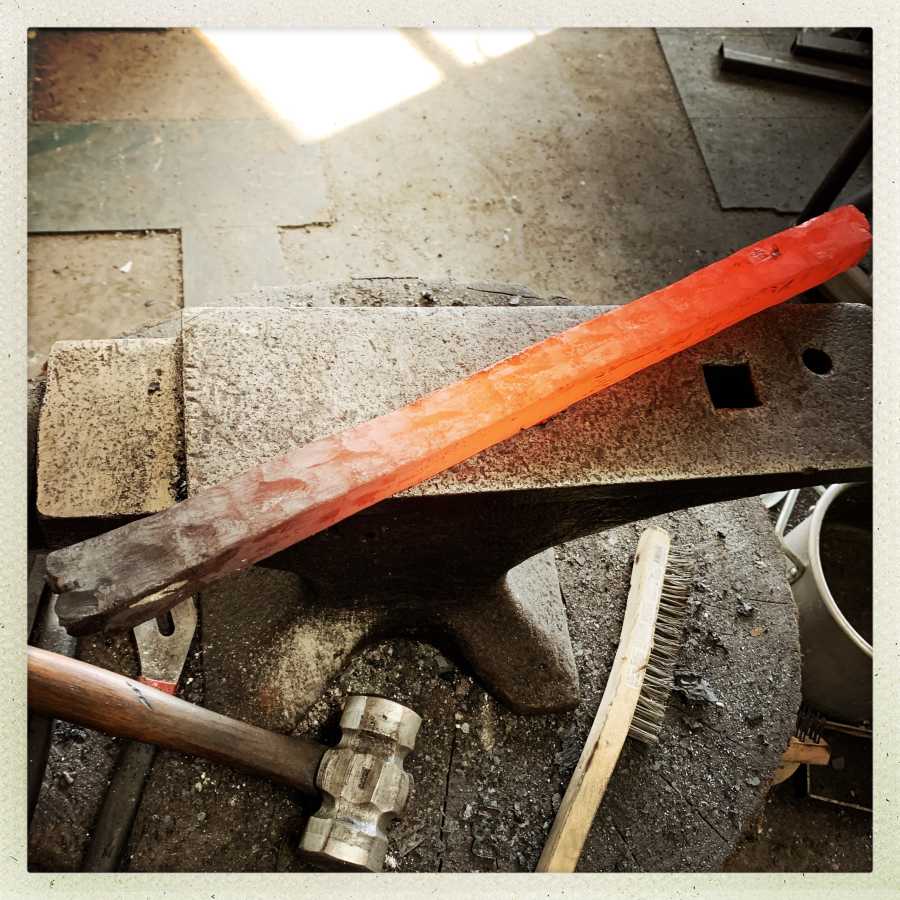
Just kidding. But, I had just completed my damascus-twisting device and had a big bar of low-layer low-twist sitting on my “TODO” stack waiting for a purpose. I thought that since lathe chisels would be large and dramatic, a big old lathe chisel made out of chunky damascus would be dramatic as all get-out. So I cut the bar in half and made two chisels. There was a lot of whacking and smushing involved but it doesn’t seem to be very hard: you draw out a great big tang (1/2″ x 1/2″ or 12mm) nearly 20″ long, and then flatten the end into a bar-shaped thing, which you either grind to shape, or force into a semi-cylindrical curve.
such a coincidence!
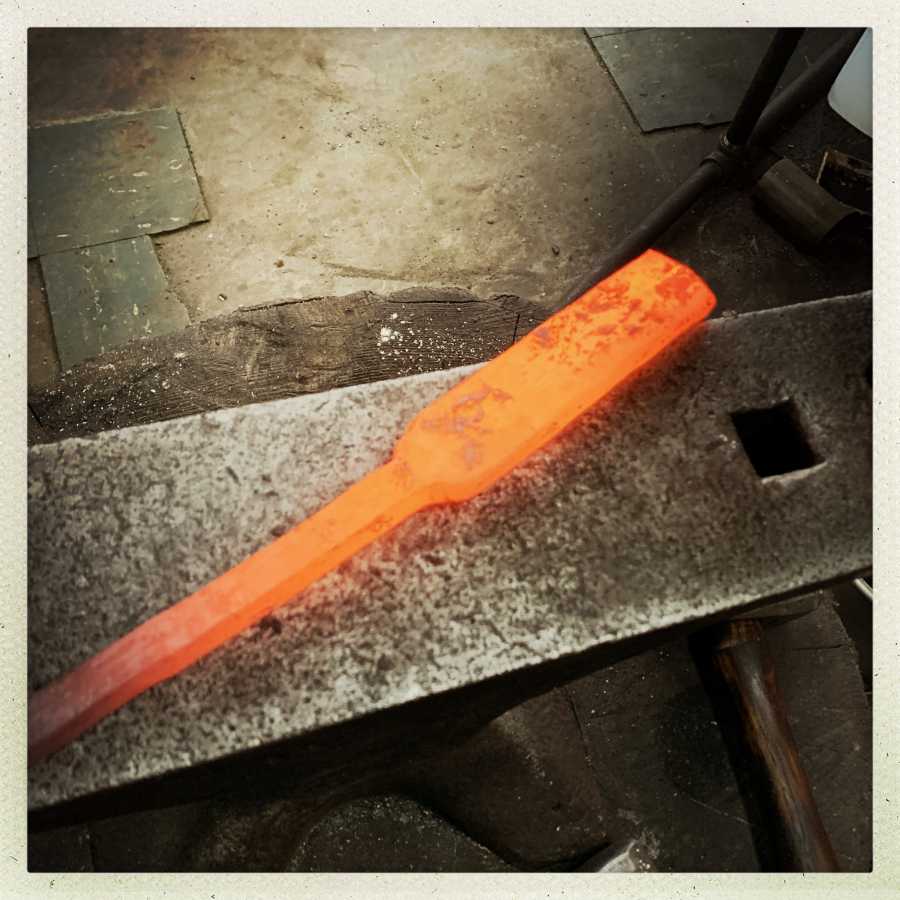
This little piggy became a skew chisel
A lot of the shapes of a chisel are governed by the round nose of the grinder. The “hips” where the tang meets the blade – those are going to clean right up once I put them against the wheel at the top of the platen. I gave a fair bit of thought to how the energy is going to transfer into the blade, because I don’t want it to snap off, but there’s also an awareness in me that this is nearly 1/2″ of pattern-welded high carbon steel, anything that destroys it is going to scare me a lot first.
The skew chisel is just warm-up. It’s practically a tip for a Roman pilum; but let’s not go there.
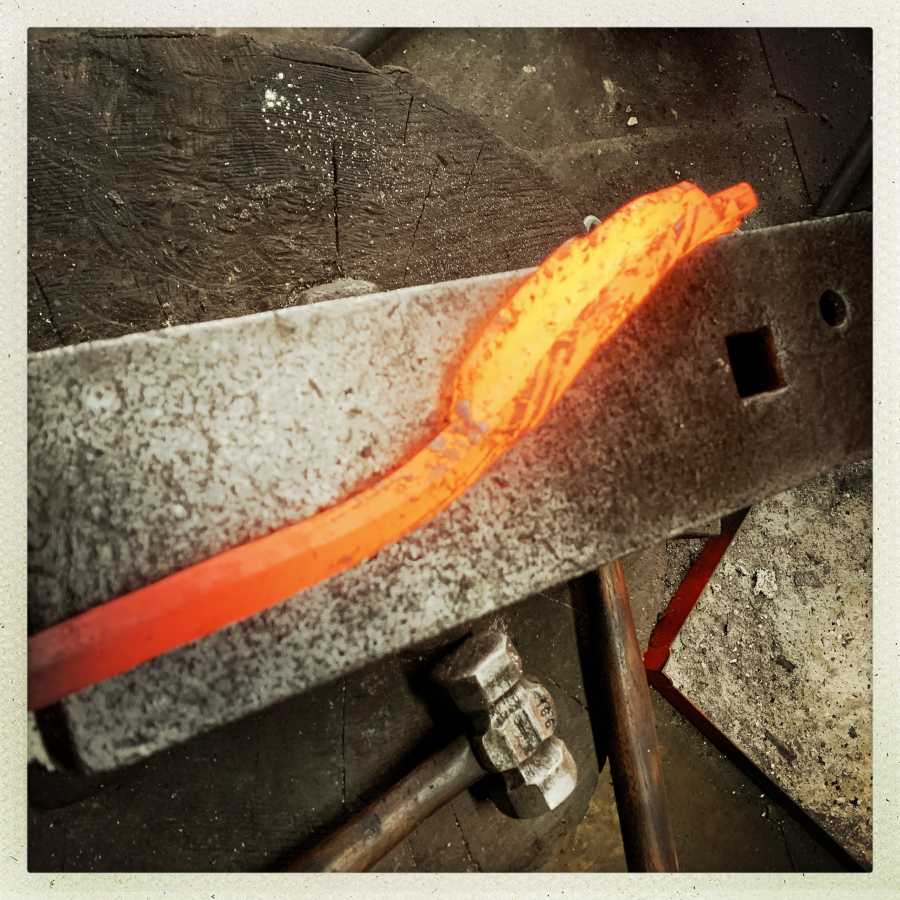
The gouge is going to be an adventure. I did this by the simple expedient of making a redneck sort of press die for the forging press.
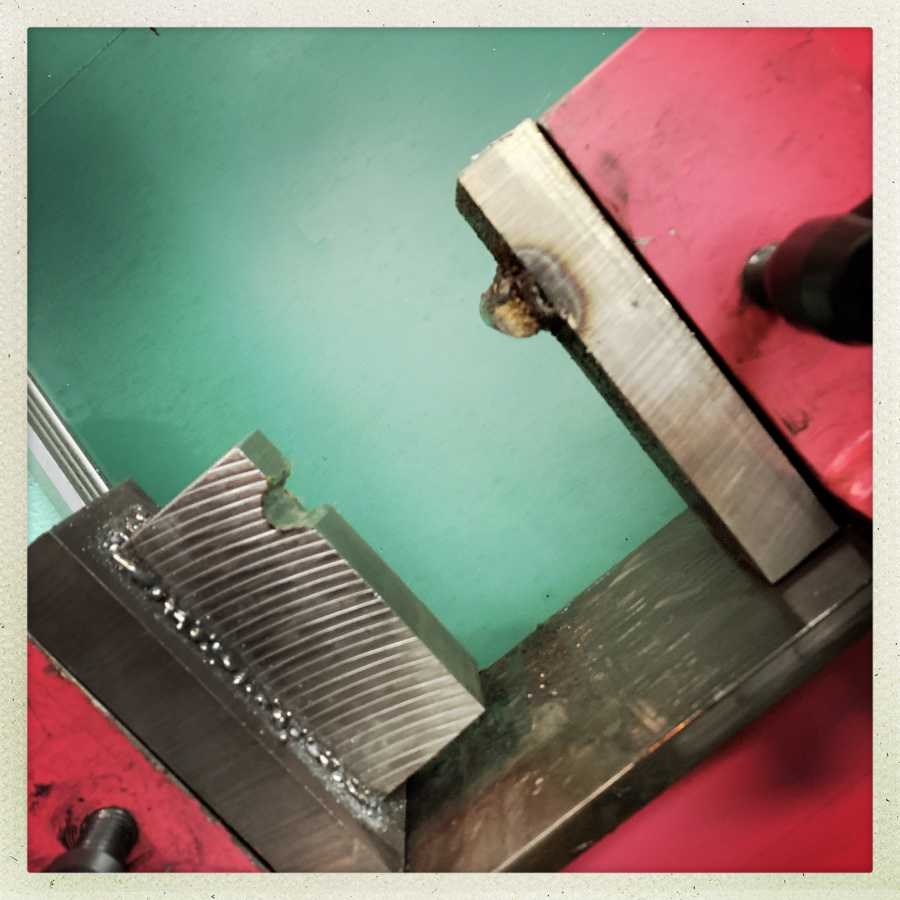
That’s a rod of S7 welded onto a die, where it fits into a round cut I made into another block of S7. It worked pretty well except it made pressure lines where the metal did not completely fit the die.
So I got old school and unblocked my Block Of +2 Swages, realizing in a flash that this is exactly what swage blocks are for. For those of you not in the know, a swage block is a block of really tough somethingsteel that has shapes carved in it that you can hammer hot (therefore less tough) steel into, to shape them. This swage block I got from the trucking company in Clearfield, that were using it as a door-stop. I traded them a chunk of polished railroad track for it, and I had a swage block. Swage blocks are cheap; it’s the shipping that kills you. This one weighs about 100lb, which is desirable so it doesn’t bounce around when you hit it.
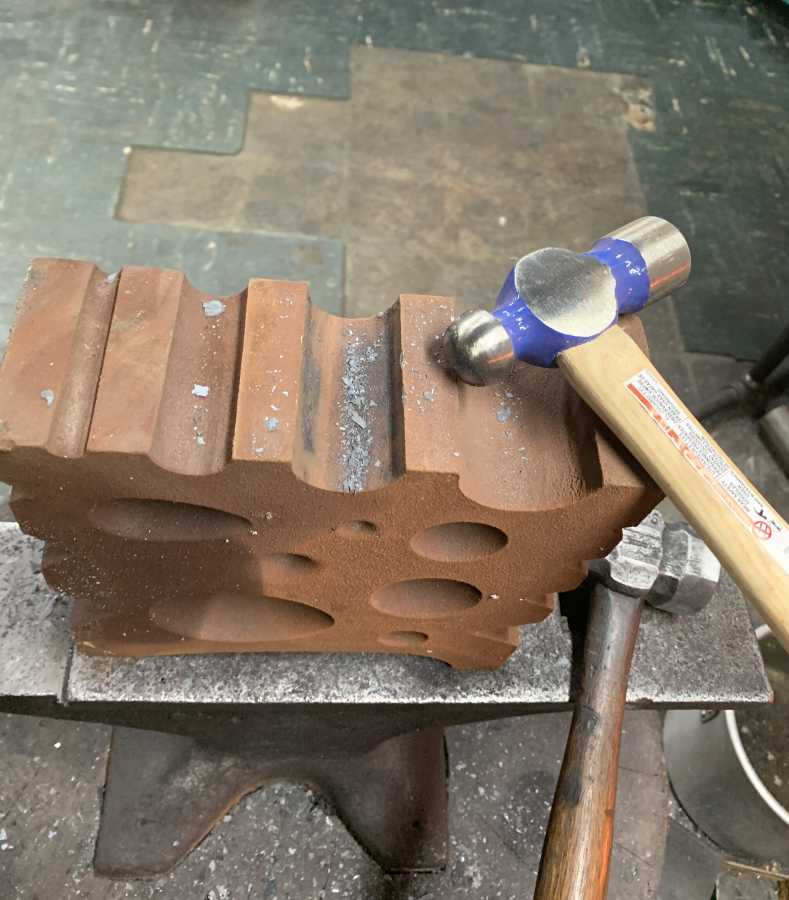
If you look on the sides you can see the outlines of spoons and ladles and other stuff. If I wanted to make a spoon all I’d need to do is use that ball-peen hammer to beat some hot metal into a spoon-shaped cavity and I’d have a spoon without a handle. Oops! The order of process is important here.
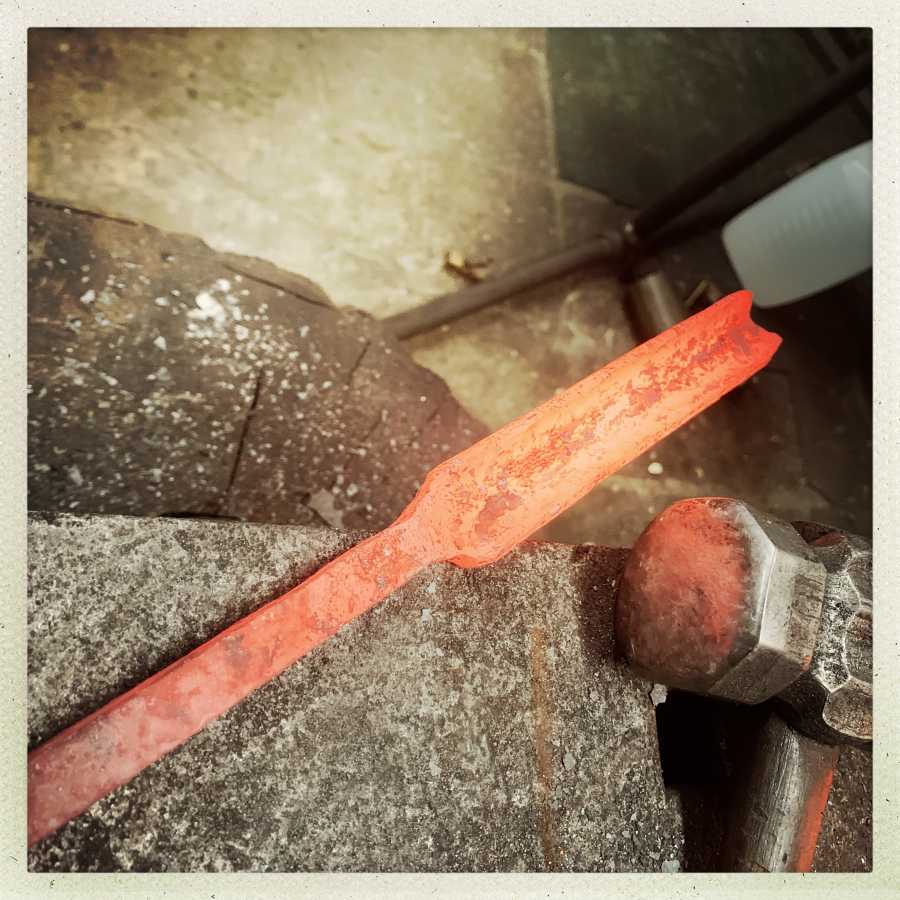
After a bunch of whacking and hammering and whatnotting, I’m pretty happy with the bar – it looks like a gouge! Obviously, it needs some fine-grinding but it’s about the same proportions as the skew chisel and it’s not lightly or casually made. Those surface variances (we don’t call them “deformities”) are going to grind off when I rough-shape it.
It’s into the annealing bin to cool off overnight, then in the morning I can cut the scale off with an angle grinder and maybe true up the lines on the belt sander.
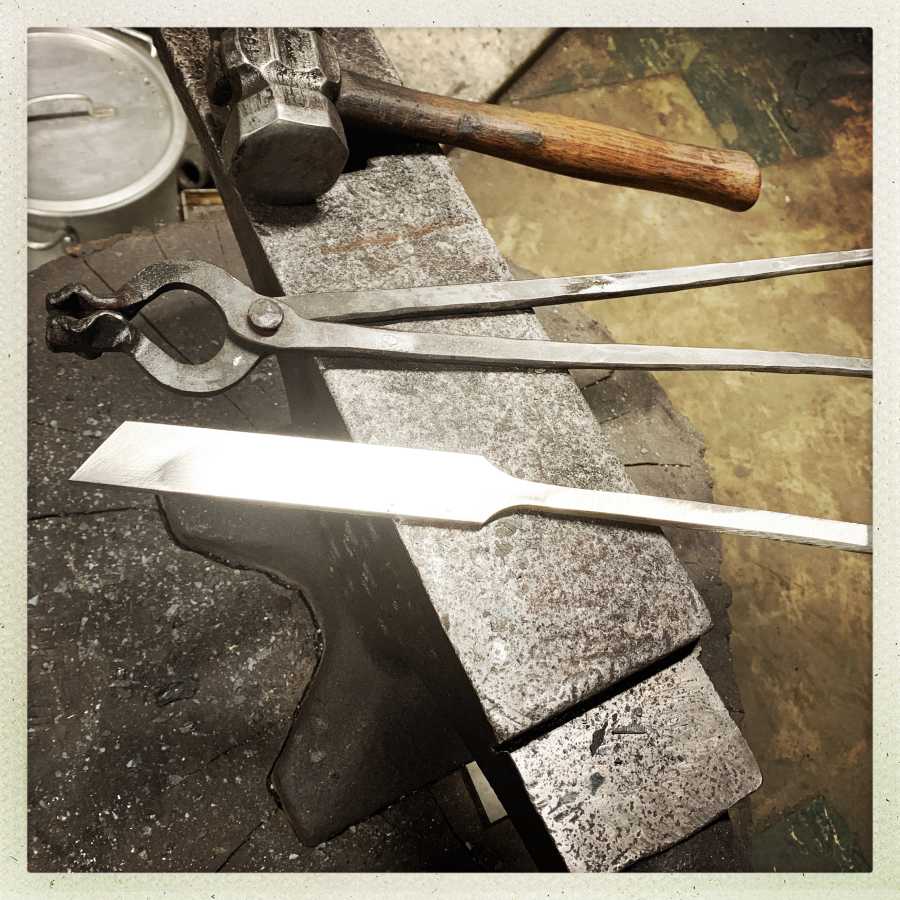
It is glowing with an inner light! There must be orcs about. No, joking aside, I polished it a bit because I wanted to do a test-etch in acid and see what the pattern looks like.
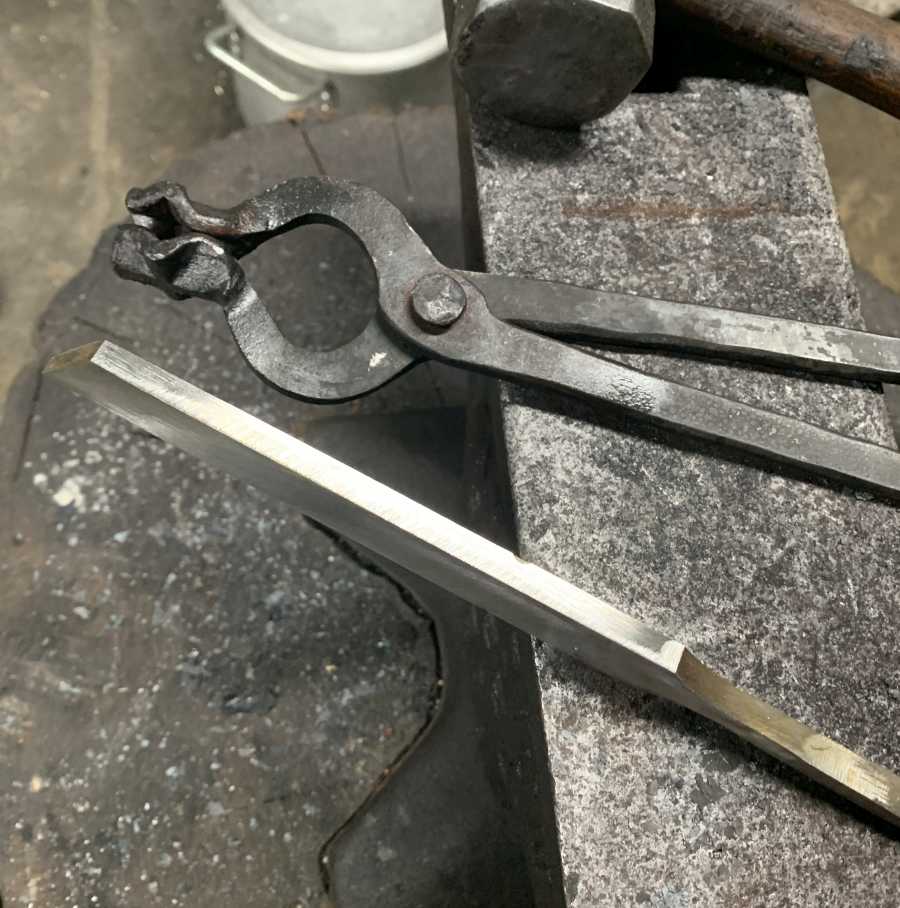
I just want you to appreciate that this is not a skew chisel that screams “I’m here to just kinda fuck around.” This thing weighs a ton and it’s going to be razor sharp. This is a skew chisel with purpose.
Then the gouge gets the same treatment, and I quench the lot. The gouge is a bit thinner than I wanted but I’m going to try it out (carefully) and see how well it holds up.
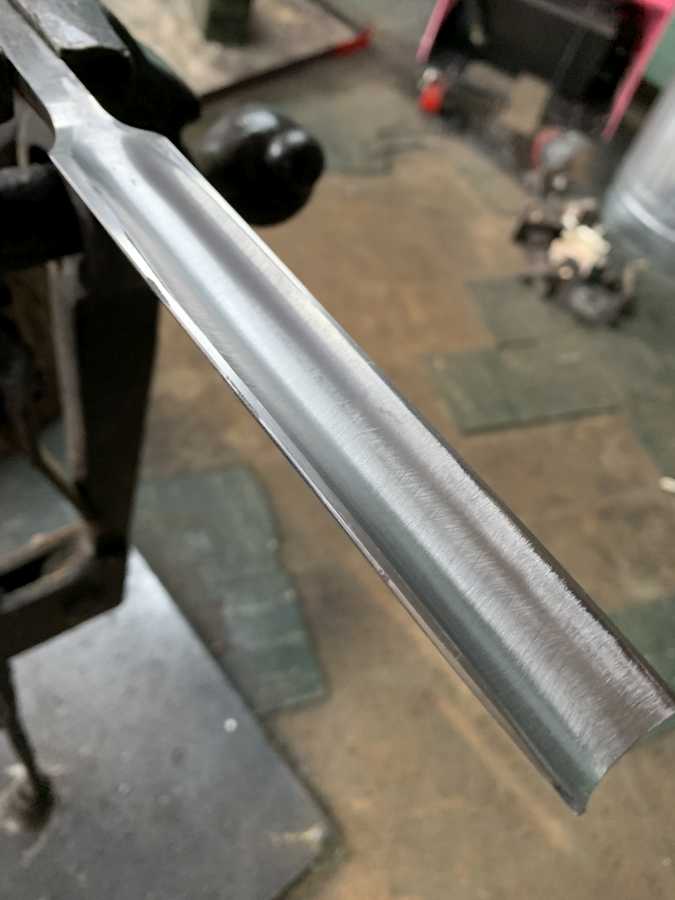
It’s “only” about 1/2″ thick at the base, and 3/8″ at the tip. That’s twice the thickness of grandpa’s old chisels but a roughing gouge takes a beating. I know the guy who made this for me and if it doesn’t hold up I’ll return it for a complete refund.
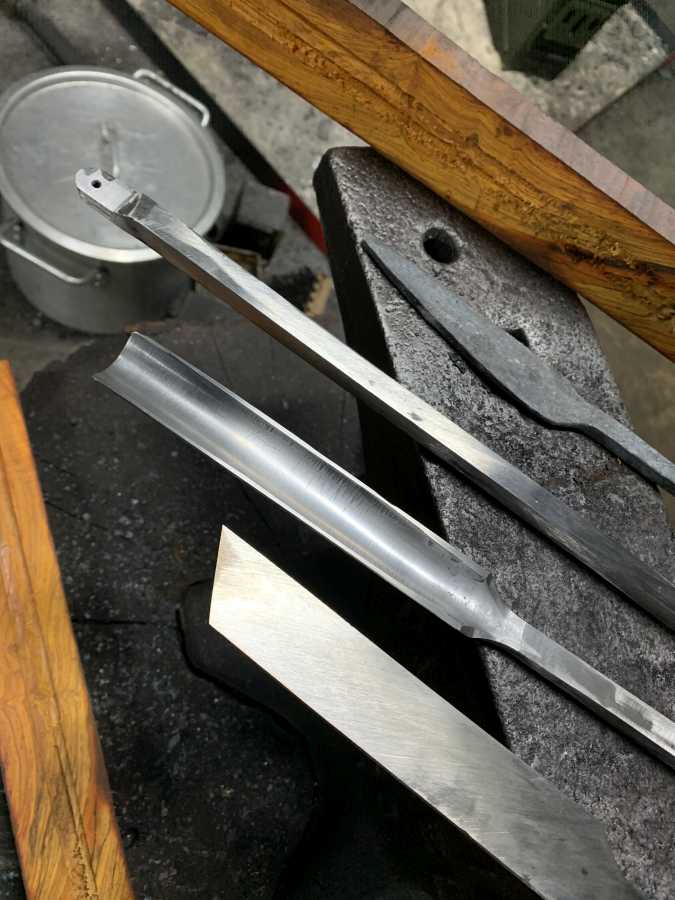
So that’s what the set looked like. Being an astute member of The Commentariat(tm) you may have noticed that there are two other things in the picture. One is a squarish bar, and the other the outline of a knife. The knife is pretty obvious. The squarish bar is a carbide mill-cutter holder. That is the current state of the art in wood lathe tools: you put a piece of razor-sharp carbide into the tip with a machine screw, then it’ll scrape through wood like it’s cheese. So, that is the plan.
The carbide bar is not the same as the chisels. I thought I wanted to make it extra super strong so I made it with a composition that is not a typical pattern-welded high carbon damascus. The bar is “suminigashi” (water-pattern) I made from mild hardware store steel, 1095 high carbon, and 15N20 near-stainless steel. It’s 80 layers with a twist and I expect it’ll be really lovely when it’s etched.
Then, I discovered that, in spite of being annealed, it is as tough as Satan’s Scrotum. The good news is that it’s not going to snap in my face and send carbide teeth flying around. The bad news is that I’m not even sure if I can get a hole through it, and tap it. Finally I resorted to heating the tip to forging heat, then sacrificing a drill to make a hole through the red-hot metal, annealing it over night, and sacrificing two 10/32 taps to thread it. I don’t think I am worried about the threads coming out. I am, I admit, slightly intimidated by the thing; it feels and looks pretty indestructible.

I’ll finish this up tomorrow. There’s a lot of steps to getting these things finished, still to go.
In the interest of full disclosure: I started making these in mid November. The view I give you here is often “project time” – how and what happened in sequence and how long it took, but that is divorced from clock time.

They’re going to be the fanciest chisels for miles!
Gorgeous chisels. They’ll be so fun to use.
I’m swooning over your swage block. It’s far too large for what I do but I don’t have a good metal one like that; all of mine are wood. That is an amazing find!
kestrel@#2:
I’m swooning over your swage block. It’s far too large for what I do but I don’t have a good metal one like that; all of mine are wood. That is an amazing find!
It made short work of putting that curve in the chisel, for sure!
They already look both good and workmanlike. But that swage block is something else, what a find!
What a fabulous set of chisels. They look damned strong undressed and I’m sure when they’re all cozied up in their handles they’ll be very handsome and damned intimidating.