In a search for more uses of potatoes, I suggested to my mother that we should try to make potato bread. She went on an internet crawl, found a recipe, and tried it out. It was good, but we agreed it could be improved by adding garlic and marjoram, as well as a few other tweaks. So we did that.

© Charly, all rights reserved. Click for full size.
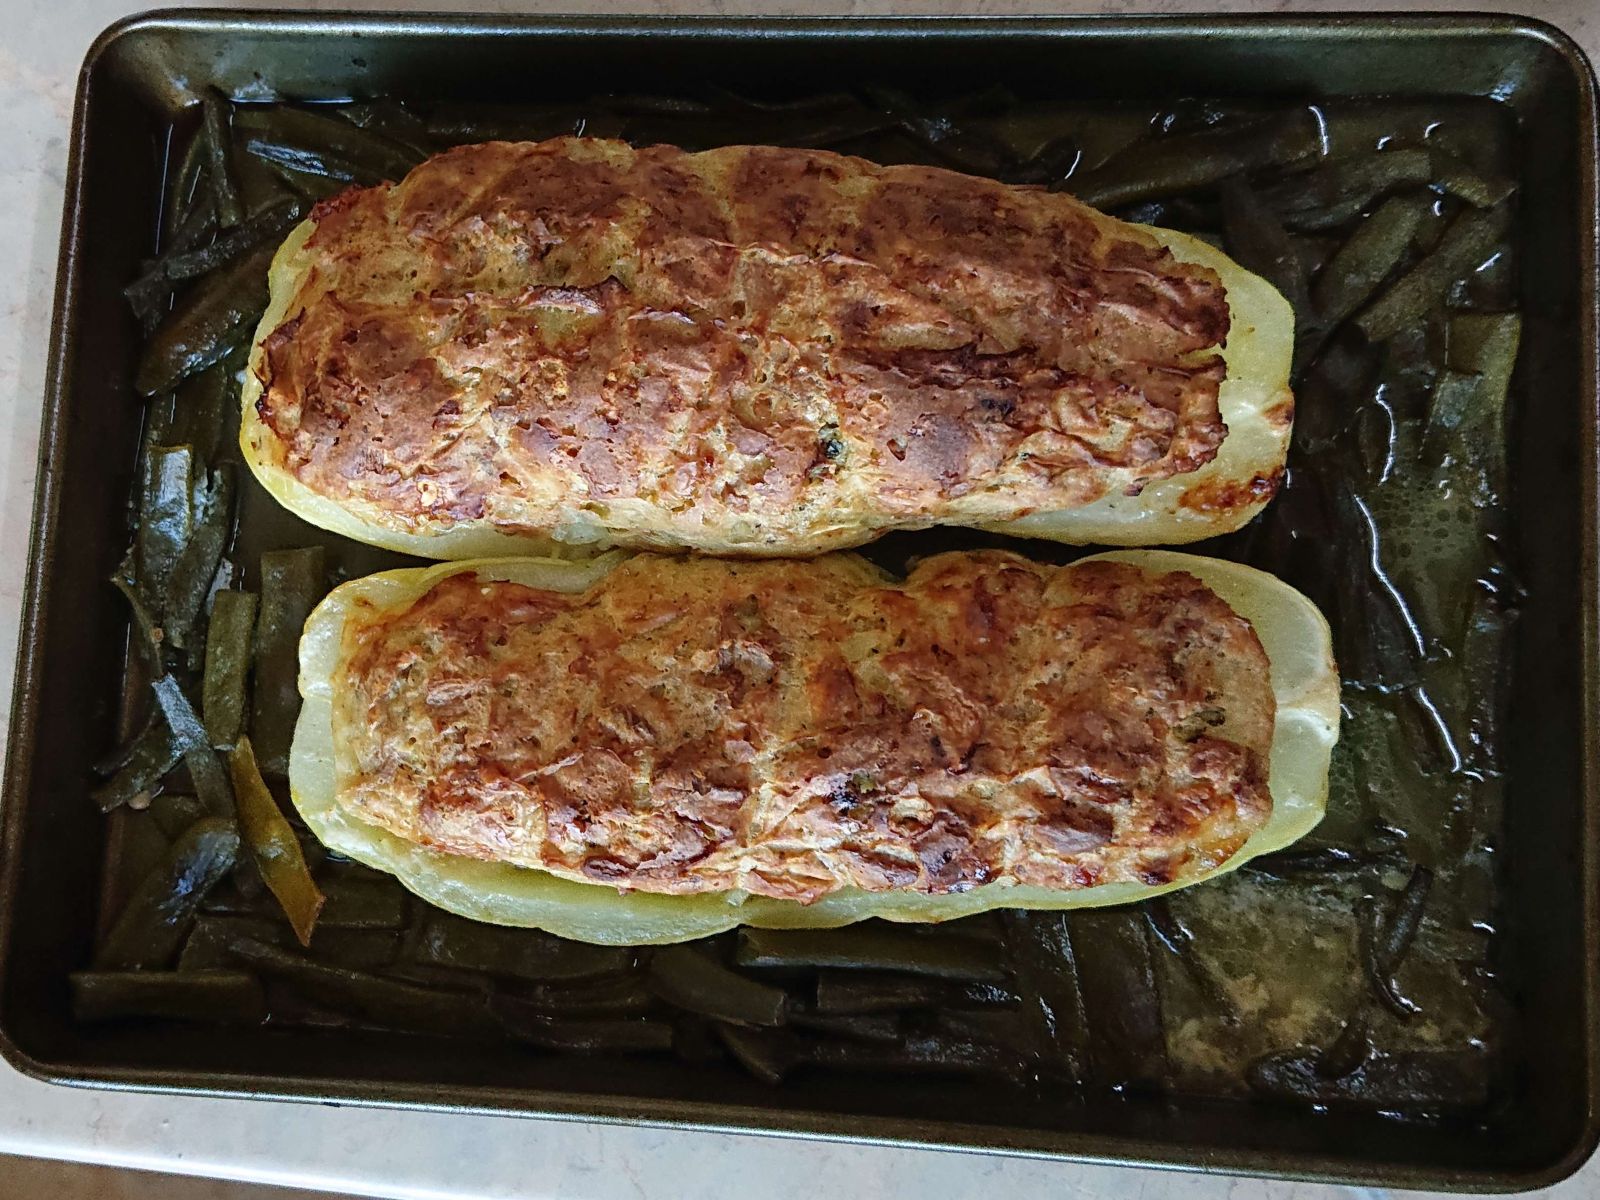
On the left is a loaf without garlic, on the right is one with. My mother cannot eat garlic, therefore two distinquishable loafs. I ate half of the right loaf in one go for dinner last night, it was so good.
The ingredients:
- 680 g of potatoes
- 2 spoons of oil
- 1 teaspoon of sugar
- 150 ml of lukewarm water
- 40 g of fresh yeast or 21 g of dry yeast
- 665 g of wheat bread flour
- 4 teaspoons of salt
- 2 teaspoons of whole caraway seeds
- 2 spoons of marjoram
- 2 spoons of crushed garlic
Process:
- Boil the whole potatoes in slightly salty water and peel them after cooling. Crush the potatoes, add oil, and sugar with yeast dissolved in warm water (dried yeast can be stirred into dry flour). Mix into a paste and add flour, caraway, and salt until the dough is smooth. Lastly, add majroram and garlic.
- Let the dough rise for 30 min under cover, then divide into parts and form the first batch of loaves of desired shape and size, and put them on baking trays with baking paper sprinkled with flour. Cover with a cloth and let rise another 30 minutes.
- Preheat the oven to 220 °C, score the loaf, and put it in the oven. Put a can with a splash of water on the bottom of the oven, close it, and lower the temperature to 180°C.
- Bake 40-50 minutes until the crust is firm and brown.
- Whilst the first batch is baking. The second half can be formed, and it should just about sufficiently rise in the meantime.
- Optional – when almost finished, it is possible to apply salty water on the crust.
Now I am going to eat the other half of the loaf for today’s dinner.