My vacuum pump was delayed one more week but it should be due to arrive today afternoon. In the meantime, the weather was cold and I could not be arsed to heat the workshop and start another project. So I have decided to spend some time exercising my bobbin lace making skills again.
Last year I have taken my grandmother’s old blueprints and I scanned them. And now I took the scans to photoshop and I refined them into a form that can be printed out.

© Charly, all rights reserved. Click for full size.

© Charly, all rights reserved. Click for full size.

© Charly, all rights reserved. Click for full size.
As you can see, these are true antique blueprints, made with the technology that actually gave us the word.
© Charly, all rights reserved. Click for full size.

© Charly, all rights reserved. Click for full size.
© Charly, all rights reserved. Click for full size.
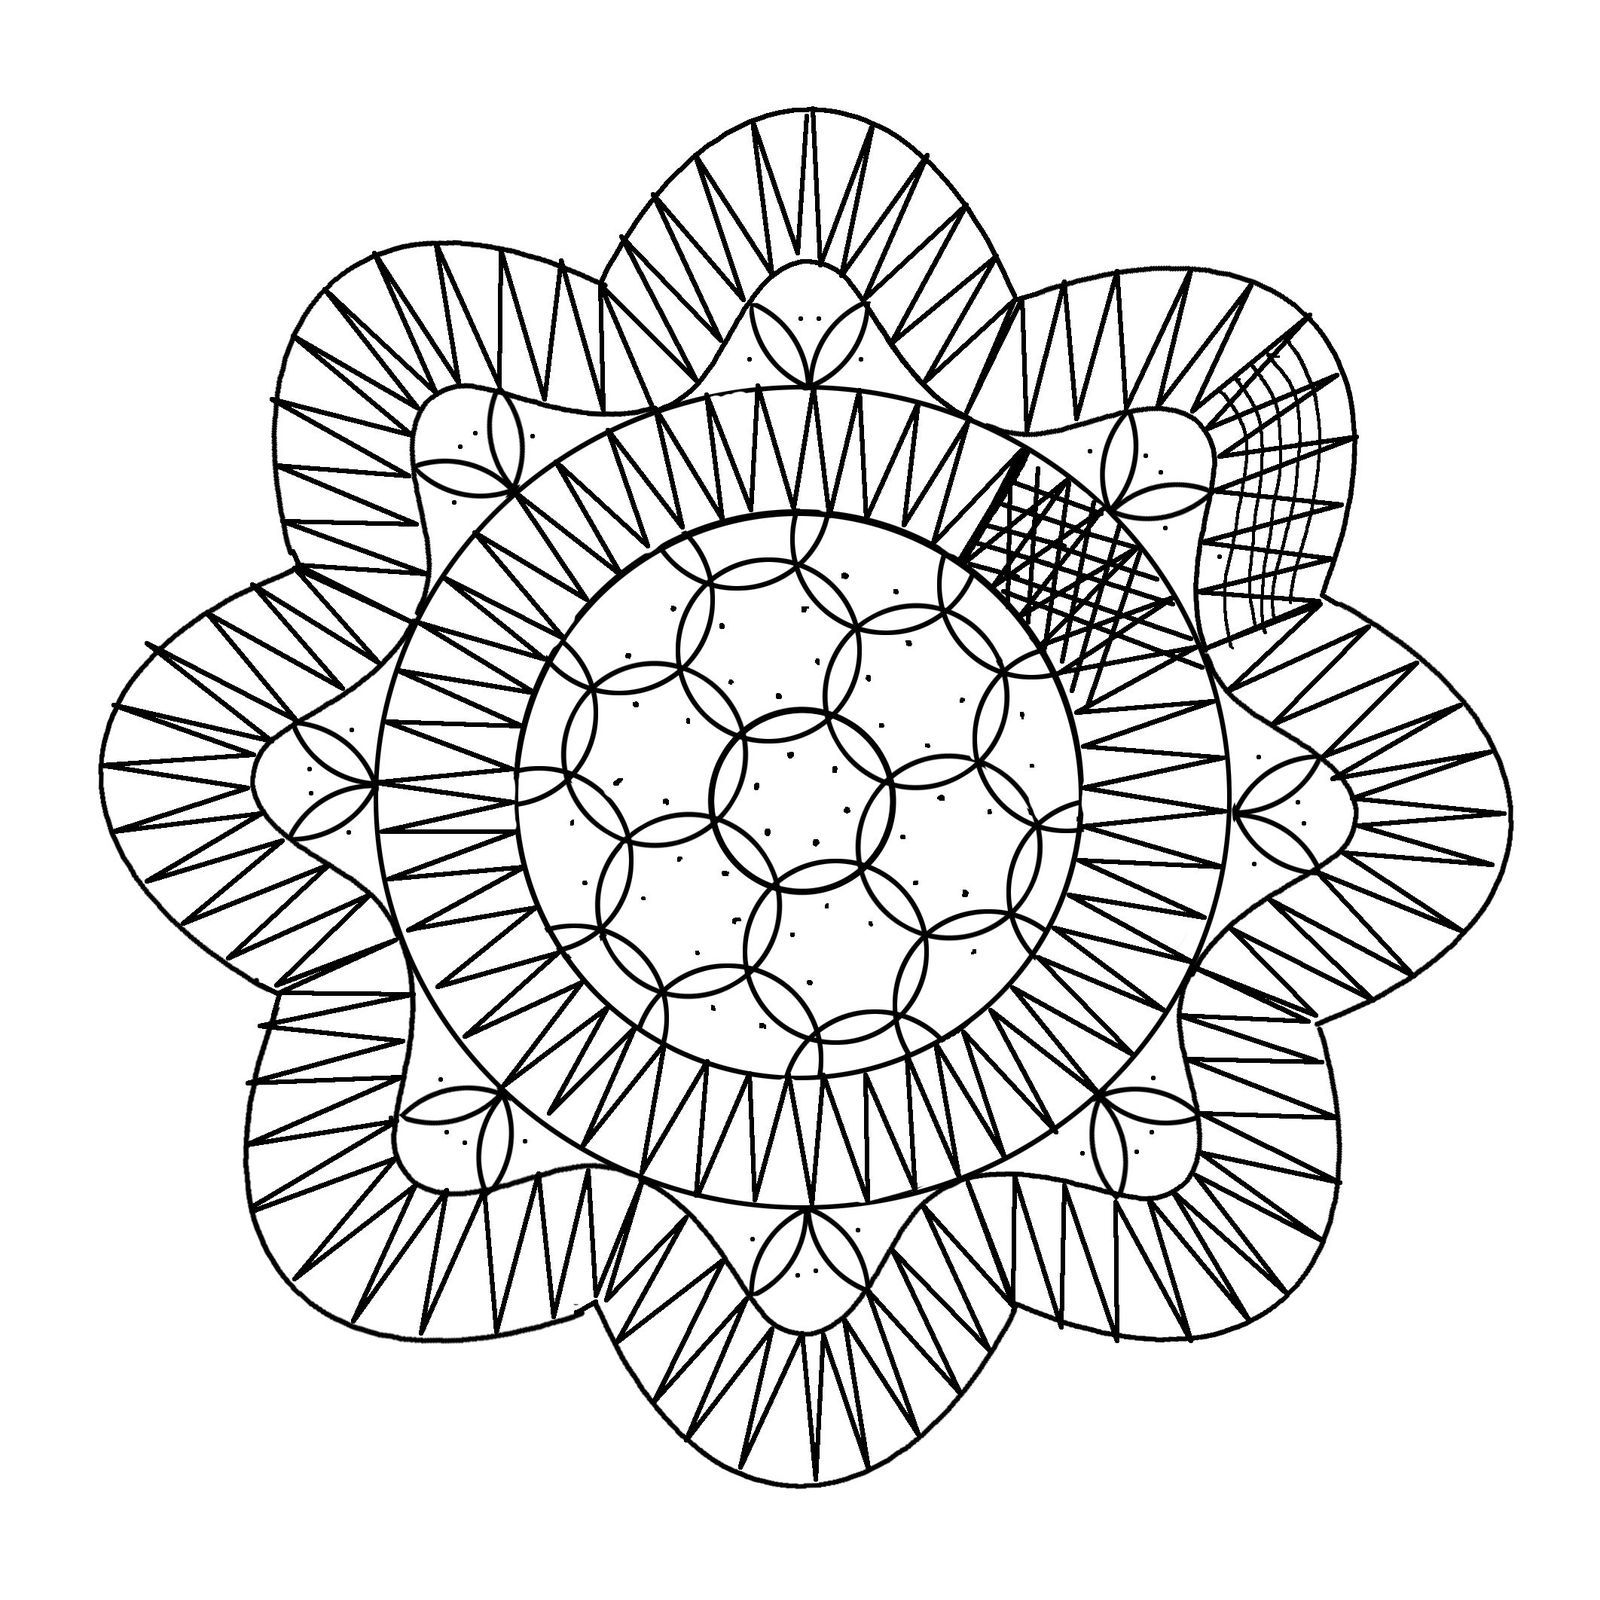
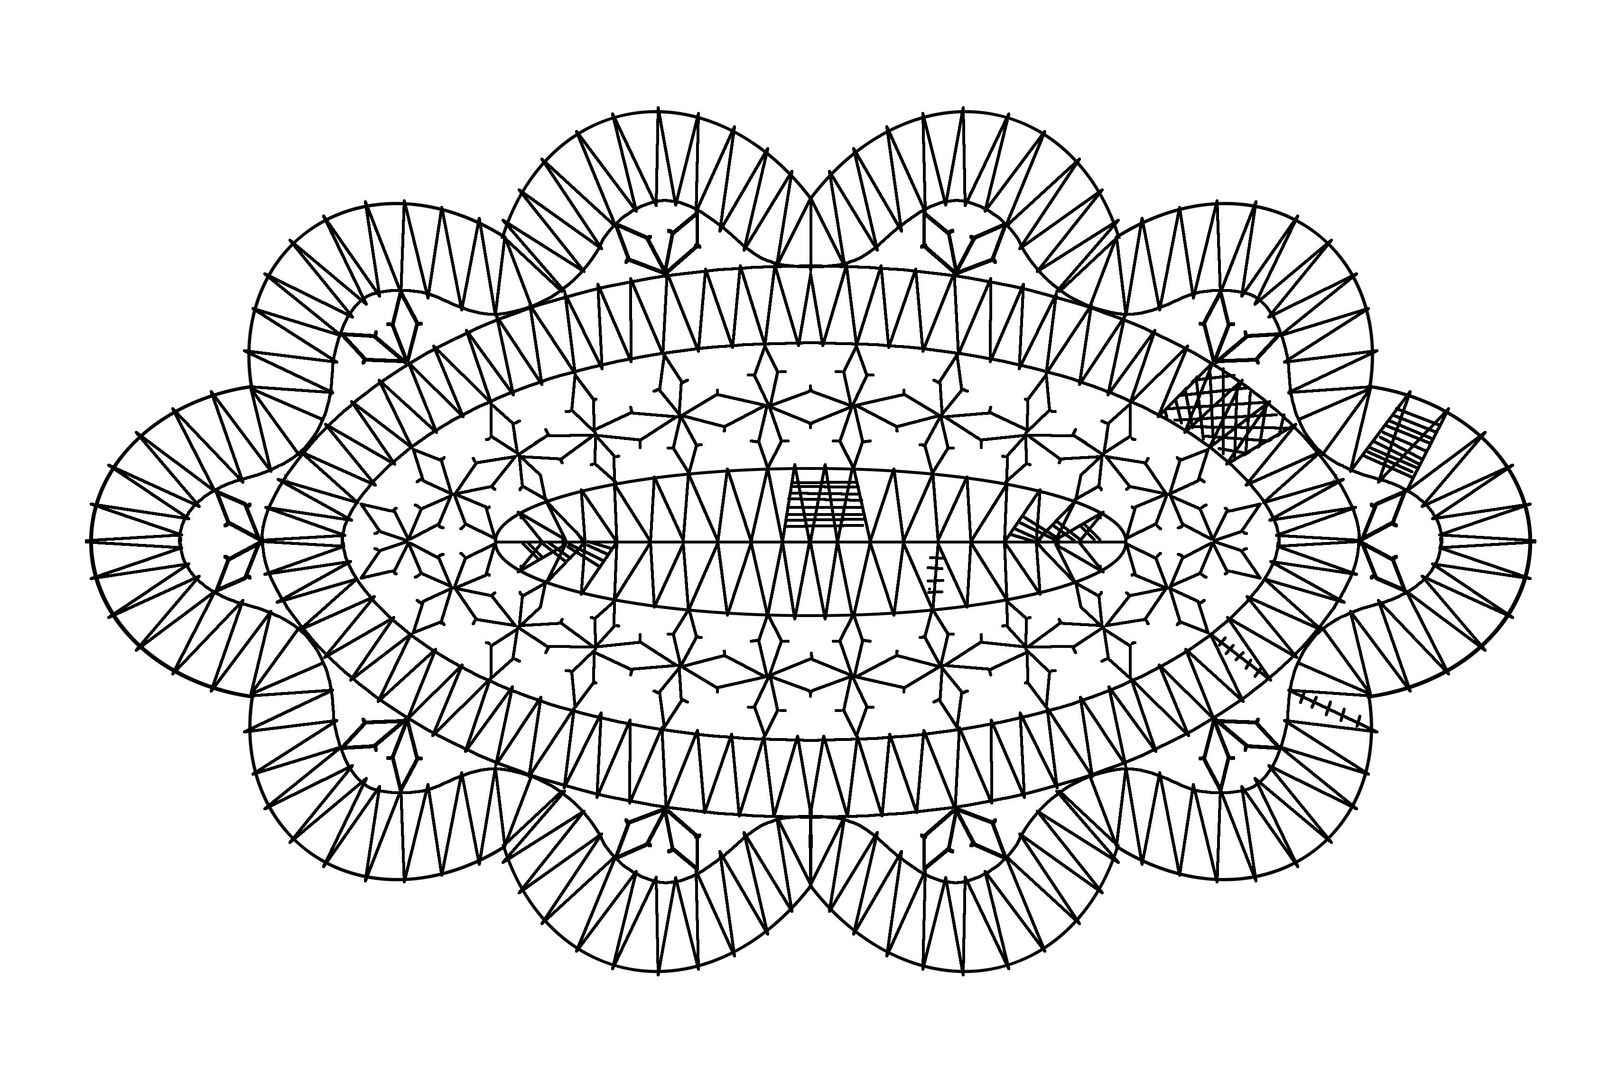
For the printable templates, I have refined the curves a bit but I have done my best to preserve the original placement of pins and knots as well as the type of weave. My intention was to reproduce the old work, not to reinterpret it.

Round doily, ca. 16 cm across. © Charly, all rights reserved. Click for full size.
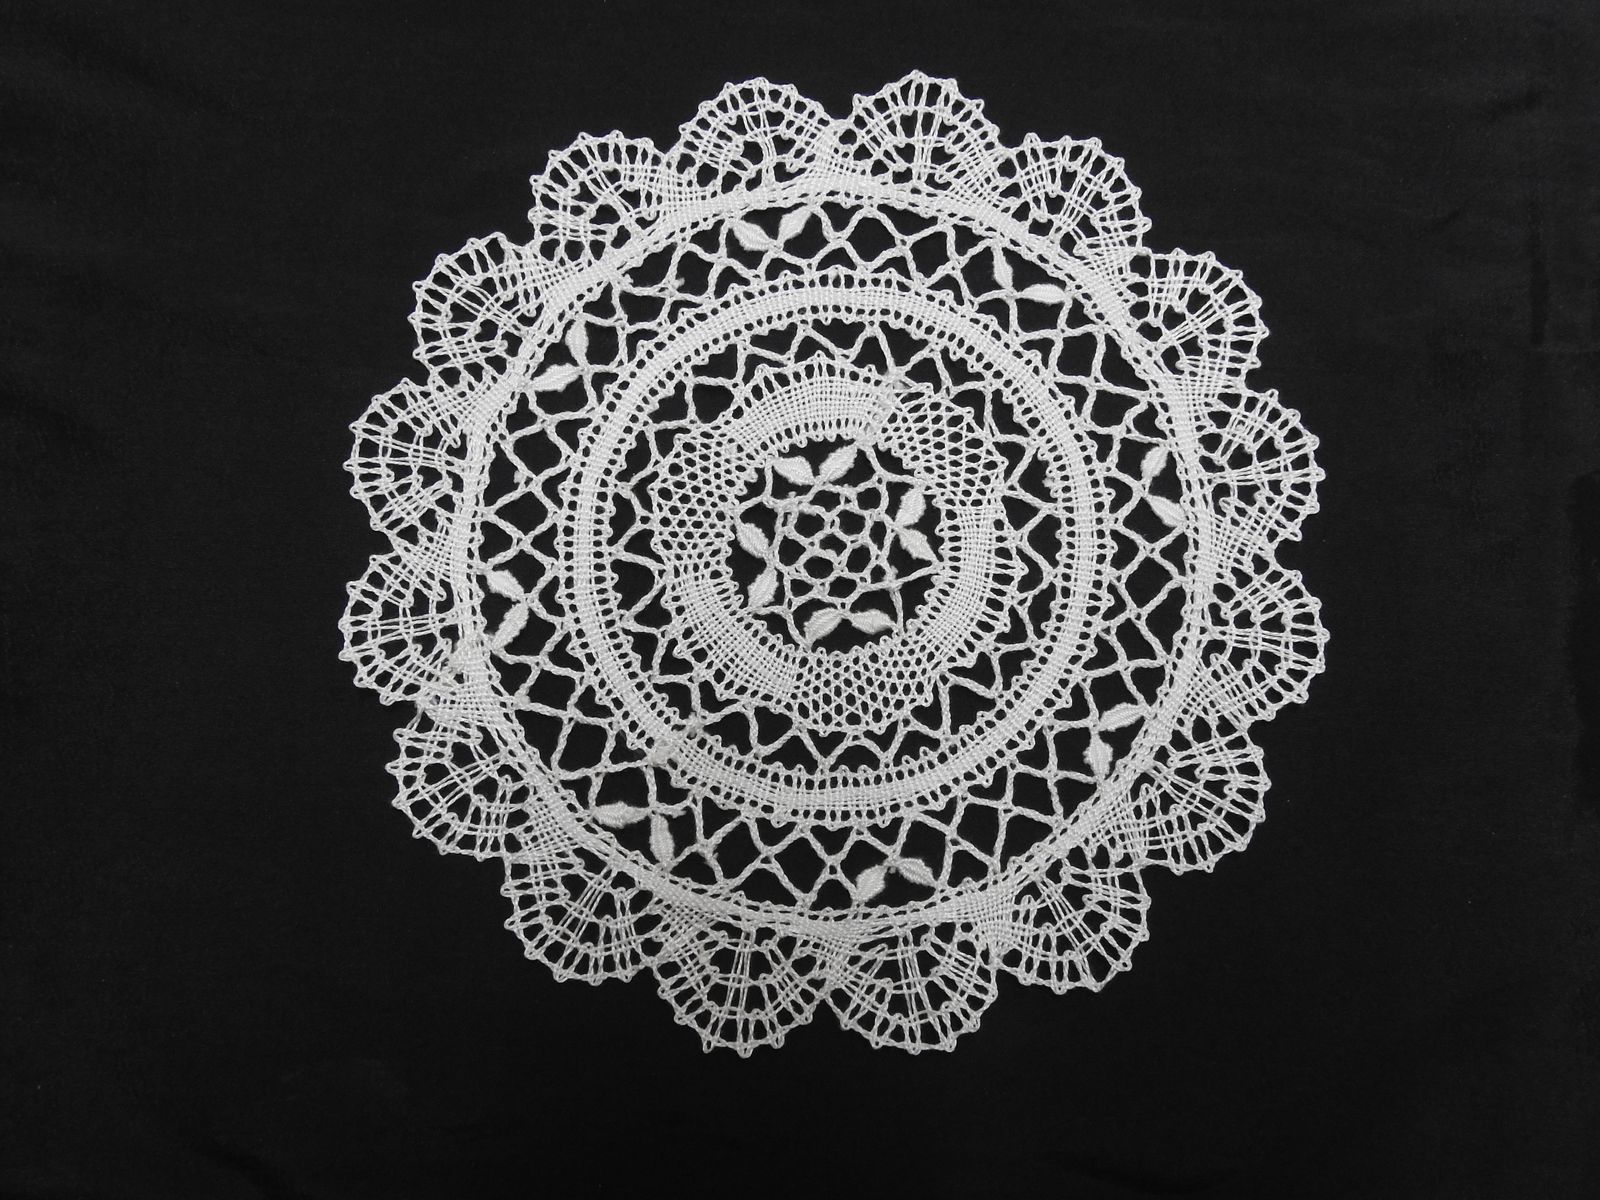
Round doily, ca. 20 cm across. © Charly, all rights reserved. Click for full size.
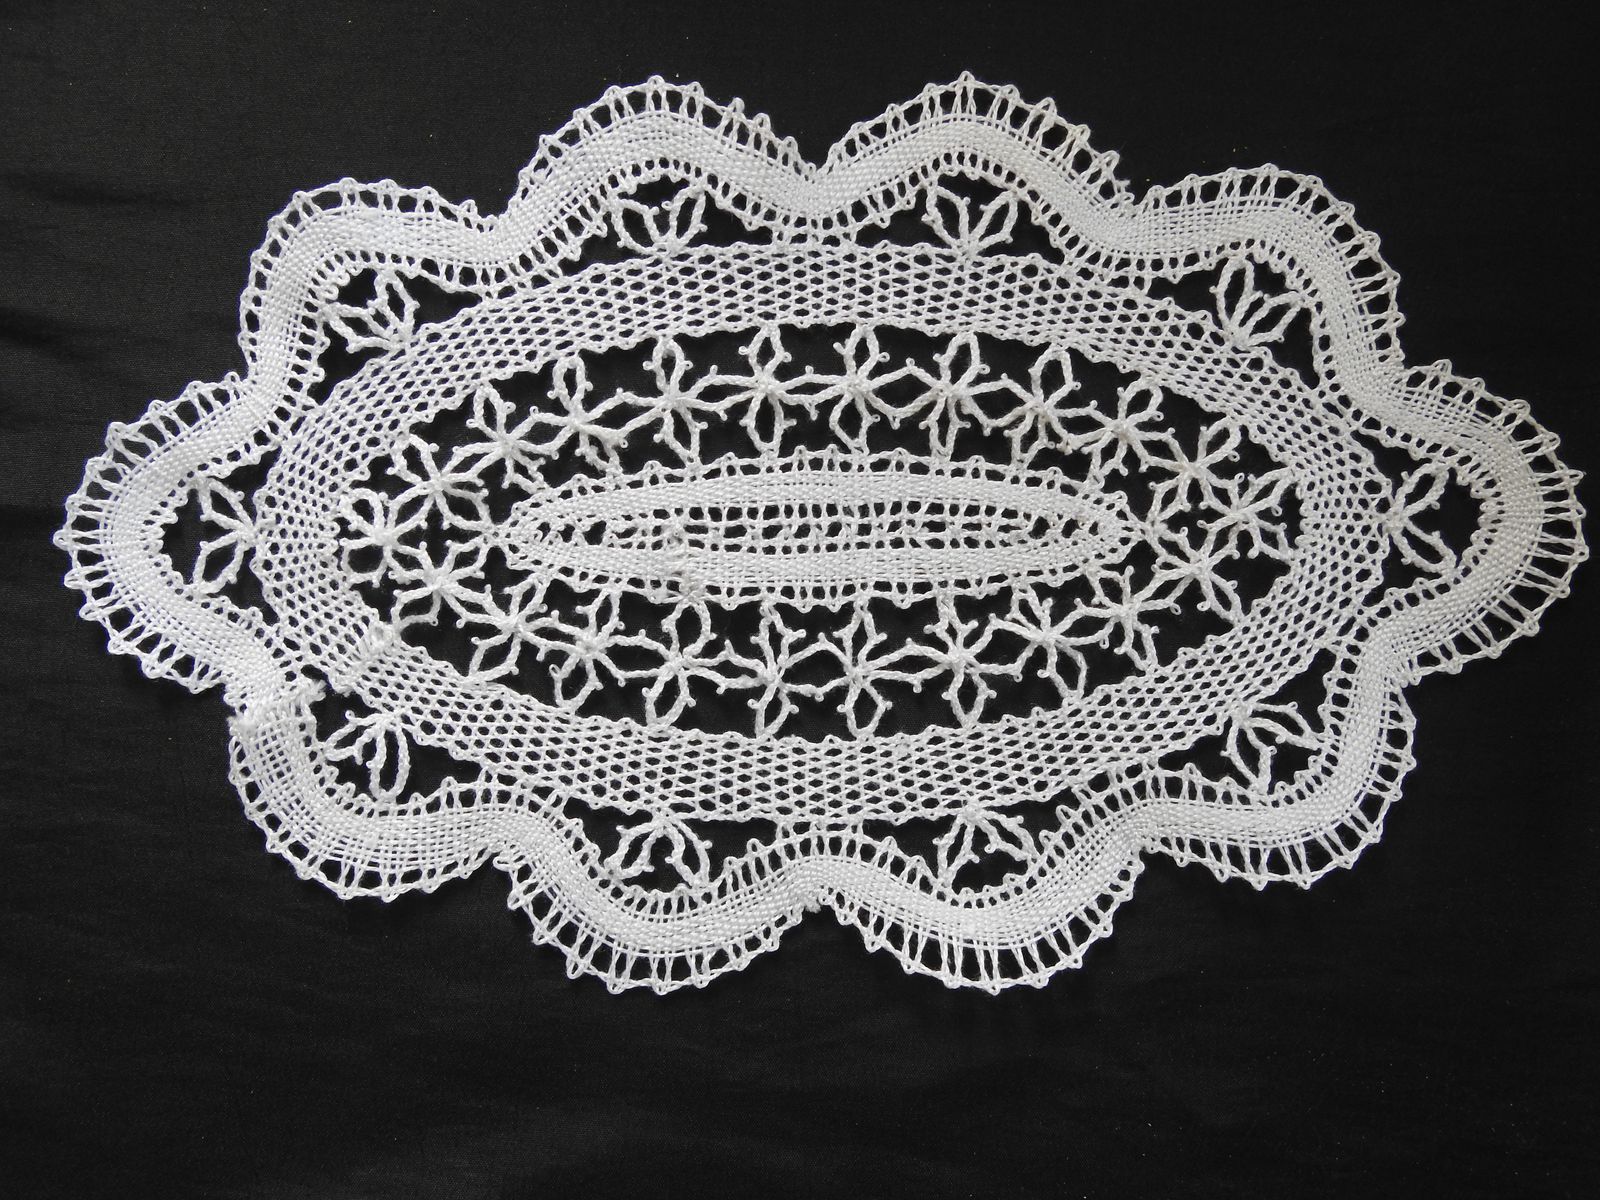
Oval doily, ca 16×25 cm. © Charly, all rights reserved. Click for full size.
Doilies are insidious. You make the inner circle first and that is quick and easy. Then the next inner circle takes a bit longer but it is fairly quick still. The next one then takes even longer. And the outermost one then drags on and on for what feels like forever.
Bobbin lace making shows itself to be a reasonable upper-back and shoulder exercise. The bobbins weigh next to nothing but holding your hands at breast height for hours is not easy. It is not exactly hard work, but it is not as easy as some might think.
Regarding my technique, I am not at my mother’s or my grandmother’s level yet. I am not able to hide the beginnings/ends as well as they do, neither can I make some types of lace (the diamond shapes on the last one are fugly) as neat and regular as they do. However they both were making bobbin lace since childhood and for decades, whereas I only learned it last year, so I am not losing any sleep over not being as good as they.