… animation, by Walt Disney Productions. Music: Tocatta and Fugue in D minor by Bach, performed by The Philadelphia Orchestra, conducted by Leopold Stokowski, in pioneering Fantasound.
(I need a few unicorns and flying horses today)
… animation, by Walt Disney Productions. Music: Tocatta and Fugue in D minor by Bach, performed by The Philadelphia Orchestra, conducted by Leopold Stokowski, in pioneering Fantasound.
(I need a few unicorns and flying horses today)
… illustration, by Kay Nielson
This illustration is from The Book of Death, a series of drawings exhibited in London but never published in book form. Nielson went on to work for Disney Studios and was the art director for Fantasia, one of my favourite pieces of animation.

From The Book of Death, 1911, Kay Nielson
Avalus has a penchant for finding interesting things to photograph on his way to work. Here are a few colourful birds, and he says,
… a flock of birds I encountered on my way to work. Again, I have no idea what kind of bird they are.
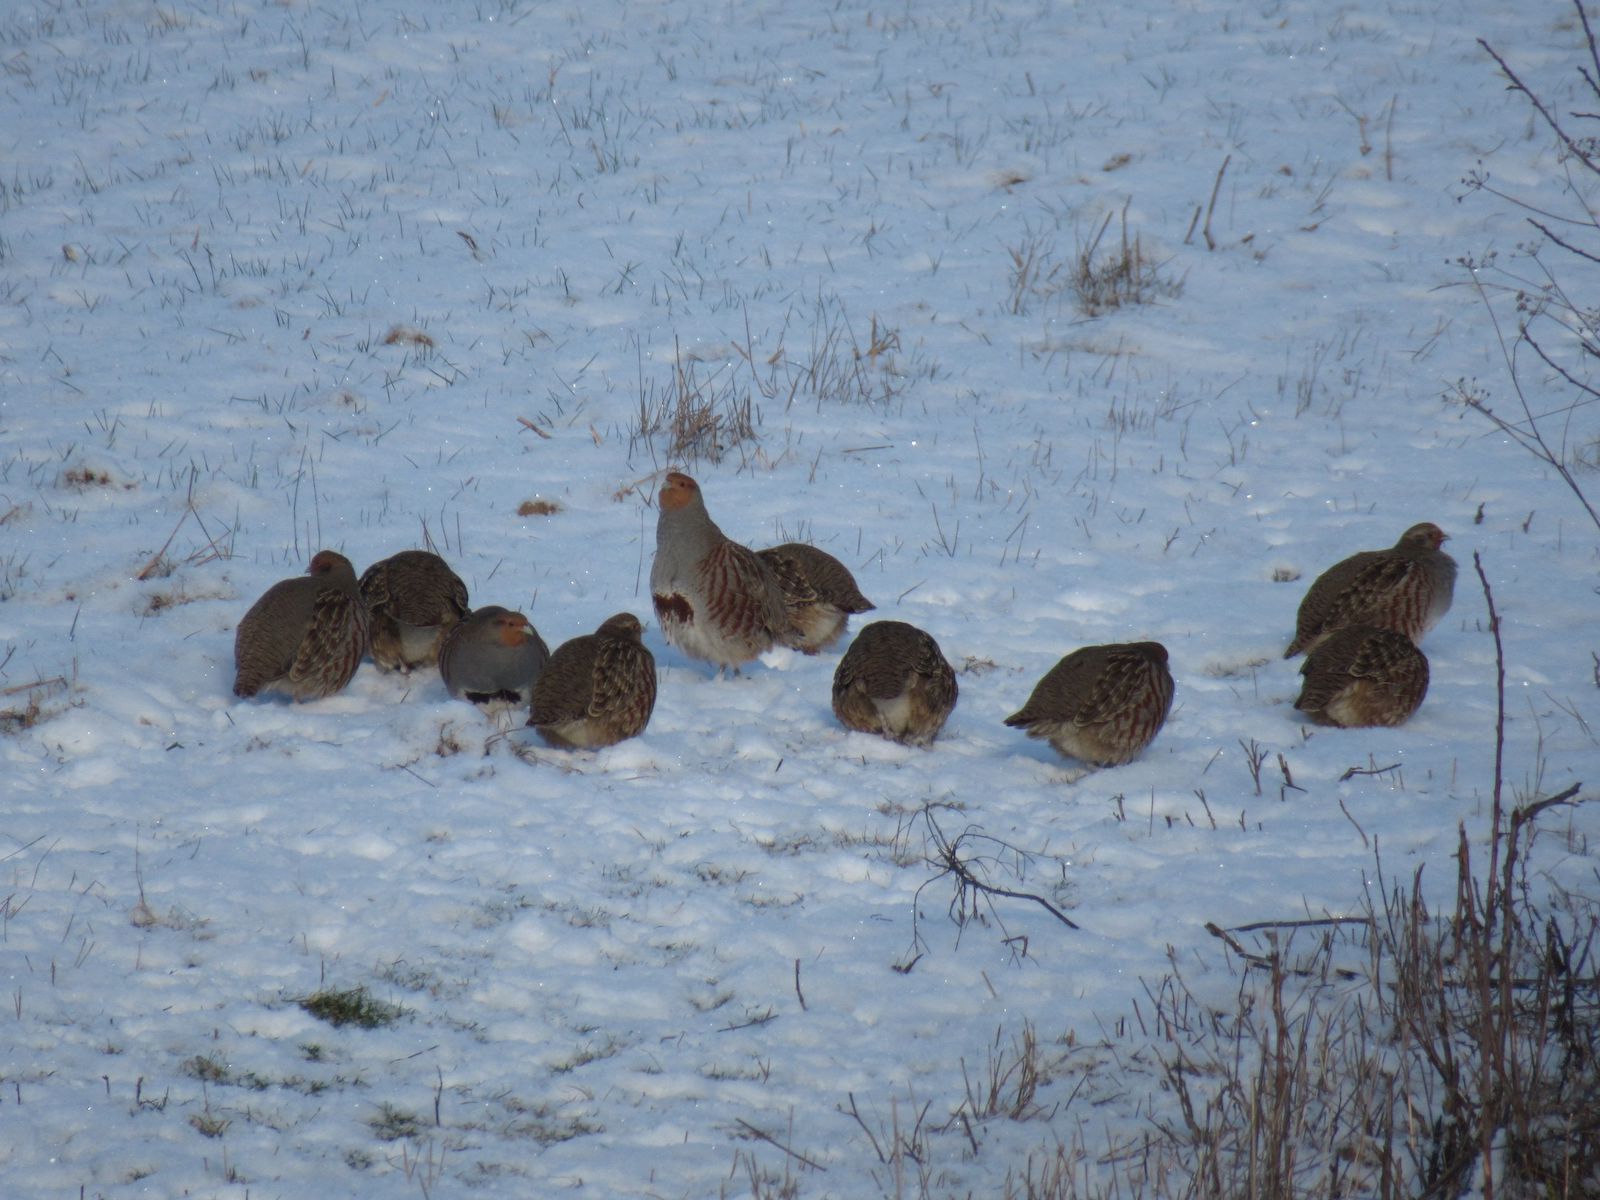
©Avalus, all rights reserved
Well, Spring isn’t exactly here yet (we still have lots of snow), but it’s arrived in Germany, and Avalus is sharing and giving me hope.

©Avalus, all rights reserved

©Avalus, all rights reserved

©Avalus, all rights reserved
Japanese Woodblock prints, by Utagawa Kuniyoshi
Kuniyoshi is considered a master of ukiyo-e (woodblock prints), and his favourite subject was cats. He was obsessed with cats, and his studio was often overrun by them. He often portrayed them as well-loved characters from stories or as part of kabuki theatre. His art is inventive and often playful, and it quickly became popular and well respected, lifting him out of the poverty of his early life.

Amusements of the First Snowfall, 1852, Utagawa Kuniyoshi
I love cats and these wonderful creations by Anne, Cranky Cat Lady are glorious.
Photos of my Mystical Cats from Lyn Belisle’s Mystical Cat Shamans class. The faces are her work (she does lovely ceramics) but the rest is mine. Leafy girl is Thera, Protector of Wild Things, the turquoise cat is Bast, my Mewse. Because you know how much cats love to help with your work. Lots of vintage bits and pieces, handmade paper, and beads. They’re pretty big, about 14″ tall, and I’m going to have to move stuff around so I can hang them.

Thera, ©Anne, Cranky Cat Lady

Bast, ©Anne, Cranky Cat Lady
Jill Bearup is has made much more fun and informative video on the infamous boob armor than those made by doods (which were not always bad) and I really think it is worth watching if you are interested in that kind of thing.
…portraiture, by Alice Neel
Alice Neel suffered many tragedies in her life, including the loss of several of her children. She suffered a nervous breakdown, attempted suicide and was hospitalized for over a year. Her work is infused with emotional intensity and a fearless realism. There was some criticism of her work contemporarily because it did not hold with the ideals of how the feminine should be portrayed in art, but Neel is now considered one of America’s best portrait artists. The Metropolitan Museum of Art in New York City will be hosting an exhibition of Ms. Neel’s art from March 22 until August 1, 2021. Virtual Tours are available by request.
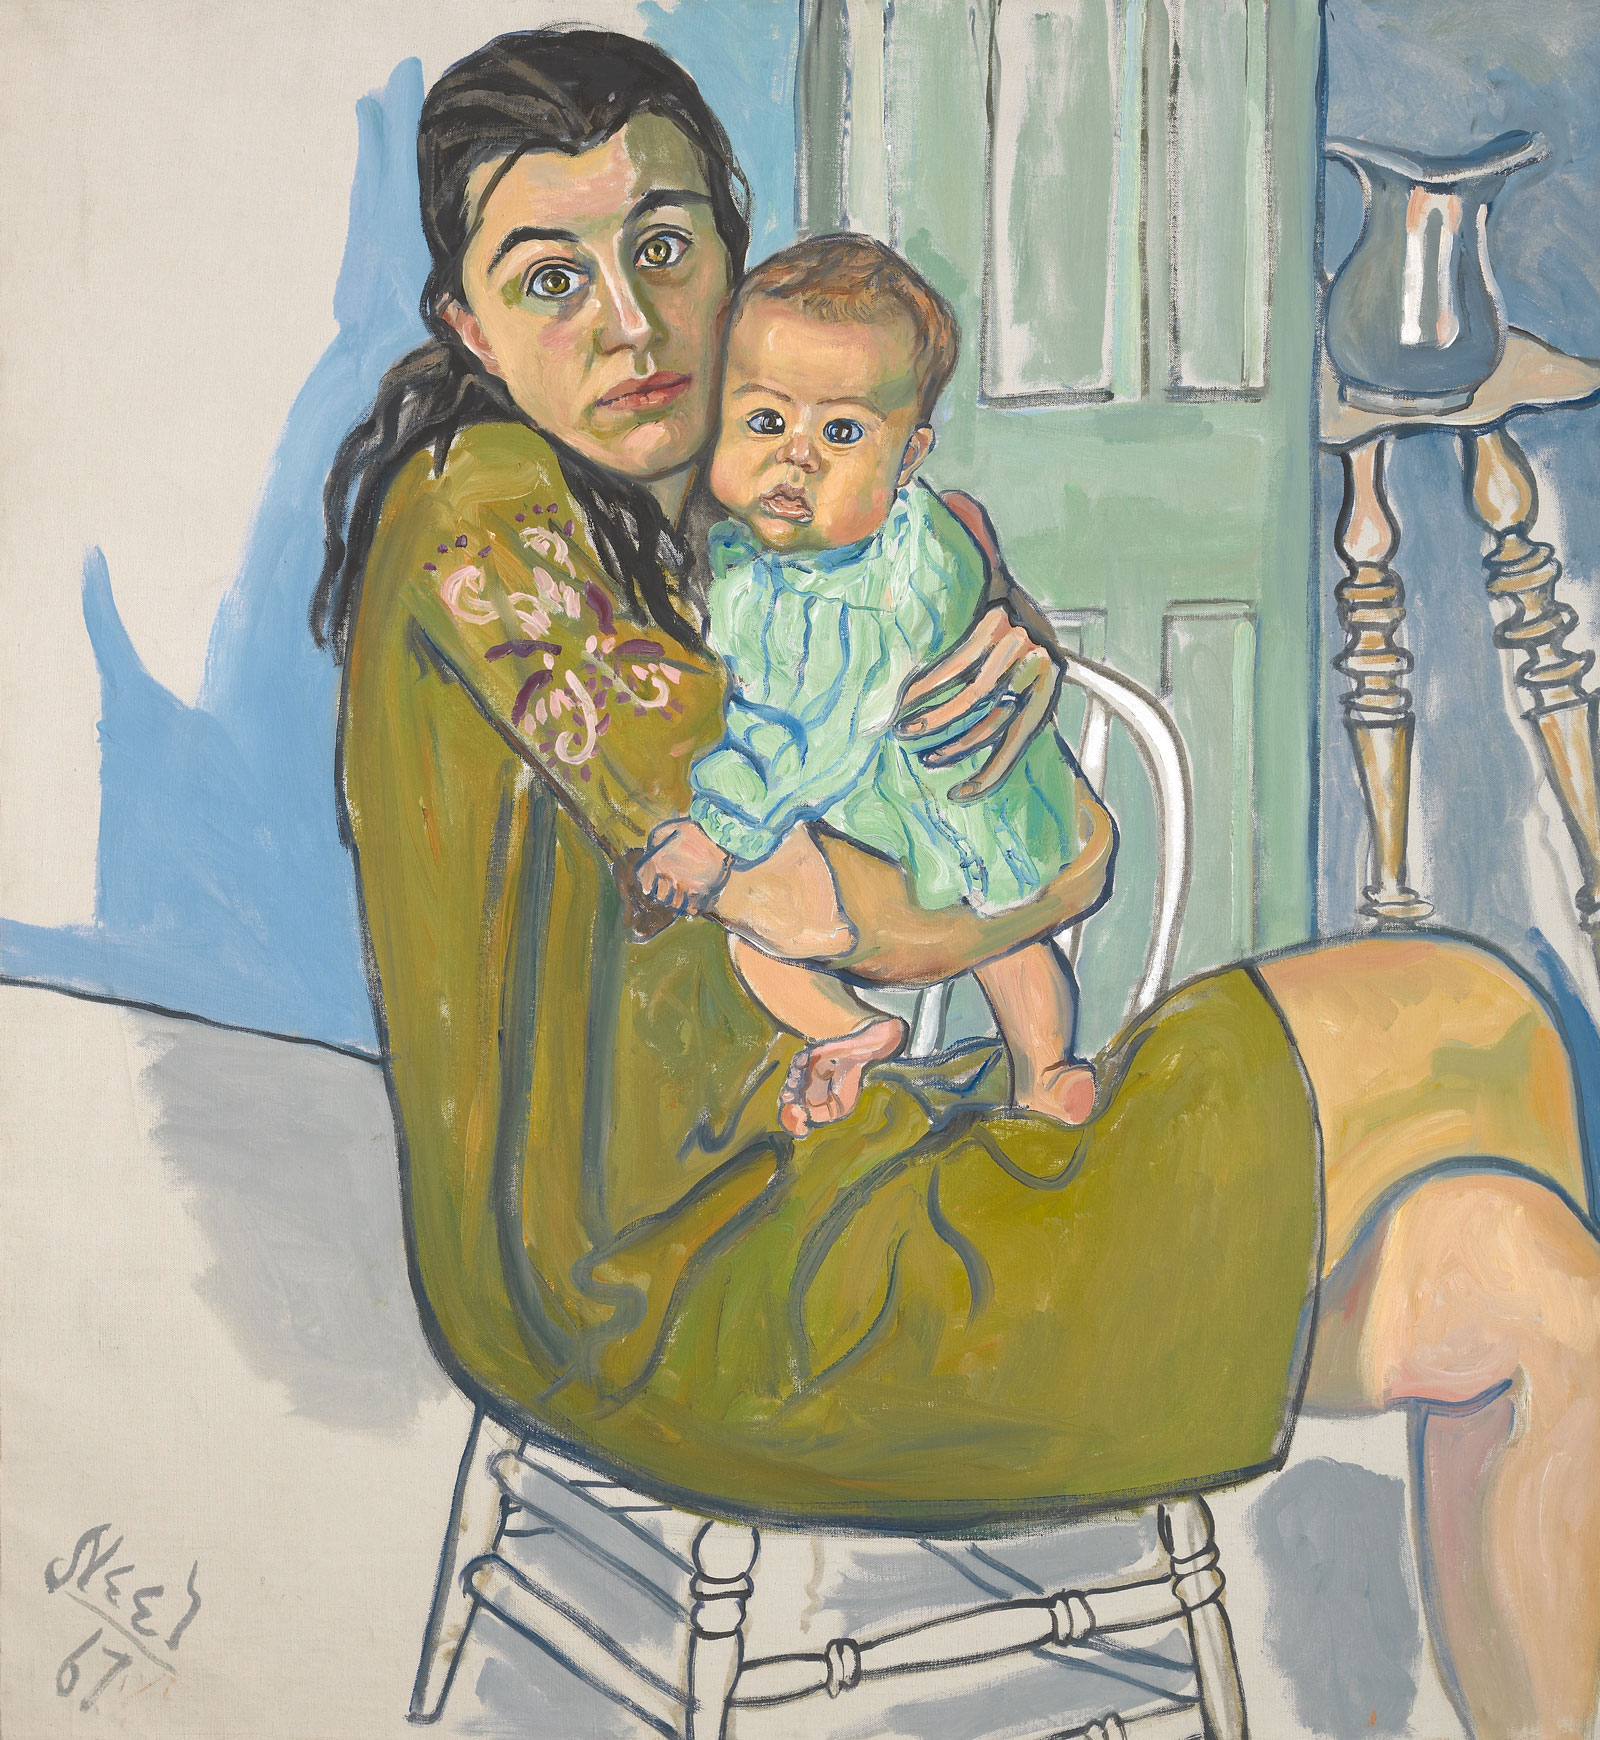
Mother and Child (Nancy and Olivia), 1967, Alice Need. Image from The New York Review
I am finishing the kitchen-knives sets, and one of the tools that I was still missing in my toolbox was a branding stamp that could be used for wood and leather. For leather, I have used an impromptu one made from wood stabilized with epoxy, but that cannot be used to brand wood of course. But when making that I have figured out a process that could be also applied to making one out of steel, so after a lot of procrastinating the task, today I have finally bitten the bullet and took the two hours it needed.

© Charly, all rights reserved. Click for full size
The handle is from an extremely old and out-of-shape potato peeler. Maybe even antique, but I know of no museum that would take it of my hands so I have recycled it. The screw is recycled from old furniture. The stamp itself is from tool steel, although I will not be hardening it.
I could not tap the hole in the stamp very deep and well without re-grinding and thus destroying the taps, because standard taps need to go through. Thus I could not cut very good threads in there, just two turns of half-assed ones. But that should not be a problem, a few dents for the thread to latch on to should suffice, friction should take care of the rest. It is not supposed to come apart, and if it comes apart, I will braze it.

© Charly, all rights reserved. Click for full size
The one advantage of having a logo consisting of only straight lines is that it made the job relatively easy. A bit of filing, a bit of grinding with an angle-grinder, and here we go. Up close there are some flaws and the width to height ratio is a tiny bit off, but that is just life. I have tossed one attempt due to flaws, but I think this one will do.
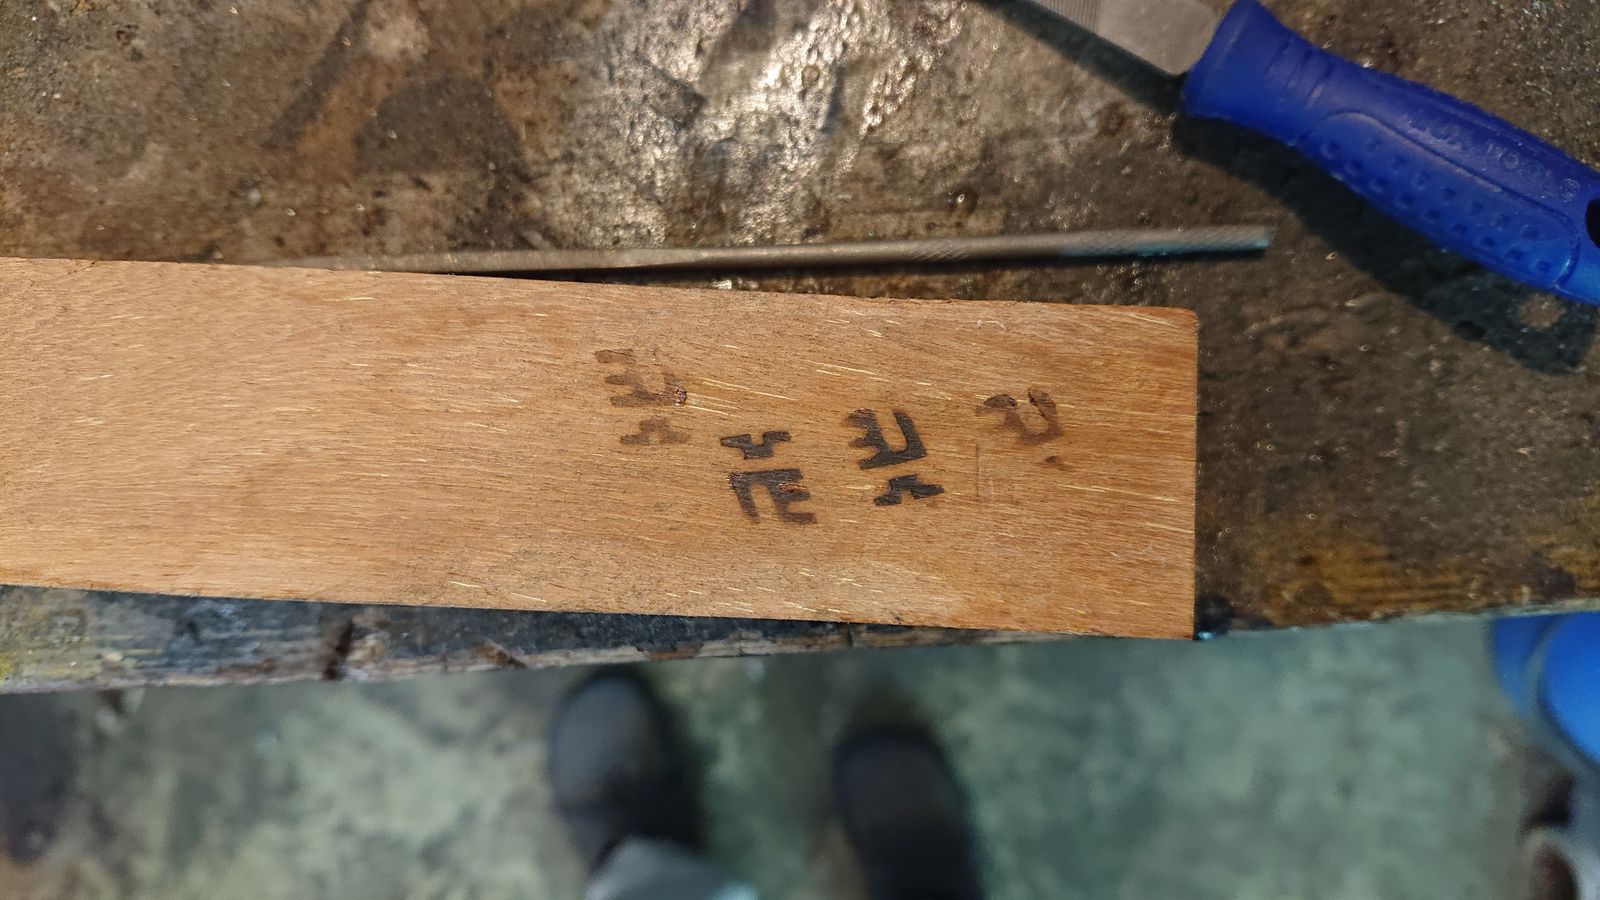
© Charly, all rights reserved. Click for full size
Wood branding is not an exact science, there will always be some irregularities. But with some practice, I should get crisp and nice logos that can be placed even in visible areas. Which is my intention.

© Charly, all rights reserved. Click for full size
And there is absolutely no doubt that on leather, the results are way, way better than those I got with my wood-carved impromptu stamp.
I may give it a go one more time to get the proportions better, but in the meantime, I am going to use this one. I doubt anyone will complain about it.
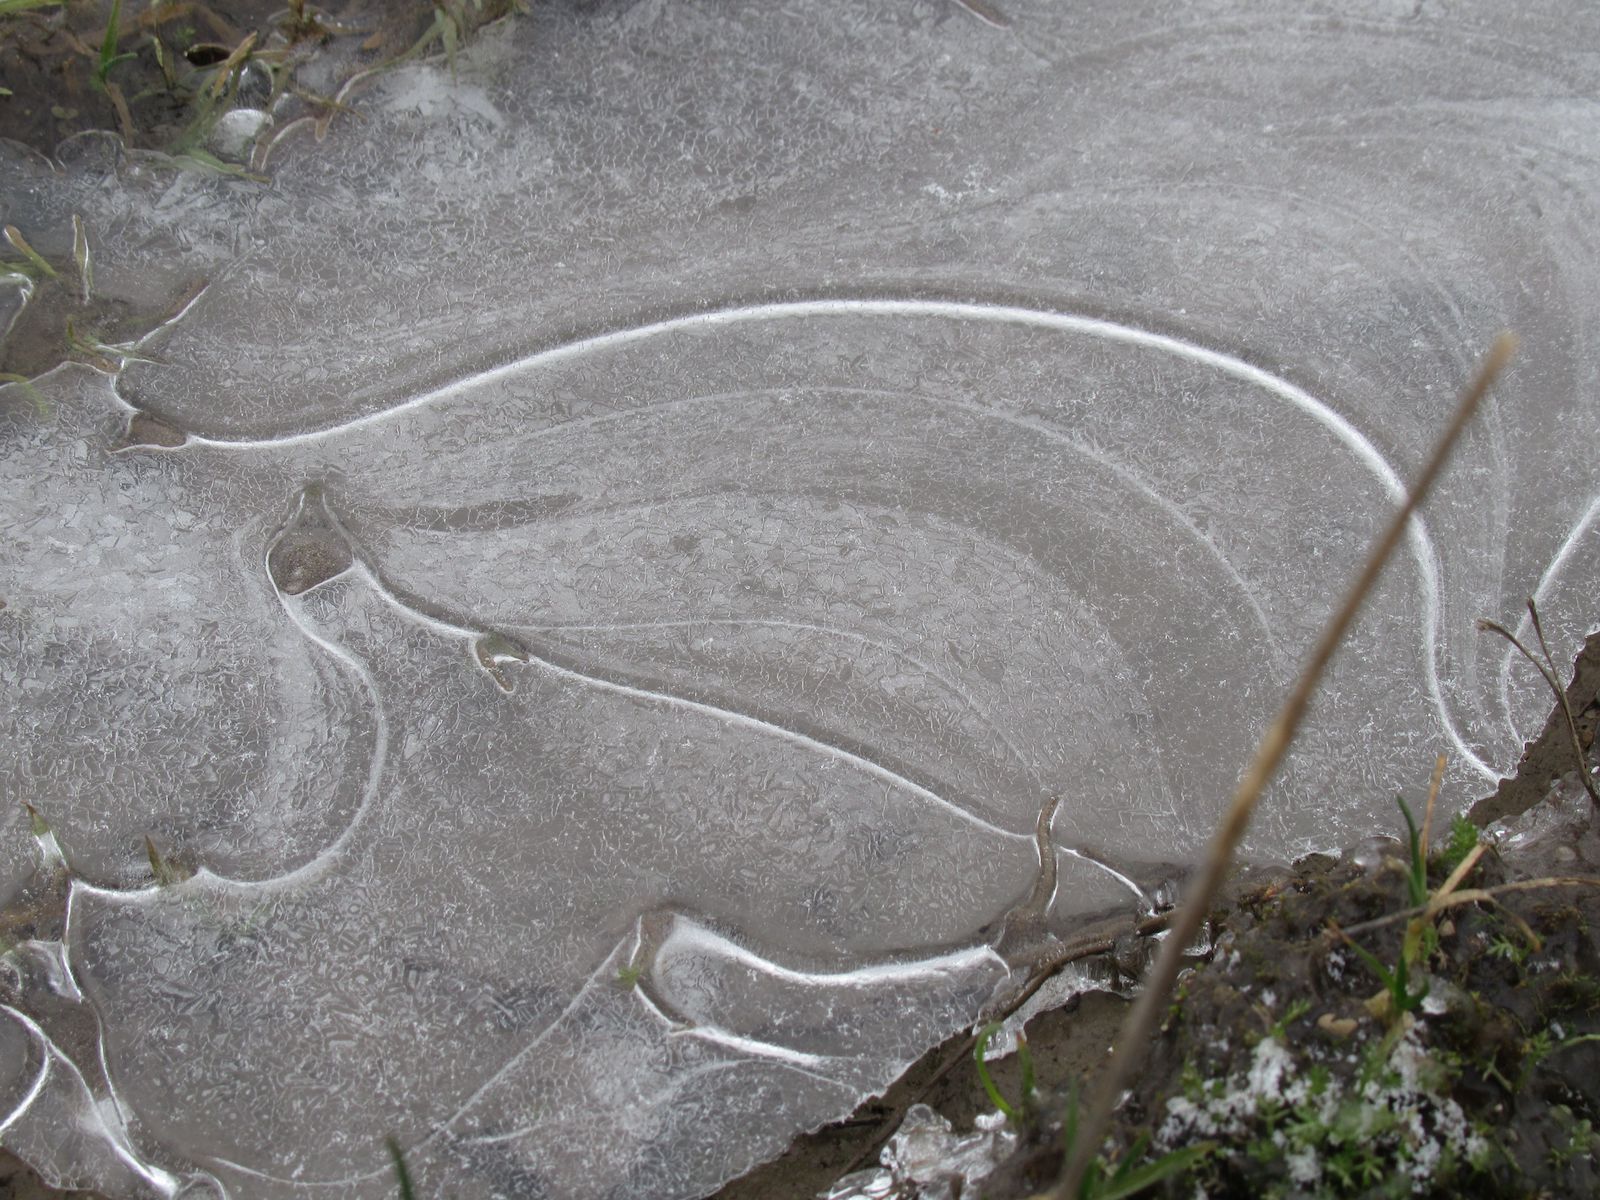
From Avalus,
A muddy, frozen puddle by the roadside.
Boring, one might say.

©Avalus, all rights reserved
But, what interesting patterns in the ice, indicating the shrinking liquid underneath.
Let’s look closer.
©Avalus, all rights reserved
Structures emerge between the layers!
Let’s look even closer.

©Avalus, all rights reserved
The ice sheet that seemed so uniform from afar is structured, almost like cathedral glass, from many tiny crystals of ice.
Everywhere, there is beauty in the universe.
(This was pretty much my thought process when I came by that frozen puddle. That, and my cold feet, reminding me of my poor choice of shoes I took for that walk :D)
Let’s start with the spring part and some explanation about how certain pieces are done.
While blue is and will always be my favourite colour, occasionally I want some other colour as well. In this piece I went for greens and yellows.
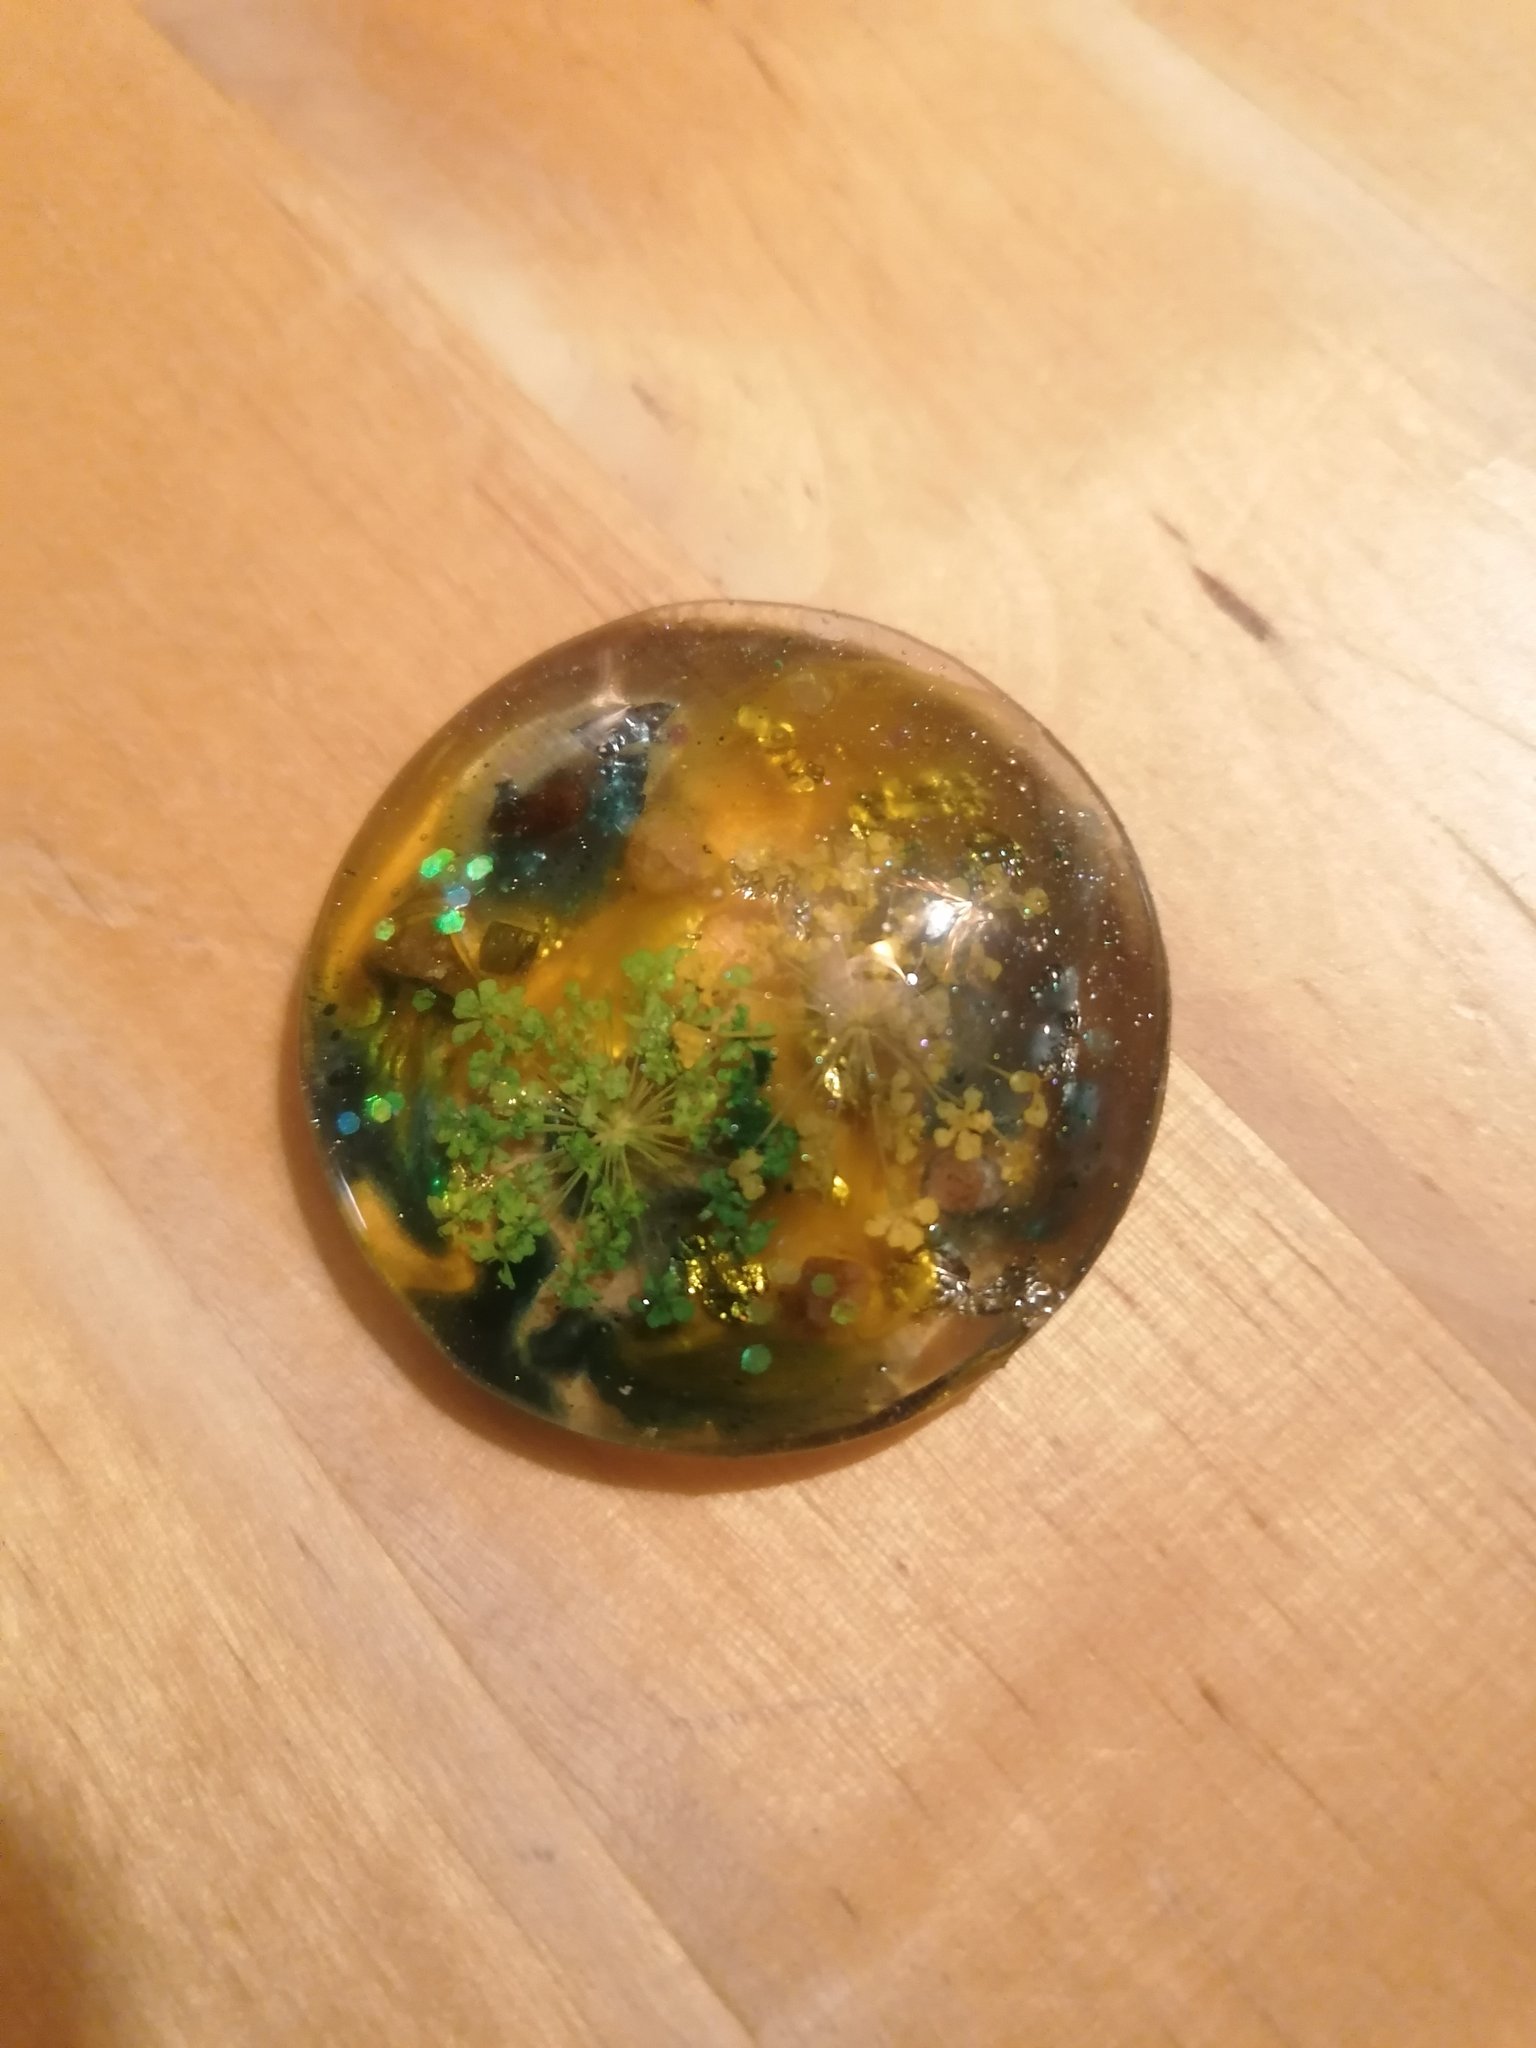
©Giliell, all rights reserved
I’m not quite sure what to do with it. Most certainly a necklace, as it’s about 2″ wide, but I don’t think I’ll just screw an eyelet on. More like some easy wire wrapping. This piece has been worked “top to bottom”. All these UV resin pieces have many layers, which means I’m constantly working on 2 or three projects at once, adding a layer to one while the other one is curing under the UV lamp. There are two ways you can go: bottom to top or top to bottom. Most pieces are worked bottom to top: you start with a base, which can either be a free form, an epoxy blank or a bezel, and then add layer after layer.
When working with a mould, or in this case a concave blank, you add things to the bottom side (though of course you can add stuff to the top as well). This gives you a watery or ambery feeling as the light is bent and reflected.
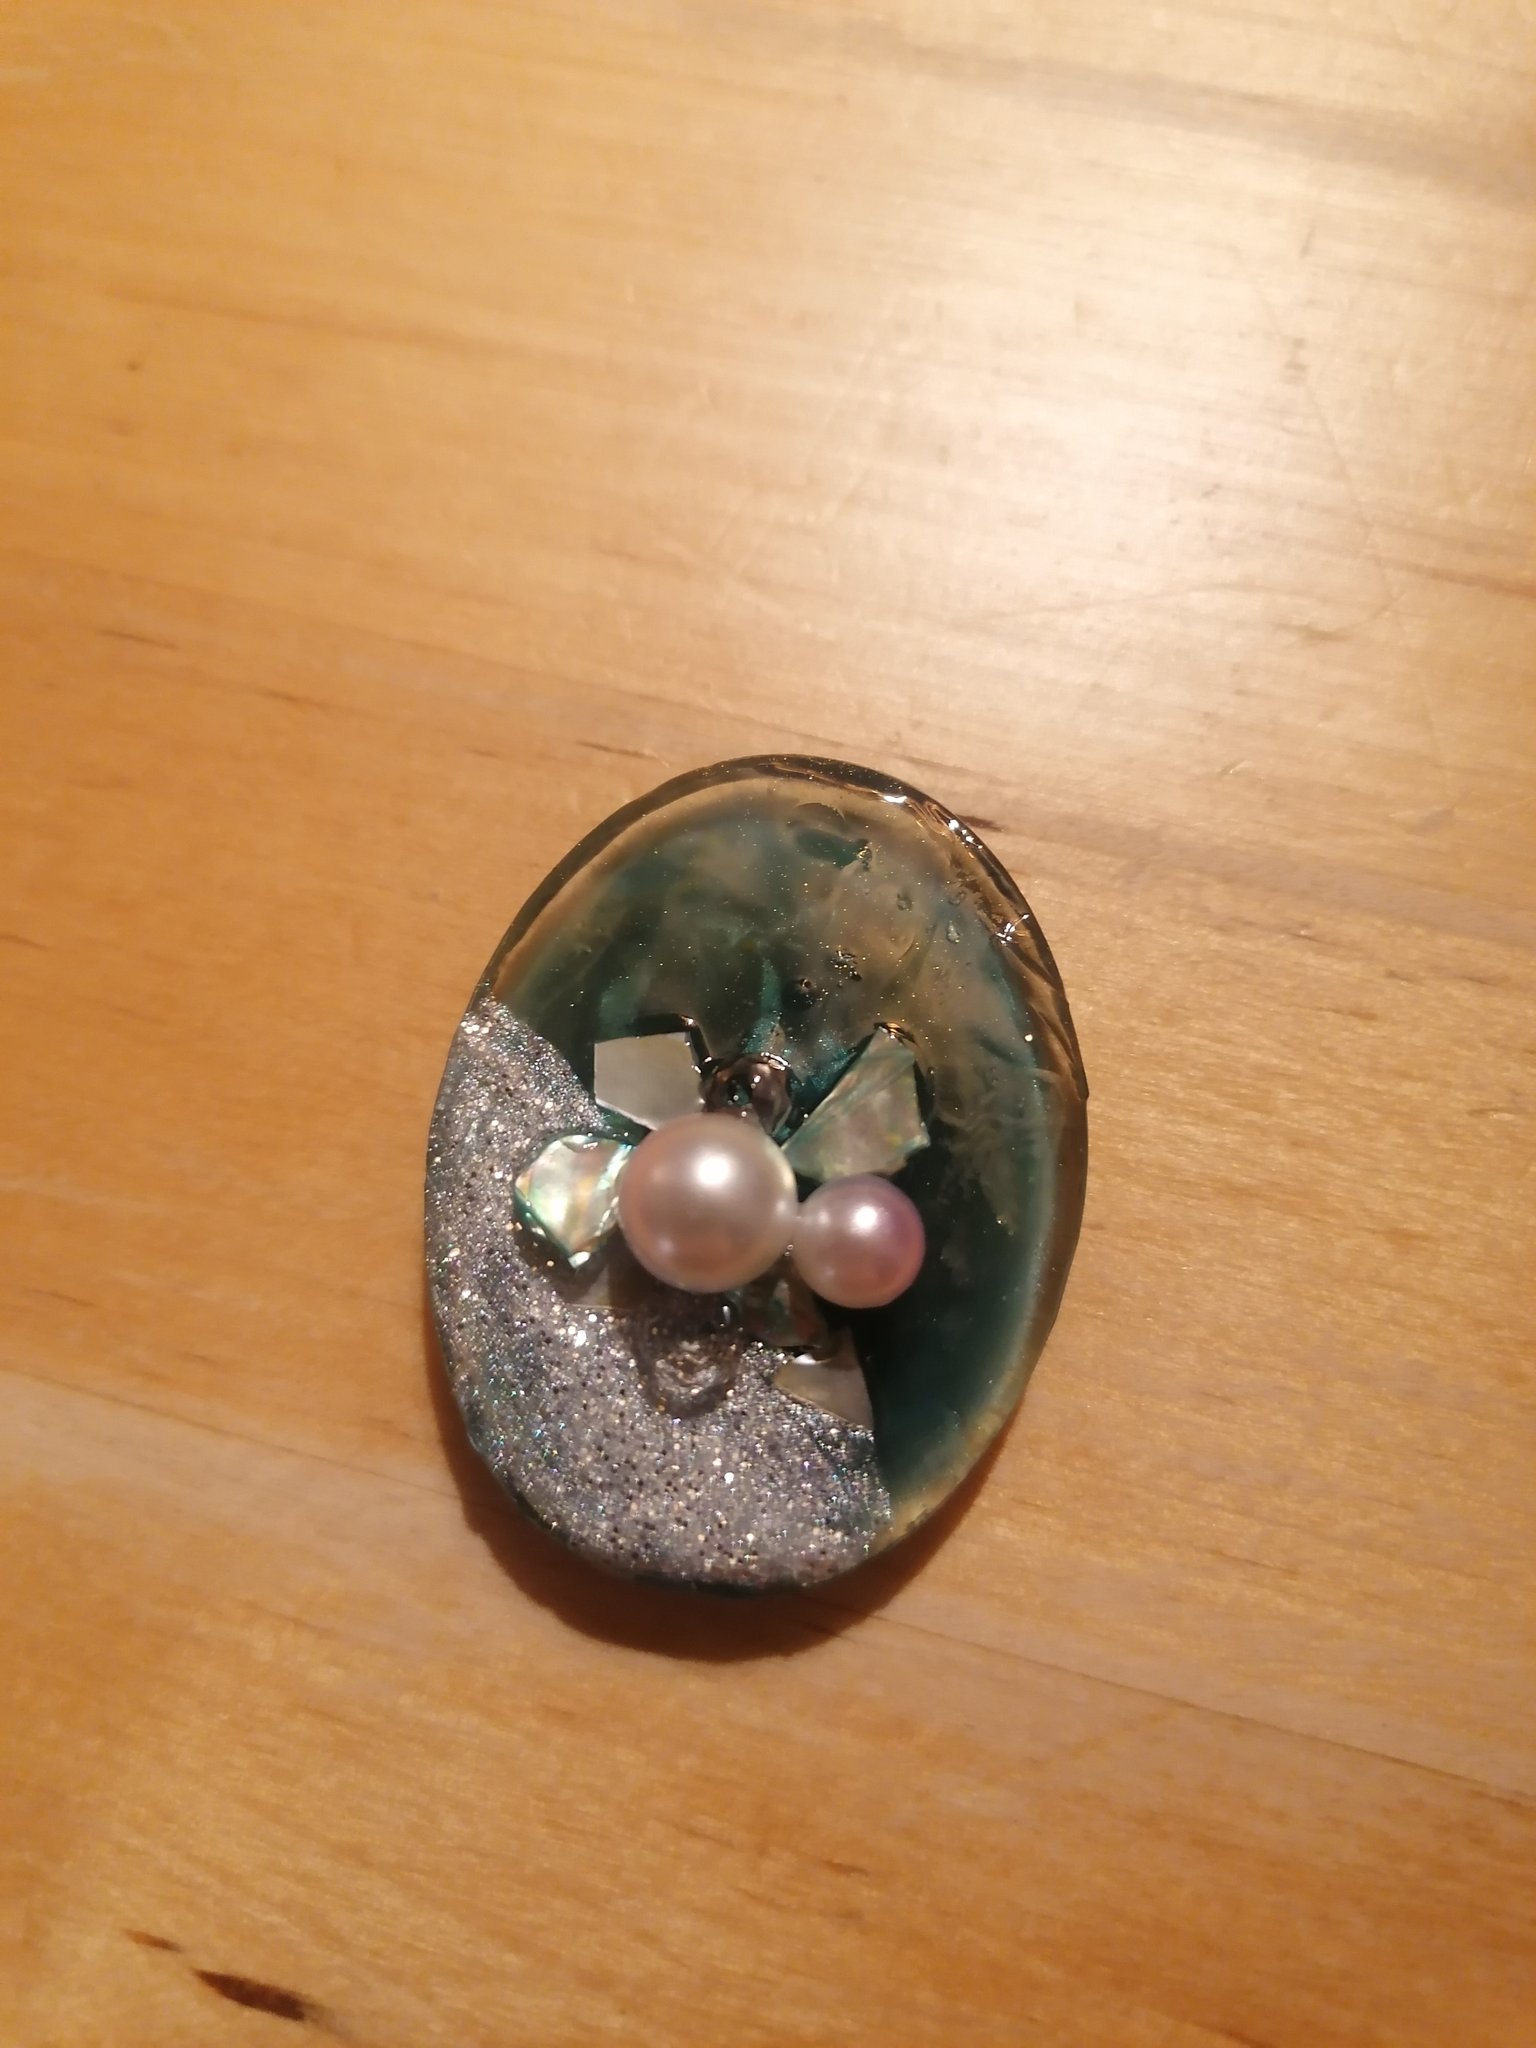
©Giliell, all rights reserved
This on the other hand is bottom to top. The seashell and the pearls are sitting on top of the blank with a blue background.
©Giliell, all rights reserved
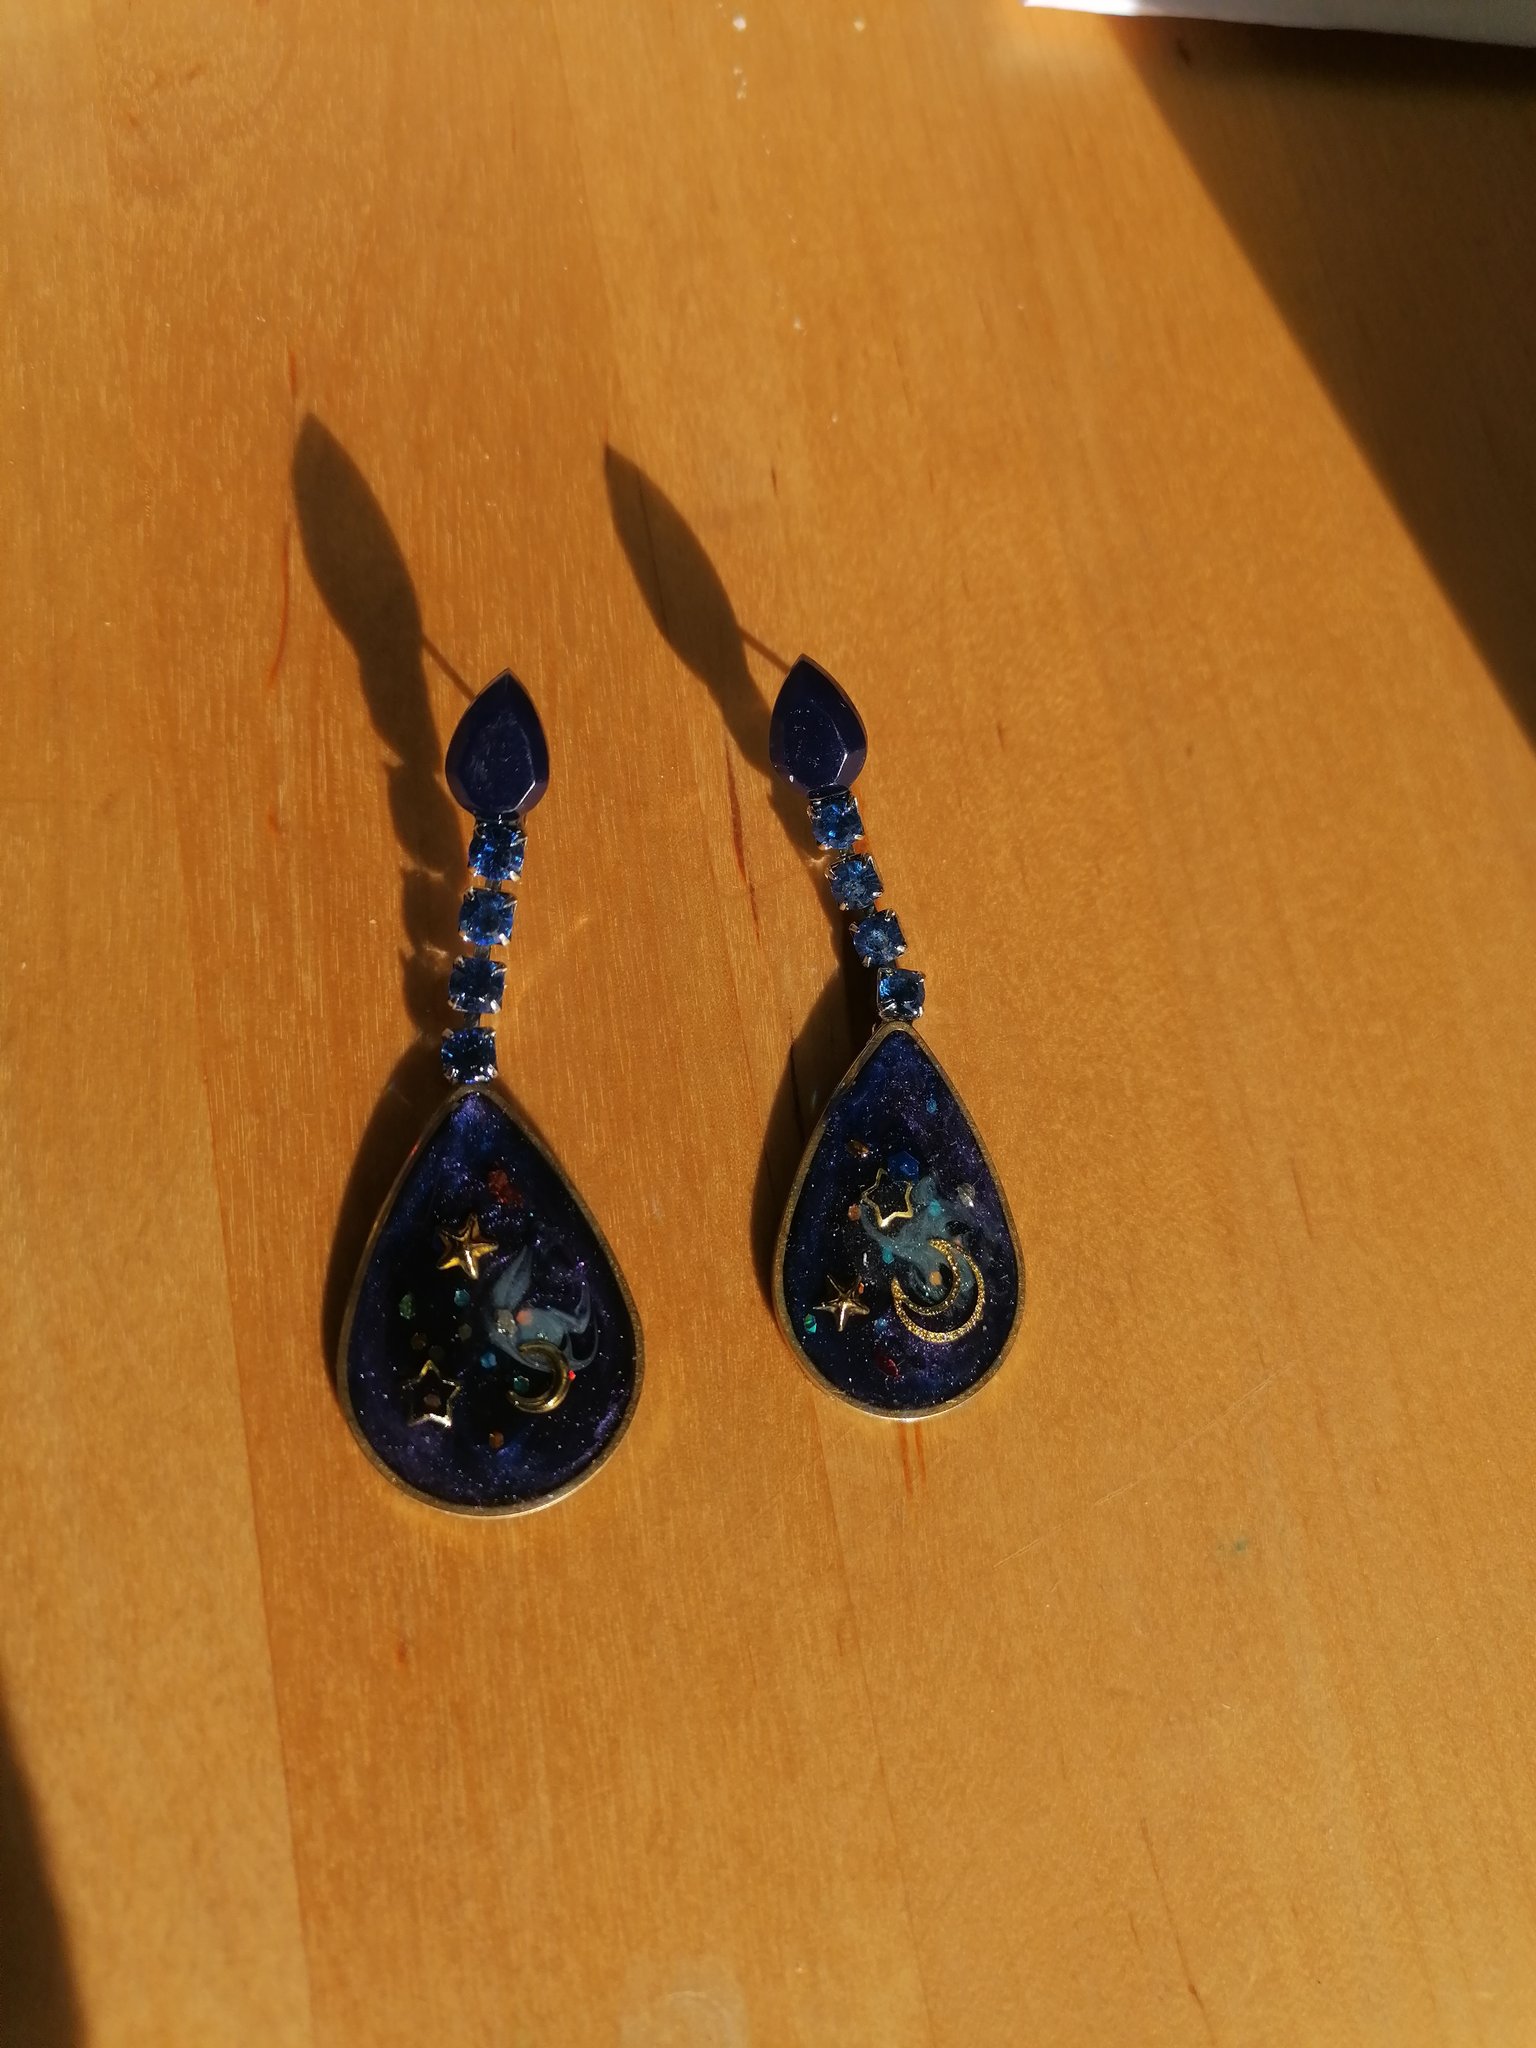
Starry night earrings. What can I say, I love everything galaxy themed…

©Giliell, all rights reserved
Not yet sure what to make with this one. This one has also been worked top to bottom in a mould as opposed to the other way round that full spheres are worked.

©Giliell, all rights reserved
A little fun with some left over resin from the oval pendant.

©Giliell, all rights reserved
Sparkly earrings with blue rhinestones and home dyed pink baby’s breath.
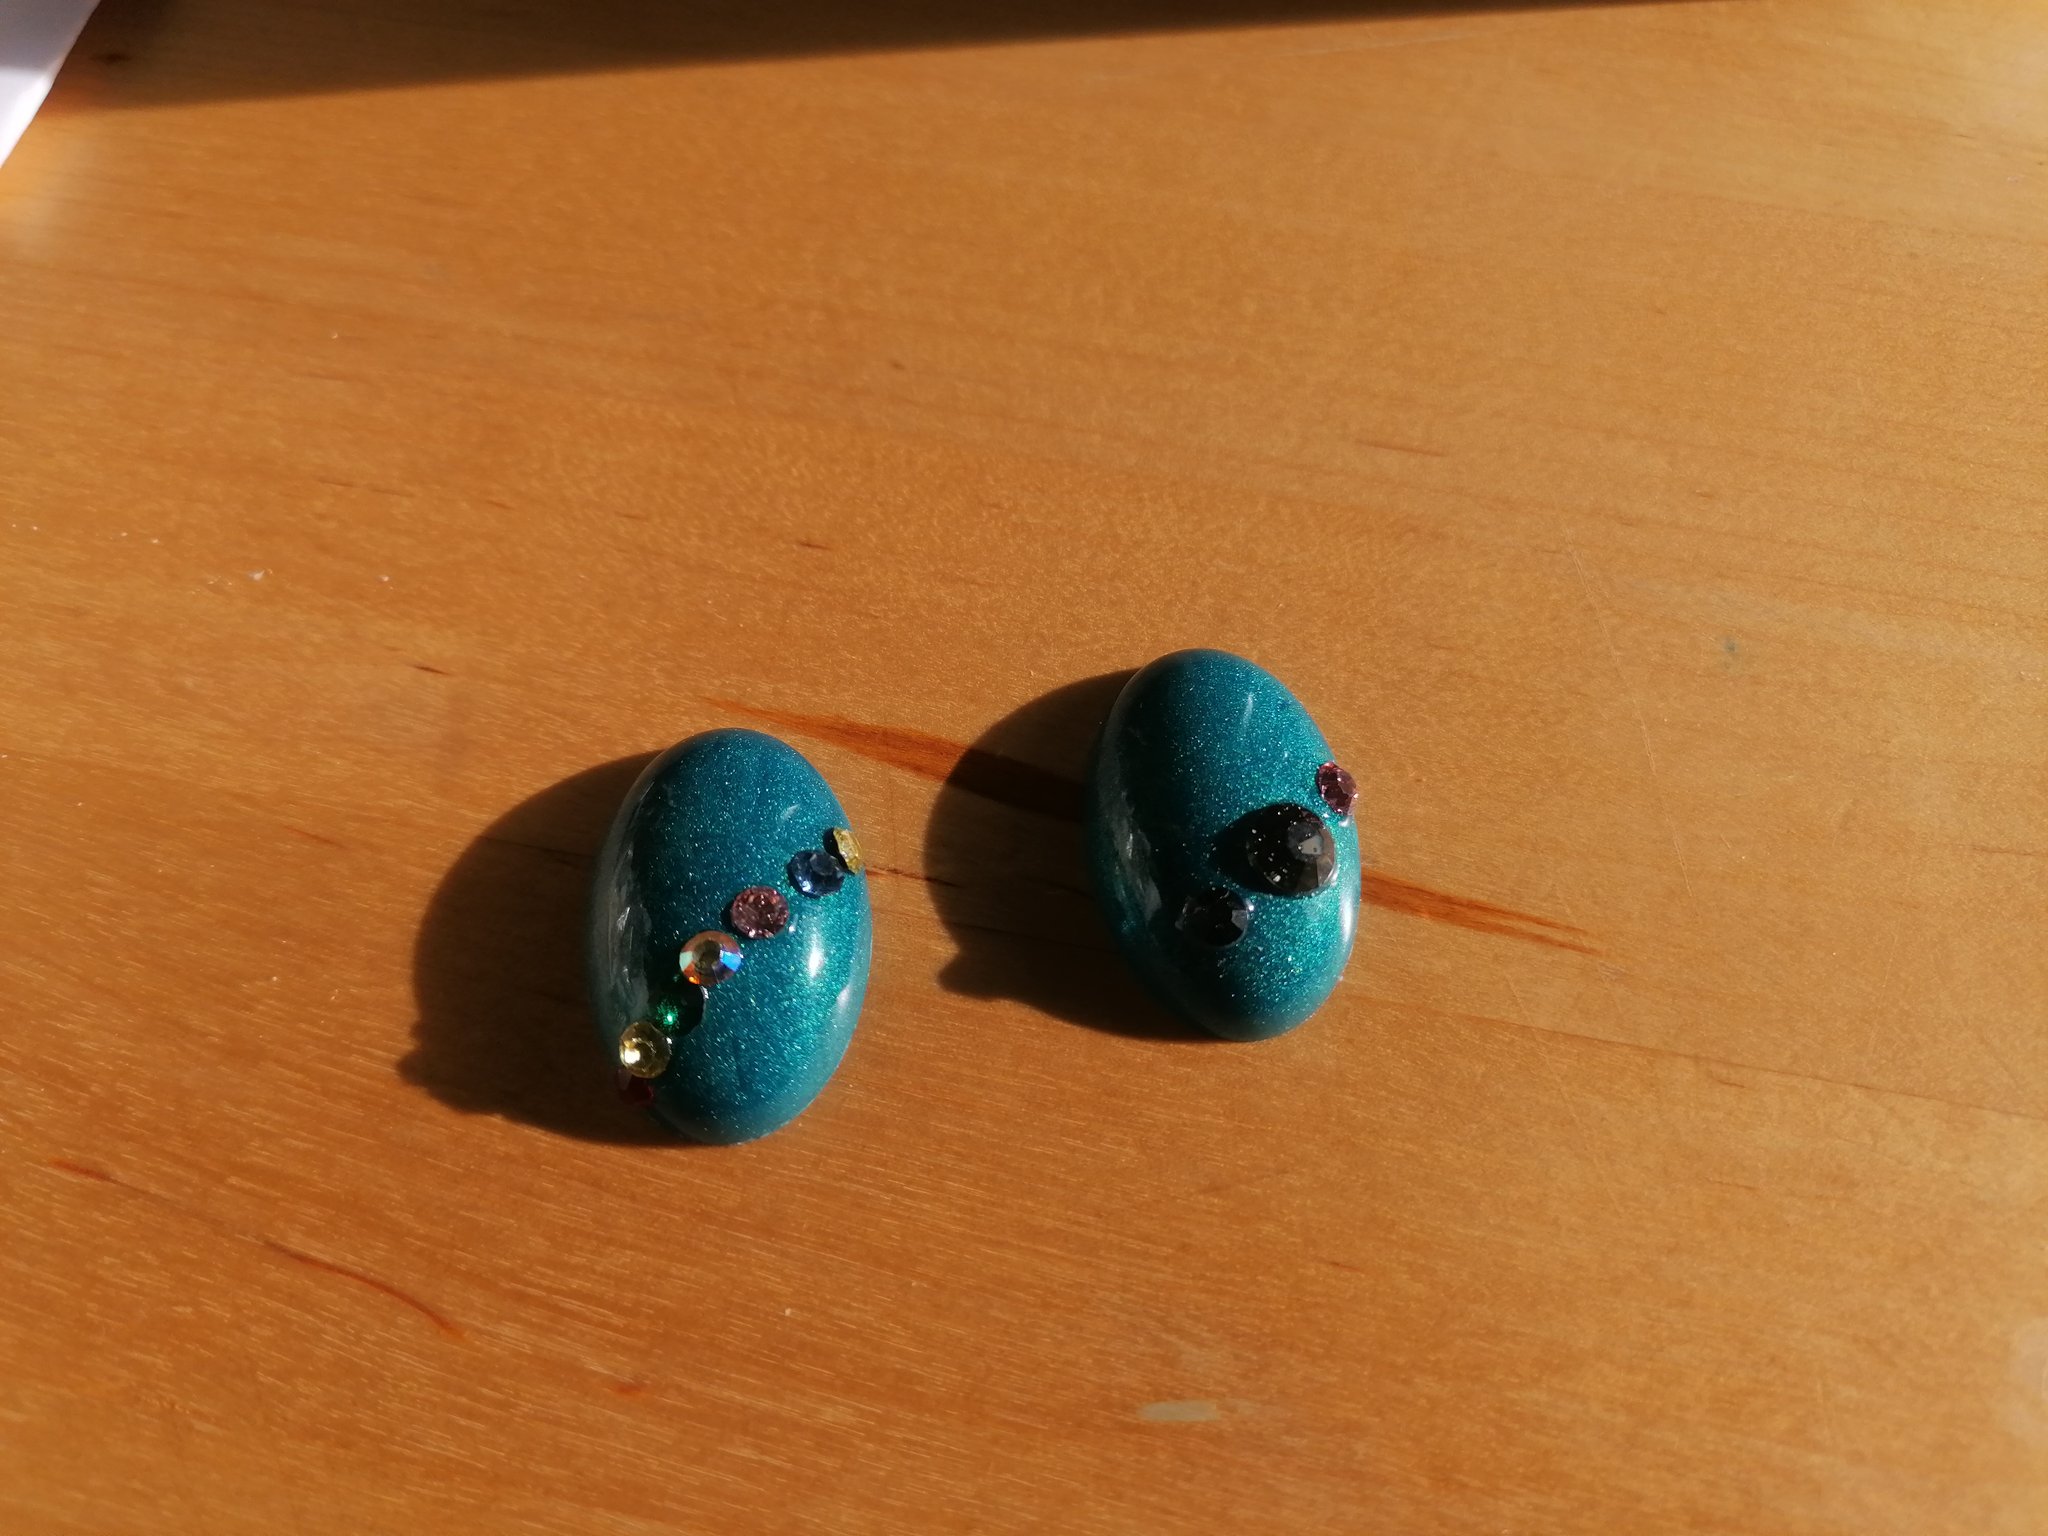
©Giliell, all rights reserved
These were easy. I drilled some holes into the turquoise blanks and glued in the rhinestones, and now I’m again unsure. They would make rather large earrings, but also rather small pendants…
And last, but not least, Hekuni Cat’s die:

©Giliell, all rights reserved
Hmpf. I’m constantly looking for good UV resin. I found some on Etsy and I really liked it, and I got 200 ml and when I tried to reorder, the seller no longer exported to Germany. Then I found some from a small German company, which wasn’t too expensive and I decided to give it a try. The website helpfully informed me that if I added another 489 € worth of good I’d get free shipping, but I declined. I was really keen on trying it out and thought that the die would be a good project for it.
Oh dear. First of all, it stinks. So. Much. I put on a normal N95 respirator and it was still almost unbearable. It can only be worked with wearing the half face respirator I also use when finding some hidden asbestos in the house. Then it came out rather runny, but quickly started to thicken, so it was a nuisance to get into the mould. I thought that this meant it was already curing, but then it didn’t cure for a long time and all the inlays pretty much sunk to the bottom.
When it had finally cured I noticed it had shrunk so much that there was a big hole inside and I needed to fill that one up with more resin. What I will say for this resin is that it cures extremely hard. Which made cleaning the project up difficult, of course…
Hekuni Cat, if you want another one I’ll make you a new one. If not, or in any case, I need your address. Youc an send it to Affinity submissions, voyager will surely pass it on to me.
I need spring. Today feels a bit like early spring. The air tastes differently and the birds are chattier (mostly complaining about the neighbours’ cat camping out under the bird feeder). But honestly, this is my least favourite time. I still have about 4 weeks until it really turns green and I hate it. I don’t think I could move further north. Sure, if I’d grown up there, I’d probably only get seriously annoyed come March or April, but I’m used to getting sick and tired of winter come February.
Anyway, to cheer me up I made, you won’t guess it, resin jewellery.
First of all, I made lots of blanks from epoxy resin:

©Giliell, all rights reserved

©Giliell, all rights reserved
Here you can see exactly why I can’t work downstairs with the epoxy right now. All dull and bubbly. Also, when I took them out after 24 hours, they were still extremely soft. A few hours upstairs in the warm kitchen took care of that. So last night I took the red droplets and turned them into my favourite fruit.

©Giliell, all rights reserved
That’s always two droplets glued together, with a coat of red UV resin. I love working with mica powders as they give an amazing sparkle, but you got to be careful when working with UV epoxy because yeah, saturated opaque colours won’t cure. That’s why the blanks needed to be red already. The tiny seeds are caviar beads for nail art and no, it’s not as much work as it looks like to attach them. Finally I made some leaves with green UV resin and attached those. I’m so ready for spring.
I also got rq’s sphere done. Again, the pic sucks. They are not to be photographed.

©Giliell, all rights reserved
These knives have full-width tangs, but no visible pins. As far as I can tell, nobody else is using this type of construction, so it might be somewhat unique
A few years ago Walter Sorrels made a video in which he tested various glues for fixing scales to tangs without pins. He made several mock-up knives from mild steel for this and they all have failed his stress test. Which consisted of tossing them in the air and letting them fall on the concrete pavement. As it turns out, the shearing forces during these impacts were too big for the glue to reliably stick to the steel and they all delaminated. But he gave me an idea on how to overcome this problem. I have tested the idea on one broken blade and it held out to several hammer blows before the scales delaminated – and at that point, it was not only the glue that was failing but also the wood was starting to shatter and break. And since knife handles are not supposed to be hit with a hammer so I think it should be OK. I really hope it works out in the long term because I am going to make a lot of these. So if you want to know how this goes, read on. [Read more…]