I am currently suffering from extreme pain in my left calf and lower back, the cause unknown. Probably some form of sciatic nerve inflammation, although definitely not a slipped disk. I can walk, run, jump, and squat, but I cannot sit in a chair, and sitting down or standing up from sitting feels like I am being stabbed with a hot knife. Which means I cannot write much.
So at least a short recipe for food for which I can grow most of the ingredients myself, lecsó,

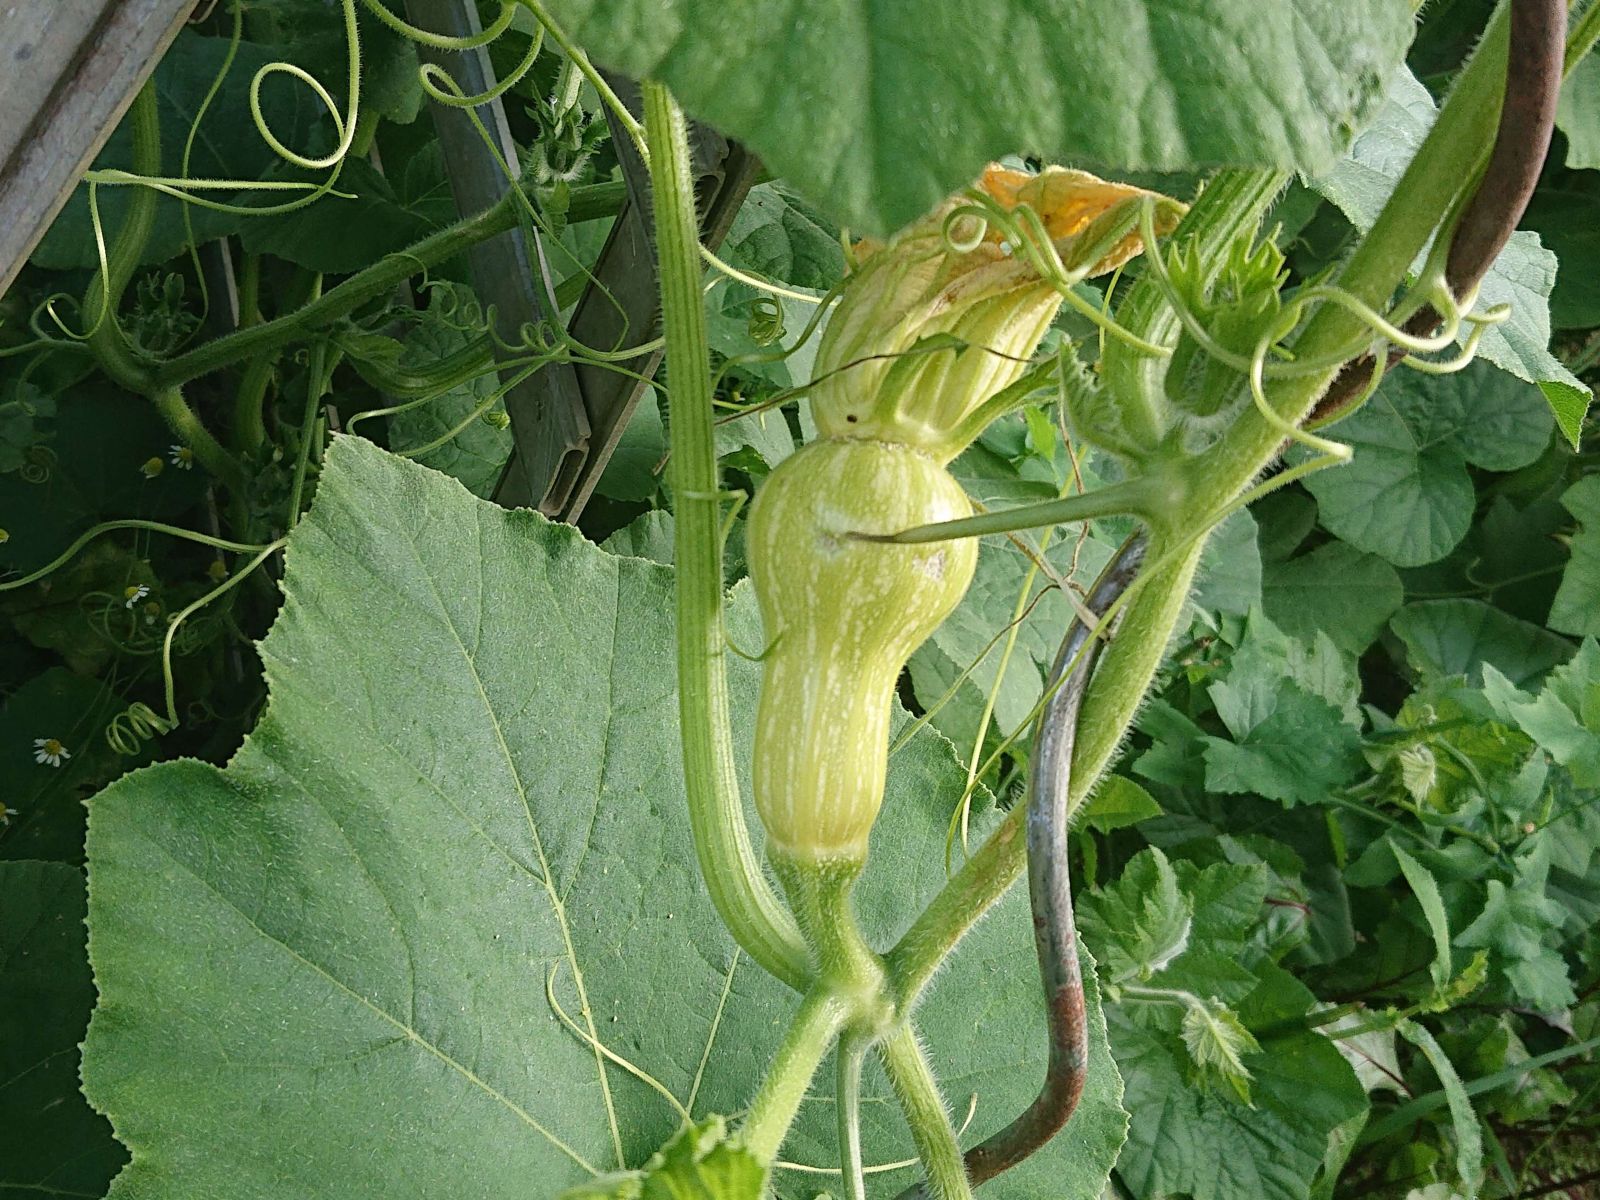
© Charly, all rights reserved. Click for full size.
This was probably the first food that I learned to cook myself. There are different recipes. Here is how we do it:
Soften finely-chopped onions in oil. Once they are glassy, add diced tomatoes and stir until they dissolve. Once the tomatoes are dissolved, add finely diced pepper to your taste – we are using sweet bell peppers here, but any kind will do. We also add bay leaf and black pepper. Let it simmer a bit, and add an egg or two. Mix in the eggs until they are cooked (the egg is optional)
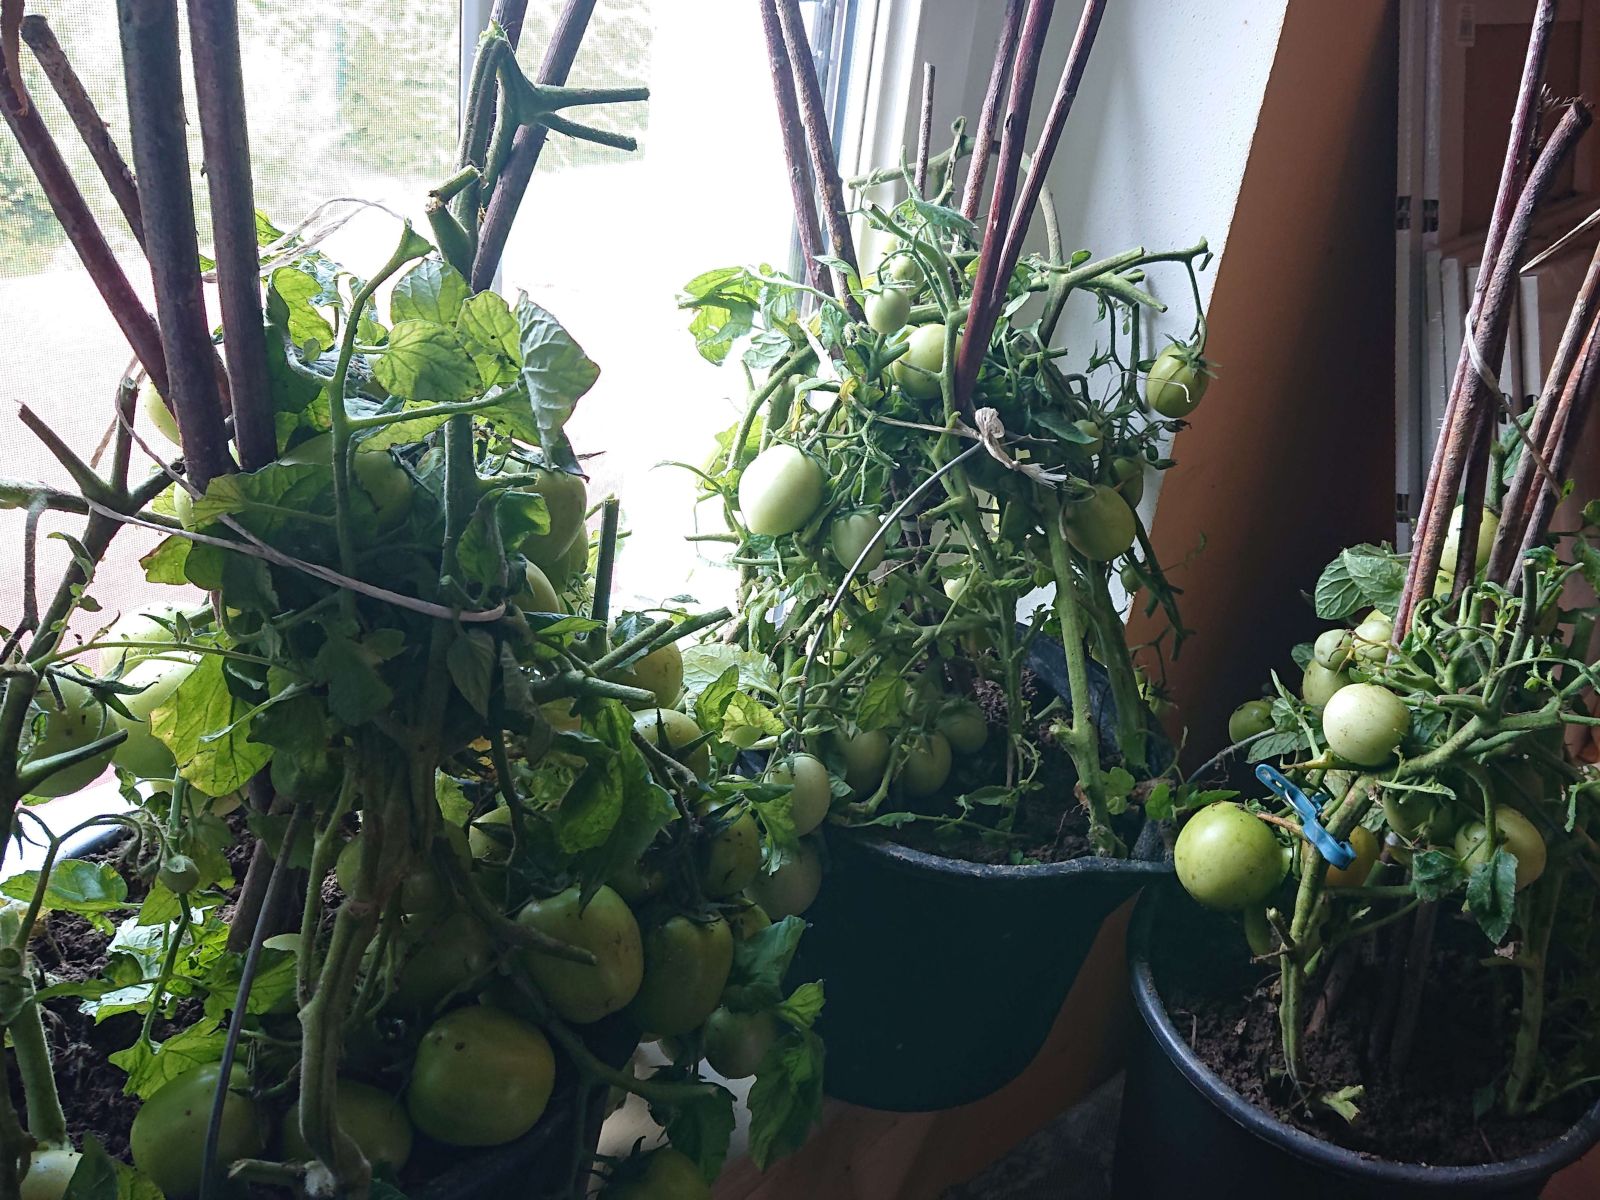
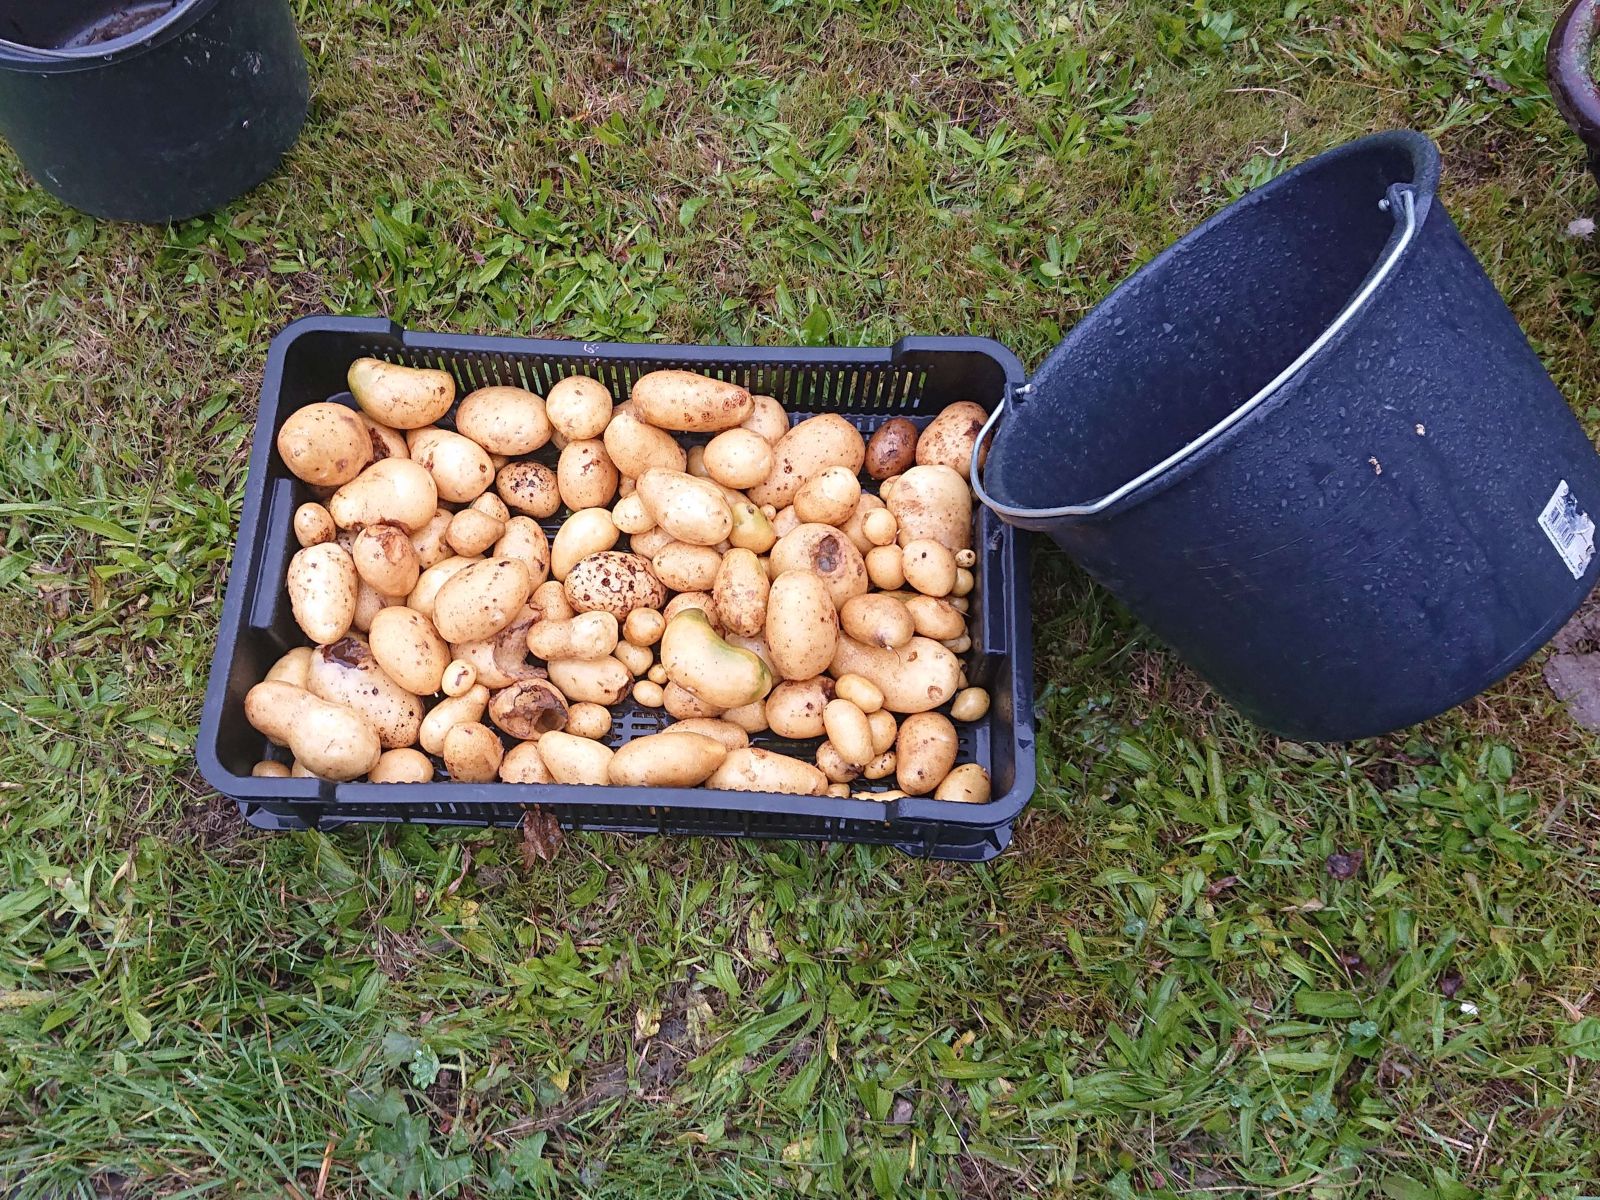
We serve it with boiled potatoes and grilled sausage. When I was in college, I did make a completely vegan variant without the egg and with fried tofu, and it was delicious too. This year, I grew most of the ingredients myself; the only exceptions were black pepper, oil, and sausage (I still did not manage to get my hands on sausage seeds).
Now I am going to lie down again.