There are lots of more advanced mold-making techniques. This is a really simple box mold for something with a flat bottom.
Start with your master objects. These are 2 HDPE blocks cut to the size I want scales to be. When you’re putting something in silicone you need to either attach it down, or know it’s heavier than silicone – if it floats up you have a horrible mess and an unusable mold. HDPE is heavier than silicone but not much and objects sometimes shift around when the silicone pours onto them. I stick them to my counter-top using a blob of vaseline on the back, which also serves to keep the silicone from getting underneath the object. It’s a useful quick clean-up (just use paper towel!) mold sealant. The vaseline trick WILL NOT work if you are using large amounts of silicone because the weight of the silicone pressing from above will overcome the vaseline and you will come down the next morning to a gigantic silicone bath-mat on your kitchen floor.

Do not ask me how I know this.
Assemble a mold-box around the object. The one in my picture is a quick set-up adjustable mold-box trick I learned a few years ago; it’s made of HDPE so nothing sticks to it. I seal it between the bottom and the counter-top with more vaseline (not much) and clamp with woodworkers’ clamps.

Old school mold-makers like Adam Savage use cardboard or melamine and a hot glue gun, and attach a base on the bottom of the box instead of just using their counter-top.
This style of mold-box is very easy to make and very quick to set up and tear down. Don’t use a mold-box much taller than this one without a bottom because the weight of the silicone will DEFINITELY cause it to push its way out the bottom.
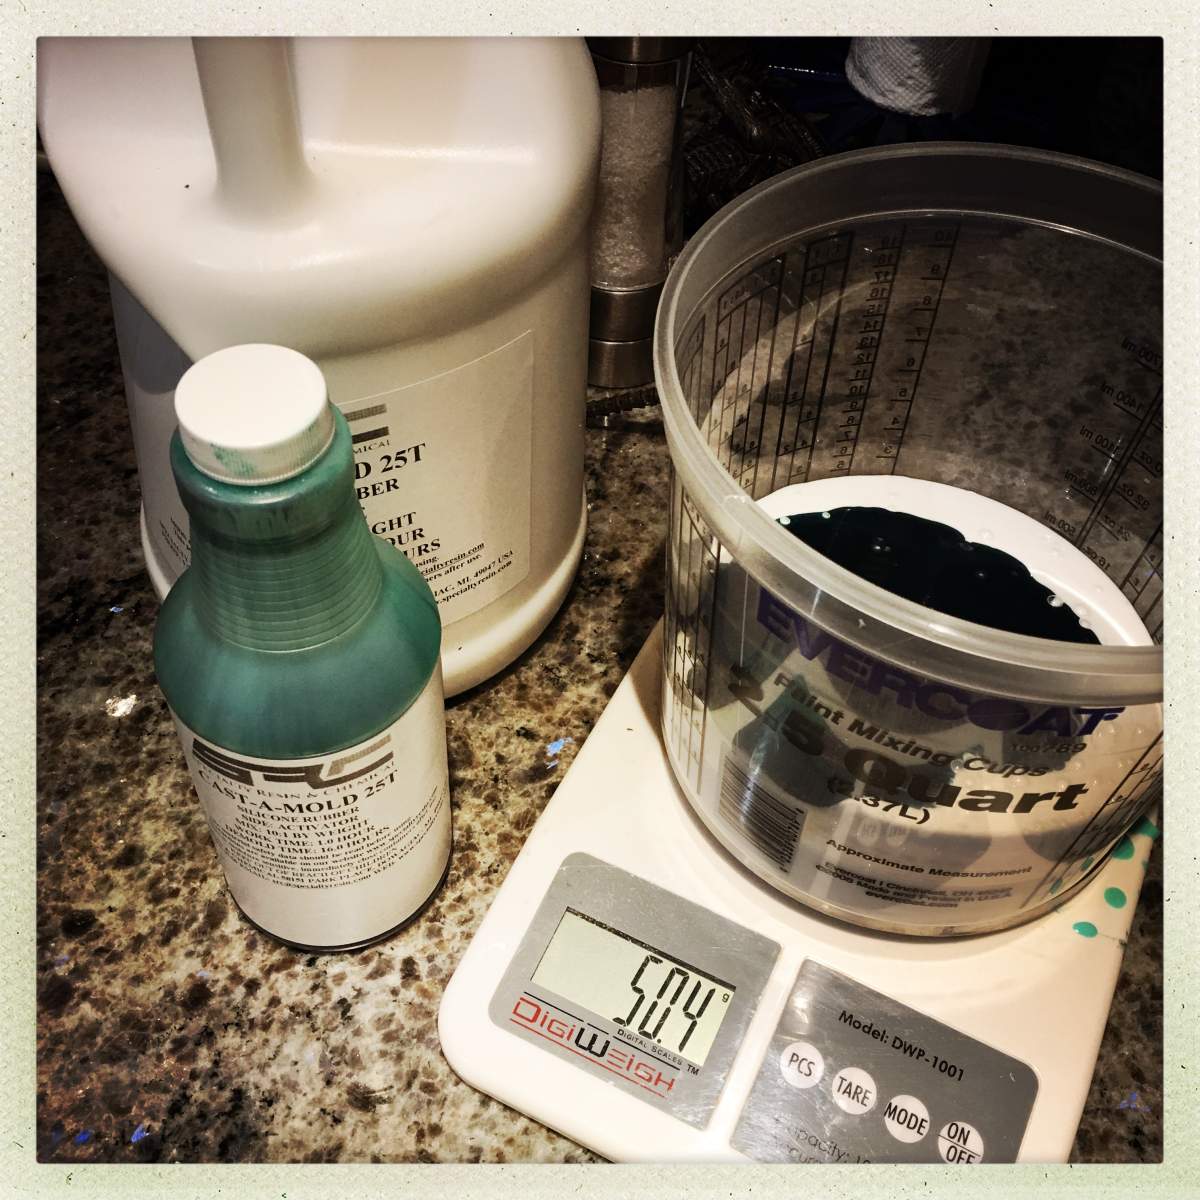
Mix the silicone and catalyst. Carefully read the instructions for your particular mold-making silicone. This is cast-a-mold from specialtyresins on ebay; it’s $120/gal but you don’t need much. The mix-ratio on this is 1:10. Your mold-making life will be happier if you have an electronic scale. Here I have 500g of silicone and 50g of catalyst. You stir them together until they form a nice minty green evenly-mixed goop.
Gently and slowly pour in the silicone. You want to give it time to spread and force air away from the edges of everything. You have plenty of time – most silicones will take 3-4 hours before they start to set up. So don’t worry about it.

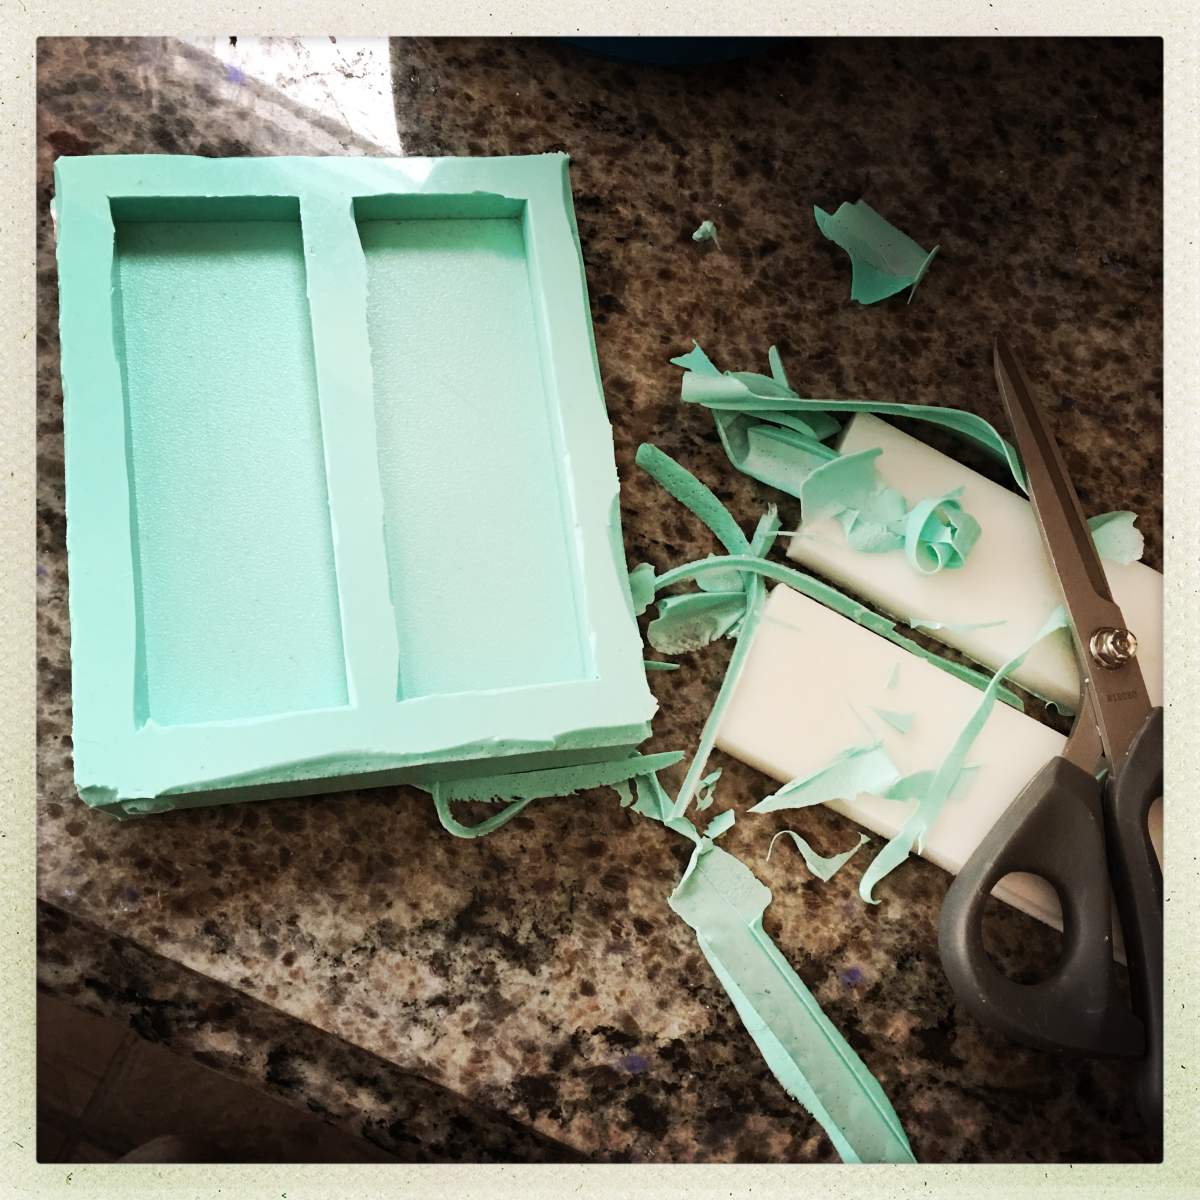
Go to bed. In the morning, break down the mold box and pull your object out and you can start casting stuff! I usually trim any overage with scissors to make the whole thing look spiffy.
If I were making a lot of slabs that were going to be a particular shape, I might make a mold that’s outlining that shape; it’d save me a lot of alumilite over time.
Silicone is not cheap. You can use urethanes but they’re not as durable and they don’t age well in moisture. More importantly, if you are casting urethane resins in urethane molds, you will eventually forget to spray the mold with release and then you have just glued your mold solid. The saying is “only silicone sticks to silicone” which is pretty much true.
Another great place to get silicones is Smooth-On plastics. They also teach a mold-making course that is superb. Mold-making and urethane casting are incredibly powerful techniques and you will be more successful if you understand the materials, which are not cheap.