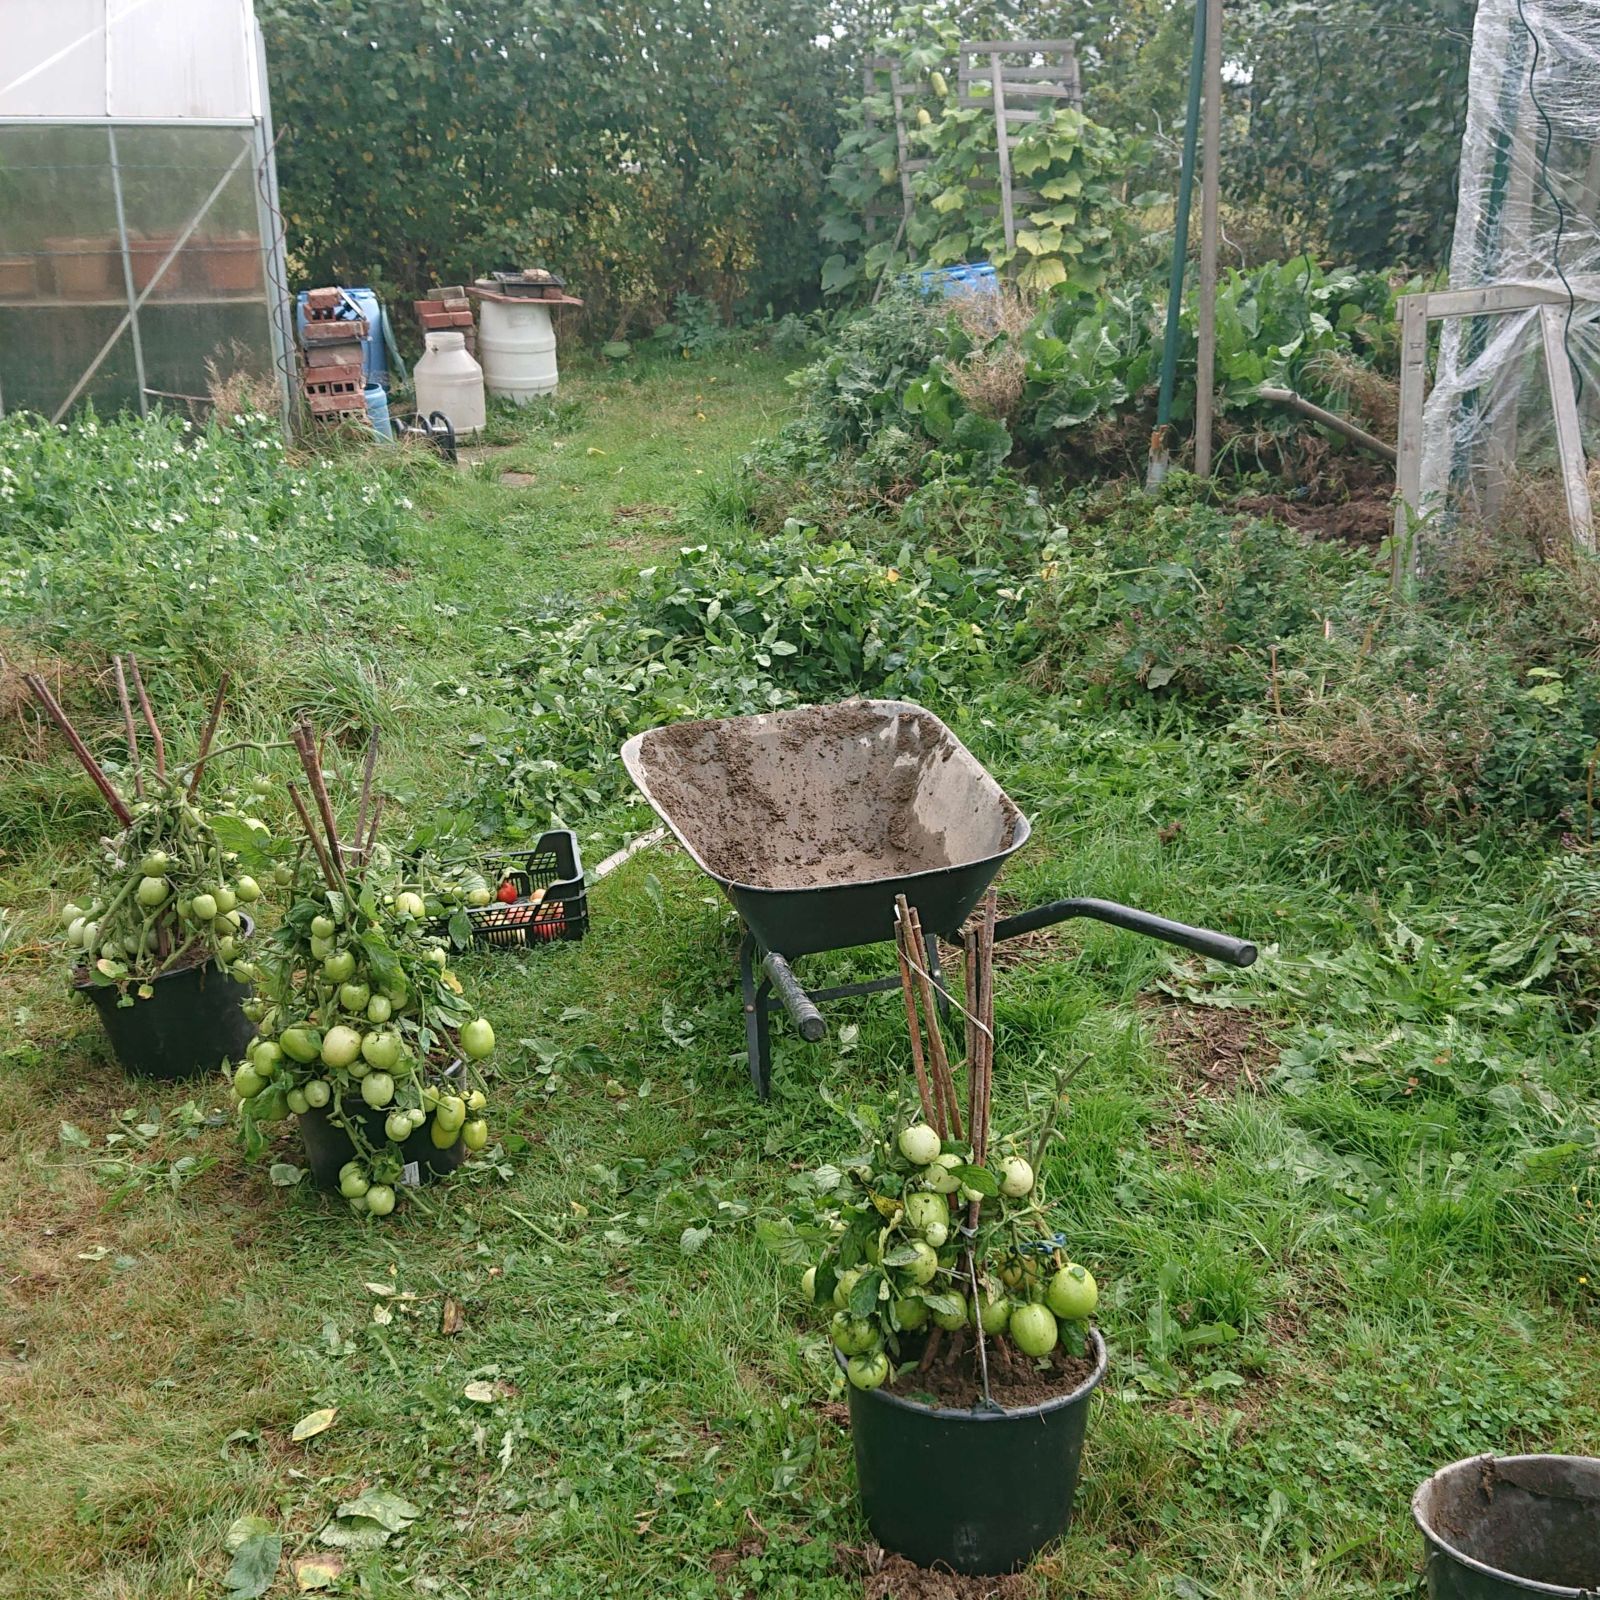
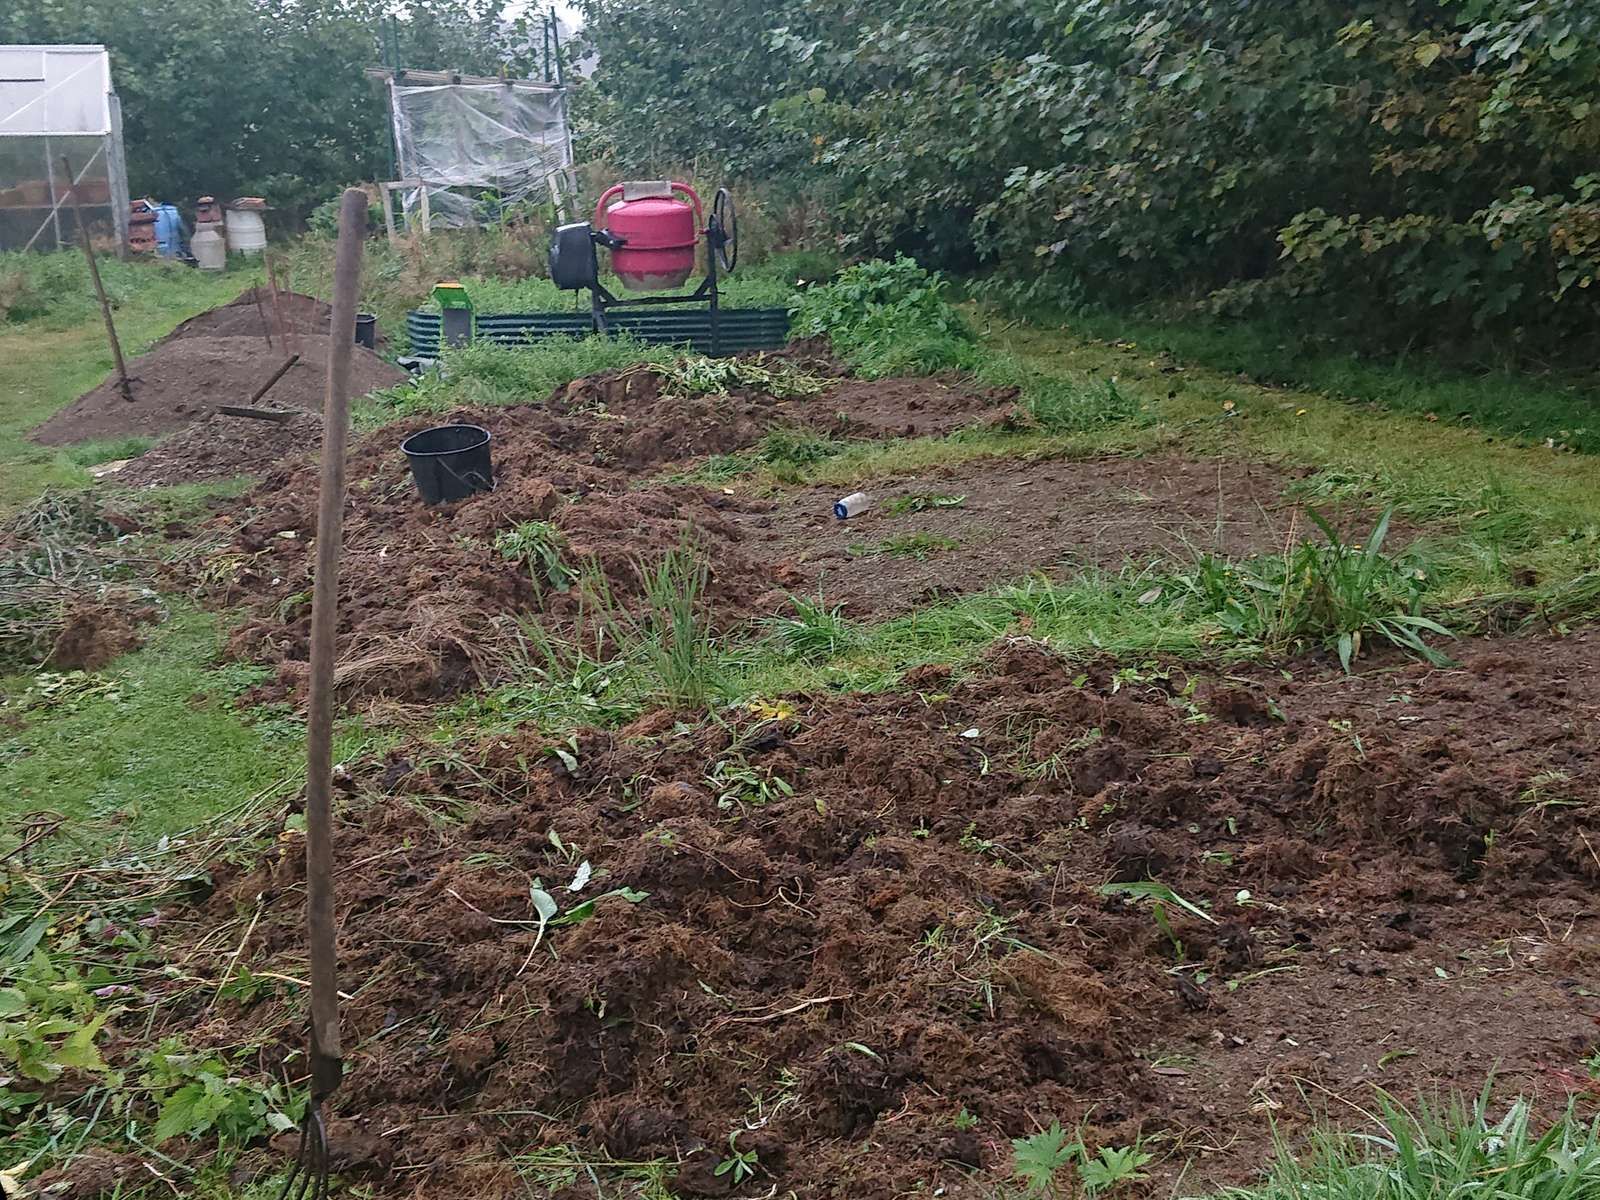
Starlings and Potatoes

It’s not a dish, it’s that time of the year. Today was the first day I saw starlings in my garden and I managed to snap a few pics too, although I could not open the window – firstly they would whoosh and secondly I would need to remove several plats from the windowsill first.

© Charly, all rights reserved. Click for full size.

© Charly, all rights reserved. Click for full size.

© Charly, all rights reserved. Click for full size.

© Charly, all rights reserved. Click for full size.

Shame that I could not make better pictures, the light was just right to show the green metallic sheen on their feathers.

And since the ground unfroze and it is unlikely to freeze again, I have taken out the moldy remnants of last year’s potato harvest and sorted out about 100 tiny sprouting potatoes.

© Charly, all rights reserved. Click for full size.

I did not plant them in the regular vegetable patch though. I have prepared a small plot in the fall by covering it with mown and dried grass and I put these tiny potatoes on top of the soil below the rotting grass.

© Charly, all rights reserved. Click for full size.

It is an experiment to check how (whether) they will prosper. Even if they fail, the mated grass cover has at least succeeded in suffocating all other plant life below it (grass and moss) and that portion of the garden will thus be prepared for flattening and rejuvenating the lawn. The potatoes were really tiny, as you can see, so no matter what, no big harvest is to be expected. Best case scenario – I get bigger seeding potatoes for the regular vegetable patch for next year.

The regular patch will this year be covered with beans, sunflowers, corn, and maybe beets and onions. Now that the weather is warm, I will have about a month of busywork in the garden and only after that I will be able to go back to making knives again.

Project Phoenix – Part 6 – Finished

I worked a bit in the garden, I got over 1 cubic meter of wood from the coppice already stacked away in bags. That’s about 10% of my yearly firewood usage so it is a good haul this year – there will be at least as many bags of wood chips from the smaller twigs etc, totalling somewhere around 20%. Given the current prices of firewood, that’s a significant cost saving.

But winter does not want to give up so quickly this year and after my injured hand had healed, a short spell of frosty weather hit us again. I have used that time to be a useless couch lump and also to finish the bobbin lace phoenix.

Here it is finished still on the lace pillow.

© Charly, all rights reserved. Click for full size.

After this, it took me about one hour to take all the pins out and approximately another hour to frame it. Completely finished picture is below the fold.


[Read more…]

Women Educators on YouTube – Czechamerican – Dream Prague

Since it is officially spring now, I wanted to write about Morana this weekend. But I do not have to because coincidentally, Jen from the Dream Prague YouTube channel has just made a video about her.

If you are interested in Czechia, Jen has scores of interesting videos about our land and our culture. And she is an immigrant from the US, so her point of view is that of an American, so she is actually better qualified to give info to Affinity’s mostly USA audience than I am because she can better spot and point out things that are important and/or interesting to Americans.

Are Childproof Container Caps Worth the Price?

We have 6 still functioning soap dispensers in a cupboard and we refill the three that we use.  Although the refill packages sold in supermarkets around here cost about the same as soap with a new dispenser. And they are only twice as big as a dispenser anyway, so not many people buy them. Thus, supermarkets do not have them in stock sometimes. They do have the dispensers though, all the time, full shelves. Luckily my mother found an online shop that sells big 5 l canisters of liquid soap which lasts us a year and we can reduce the amount of plastic we use by an infinitesimal amount. And since I cut myself at work rather badly yesterday, all I can do is think and I went down a rabbit hole of thought that I shall elaborate on now in this post a bit.

On each supermarket shelf around here, one can see several different spray bottles of window cleaners of multiple shapes and sizes, although with just a few discrete volumes. The same goes for soap dispensers, disinfectants, antifungals, toilet cleaners, etc. Each brand that sells 0,5 l or 1 l of some liquid has its own unique bottle shape, its own unique plastic wrap around it, and its own unique cap. And sometimes those caps are made in a way that allegedly prevents children from accidentally opening them but in reality, give more grief to people with a hand injury like me right now or to elderly people with arthritis like my mother than to any child old enough to reach an upper shelf in the bathroom.

Those safety lids are a special pet peeve of mine. I was cleaning the shower the other day and I wanted to rinse the bottle of disinfectant before tossing it. And I found again what I have forgotten – the spray bottle is deliberately made so that the lid cannot be unscrewed. Why? I do not know. I do not know anyone who knows anyone whose child imbibed a disinfectant or window cleaner from a spray bottle. I have read about some such cases in the news with regard to bottled dish cleaners, but those are still sold without the safety lids and none of the kids was severely hurt! However, I did read several cases about adults imbibing some seriously dangerous liquids (like lye) with sometimes lethal consequences because they themselves put them in soda bottles and did not label them properly. In my personal opinion, these “safety” lids have one purpose only – to make the item single-use. They may save one life in a million or so, but they definitively increase plastic pollution by an order of magnitude, and the lives that cost cannot be easily quantified.

Do we really need 10 different shapes of a bottle for a disinfectant that gets poured into the toilet? Is that what the famous “customer choice”  is about? In my opinion, the choice should be about what is in the bottle and how well it works.

And this got me thinking, could all this be avoided? In my opinion yes. But it has to be done from the top down by a legislative action that forces the corporations to behave. Because as the hard-to-get refill packages for soap dispensers demonstrate, personal action does not work.

So if I were the Supreme Leader of the EU, here is my proposal for how it could be done:

  1. Standardise spray bottles and soap dispensers etc into just 1 container for each used volume. Make the bottles refillable by law. Material is either stainless steel for the more corrosive liquids, aluminum for the less corrosive, and glass for the stationary dispensers. All these three materials are easy to recycle and there is an extensive infrastructure to do so already. Labeling must be printed on paper, not plastic, and can be the only brand-specific thing. The purchasing costs of the dispensers would be bigger, but they would last a lot longer, orders of magnitude longer.
  2. Standardise refill containers in just a few volumes too and make it compulsory to have them on sale in greater amounts than the dispensers/sprays bottles etc. The material should be either PP or PET, undyed, and without fillers. Standardized containers could be, with some tweaking of infrastructure, re-used several times before they would need to be scrapped. And both PP and PET can be recycled several times before they degrade even if the reuse were implausible or impractical. And 1 5 l container uses less plastic than 5 1 l bottles. Labeling again printed on paper and the only brand-specific thing.
  3. If the caps need to be chid-proof and/or single-use for some products, they still can. Even if made from non-recyclable plastic, at this point it would be negligible when compared to what we have now. But I am not convinced this is more useful than, say, an education campaign to teach parents to keep dangerous things out of their kid’s reach.

Apart from the obvious way this would reduce the amount of plastic pollution, there are other ways this would help to reduce the carbon emission of the whole industry. Standardized containers would mean less demand for steel molds. One machine producing 10 identical refill bottles at a time consumes less energy and has a smaller footprint (both area and CO2)  than 10 machines making 10 distinct, brand-specific bottles in 10 smaller molds. Transport costs would also be lower than now because those bottles are even now, the liquid manufacturers often do not make those themselves, they buy them from specialists. And standardized bottles could mean better optimization of distribution delivery routes among different manufacturers.

Oh, and the same thing could be done for soda, and liquor bottles.

Would it work? I think it would. After all, most of this is already done for beer and soda cans and beer bottles so why not for Hi Ginny?

Some Birds

The winter has raised its ugly head once moar, there is about 5 cm of snow outside and it is freezing cold outside for several days by now all night and most of the day too. The one and only upshot of this is that after a very long time, I got some variety of birds on the bird feeder again. I haven’t posted any pics because I basically had only three species on the feeder and absolutely nothing else – house sparrows, great tits, and blue tits – so I did not even take the camera out for months. In fact,  I could not even find my camera because I gave it a new home during my PC repairs at the start of the year and I forgot where I put it.

Babbling aside, I got pictures of increasingly rare visitors – goldfinches, siskins, and also bullfinches.

© Charly, all rights reserved. Click for full size

© Charly, all rights reserved. Click for full size

© Charly, all rights reserved. Click for full size

© Charly, all rights reserved. Click for full size

© Charly, all rights reserved. Click for full size

The male siskin has a huge evergreen holly in the background so it looks like the pic was taken in nice warm weather in the summer instead of the frikking frigid freezing winter.

There were also jays, greenfinches, and chaffinches but unfortunately, I did not manage to take a shot of those. It is good to know at least that they are still around.

The bad news is that all above mentioned species were present in significantly smaller numbers than in previous years.

Coppice Harvest

I wrote previously that I am trying to use my needlessly big garden to grow firewood in a coppice. It would be a great success if not for water voles who are a sworn enemy of anyone growing any trees for any purpose. However, these last few days were warm-ish for winter and thus I had the opportunity to not be an utterly useless lump of meat for a few days – I cut down the coppiced/pollarded trees and sorted most of the wood into piles. Twigs for the shredder, thinner trunks for growing beans in the summer and being cut into firewood afterwards, and thicker and/or crooked trunks to be cut into logs right away.

© Charly, all rights reserved. Click for full size

It looks more than it really is, the volume will be significantly reduced once the twigs go through the shredder. I estimate it to be approximately 10-15% of my yearly use of firewood. Blast the voles, without them, it would be probably around 50%. They even destroyed multiple of my established 3-5-year-old trees, so the coppice did not in fact grow bigger since 2019 at all and it is entirely due to voles. They destroyed approx 70% of the planted hornbeams, and nearly 100% of the poplars this area of my garden is not wet enough for the willows to prosper so it is still useless land that needs to be mown and is of no real use to anybody. I have started to plant local maples, ashes, birches, and hazels instead of the poplars but those get often destroyed by voles too and they do not grow even remotely as fast. Fuck the little fuckers. Did I say I hate water voles? I hate water voles.

But the work made me feel well. I really needed to go outside and do something during daylight.

Plush of the Month: Meet Ferdinand and Sweetie

We haven’t had a plush in a while now, for a couple of reasons. For one, the patraeon patterns I was getting were either not quite my style, or so elaborate that I wasn’t feeling up to them. Not for lack of skill, but for lack of patience and time. I need a bit of instant gratification from my hobbies, so spending weeks on a project didn’t appeal to me. Also, with my back fucking up, sitting was painful and I needed to conserve my sitting down time. But my back got better (damn, you , exercise) and the little one came to me with a project. She’s in the school cheerleading team. Now I must clarify for my American readers: we do not have a school football team. While there are American Football clubs here and they do have cheerleading teams, it’s also purely done as the amazing sport that it is (and deserves recognition), so one of the teachers who loves cheerleading and is involved with a sports club cheerleading team is also training the school team. Their school team is the Flying Bulls (because the teacher’s team has a similar name) and she wanted to make a mascot. We went pattern shopping and soon created Ferdinand (named after this good fellow). Of course the wings were not included, so I had to make up my own pattern for them, but he turned out really cute:

Black plush bull with white and green wings sitting on a table

©Giliell, all rights reserved

Black plush bull with white and green wings full frontal view

©Giliell, all rights reserved

Black plush bull, face close up

©Giliell, all rights reserved

Isn’t he handsome? The eyes are made from epoxy and UV resin and secured with screws. The wings get their stability from pipe cleaners. While Ferdinand was a big hit with the cheerleading team, saying goodbye was hard and I needed something to comfort me. Well, why not make another plush? I have to say that Ferdinand is a completely different style from the last plushies I made and I quite liked it. Instead of the machine embroidery, these designs live from old fashioned eyes and designs. The creator has a couple of plushes in that style and one of them is my favourite animal, a hippo, so I had to go for it. Please meet Sweetie:

Grey hippo plush sitting on a couch, full vieew

©Giliell, all rights reserved 

Grey hippo, torso and arms

©Giliell, all rights reserved

Grey hippo, view from above

©Giliell, all rights reserved

Yes, she’s incredibly adorable. It’s amazing how much of that look comes from adding the eyelids. Depending on how you place them, you get dreamy, sad or angry. She’s moved in with us and has become a full member of the hippo crew. I hope she can brighten your day a little as well.

Sciencing Sharpness – Part 5 – My Sharpening Kit

I have found a blunt-ish knife, one that I use in the cellar to open wooden briquette packages. It was not exactly blunt but it was slightly blunt and I have run it over a quartz stone to make it blunt. It is a knife from high-quality stainless steel but it has been sharpened so much that it has lost about 30% of its width. I have tested with it my traveling sharpening kit. I have done completely freehand sharpening, holding the stone in my left hand and knife in the right hand, no angle measuring, not even angle estimating, just putting the blade to the stone in a way that “feels right” and going on from there like I used to before I got the machinery to be precise. I tried to look up on the internet the grits of the stones that I use but it ain’t easy because one of them is a no-name generic grey carborundum whetstone and as you will see, it does not appear like I found the right ones. I have also used all of the orange thread that I have reinforced with PVA glue and from now on I will use the nylon thread since I have already bought it.

Here is the picture that’s worth a thousand words:

© Charly, all rights reserved. Click for full size

And here are less than a thousand words explaining what’s in the picture:

It is a bit strange that the fine grey layer of the cheap whetstone does not perform much better than the coarse layer and even performs worse than the beige layer on the colored stone which should have slightly coarser grit. There are several possible explanations or a combination thereof – I got the grey stone grits wrong, I done did do a bad job with this layer, or the fact that this stone uses a weak binder and sheds grains very easily plays a role, or I messed up the measurements. Nevertheless, the knife was capable of cutting freely hanging printing paper at this point, although not very easily, and it did bite into a fingernail.

Anyhoo, the second stone is much harder and I actually know the exact grits from the manufacturer. And once I got to the red layer with “just” 500 grit, the knife was shaving-sharp. The leather strops might have burnished the edge a bit but there is no statistically significant difference anymore from the 500 grit stone. It looks like there might be one, a very minor one if I had performed more measurements or had a more precise method.

I would say that it is pretty convincing for my argument that a two-layer whetstone and a strop are all that is needed to get and keep knives sharp.

It also appears like 500 grit stone is sufficient to maintain a knife edge shaving sharp without any further ado. But I would say that shaving hair with the stropped knife feels slightly “smoother” on the arm than with one that went just over the stone and I feel inclined to trust my skin sensors (they are much more sensitive than the kitchen scale after all) on this issue so I’m not convinced that the strop is completely useless. Measuring as fine differences as these might be is not a task that can be done with a rigged-up kitchen scale.

Sciencing Sharpness – Part 4 – Failing to Improve the Measurements

My mother was ordering some things from an online drugstore and I jokingly said if she could order me a nylon thread too. And surprisingly, the shop did carry a 0.25 mm nylon thread. It arrived today. I have immediately run an experiment to evaluate if it delivers better results than my old, PVA glue-impregnated thread. And sadly, it does not.

I made 25 measurements with both threads with a razor and then with the testing knife sharpened at 10°. And the results are interesting, but not good.

© Charly, all rights reserved. Click for full size

The nylon thread performed statistically significantly better for the razor – the values were less spread out. But when it came to the knife they were both about the same, with no statistical significance whatsoever. And there were outliers in both sets. A disappointment, really. A lower spread would allow me in the future to get useful results with fewer measurements per each test, this way I am somewhat stuck with making at least ten measurements.

At least all four sets had normal distribution which means that averaging multiple measurements should give precise-ish results.

I think that the biggest problem is the scale’s lack of a Hold function and the frequency at which it renews the display. Well, it is still useful and the thread did not cost too much. And it is easier to span.

Sciencing Sharpness – Part 3 – Angle vs. Sharpness

It is not good for my ego to have the predictions mostly correct again, but this time there were things that surprised me a bit.

I have included a sharpening angle of 10° which I never use in praxis because it is not recommended for the N690 steel due to reduced edge retention at that angle (tendency to chipping), but that would not be a problem in this test and it is a data point of knowledge in case I make some carbon-steel sushi knives or razors in the future.

Now the boxplot:

© Charly, all rights reserved. Click for full size

So I got the prediction about how the cutting force will rise mostly correct. Mostly, not completely.

ANOVA test has found no significant difference between the first four angles but I am sure there would be one if I had performed more measurements and/or refined the testing method. The Lookandsee test does indicate a slow rise in cutting force from around 25 gf to around 50 gf.

The jump at 30° is a bit more sudden than I expected. I suspect that it is a fluke. And then the rise at 40-45° was a lot less than I expected.  It seems that the 90° cutting edge is still significantly better than no cutting edge, which would be somewhere around 3-4 times worse with a cutting force of around 1000 gf. I did not expect that. The best-fit function is quadratic. This is less drastic than the predicted exponential growth, although still significantly faster than simple linear growth.

So in conclusion, it does appear that my opinion that whilst there is a difference at angles 10-25°, it is not big enough to matter for casual knife users is substantiated. The angle 30° performed slightly worse than I expected, and the angle 45° performed significantly better than I expected.

I am going to think about all this some more and then I decide how to proceed from now on.

Sciencing Sharpness – Part 2 – Grit vs Sharpness

Notwithstanding dangerousbeans’s comment at the last article, I did find in my steel offcuts pile a blade that broke after it was nearly completely finished, with etched logo and all. That means learning about the sharpening properties of exactly the steel that I use in exactly the state it is in a finished product. In different steel, the results might come out a bit differently, which means I am mightily glad that I could do my tests on this – an absolutely ideal testing specimen.

© Charly, all rights reserved. Click for full size

I have sharpened the blade stub at a 15° angle which is the angle at which I usually sharpen kitchen knives, and always those that I make from N690 steel. (When tasked with sharpening store-bought knives from unknown steel I occasionally sharpen them at 20°, especially if it is clear from the state of the knives that the customer is not particularly careful about their use.)

I established the bevel with 120 grit and then I progressed from 180 and 240 grit Zirkorund and then Trizact belts (in the evaluation translated into grit equivalents) from A 65 all the way to Trizact A6. I only differed from my usual sharpening procedure in one way – I used fresh belts, instead of old ones. Normally for sharpening, I am using old belts because sharpening is extremely rough on the belt and destroys it very quickly.

The measuring method is wildly imprecise – the testing thread is not homogenous, the angle at which I put the blade on it is not always precise, I do not always hit the center, I am not pushing with constant speed, the kitchen scales do not renew the measured value with sufficient frequency and probably several other variables. I have experience with such measurements from my previous job though and there are ways to get relatively reliable, reproducible, and usable results even so. One of those ways is to make lots of measurements – that is why I took 12 measurements, discarding two of the most egregious outliers and making the evaluation with the remaining 10. There are mathematical methods for discarding outliers but for my personal purposes, the Lookandsee method suffices. (Thirty or fifty measurements would be better, but I am not going for exact values for individual grits, I am going for a comparative assessment between those grits. Anyway, not going to write a boring lesson about measuring).

Here is the boxplot of those ten measurements per each grit:

© Charly, all rights reserved. Click for full size

And it looks like my prediction from yesterday was bang-on. Which is satisfying to my ego, but also boring in a way. It would be much more exciting if it were different.

What you see here is the cutting force going rapidly down from ~270 g at 180 grit to ~ 75 at 400 grit. At this point, the blade is capable of cutting freely hanging paper. Then it falls some more to ~40g  at 800 grit and more or less stays there till the end (the knife is shaving-sharp at these stages). The slight increase at 1200 is a fluke that would most probably go away if I have made more measurements and/or invested time and resources in refining the method. I made ANOVA test and there is no statistically significant difference between the last three fine grits.

So in conclusion, sharpening knives beyond 1000 grit indeed appears to have very little practical value. At 800 grit the blade is already shaving-sharp and polishing the edge further only costs more time without noticeably improving its cutting capabilities. With more precise measuring method there might be a difference, but it would be very, very tiny. I think that I can replace the last two belts with a leather belt infused with stropping compound and get the same result. And since time is money, I will do exactly that.

Sciencing Sharpness – Part 1 – Predictions

I hope to use my new sharpmeter to get some knowledge about, well, sharpness. And since I am going to be playing at science whilst doing so, I have decided that I will write down the predictions for my tests. The tests will not be blind, because I will be doing both the sharpening and testing and there will still be some subjectivity to these tests, but nothing is perfect. I am doing these tests to gain some knowledge and I will share that knowledge for free but there will inevitably be bias.

The first test that I intend to perform is the influence of grit on edge sharpness. I think that after establishing the bevel with 180 grit the cutting force will go down significantly with the next steps, but it stops changing significantly above 400 grit. My reasoning for this is the fact that it is possible to get a knife shaving-sharp with ca 320 grit stone and at 320-400 grit usually the wire edge/burr falls off. I think that I have mentioned in the past in comments somewhere – either in Marcus’s place or here – that going above 1000 grit in sharpening makes little sense function-wise, although I cannot find the comment now. I will go up all the way to trizact A6 belt (the equivalent of 2000-2500 grit) in the experiment.

The second test that I intend to take is the influence of the sharpening angle. There was a heated debate between me and Marcus on this issue a while back -click-  and I really want to test it (caveat from the first paragraph applies doubly). I expect the force needed to cut the thread to rise exponentially, i.e. slowly from 10-25°, then some more for 30° and even more for 40° and again even more for 45°. I won’t test sharpening angles steeper than 45° because it makes no sense IMO since a 45° sharpening angle means a 90° edge. I know from praxis that knives sharpened at 15°, 20°, and 25° can be shaving-sharp. I do not know much about the 30° angle, since that is extreme and I only sharpen hatchets and axes at that angle and I never even tried to get those to shaving-sharp. They do cut paper though.

So, sometime this week I shall heat the workshop again, sharpen some steel offcuts (probably pieces of old hacksaws) and go measuring.

Sharpmeter

It is freezing here and I still do not have the slightest inclination to do something useful. But I need to heat the workshop occasionally to prevent it from completely freezing. Not that it would be super bad, except that maybe ice forming in the cooling receptacle near the grinder could damage it. Anyhoo, yesterday was a workshop heating day. I could not do anything super useful – it took me hours to raise the temperature to a bearable level and soon after I stopped feeding the stove, the temperature got down quickly again. But I could use the time to do something small and simple so I have made a device for measuring knife sharpness (I did not invent the concept, I saw the principle somewhere on the interwebs sometime ago).

© Charly, all rights reserved. Click for full size

It is simple and consists of two main parts. One part is a board with four legs and a 35 mm hole in the middle. A tiny table that can be put over my kitchen scales.

© Charly, all rights reserved. Click for full size

The second part is a small wooden cylinder with a cutout and two screws on each side of it.

© Charly, all rights reserved. Click for full size

I can span a thin thread between the two screws and when the cylinder is put on the scale through the hole in the middle of the tiny table, I can cut the thread safely for me, the scale, and the furniture.

The main downside is that my kitchen scale does not have a “Hold” or “Max” function so the measured values are not super precise. Another problem is the used thread – a very thin fishing line would be probably better since this one has a tendency to get damaged during spanning. Or perhaps a very thin copper wire – I might try to extract some strands from leftovers from speaker or ethernet cables. But when being very careful with spanning the thread and doing the cut slowly and carefully, the setup gives useable results and I did learn some things.

Here is a boxplot of 10 measurements with the three cutting implements in the photos – a fresh razor blade, a paper-cutting-but-not-shaving-sharp sharp knife, and a blunt table knife (I used the non-serrated part which is about 1 mm thick),

© Charly, all rights reserved. Click for full size

The razor had an average cutting force of ~6 g, the sharp-ish knife ~60 g, and the blunt knife ~ 1000 g. The less sharp the blade the bigger the spread but even with sometimes ridiculous outliers, there is a definitive and statistically significant difference between these three and it does give me some information and opens future opportunities. I would like for example to examine the relationship between sharpness and sharpening angle, to get some hard data to back up my opinion that anything between 10-30° works just fine. My prediction is that the relationship is not linear and as the angle gets steeper, the cutting ability gets exponentially worse.

I did learn one thing – my “Not a Masterpiece” was sharpened at a 20° angle and the only knife that actually scares me – the bigger knife from the two-knife applewood set – was sharpened at 15°, yet both measured within the same range as the razor. Although the applewood knife completely failed to register on the scale one time, thus my suspicion that it is the sharpest knife I made so far might be true.

Of course this only tests edge geometry, not blade geometry. I could use a similar setup to test the influence of blade geometry on cutting force too, but I do not have a reliable medium to do so yet. All things that I have thought of so far are either expensive (cork, rubber, silicone) or have highly inconsistent properties (fruit & veggies). But maybe I will think of something to test blade gomtry too.