TNET 46: In a Highlander’s Shoes

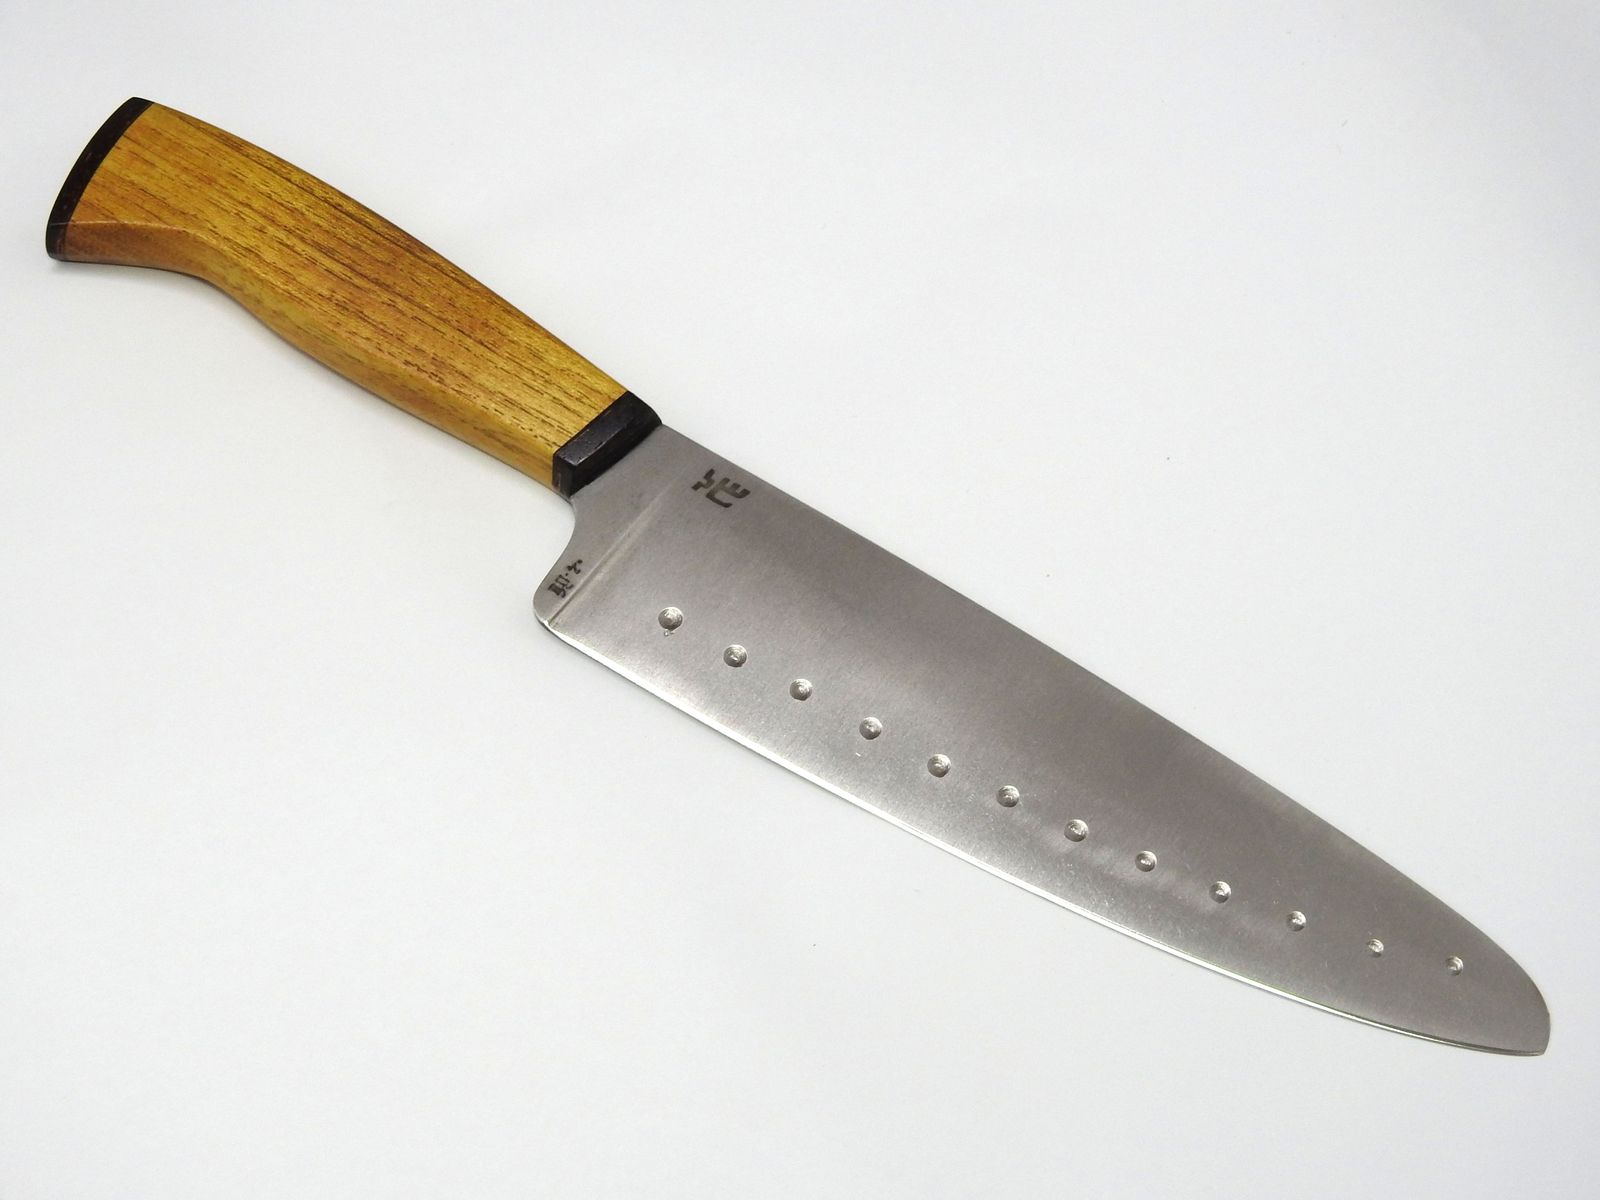
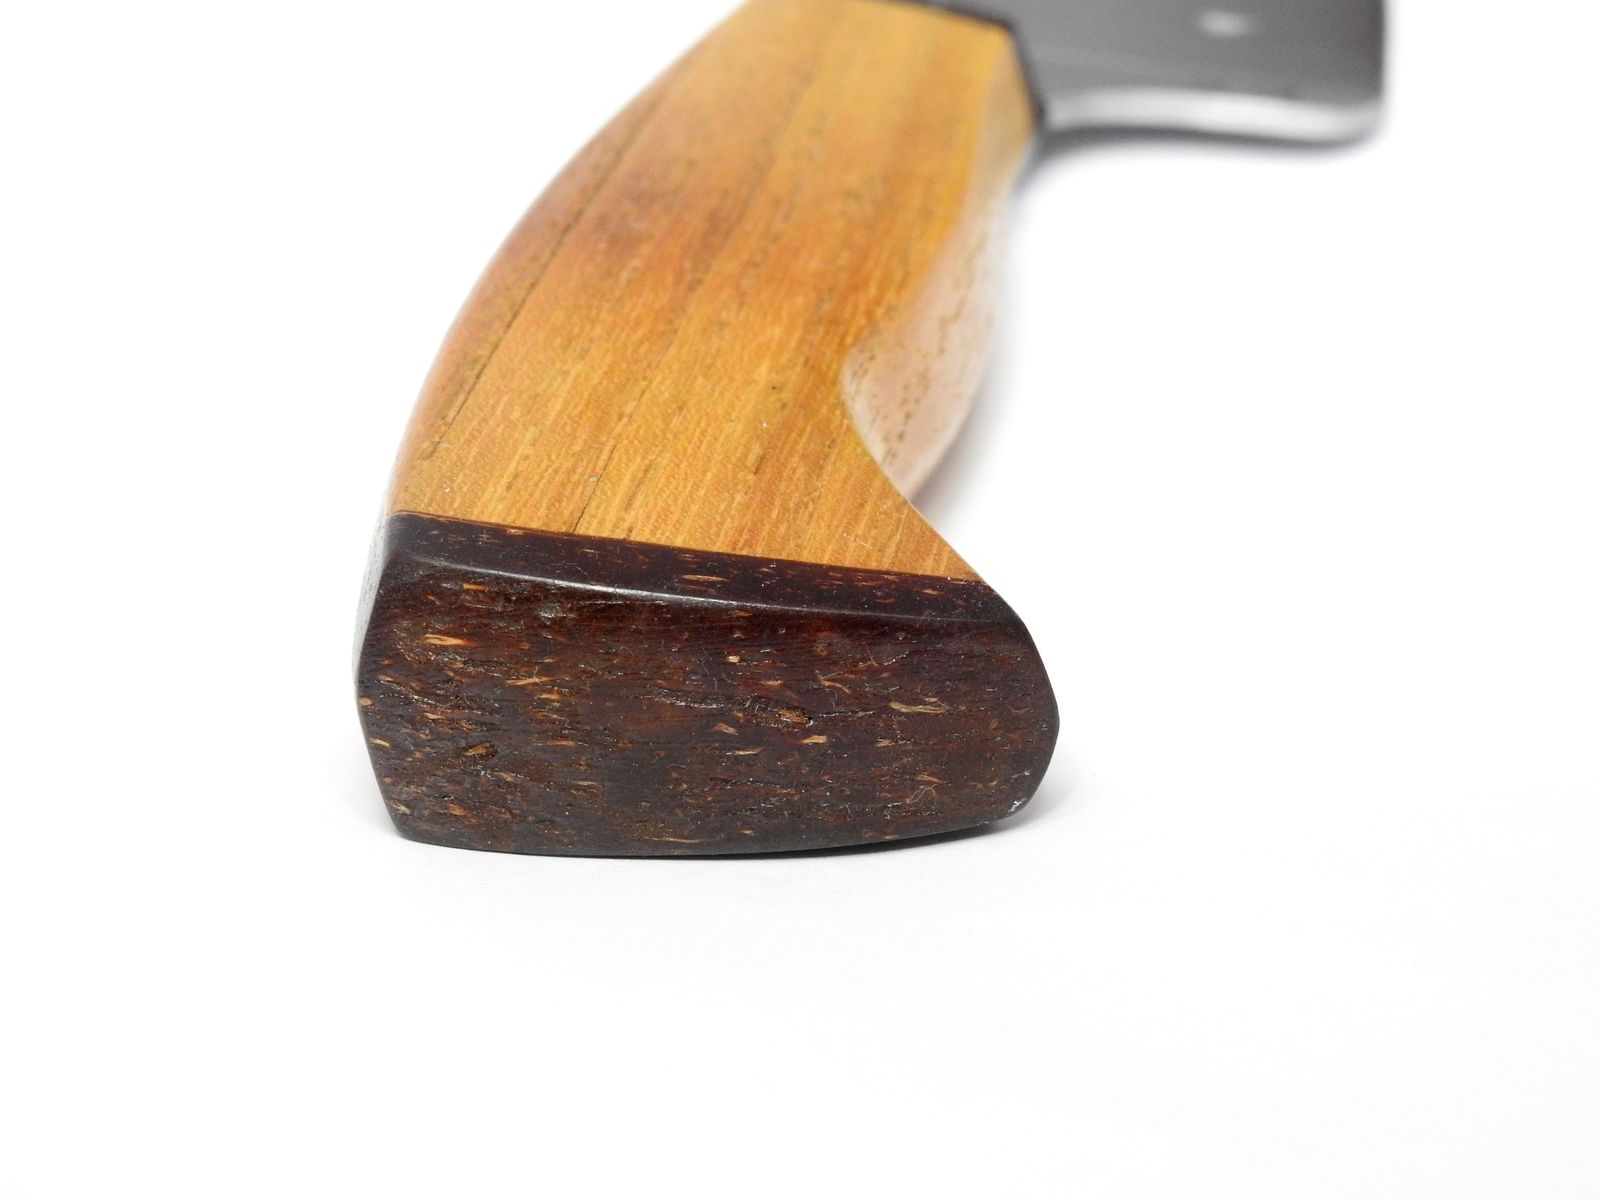
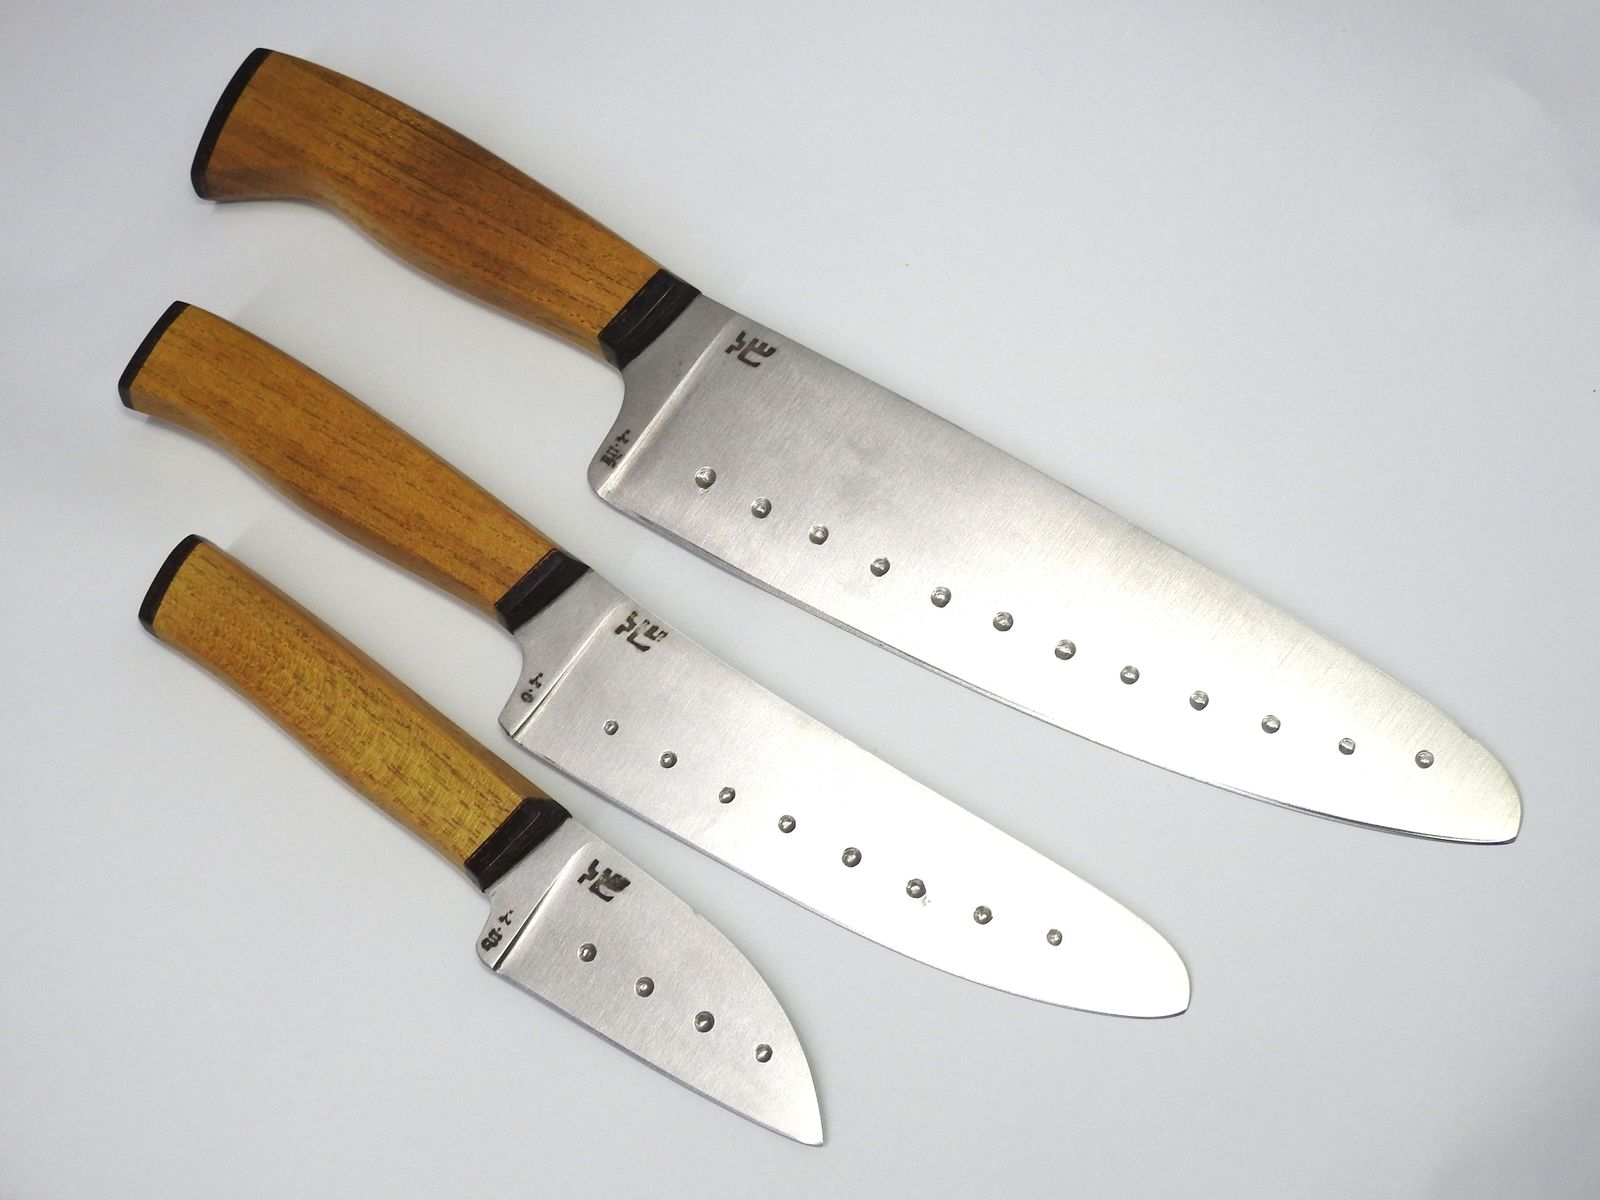
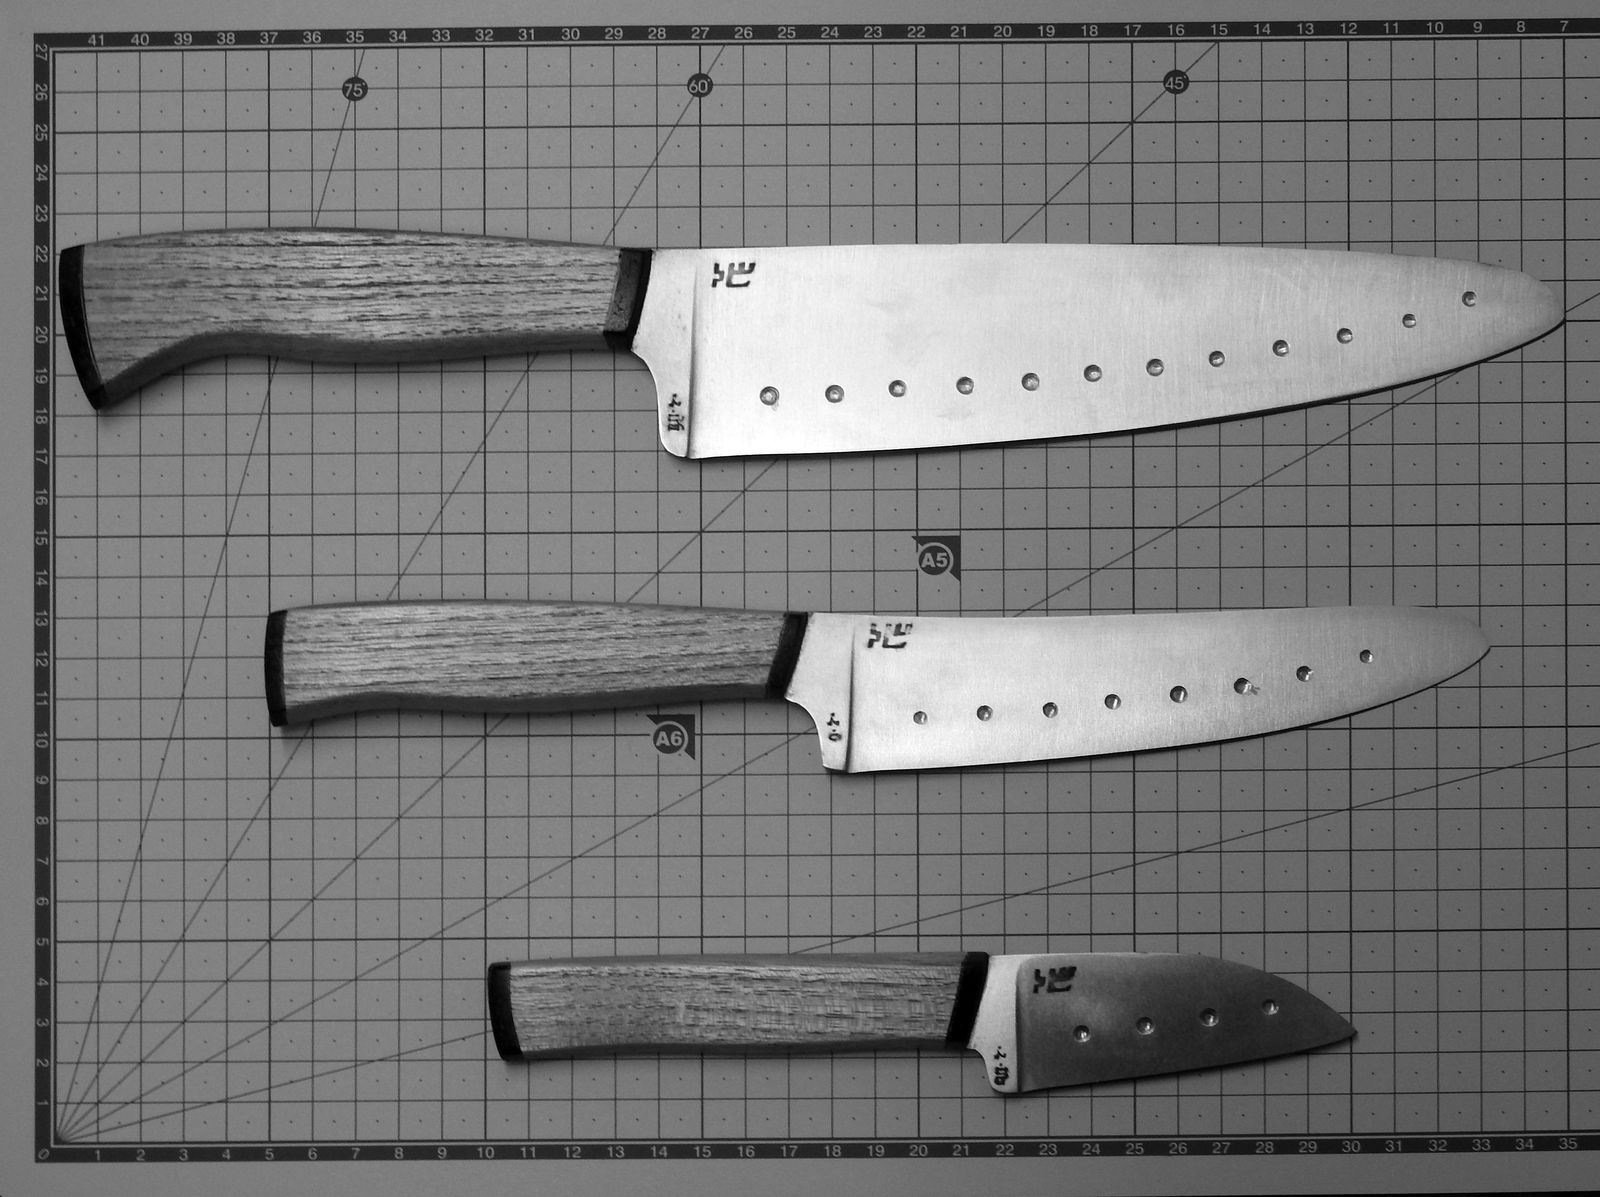
I do not know why the algorithm recommended the Fandabidozis channel to me, but it did. I think (although I am not sure) that it first recommended one of the videos in which he shows the crafting of some of his historically accurate-ish equipment.

I have enjoyed his videos in which he explores 17th-century equipment of the Scottish highlanders and this one is probably his biggest and best video project.

Open thread, you can talk whatever you want, just do not be an a-hole.

Previous thread -click-.

Accidentally Tacticool?

I have designed this knife with a focus on ease of manufacture. It is meant to be a simple design that would allow me to utilize micarta made when impregnating wooden handles with epoxy. The metal bolsters are not exactly easy to make, but micarta would allow me to forgo them completely if I ever decide to do so. I do not like knives without bolsters, thou.

© Charly, all rights reserved. Click for full size.

© Charly, all rights reserved. Click for full size.

© Charly, all rights reserved. Click for full size.

The ornamental pins came out more asymmetrical than I hoped for, I will have to use another method to get them more consistent. And the black micarta, made from old jeans, looks tacticool, which is not entirely intended. The knife is a small outdoor knife, suitable for example for mushroom picking. In fact, my father immediately said it would be a knife ideal for mushroom picking upon seeing it, which made me happy because that was my intent.

Then I have also made a badger knife with a handle from micarta. But this time it was not micarta made from stacked layers of fabric but from smaller cuts of different colors crumpled together in the resin.

© Charly, all rights reserved. Click for full size.

© Charly, all rights reserved. Click for full size.

© Charly, all rights reserved. Click for full size.

It is hard to take a photo of, but the crumpled fabric does give the micarta a black&grey camo look, which is again more tacticool than I intended. I will probably start making micarta with bright colors because those are more suitable for a forest walk IMO – if you lose them, you have better chances of finding them than these. Although the stainless steel would, of course, gleam like a naked bum amongst the undergrowth.

I will probably furnish both of these with simple black sheaths. These knives are meant to be simple.

So… What Are Tomatoes? Exactly?

It looks like vegetables are pretty bigoted antitomatists.

Butbutbut… Aubergines, peppers, gherkins, chillis, cucumbers, and zucchinis are fruits too if one insists on being pedantic!

Poor tomato, its tribulations did not end there. Fruits are prejudiced against it too…

Truth be told, I would definitively not put tomatoes in fruit salad, the technicality of their status notwithstanding. Unless cucumber & tomatoes salad is fruit salad? Then again, cucumber got into both parties without a problem. I is offishully confused.

Serious problems of serious times.

Frosty Morning Walk – Part 6 – Frosty Leaves

And one cobweb. Frost is very beautiful. It would be more beautiful if it were pleasantly warm, but one cannot have everything.

© avalus, all rights reserved. Click for full size.

© avalus, all rights reserved. Click for full size.

© avalus, all rights reserved. Click for full size.

© avalus, all rights reserved. Click for full size.

© avalus, all rights reserved. Click for full size.

An Experimental Kitchen Knives Set

This set is numbered, but I won’t be selling it. I have tried several new things whilst making it and it was designed in part with a focus on ease of manufacture, except the experimental dimples in the blades.

© Charly, all rights reserved. Click for full size.

© Charly, all rights reserved. Click for full size.

The stand is made from three slabs of massive black locust wood and the front of the knife stand, the bolsters, and the end caps on knife handles are made from a coconut shell. Fitting the curved coconut shell perfectly to a piece of wood is of course not possible, and I have solved that problem quite successfully by dyeing the epoxy glue dark brown.

© Charly, all rights reserved. Click for full size.

© Charly, all rights reserved. Click for full size.

© Charly, all rights reserved. Click for full size.

The finish is simply drying oil (commercial “Teak oil” which is a mixture of various oils) applied in several layers daily for over a week. It is still a bit tacky to the touch, but that should solve itself in time and with use. The surfaces are not overly polished – I did not go above 330 grit for both the metal and the wooden parts. Black locust wood has big pores in its growth rings, so polishing it very highly makes little sense anyway. I have, in fact, brushed the wood with a steel brush to accentuate the pores.

© Charly, all rights reserved. Click for full size.

I tried to make divots in the blades to make them less sticky to food, but it did not work out, they have too small a diameter to have any noticeable effect (I think). I will either have to build a tool to make these divots wider or to make very shallow fullers reliably and reproducibly. Neither of those two tasks is easy and I do not currently have any ideas.

© Charly, all rights reserved. Click for full size.

© Charly, all rights reserved. Click for full size.

The handles are not of an overly complicated shape, they have simply hexagonal profiles with some curvature to the facets and smoothed edges. They are reasonably easy to make and comfortable in the hand. The tang is held not only with glue but also with a nut on the end, which is covered by the coconut shell endcap.

© Charly, all rights reserved. Click for full size.

© Charly, all rights reserved. Click for full size.

© Charly, all rights reserved. Click for full size.

I think these three knives should cover just about any task that an ordinary home cook needs to do in their kitchen. I hope. I have given the set now to my mother to test and I have forbidden her to use any other knife for the time being under the serious threat of confiscating her other knives. She has got instructions to use and abuse them to test them thoroughly. If they pass the test, I will make multiple sets (without the divots in the blades) for sale.

I have also been thinking of adding this kind of picture in the future to my blades when I offer them for sale on the interwebs, to save myself the trouble of having to write the sizes in words for each piece. What do you think about that idea?

© Charly, all rights reserved. Click for full size.


One Santoku, Two Santoku, Three Santoku…

Today was finishing day – I finished six knives, three of which are Japanese-style santoku kitchen knives.

Three santoku knives. © Charly, all rights reserved. Click for full size

Japanese knives are not my forte. I know a bit about them, but not much. I do not intend to make them in significant numbers. Not only because I am not Japanese, but also because some of them are highly specialized tools optimized for one specific task and most people here in Europe would have no clue whatsoever how to use them or care for them and those who do would probably prefer to buy them from actual Japanese craftsmen. But I had three offcuts that just lent themselves for this type of blade and I am all for making the most with the least amount of waste.

Where I (afaik) differ most significantly from Japanese blades is the round-heeled ricasso. And the knives are glued together with epoxy.

Olive wood handle. © Charly, all rights reserved. Click for full size.

This one has a handle from olive wood, cow bone, and buffalo horn. The handle is asymmetrical – the bone piece is not flat but rounded. Fitting the wood, bone, and horn together was thus a bit of work, but I have managed to fit them together fairly well, albeit not perfectly. The handle has a D profile, with a flat-ish top and rounded belly.

Olive wood is extremely beautiful and I should have probably saved the piece for a worthier blade. But it stinks to the heavens when worked and is somewhat greasy so it tends to clog up abrasives something awful. Due to the greasiness of the wood, I have finished the handle with tung oil, five layers over two weeks. And when I was at it, I used the same finish for the other two as well.

Santos mahogany handle. © Charly, all rights reserved. Click for full size.

This is just a simple two-piece handle, bone bolster, and Santos mahogany wood. This wood works reasonably well and is very dry, the exact opposite of Olive. It does not gum up the tools, but it makes a lot of dust that likes to float around. I think it is a neat knife. The handle has a rounded belly and a faceted back.

Cherry handle. © Charly, all rights reserved. Click for full size.

And last a knife with a handle from my late cherry tree, cow bone, and buffalo horn. The handle is faceted, probably the closest to a true Japanese-style knife.

They are all 160-170 mm long blades, with handles 110-130 mm. I am not planning to make more unless I get suitable offcuts again.,

Have a Rainbow

I hope you’re all having a great weekend. This was supposed to go up yesterday, but apparently my computer fucked up.We went to our friends yesterday for a traditional “St.Martin’s goose”, which was nice, especially as social events will go down again with Covid going through the roof in Germany. I’m anxiously waiting for my booster, because if we do one thing well, it is fucking shit up with bureaucracy. Doctors say “5 months after your second shot”, public vaccine clinics are allowed to give it to you after 5.5 months, doctors only after 6…

Thankfully my friends and family are all very sensible, so we’re meeting on an “as vaxxed as possible and tested” basis. That’s all I really want: meet a couple of people, but I guess that’s being jeopardized again by people who neeeeed to celebrate carnival with thousands of strangers in close proximity. Here I’m ranting again…

Finally, have a rainbow:

©Giliell, all rights reserved


I Think This Will Cut It

My new circular table saw arrived today. I haven’t got round to using it yet, for I had some time-sensitive work to do in the garden, but tomorrow I am definitely going to use it because I have bought a small bedside table that needs some modifications to fit into my living room properly.

© Charly, all rights reserved. Click for full size.

It is not the most prestigious and expensive tool imaginable, but it was fairly expensive so I really, really, really hope it works well. I was putting off this purchase for as long as I could, but I needed a proper table saw for a long time by now. This one seems to be sturdy, the table is nice and flat and it has built-in extension support and various end-stops, as well as grooves for cutting jigs.

© Charly, all rights reserved. Click for full size.

It can cut up to 87 mm depth, which is nearly double what I was able to cut with my previous setup. And of course, setting of cutting depth and angle is much more convenient with no fiddling under the table and cursing the whole time because I cannot get the depth and/or angle right. It is powerful but can still be connected to my shop vacuum (it has 2000 W usage, which is near the maximum), so I do not need to plug it separately and turn on two devices for each cut or have the vacuum run continuously – the vacuum will start automatically with the saw when the saw is plugged into it.

© Charly, all rights reserved. Click for full size.

And the thing that makes me most happy so far – the legs can be folded and it can be stowed away under my workbench in the same place where my previous saw was residing. Hooray! I need not do any big changes to the Shoppe!

My Shoppe is Cursed. Cursed I Say!

Yesterday I was sorting my black locust wood into two piles – usable and firewood. And whilst cutting the wood, my little circular saw started to make a weird rattling noise. So I turned it off instantly. Then I disassembled it and I started to poke around in its guts to see if I can find what is the issue. I have thought that I found it – two ball bearings were a bit worn and had a rough feel to them so I have replaced them. Then I have assembled everything again. The weird rattling noise was gone and it was running smoothly.

Hooray!  I plugged it in and started it and I rejoiced for a few seconds until a billowing cloud of smoke emerged. The stators isolation has suddenly started to burn, god knows why.

I have already ordered a new, better and bigger circular saw, a proper, stable, table saw (this one was handled saw fixed to a table). I am glad that it died now when I still have some money to spare rather than later when I run out and have to chew tree bark, but I’d be happier if it hadn’t died at all.

Well, it had a good run at least. I have bought it nearly twenty years ago and the first thing I used it to make was a table for my PC. A few years later I have used it to build another, bigger and better PC table, accompanied by a bookcase, a wardrobe, and a small tea table. Then came my own set of back horn speakers and several smaller projects. I have used it to cut material for my belt grinder and to build a lot of my current shop furniture.

I still have all those things and they serve me well, so the saw did pay its purchasing price several times over. When I have disassembled it, there was noticeable wear in the gears, so even though I did not feel like I have been using it that much, I was using it enough and it did not die prematurely.

I hope the replacement arrives soon. I have a lot of work t do.

I got a new toy

There’s some things I’ve been eyeballing for ages, but could never justify the expenses, and one of those things is a die cutting machine. Basically those things are two drums that are moved with a crank and the cutting happened via pressure. You can make very fiddly and intricate designs . Having paid off my teeth (and just before I got a new toothache and our washing machine broke), I decided to treat myself to a basic die cutting set and make some paper crafts.

©Giliell, all rights reserved

These are beautiful. And a lot of work. They are about 10 cm in total and consist of three parts: the bottom and two side pieces. Not to mention the deer and squirrel, which are added separately.

©Giliell, all rights reserved

Making the little boxes from colourful paper was a good time filler for the little one’s birthday. I guess I#ll be making my own christmas cards this year.