This is the second three-piece set from the second overabladeance that I have finished. It is what you might call “vegan” set, because there are no animal parts involved in this one, it is made purely from plant material – black locust and coconut shell.

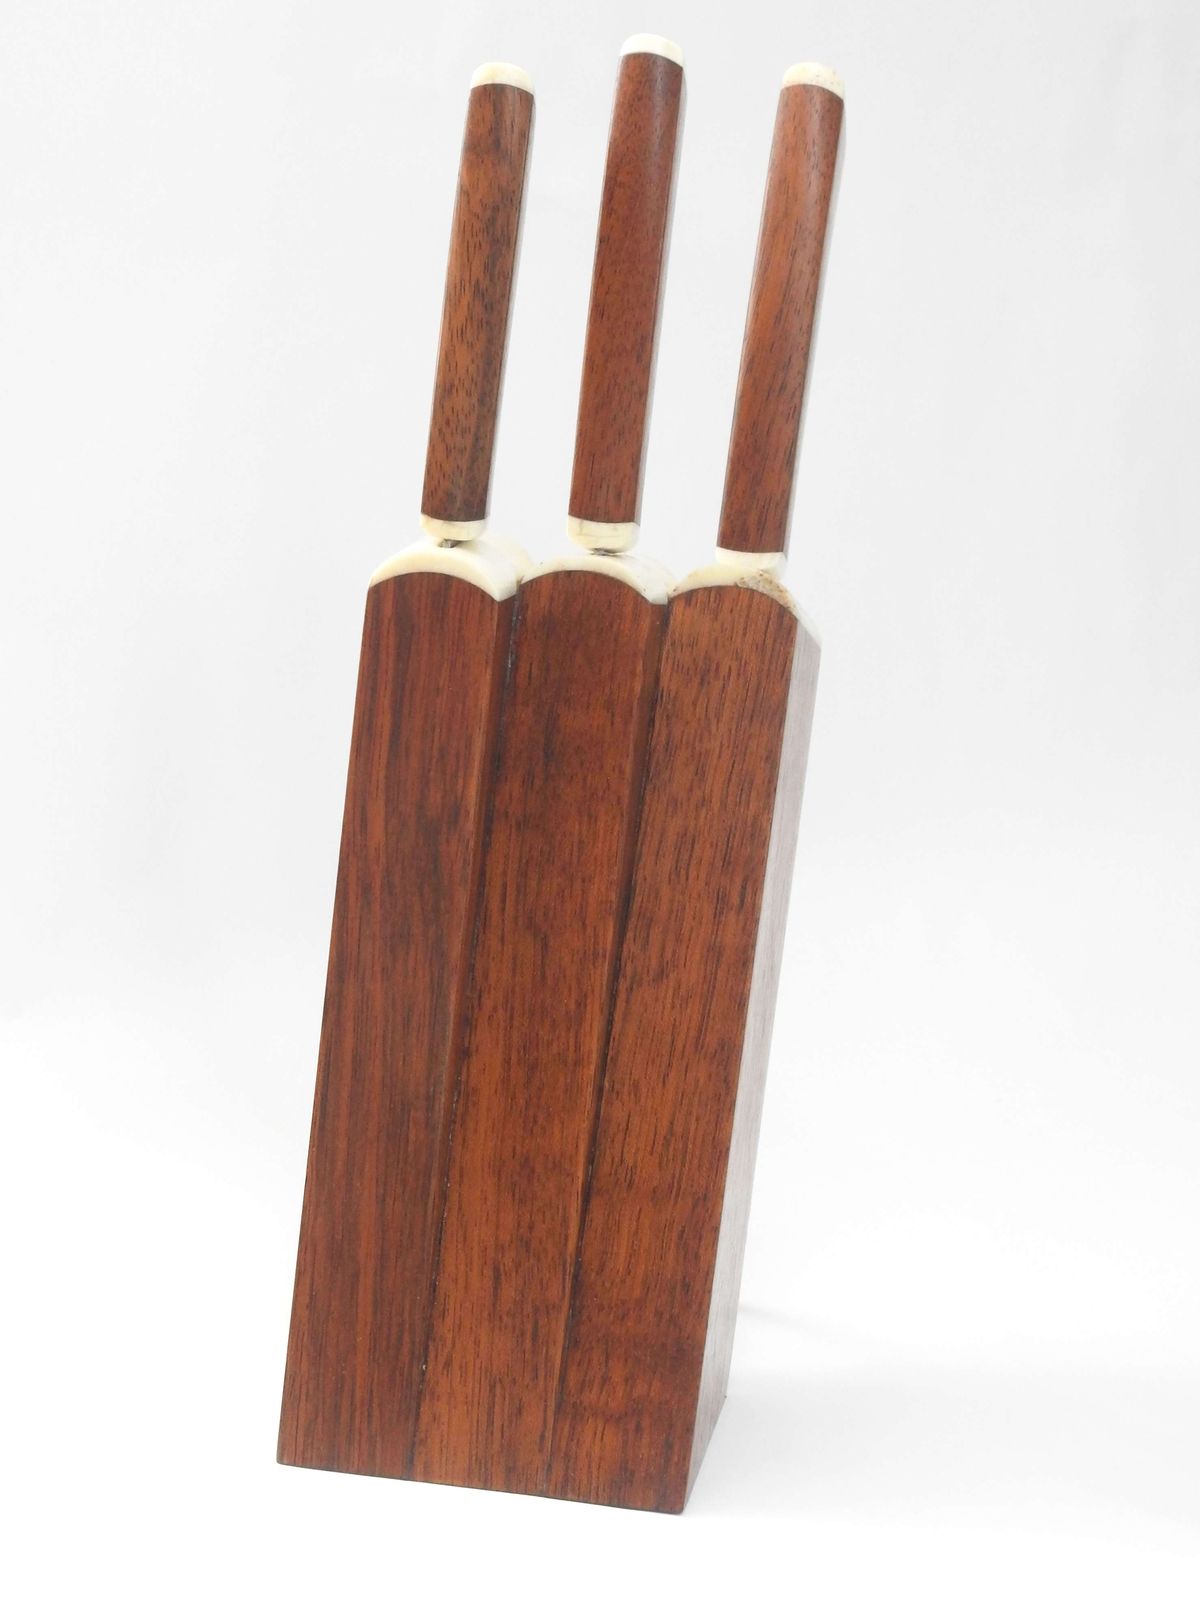
© Charly, all rights reserved. Click for full size.

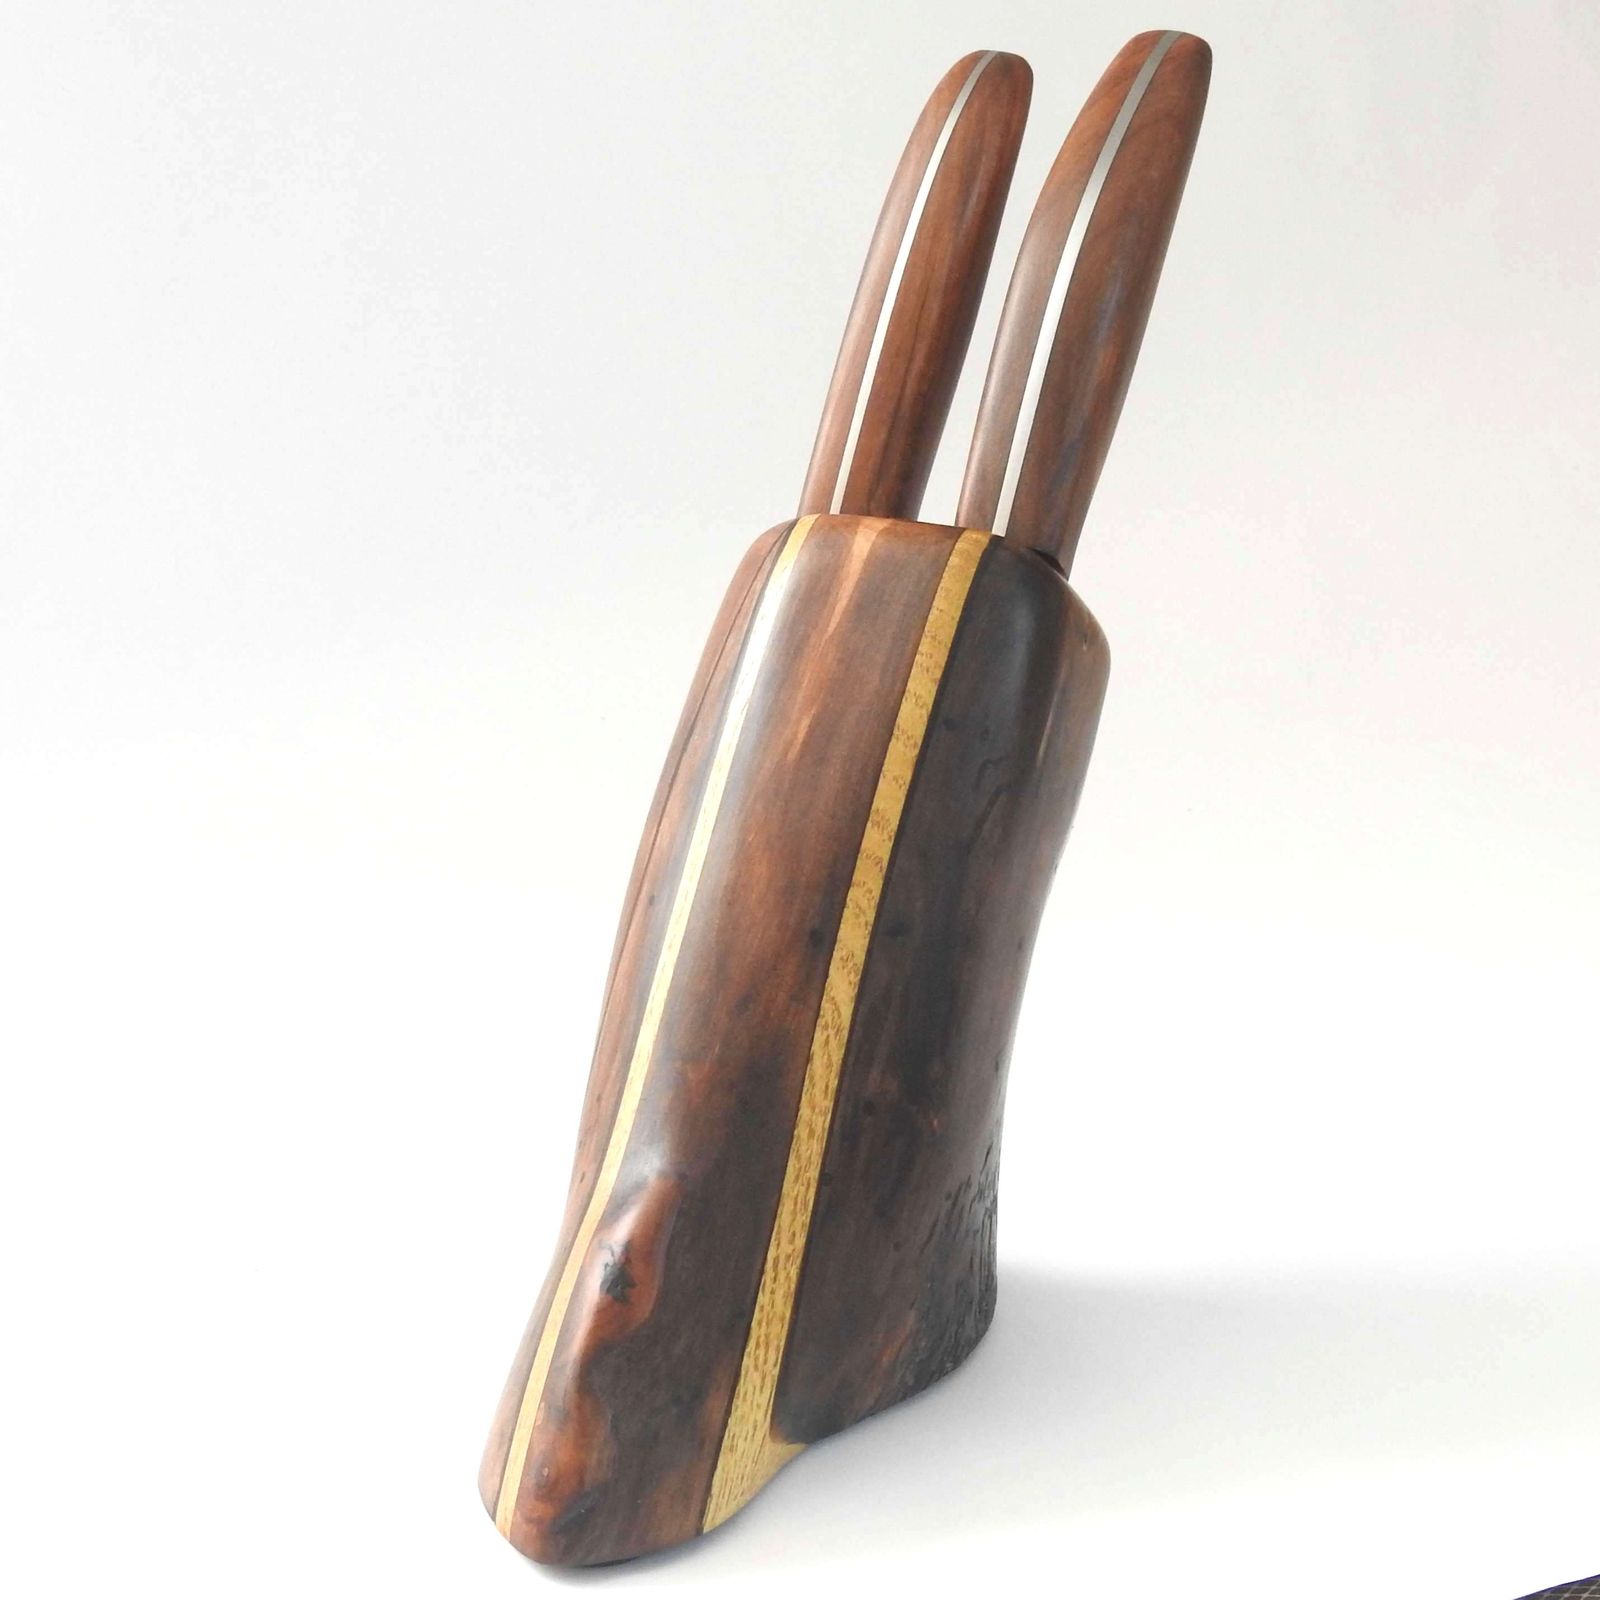
© Charly, all rights reserved. Click for full size.

© Charly, all rights reserved. Click for full size.
It is more or less a direct, slightly simplified, follow-up of the experimental knife set. This time the surfaces are not oiled but sealed with epoxy and buffed, just like with the jatoba&bone set from yesterday.
I hope to be able to put all three sets on the shoppe tomorrow. More pictures are, again, on Instagram.