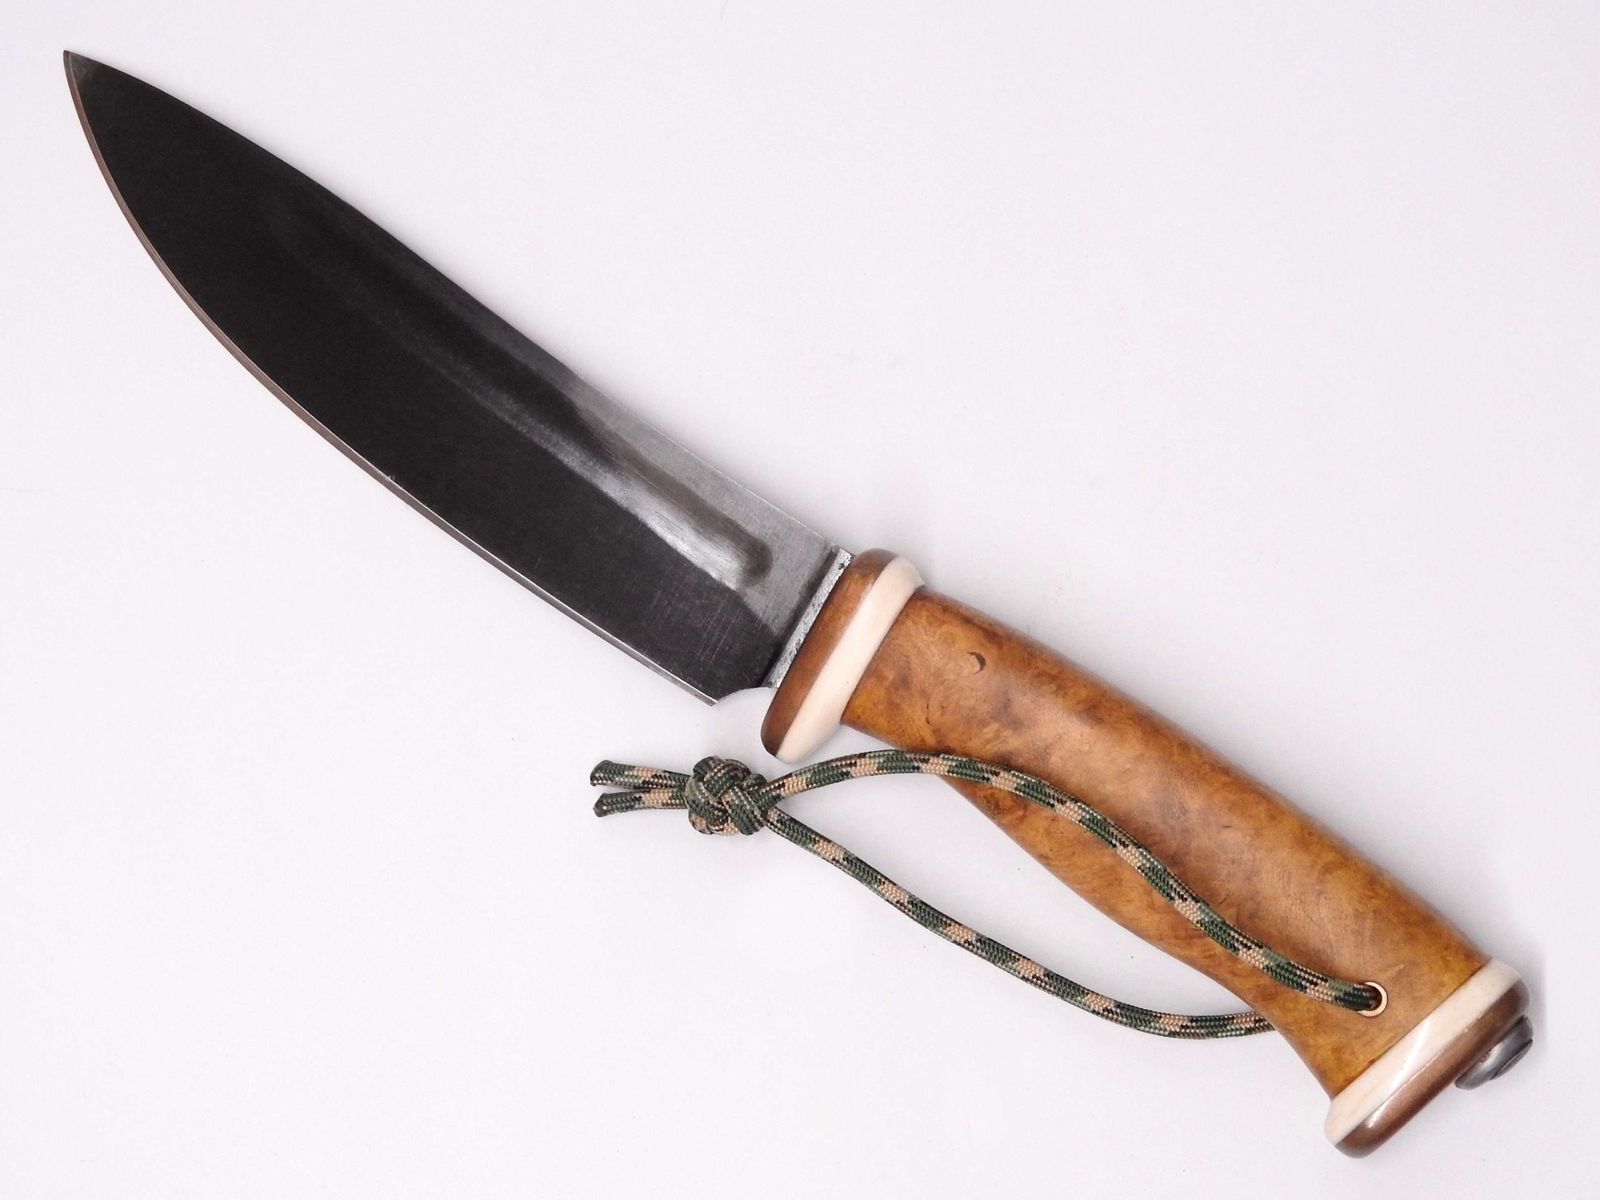
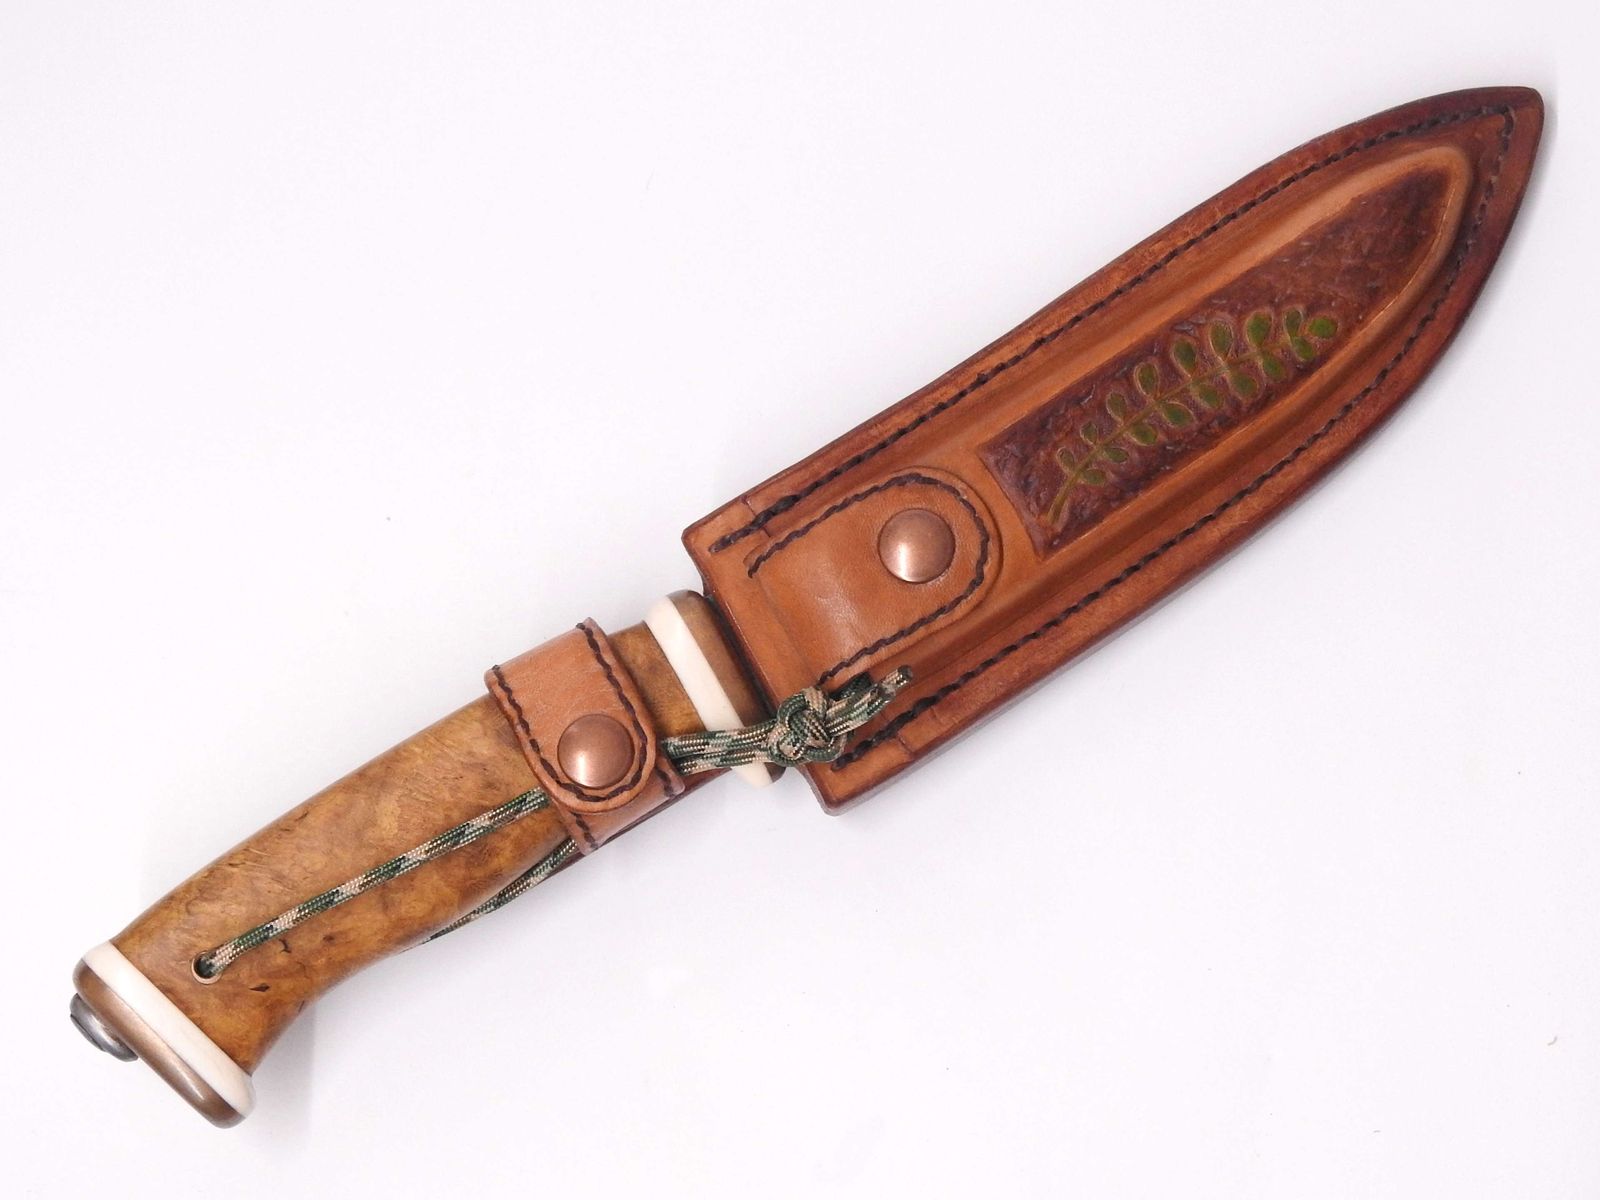
When going on a get-together with my friends from university, I occasionally offer to sharpen their knives for free or gratis. For that purpose, I used to take with me my sharpening stone, which initially was all that I had to sharpen knives. With time this has evolved into a kind of traveling sharpening kit and in this post, I will describe its evolution a bit. Let’s start with a picture, followed by less than a thousand words.

©Charly, all rights reserved
I have started with the grey, two-layer silicon carbide whetstone on the left. It has to be soaked in water before use and it is the exact type of cheapo basic coarse/fine stone that my father has used to sharpen knives all his life and with which he taught me how to sharpen knives when I was ten years old. With care, it is possible to sharpen a knife with this stone alone, although not to shaving sharp, for that, stropping is necessary. As an impromptu strop, I have used on my travels either folded paper or a dishcloth with a bit of toothpaste on. It was possible to get knives to shaving sharp that way, but it was a bit laborious and time-consuming.
Thus came the second addition to the set, the beige-red stone. The red layer is of a significantly finer grit than the fine carbide layer on the grey stone, which is better for a touch-up on a knife that is not overly blunted. It is a very hard and not overly porous stone that can be used with either water or oil. I do not know its composition, but it does not behave like carbide and does not soak up water much. I only use it with water, it is more practical on travels.
However, stropping was still a major pita. Luckily, I found my grandfather’s old leather strop for razors when rummaging around in the attic (I found the razors too). It consists of a leather belt sewn into a loop that is spanned with a screw. The leather was rotten, but it was not a lot of work to replace it. I improved the design a bit with a bottle cork cut in half to not span the leather over a sharp edge, which would lead to faster deterioration. I am thinking about making several of these for my shoppe too. This has made stropping a lot easier, although it is not ideal for big knives. It works reasonably well even without abrasive paste – this strop is not primed and I am still pondering whether or not I should prime one side or leave it as it is.
One of my friends has a small folding knife that has a kukri-like blade gomtry. That unfortunately means that it is not possible to sharpen with a flat whetstone that cannot reach inside the tight concave curve of a small blade. A stone with a curved surface is needed. And I found a few exactly such stones when I was visiting my aunt – she lives near a river in an area where quartz cobbles are easy to come by in all kinds of shapes, sizes, and surface smoothness. A quartz cobble does not remove the material as well as a carbide stone does but it does work well for maintaining an edge that is not overly deteriorated. And no, I am not joking – it really is perfectly possible to sharpen a knife properly with a stone found in nature, with a bit of skill and care in selecting the right stone.
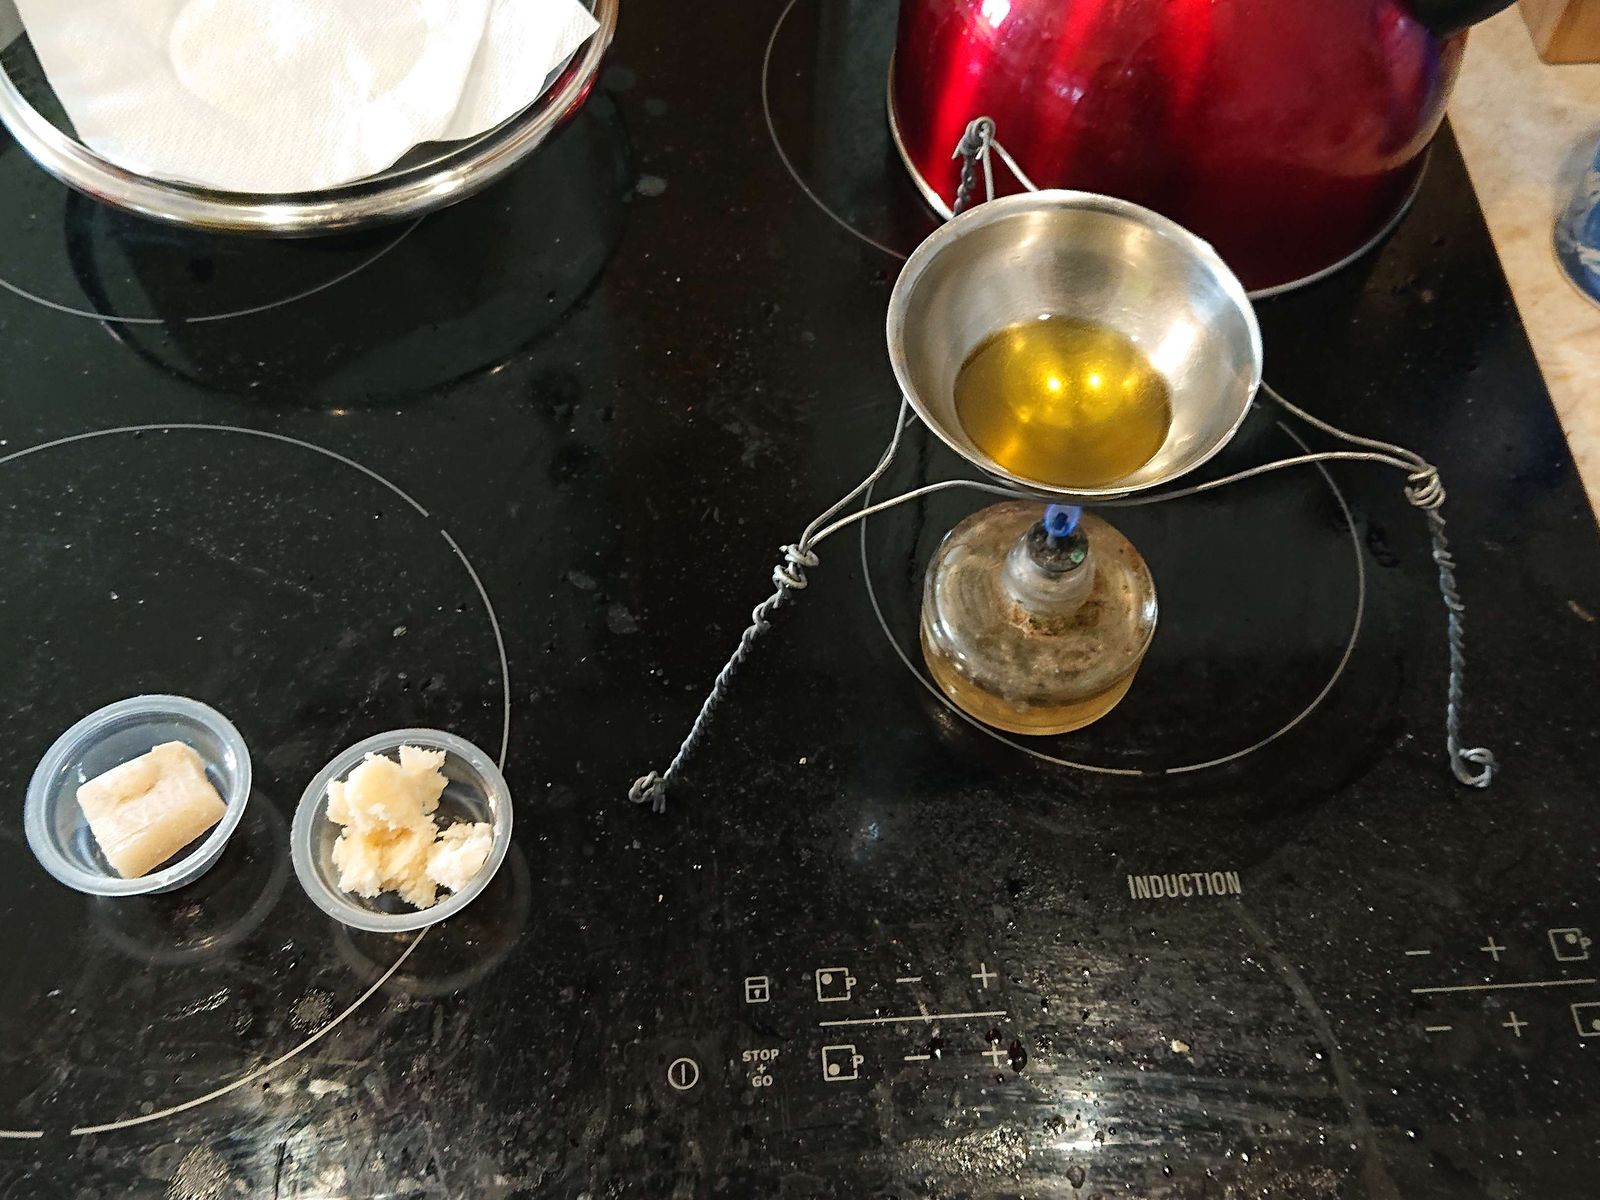
The last edition to the hand sharpening kit was a hard-backed strop and a hematite-based stropping compound. The strop is simply a black-locust board with leather glued on both sides and a handle screwed on one end. The leather is with the skin-side out on one side and flesh-side out on the other. The rougher flesh-side out was subsequently primed with the stropping compound. It is hard and big, and thus suitable for stropping even really big knives. It is very efficient too, a few strokes on the primed side and a few more on the clean side, and any knife is as sharp as a razor.
For traveling the stones get packed into a plastic food container with a silicone pad and a few other things like the two wooden wedges with winkles (those were an afterthought this time because I knew I will be teaching someone to sharpen knives and I wanted to have some easy way to demonstrate the right angle) a smaller bowl and a silicone pad.
I think this is the final stage for me, I cannot think of anything else that I could need.
I do wonder whether it would make sense to make all of this into some kind of snazzy “traveling sharpening kit” and offer it in the shoppe. It is not a sharpening gizmo, it does require some skill to use properly.
And if you are wondering what you need to sharpen knives to a truly wicked edge, here is all you really need to achieve that goal and none of it is overly expensive or difficult to make. You can buy fancier or more expensive equipment but you do not need to.