Let me tel you one thing upfront – this was the most nerve-wracking part of the whole job. For a moment there I thought that I have destroyed the whole thing and I will have to start all over again, which I am not completely sure I would be able to.
 First setback was the guard – look on the picture, do you see it? I did not notice it when I have made it, and it escaped my notice for quite a few days, but when trying the assembly I noticed a sizable gap between the guard and the tang. It is only about 0,3 mm, but the mirroring of the blade and the guard make it visually double that size. I thought that I will use it anyway, but it pissed me off and in the end I reckoned that having a botched project on which I have already spent probably about 50 or more working hours due to a part that takes about 3 hours to make is not worth it, so on Friday I have made a new guard. The fit was still not perfect, but this time it was good enough for me to live with it.

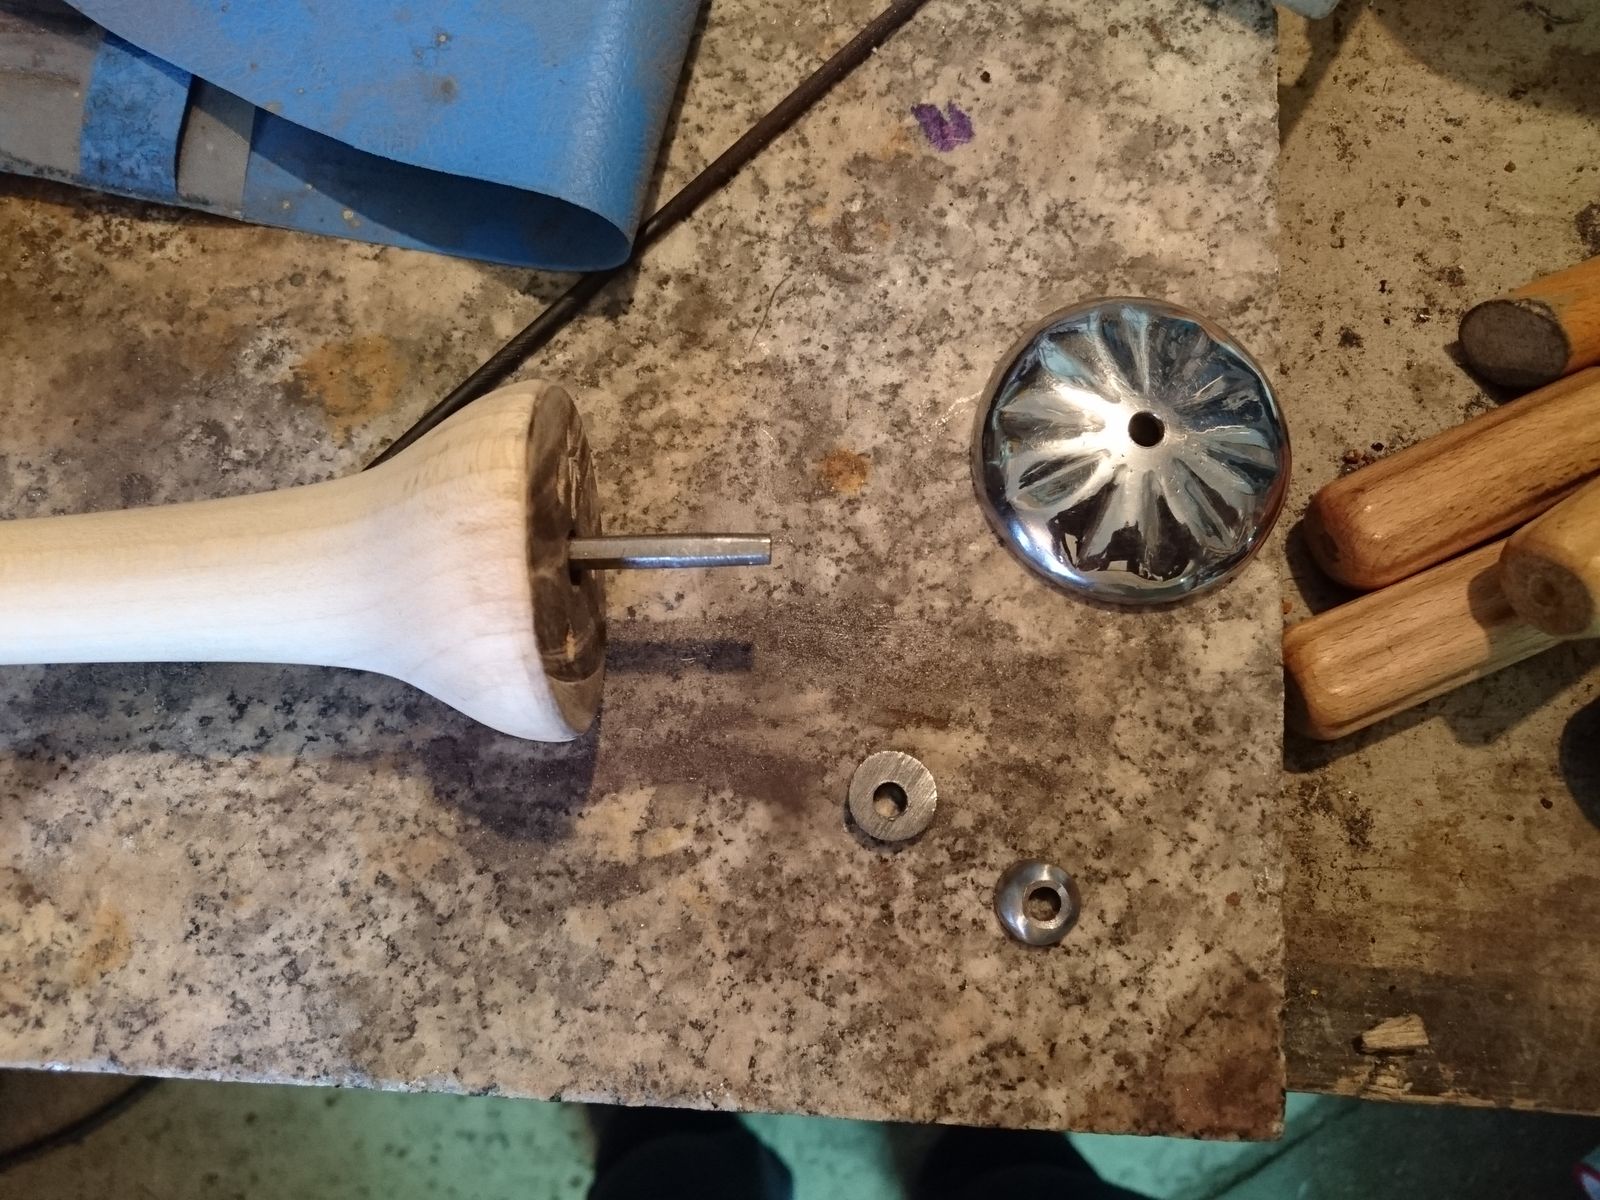 As I said, the wooden handle was a bit shorter than intended. Original intent was to have the bowl-shaped rondel fit snugly onto the end of the handle. But since I had to make the end of the handle flat, I had to do something to prevent the rondel from collapsing. So I needed not only the knob/nut into which the tang will be peened, but also a washer between the handle and the rondel. Both of these I have made from an old window hinge. which I first have polished with angle grinder and soft abrasive pads and then cut off a piece with hack saw. I drilled a 5 mm hole in the middle (badly) and cut the piece into two parts – the washer flat on both sides, and the nut flat on one side, and rounded on the other. I have also chamfered the outer edges on the hole in the nut, for the peening to hold on to.
Then came the fitting of all the parts together. You might think that since I have burned the hole with the tang, there would be a perfect fit, but you would be wrong. It had quite a lot of radial wobble and charcoal dust kept falling out of it. So I have taken a rat-tail rasp and filed the burned wood away, which of course made the wobble even worse.
 But I had a solution to that in mind. I remember that in Ivanhoe it is mentioned that tangs were fitted into handles by a mixture of glue (resin) and crushed brick. That makes sense – crushed brick is chemically stable, compression-strong material that is nevertheless porous enough to be effectively glued. Crushing brick was no brainer, just wrap it in a rag and let a 2 kg hammer fall on it a few times, letting the gravity do the job, and then sieve it to get fine dust. However since I run out of resin and have not yet managed to get to the forest to get some new, I have decided to use hide glue instead.¹ It did not work out as intended.
To be fair, I think the idea was sound, it is my execution of it that was wrong. I have used paper masking tape to protect the blade against scratches during this work, but the guard and the bolster were completely unprotected. Further I knew that this paper tape does not protect against moisture and rust, so I had to do the whole assembly in a few hours so I can remove the tape afterwards and oil everything. Had I used molten resin, that would be possible (probably – we will see next time), but hide glue needs of course time to dry, and I did not dare to let it wait for fear of rust getting on the polished surfaces.
 Here you can see that I had a lot of tang before my first attempt. Until this point everything went smoothly and I did not expect any trouble. Oh was I wrong, yes I was. In addition to the glue not being hardened I have made a few bloopers.
First was that I have not secured the rondel with tape – it fits properly only one way around and could not be rotated willy-nilly without unseemly gaps appearing. The side that is supposed to point towards the cutting edge of the blade was marked, but only on the inside, not on the outside.
Second was that I have not hammered the nut sufficiently on the whole thing and it remained hanging on the tang a few tenth of a mm above the rondel without me noticing it.
Third was to not shorten the tang sufficiently.As a result the tang was too long and its end has bent during peening.
The result was a handle that wobbled and was out of center and a rondel that did not fit and was askew like drunkard’s hat. I did not take a picture of that shameful display. Nor did I make pictures of following works, because I was too stressed out to think about that.
Because his was the point where I thought that I have botched the job and that I will have to at the very least try to weld on a tang extension. I ground off most of the badly peened end and after a few minutes of work with a vice I managed to rip the nut off. Luckily it seemed there is enough tang left when I make the nut a bit thinner. So I have filed the nut about 1 mm down and tried again. The trouble was the centering of the grip. The mixture of glue and brick was just not strong enough in such a short time to get the grip center and hold it there. In the end I had to hammer and file three small (circa 0,5 mm thick) steel wedges that I have positioned around the tang before hammering the handle onto it until the bolster met the guard. I had to pull it of and monkey around with the wedges three times, filing them and hammering them thin, before I was satisfied.
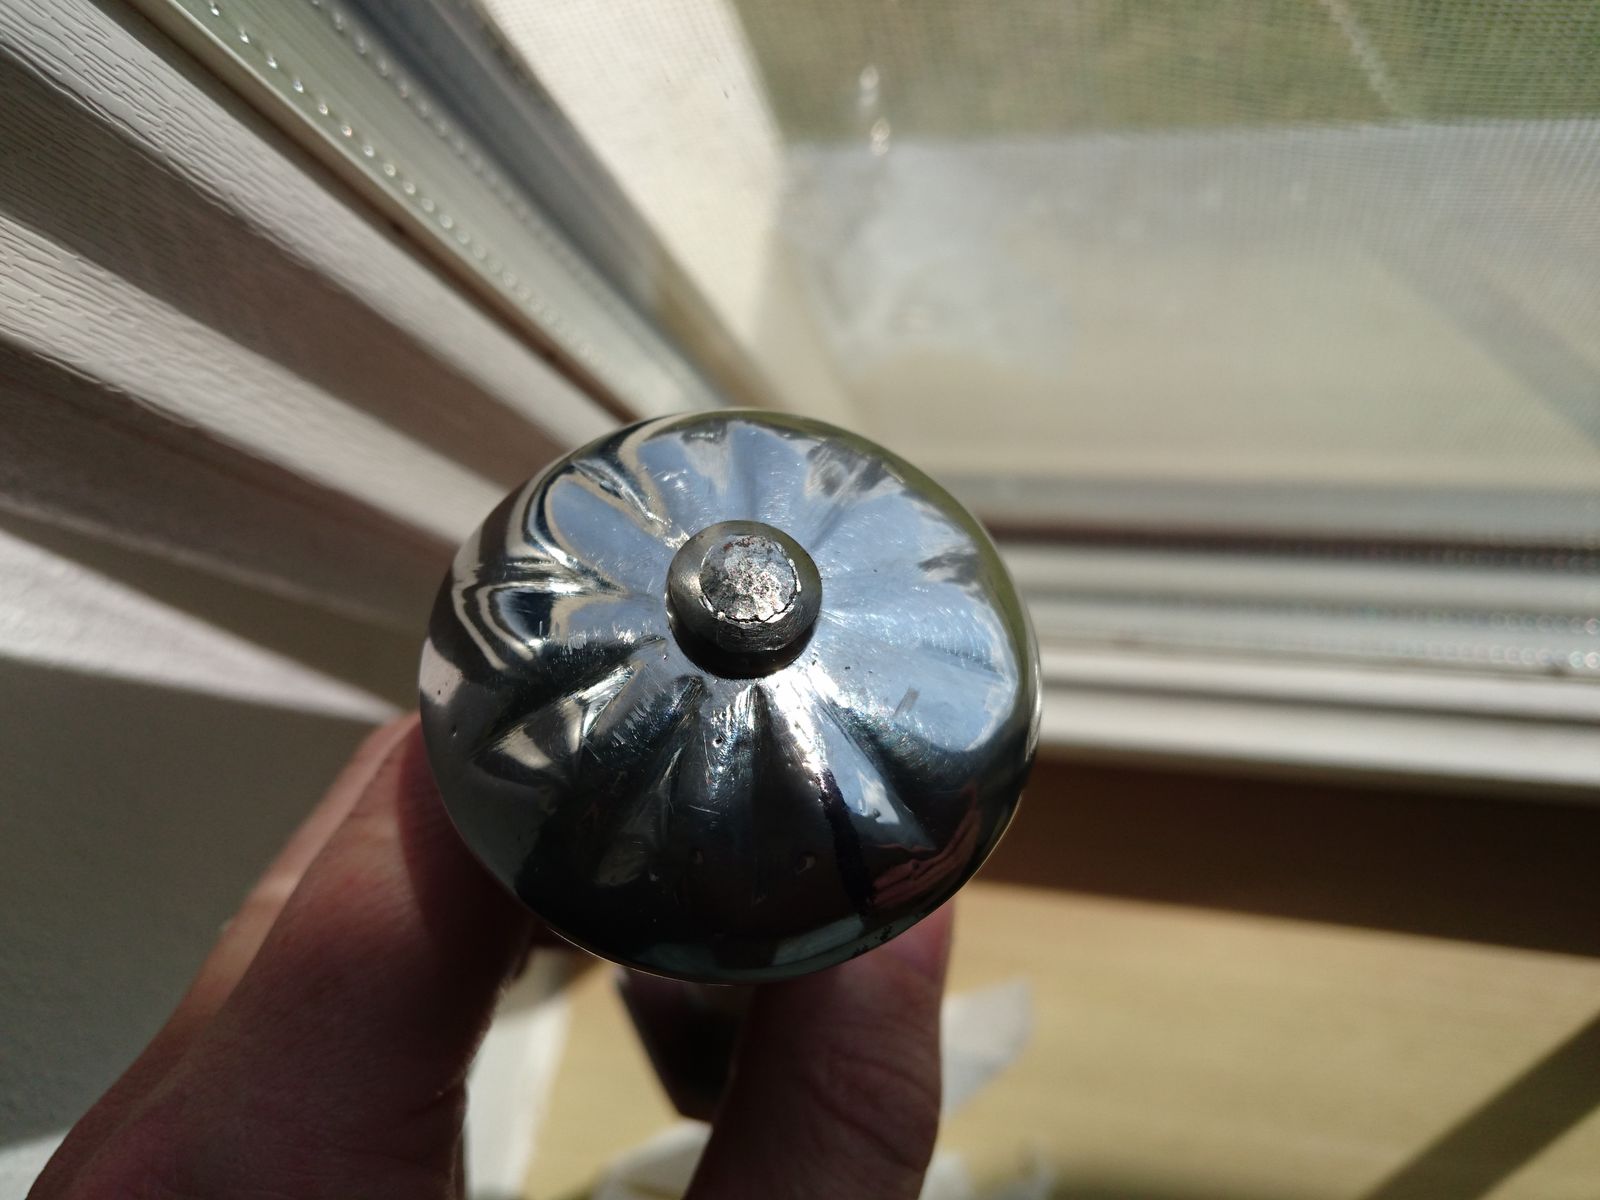
For second attempt at peening I have not only made a mark on the outside of the rondel with a sharpie, I have also fixed it with tape before peening. And before peening I have put aluminium tube on the nut and hammered it down so it lies tightly on the rondel. This time peening the end of the tang with ball peen hammer went smoothly and without problems. There was a teensy bit too little tang for the peen to completely hide during polishing, but I can live with that. Here you can see the peen before polishing.
The dagger is now nearly complete. Now I have to re-polish and re-buff the rondel, because I have scratched it, and to soak the handle with linseed oil. That will take a few days to polymerize properly, and in the meantime I will continue work on the scabbard.
1 – I could of course use epoxy and save myself a lot of trouble, but from the start I wanted to do this project using only materials and methods that are appropriate for medieval-ish dagger. I have only used modern things where that saves time, but does not have an effect on the composition and aesthetics of the result.
I remember that in Ivanhoe it is mentioned that tangs were fitted into handles by a mixture of glue (resin) and crushed brick. That makes sense – crushed brick is chemically stable, compression-strong material that is nevertheless porous enough to be effectively glued.
Ivanhoe is not a good historical reference; he pulled stuff from everywhere and often made it up. So long as you understand that he’d have been talking about a victorian technique, not an ancient one, you’re good.
Resin plus crushed rock is “corian” nowadays -- corian is beautiful and incredibly tough stuff; originally it was just cat litter mixed into resin as an extender because resin is expensive and heavy. But it turned out to machine well and if colored clay is used, it can be quite attractive. fiberglass cloth, cut up and pushed into the gaps, well solidify into something that a tank can drive over. It still won’t survive but a tank can drive over it.
Hot-seating a tang can be a problem, especially if the wood expands and cracks. Bang, there goes your work!
That’s beautiful -- the tone and texture in the steel of the rondel is gorgeous -- it looks very authentically medieval. I guess that’s got to be the result since your process fairly closely tracked how a medieval smith would have done it.
I am aware of that, but that technique actually really does make sense and it would be available in medieval times.
Incidentaly do you know some reliable online source as to medieval crafting techniques? Searching them through google is like looking for a needle in a haystack.
Congratulations Charly! Think how much more you’ve learned because it did not go smoothly.