Aaaand for the third part the gingerbread cottages.

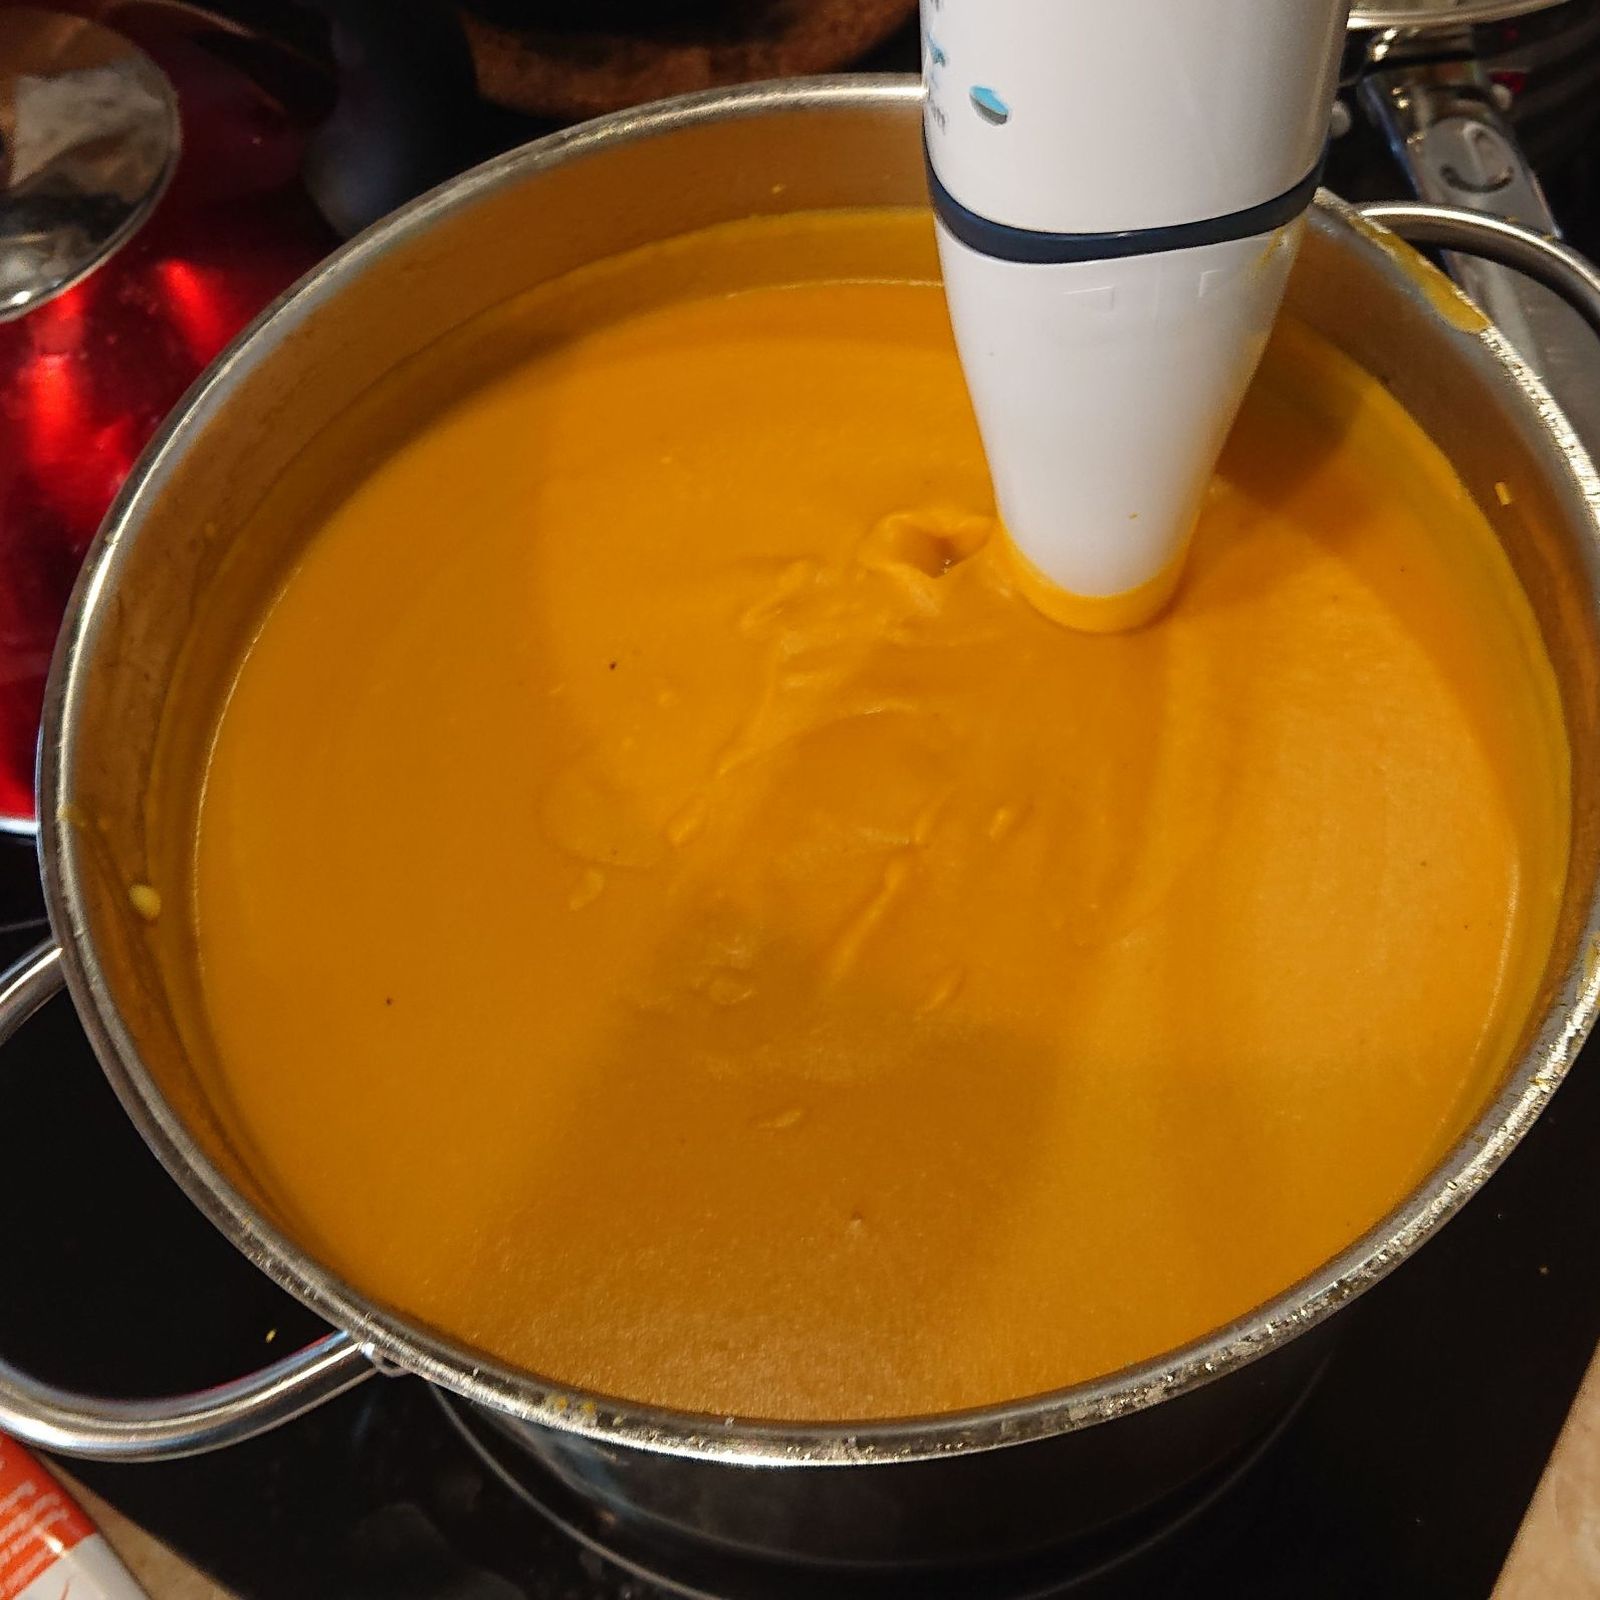
© Charly, all rights reserved. Click for full size.

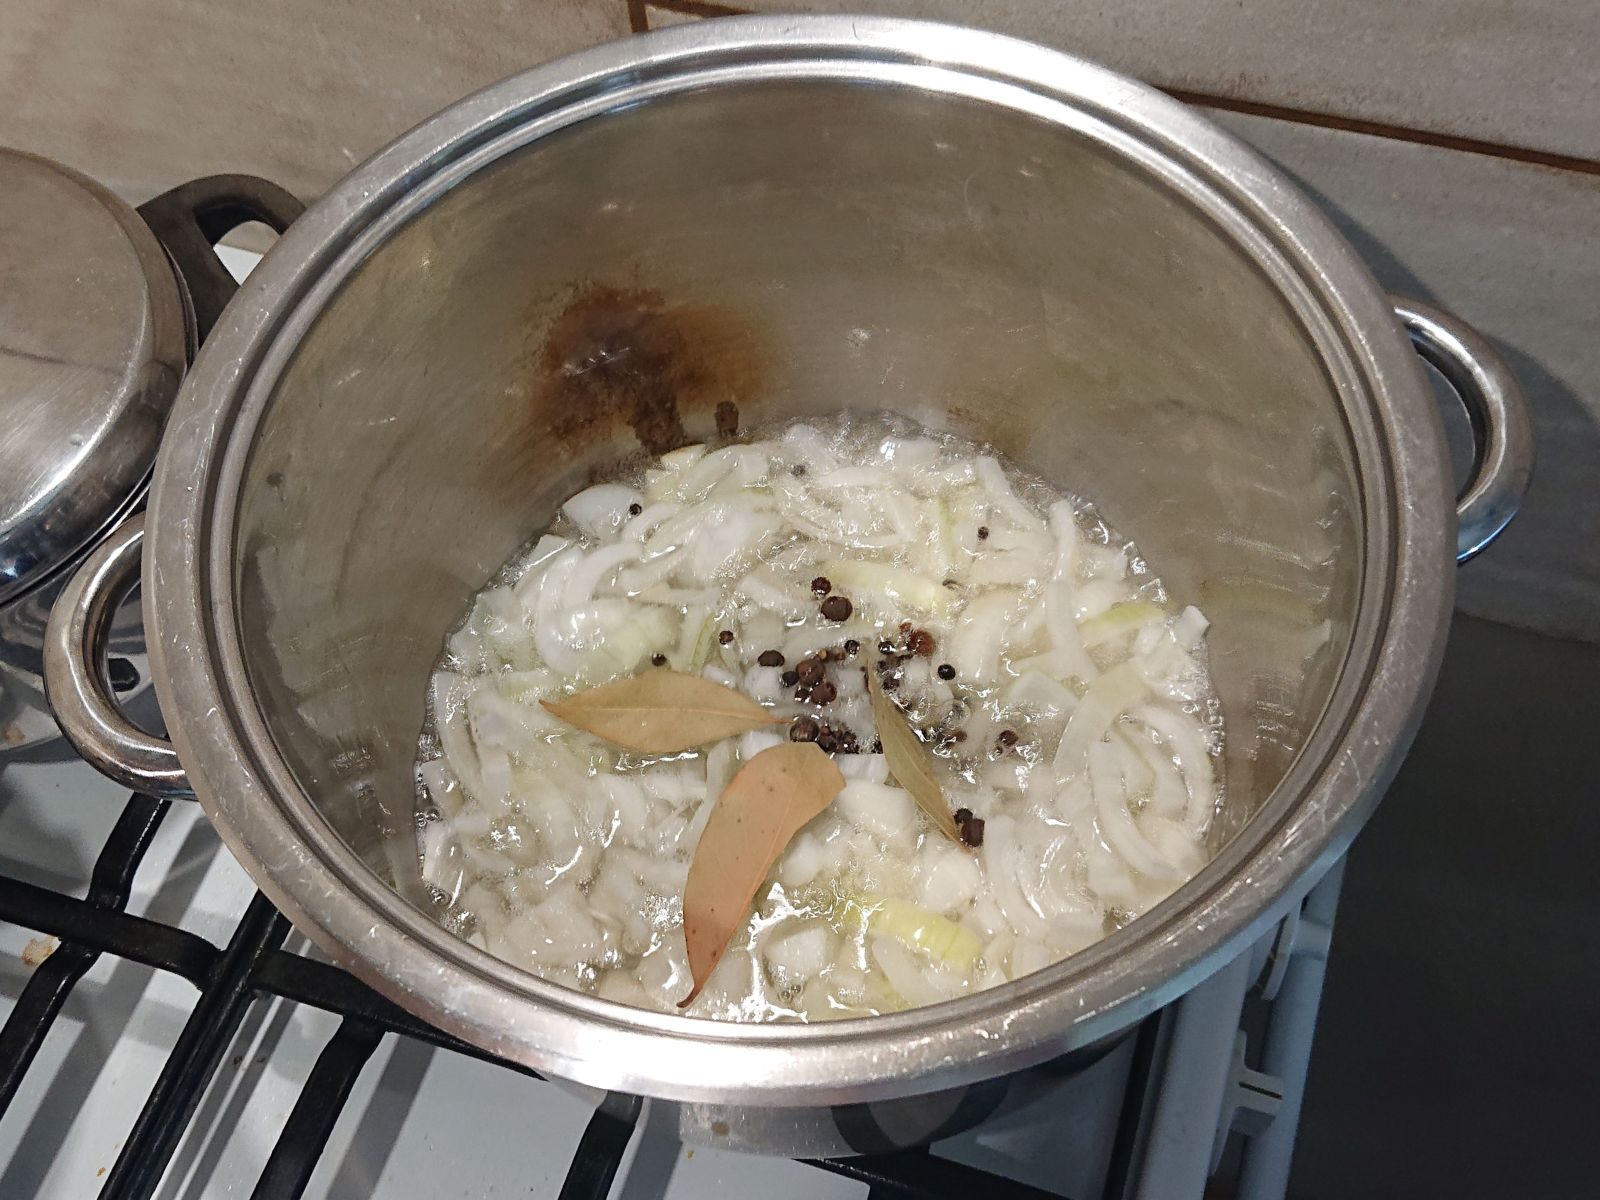
© Charly, all rights reserved. Click for full size.

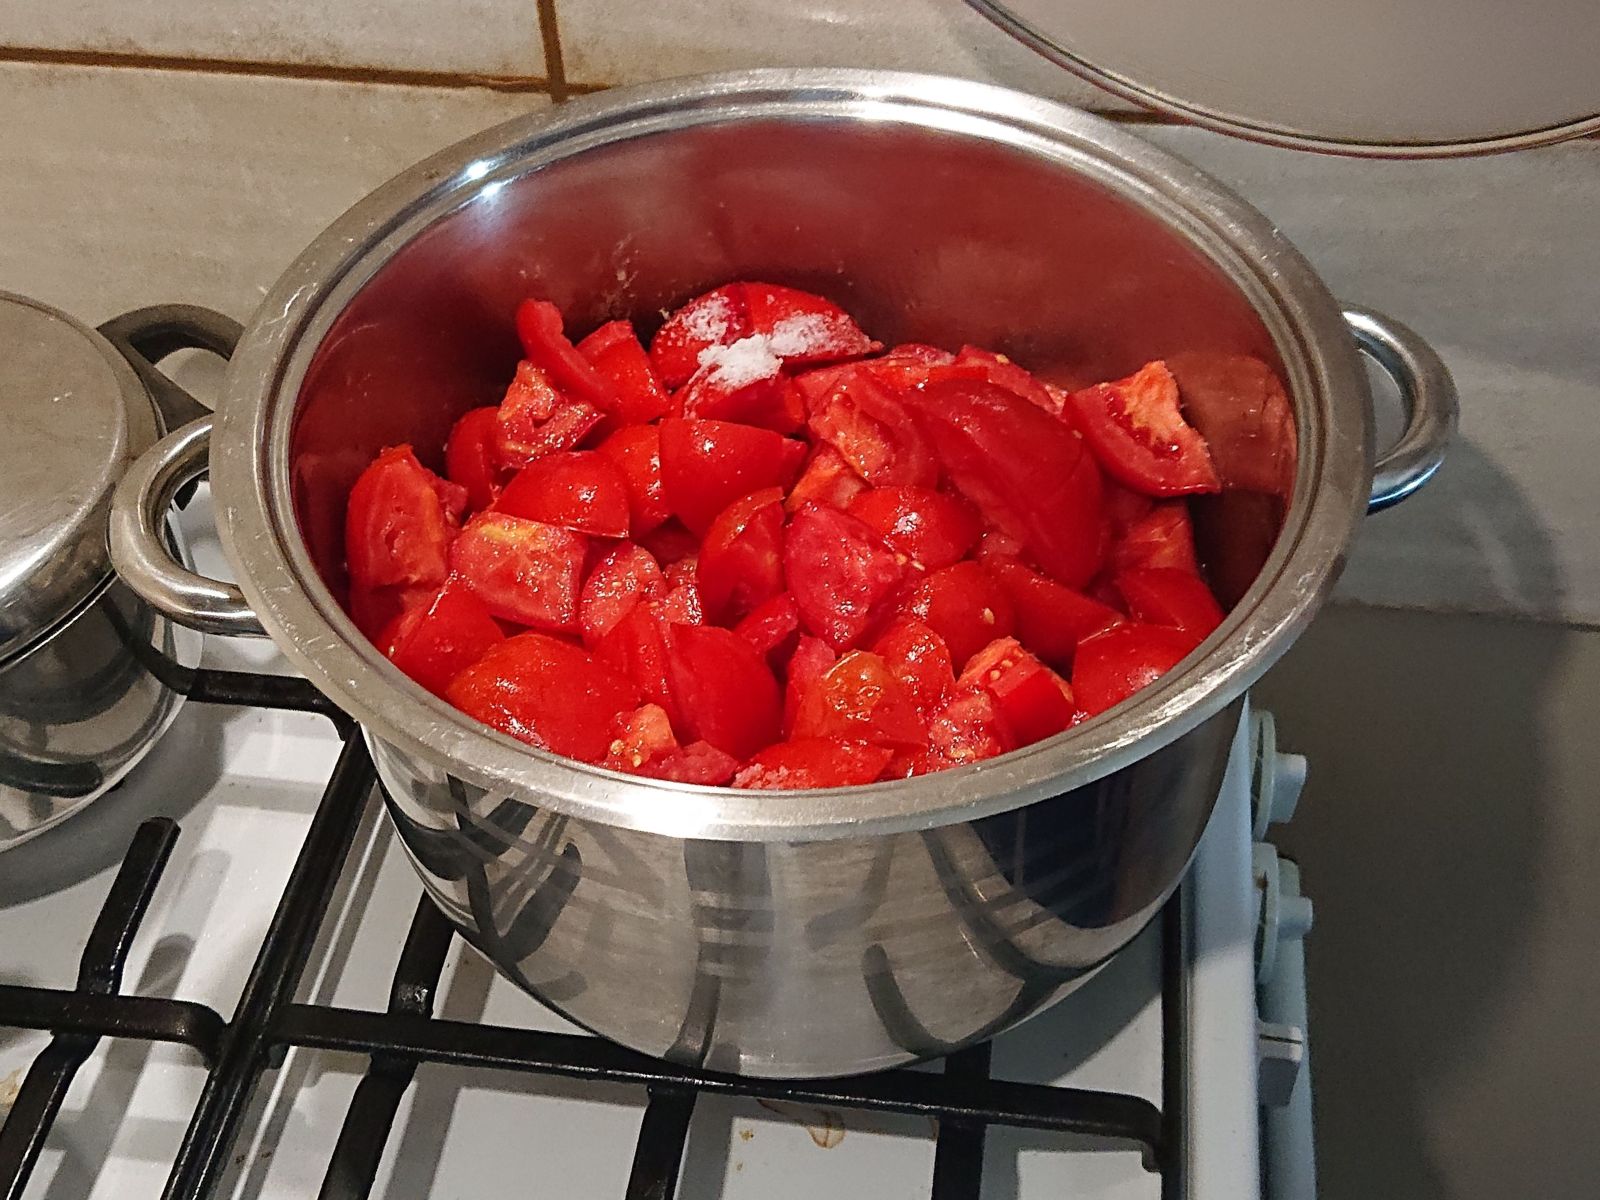
© Charly, all rights reserved. Click for full size.

© Charly, all rights reserved. Click for full size.

© Charly, all rights reserved. Click for full size.

© Charly, all rights reserved. Click for full size.