Last time this part of the process gave me some grief and I also have expressed some skepticism with regard to how much time it takes me. Yesterday I have calculated that unless I get this time under 12 Minutes per blade, it is not worth doing from a financial point of view. So, how did I fare today?
I had 13 kitchen knives and 2 hunting/camping knives to for hardening. I wanted to harden one half in foil and one half with a new experimental protective coating, but I only got enough foil for five blades, so I used it for both hunting knives (those will be sold, so those were more important to not mess up) and three kitchen knives. The rest got the new experimental protective coating.
I started by properly preparing my workplace in order to not needlessly waste time. On the left, you see a can with oil, a water bucket, several pliers and the blades. On the right is my mini gas-forge on my circular saw table, which is metal and thus non-flammable. I had to work indoors, there was a threat of homeopathic rainfall.
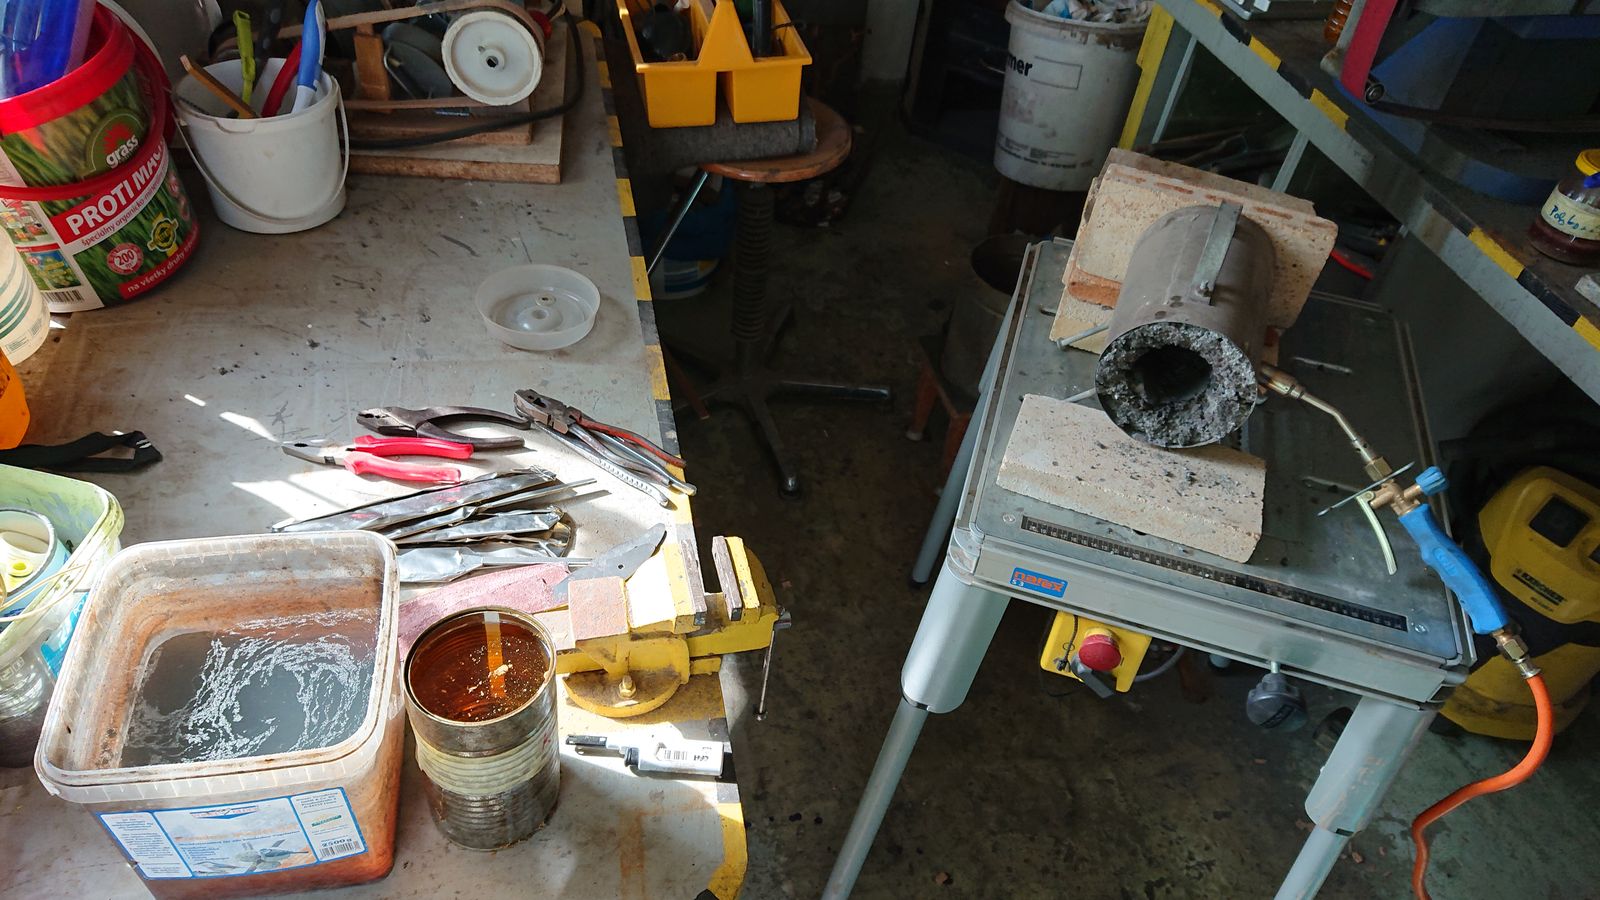
Prepared tools. © Charly, all rights reserved. Click for full size.
First I let the forge heat for fifteen minutes empty and then I started to put blades in it. In order to give the steel the soak time it needs (30 minutes), I started by putting in one blade every five minutes, always putting the last blade on the left side, pushing all the blades inserted before that to the right towards the burner. After half an hour I could quench the first blade and I continued with 6 blades in the fire at once.

Blades in the forge. © Charly, all rights reserved. Click for full size.
Unfortunately, just like last time, the temperature was a problem. I tried to insulate the forge a tiny bit better, but it just did not help, this burner is too small. I got over 950 °C, but that is still some 70°C short of the minimum for this steel. It got hardened alright, but probably not to the fullest potential. That I will not know until I have cleaned and tested the blades, and that will take a while. So far I only could take each blade and try if it scratches into a piece of unhardened steel – and they all did. (A side note to temperature measurement – I tried to look it up, and oxidized steel at this temperature has an emissivity around 0,9, so my IR thermometer should give accurate enough readings in default settings.)
I knew that my oil container is a bit small, so the oil will heat up way too much in due course, that is why I quenched the blades double – first in oil, then in water. That way I also extinguished any flaming oil clinging to the freshly quenched blade. It is a bit risky, but I did not hear the tell-tale cling of the cracking blade this time, so maybe I got away with it. We will see if some cracks show later on.
Hardening the blades in foil was a bugger. For the kitchen knives, I pulled them out of the foil before hardening, and they all warped in quench something awful. The camping knives got quenched still in the foil, and they surprisingly still got hardened rather well. Maybe the next step has helped? I do not know.
For the next step directly after quenching (after quenching all blades, which took me 2:25 or 145 minutes) I packed all pieces in plastic foil and gave them into our freezer at -20°C. Ideally, I would put them in liquid nitrogen to cryo-freeze them, but I do not have that kind of equipment to play with. So I looked at the internet and I found that in some steels of similar composition simple freezing below 0°C is enough, so I reasoned – it costs me no money and no time either, so on the off-chance that it does something I will do it. I have no way of measuring whether it helped or not, but it did no harm for sure.
After about two hours in the freezer, the blades got out of there and into the kitchen oven at 150°C for 1 hour.

Baking knives. © Charly, all rights reserved. Click for full size.
After that, I left them cool down to room temperature and when they cooled off and lay for one hour at RT, I tried to fix the warpage on the three kitchen blades by clamping them between a few pieces of steel before the second tempering, which was again one hour at 150°C.

Baked knives. © Charly, all rights reserved. Click for full size.
It did not help, the edges remained warped. So I clamped them again and tomorrow these three blades go into the oven again, this time at 200°C for one hour. That means they will be less hard still, but hopefully they get a bit straighter.
If not, then what I have here is a case of “knifemakers do not make mistakes, they make smaller knives”. The mistake that I did not make this time has, in my opinion, nothing to do with the use of protective foil, it was in my opinion just a coincidence that all foil-wrapped knives warped. I think I have simply ground these blades too thin – remember how I complained about my abysmal skill with the belt grinder?
At least I had no banana-bending to one side, which means that my grinds were symmetrical.
The protective coating actually did dissolve significantly in hot water this time, so I think that I am on the right track there.
And what was the time? All in all, with packing some blades in foil and coating some with badly prepared mixture whilst chatting with my brother and my sister in law, and preparing and cleaning away the whole workplace, it took me about 15 minutes per blade. That is an excellent result. 75% improvement compared to the last time. I think with a few more tweaks I can actually really get this to the 11 minutes per blade that I need. I am not there yet, but I think it is possible.
The next part is the polishing. The biggest time-eater and finger-breaker of them all.
How thin did you get the edge before quenching? Usually if it warps, it’s too thin (or you are not annealing your damascus and it’s pre-stressed).
I’ve also seen people edge quench if they can’t get the whole blade to an even high heat. That increases warpage though.
Polishing is a knife maker’s private hell.