Caine is gone

Dear readers

Sadly we have to tell you that Caine has lost her battle with cancer and died yesterday morning.

Life threw much more at Caine than it had any right to, yet she was still and always a passionate and compassionate fighter for what is right, for human dignity and decency. Many here started our time out on Pharyngula by being whacked over the head by Caine, whose zero tolerance for people being assholes made her a fierce commenter.

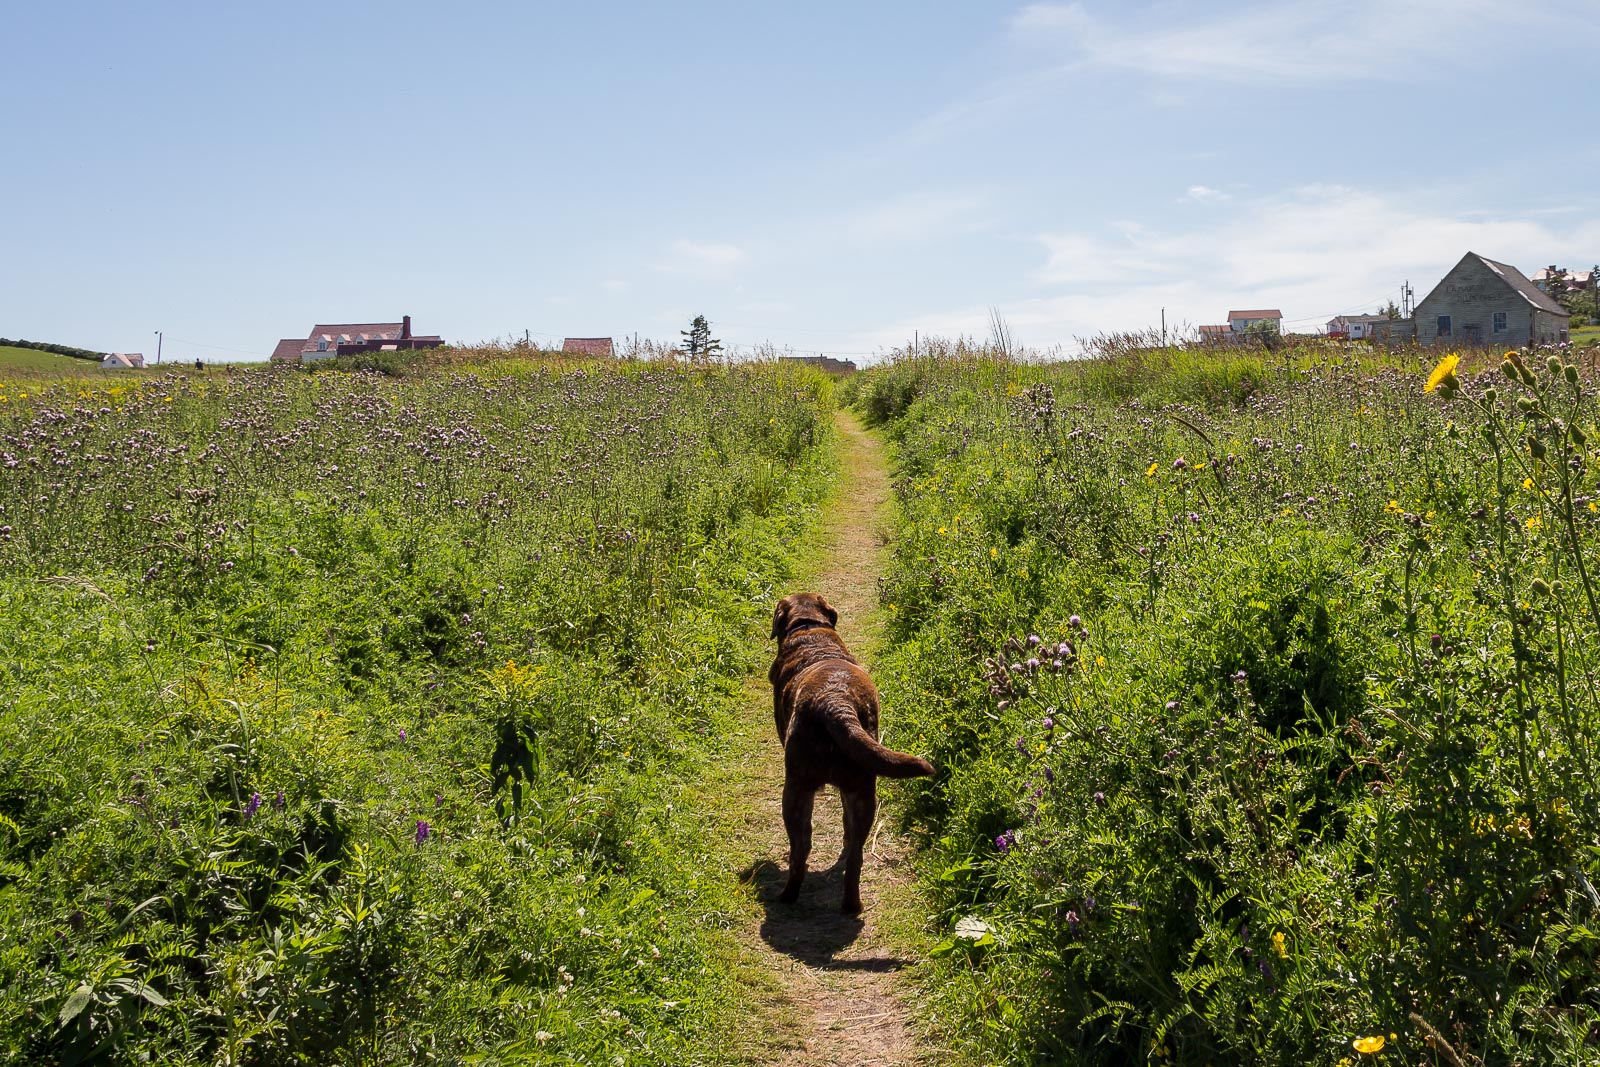
But Caine was so much more than that, she was a wonderful artist, great photographer, a loving partner and a good friend, even though most of us never met her in person. She created this space and this wonderful little community.

Dear Rick, we feel your pain and our heartfelt condolences are with you.

Dear Caine, you will be missed and remembered. None of us believed in an afterlife, except for the one in the hearts and the memories of the people we touched. Dear Caine, you live on in many hearts and the tears that are cried for you.

Two feathers swimming on water

Jack’s Walk

Through the meadow, ©voyager, all rights reserved

Toward Perce Rock and Mt. Joli, ©voyager, all rights reserved

So much Blue, ©voyager, all rights reserved

The weather here is perfect today, a rare treat for the Gaspe where it is frequently cool and damp. Jack and I decided to walk the meadow path that leads to the edge of the cliff overlooking North Beach. The ocean looks so blue today and the sky so clear that we wanted to take it in from on high. You can walk even higher, all the way up to the cross which sits atop Mt. Joli, but that’s a steep climb we’ll save for another day.

Making a Rondel Dagger – Part 15 – Troat of the Scabbard

I have decided to make the fittings for the scabbard from the same shovel that provided steel for the rondel. It is good carbon steel of appropriate thickness and I reasoned that after I grind it to remove all pitting from the outer side, it shall be thin just right. However, because I wanted to bend the steel at least in part whilst it is cold, I had to first anneal the shovel – in case you do not know, shovels are hardened and tempered. So I have decided to burn some more rotten wood, bbq dinner and anneal the shovel at the same time. Luckily the droughts in the place where I live are less severe than in the rest of CZ, so we do not have ban on fires (yet). Nevertheless, despite how it might appear, I am actually careful with fire – I always watch the direction in which the wind is blowing, I have water prepared and I douse all coals when I am done. And I have portable fireplace that I position in the middle of a gravel field¹.

I proceeded to make a paper template by wrapping it around the scabbard and adding about one cm for length. That I transferred onto the shovel and I cut the rough shape with angle grinder.

My improvised bending setup did not work as intended. The main problem being, that this steel proved to be extremely tough and hard, even annealed. I tried and tried, but it just did not work. After a few attempts I gave up and had to think up another way. I have decided that I have to do what I did not want to – forge it hot.

I could not go outside and make fire, because firstly it was way too hot outside for that and secondly because my improvised anvil for this delicate task was an old annealed file held in a vice. As a source of heat therefore I had to do with handheld propane torch and a few fireclay bricks as an impromptu forge. Unfortunately I forgot to make more detailed pictures of this process so you have to be content with red-hot glowing steel on fireclay brick laid on a granite paving stone laid on wooden bench. I see you cringe with my mind’s eye and I agree. For subsequent works I moved the whole assembly onto the circular saw table (also seen in the picture) which is made from metal and therefore fireproof. Needles to say, bucket of water was on standby the whole time and I checked the workshop a few times after I finished. I do not like doing these things inside, I will have to get some better setup, perhaps a mobile vice? I will have to think about it.

The bent strip did not fit neatly around the scabbard whatever I have done, so I decided in the end to shorten it even more so the ends do not meet, but lay just outside the stitches in leather. And to cover that gap with another slim strip of steel. this proved to be a very good fit all around.

I was thinking about whether to make the throat covered in steel or whether to let it be just the wood and leather on the inside. I decided to go for steel, which of course meant third piece, flat piece covering the throat with cut-out rough shape of the blade. Very rough. I was not even trying to aim for a good fit and I left a good 0,5-1 mm free space on all sides.

When thinking about how to connect those three parts in the most authentic manner I decided to go for silver brazing. I do not know how much silver is actually in the brazing rod I bought, but it costs 12,-€ a piece. Compare that with brass brazing rods that costs 5,-€ per five (or more) pieces. Whew. But I wanted to first try it with the more expensive silver rod because it has lower melting temperature than brass and my welding, brazing and soldering skills are not top-notch, to put it mildly. I also hoped that the silver solder will have less profound color contrast with the steel than the brass one would have. Which it does, but the color contrast is still very strong.

It took three attempts to braze the thing together with no gaps anywhere and I used up almost the whole rod. Oopsie-daisy, this is proving to be expensive. So when removing all the excess solder, i was filing it carefully and slowly onto a piece of paper and collecting all the silver dust into a little plastic bowl that I later have sealed with a lid. I hope to be able to mix that dust with boric acid and use it for brazing the chape. I certainly would not like to spend another 12,-€ on the chape alone.

As far as I know – and I would love to inspect some medieval originals sometimes – medieval craftsmen did not take particular care about the “back side” of the scabbards and scabbard fittings, or even swords for that matter. After all what is the point in finely polishing something that will not be seen? Today the aesthetics sense is slightly different and people expect things to look just perfect from all angles. I have decided to not overtly polish the back side, but I did somewhat polish and buff it for the sole reason that polished steel resists corrosion better. But, unlike on the front, I did not remove all pitting and I did not bother about some minor file scratches remaining visible there. And here you can see the result of my works these last few evenings. I will buff it with hematite befoe fixing it ont he scabbard for good.

©Charly, all rights reserved. Click for full size.

The most important lesson of this exercise was perhaps that I should do these metal fittings before I shape the scabbard to its final shape and cover it with leather, and not the other way around. In retrospect it seems like something from The Collected Sayings of Captain Bloody Obvious, but fitting a piece of soft wood and leather into a steel tube should be easier than to form a steel tube around a piece of soft wood and leather. I tried to google how to do scabbard throat before I did anything of this, but I do not remember seeing this mentioned anywhere.

Last piece in the mosaic is the chape then. And then there will be pictures.


1 – The bough you can see is one that I “harvested” near the road, where it broke off of an elderly apple tree. The city seemed unwilling to clean it up, so I confiscated it for knife handles.