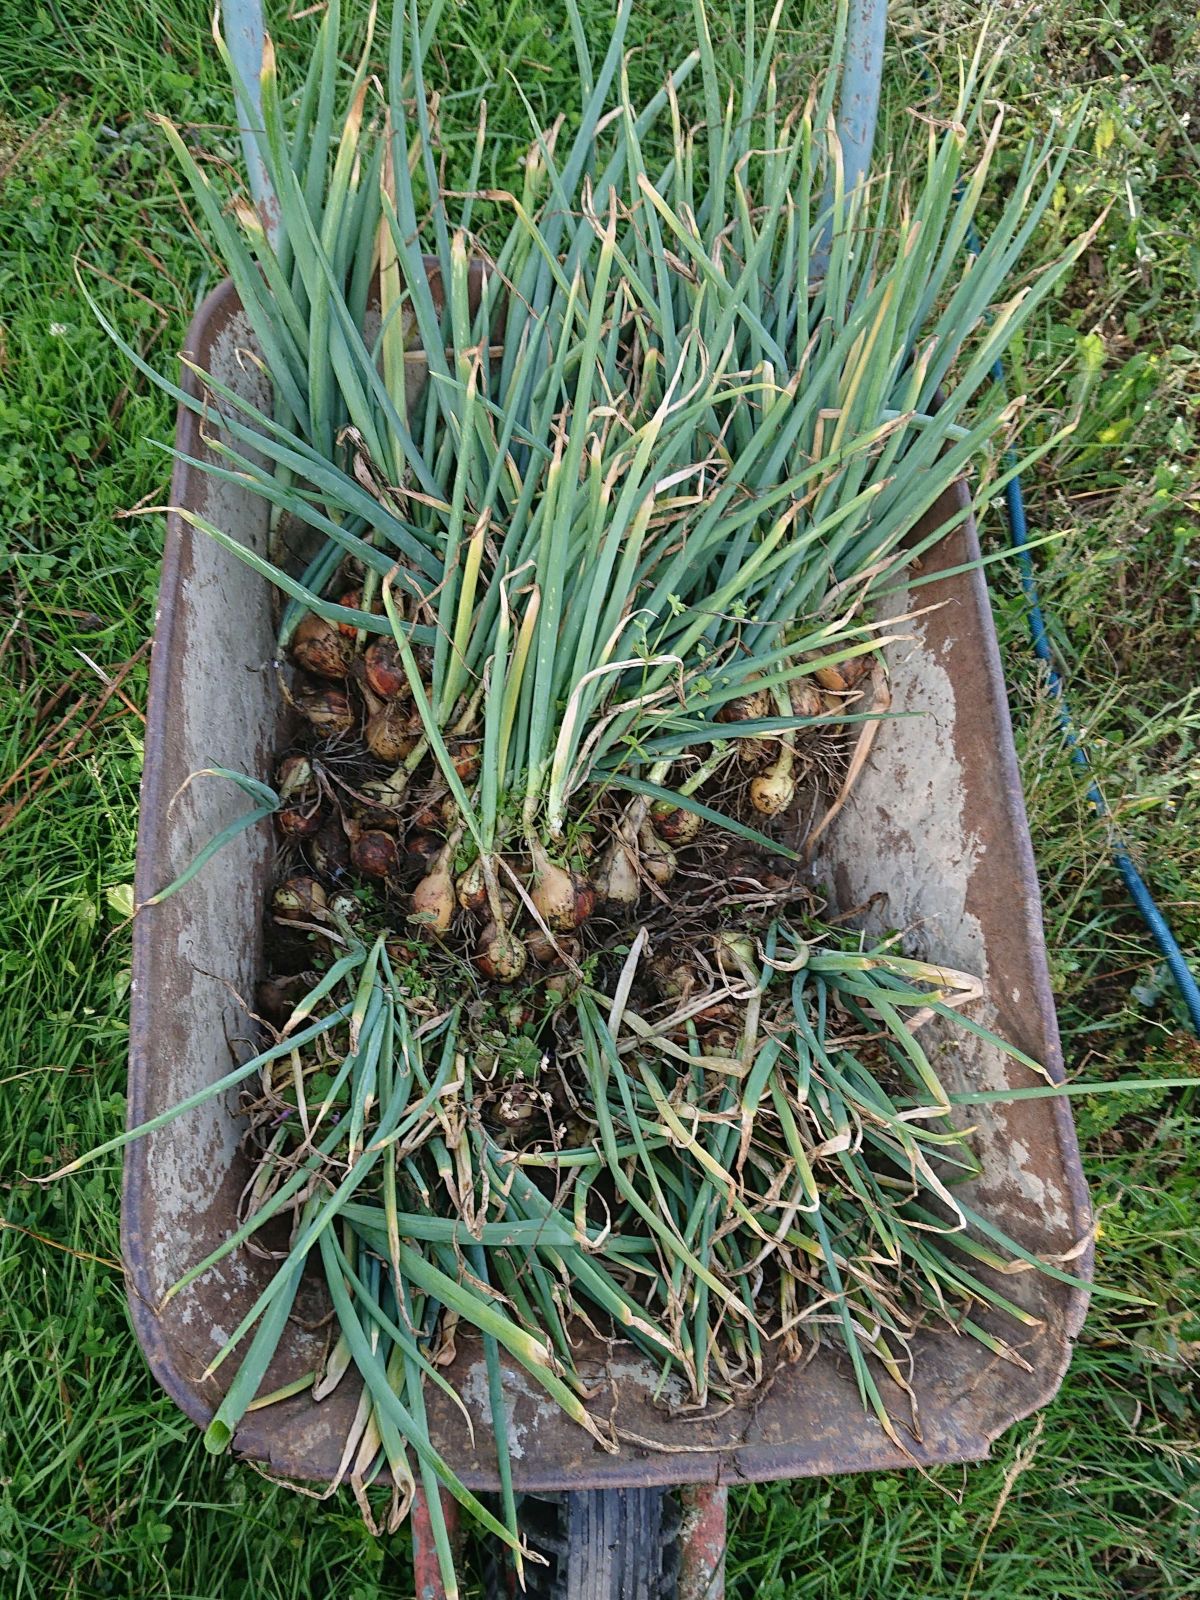
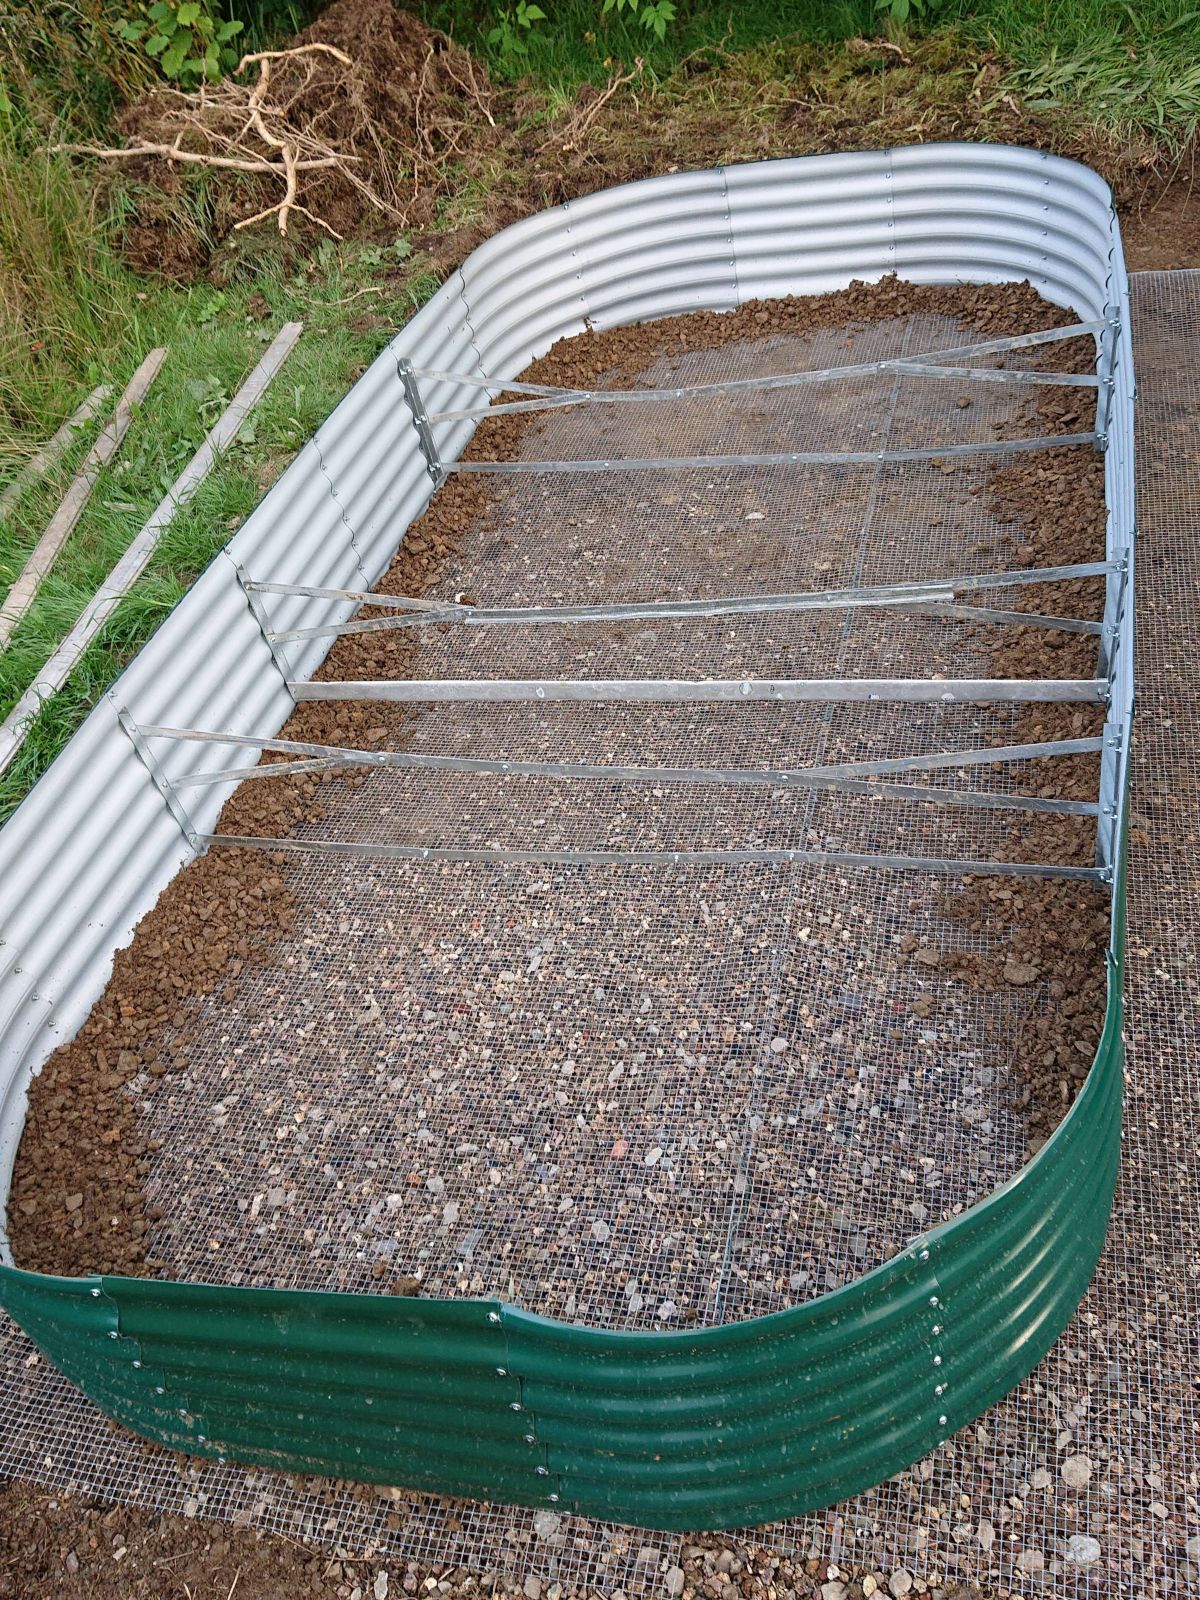
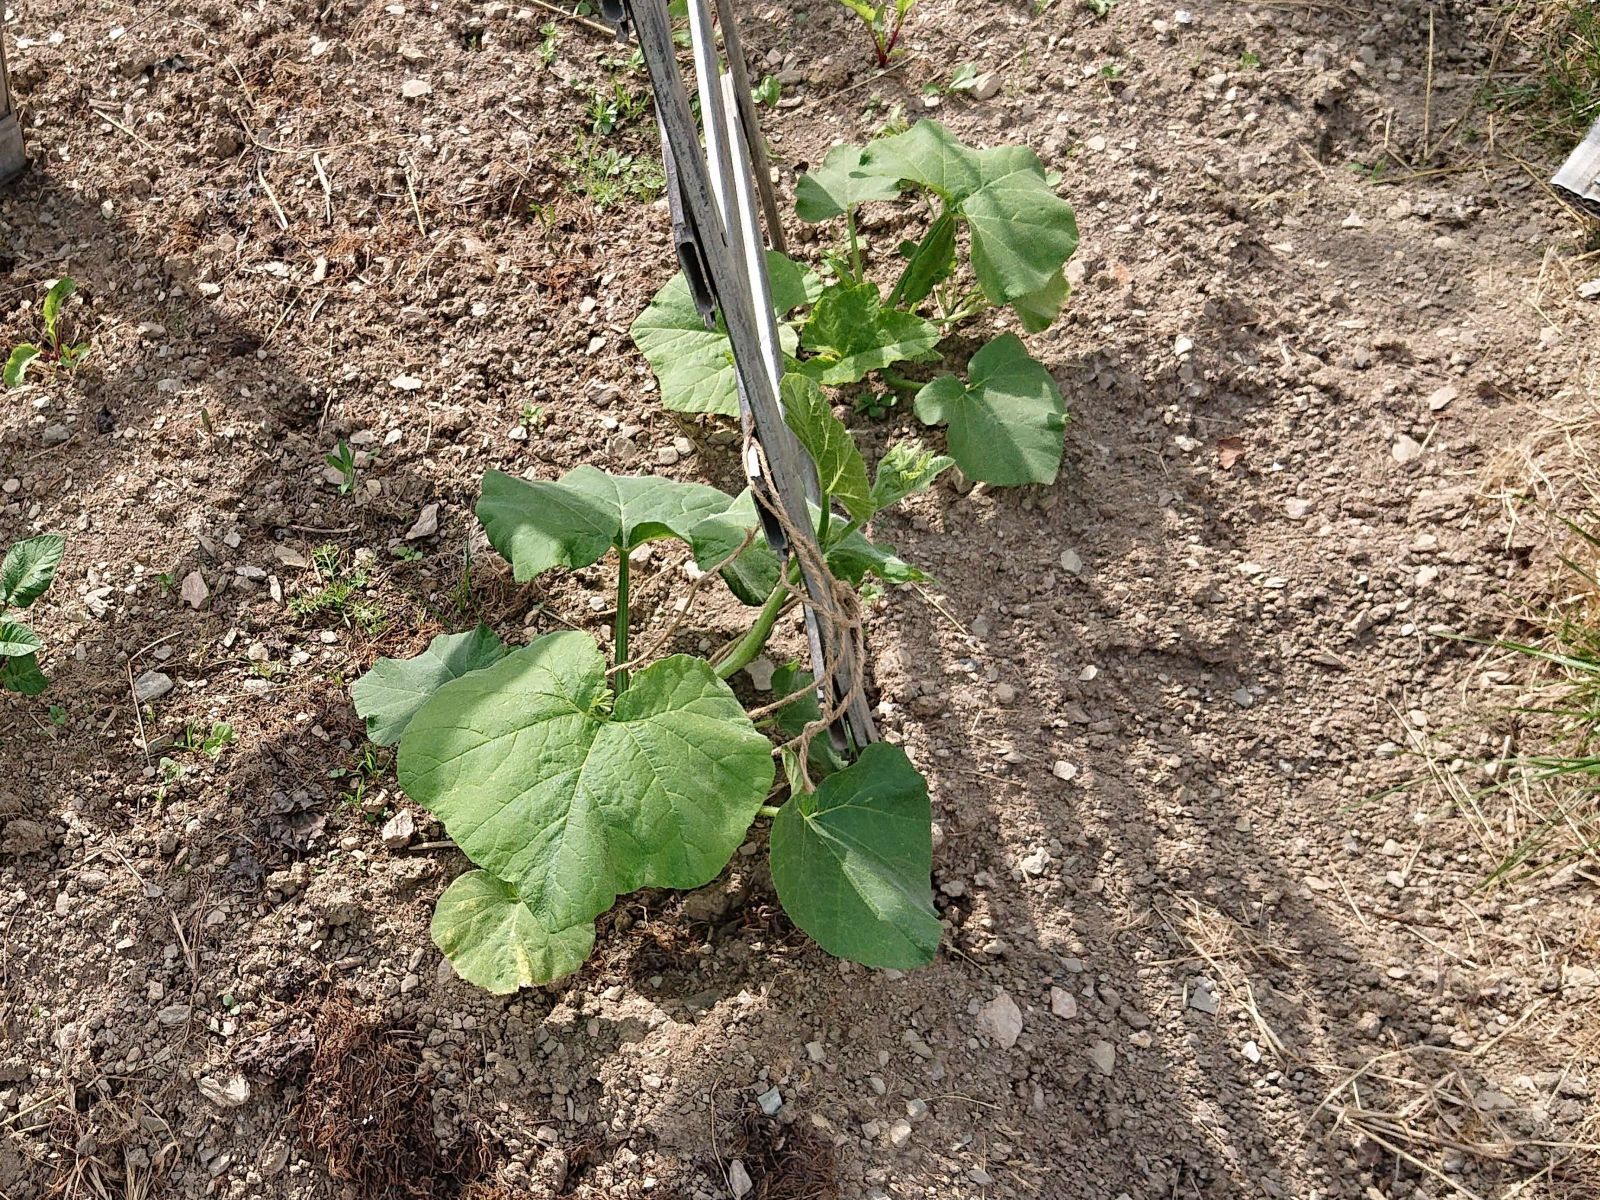
The Great Gardening of 2025 – Part 38 – Oodles of Onions

The onion experiment did not go as well as I would have liked, but it was not a complete failure either.

© Charly, all rights reserved. Click for full size.

When about half the onions lay down their leaves, I pulled them all up. And since the weather at the time was very cold, wet, and muddy, I had to wash the clay off in a wheelbarrow.

© Charly, all rights reserved. Click for full size.

I planted two varieties of yellow onions, and those performed best. In the pictures, you can see the two full wheelbarrows before washing. Red and white onions did not perform as well, and shallots were a failure. And whilst I got a substantial number of bulbs, all varieties produced mostly medium to small bulbs. The reason for all the negatives was simple – the weather.

The white onions were strongly affected by (probably) the same fungus that nearly wiped out my garlic. Whatever I have will need to be used up first because it will be most prone to spoiling. The red and yellow onions were not affected as much by this, with just a few bulbs being moldy and rotten. Shallots were not affected by the fungus at all, but they produced the tiniest bulbs of them all.

The drought in the spring is to blame for the small-sized bulbs. I had to prioritize my water usage, and I could not use as much water as I would like to water the onions because I needed the water for the sprouting beans, pumpkins, potatoes, and peas. The plants thus did not develop as strong foliage as was needed for subsequent bulking up. When the weather changed, the plants actually got too much water all of a sudden. Without sufficient foliage for photosynthesis, it was mostly useless, and it facilitated the spread of fungi.

© Charly, all rights reserved. Click for full size.

After I cleaned them somewhat, I bound them up by the leaves and hung them in my garden shed to dry. When the weather warmed up, I opened the door on both sides for air to circulate. Today, the weather got colder after an insufferable heatwave again, and I can barely walk due to a sore heel (likely due to too much walking), so I took them down, sorted them, weighed them, and tallied the numbers. Here they are:

White onions “Snowball” ~2 kg
Red onions “Carmen” ~3 kg
Yellow onions “Štutgart” ~ 7kg
Yellow onions “Sturon” ~ 4 kg
Shallots & assortment of tiny onions of all kinds ~ 3 kg

Overall, circa 19 kg, which is enough for our needs for the whole winter, provided not too many spoil. Approximately 4 kg of tiny shallots and tiny onions will be pickled, the rest has been put in mesh bags and hung back in the garden shed for the rest of the summer and fall. In the winter, I will move it to the cellar.

Lessons learned:

I will try onions from seeds once more, but this time I will buy seeds from a trusted supplier.

I will probably not bother with white onions anymore at all, and I will prefer to grow yellow ones. I will have the raised beds that I now fill with reasonably clean soil and that I can disinfect, but I will reserve those for the more expensive garlic.

I will try shallots again, but I will have to see to it that they are well-watered should there be drought again. The same goes for the other variants – I might plant less, but water more in the early spring for the same harvest (weight-wise). Small-ish onions have the advantage of avoiding the perpetual half-an-onion-leftover, but they are kinda contrary to getting the most food from the least amount of land.

As far as the companionship of onions with carrots, about that I will write when the carrots are done. So far, 2/3 are still in the ground. In the meantime, I sown spinach and peas where the onions were, for a possible autumn harvest.

Teacher’s Corner: Keep your paws off the holidays and buy those damn pencils

A drawing of a  yellow school bus in front of a blue sky with the words "Back to School"

Source: Wikimedia Commons

Ahhh, August. Summer, ice cream, ripe fruit … wasps and parents on social media.

There are two discussions on social media right now that I find highly problematic. One is as sure as the fruit fly invasion, the other one is relatively new, so let’s start with that one.

I saw complaints, on social media, in traditional media, usually from parents, that the school holidays are too long. This cry seems to be independent from the actual length of the summer holidays. Germany is towards the low end with 6 weeks, while Spain gets a whole three months. The complaint is that parents don’t have that many days off and that those long summer holidays are from a time when mothers stayed home.

Now, I fully understand that childcare is a problem for working parents. But really, forcing kids as young as 5 to conform to capitalism’s desire to control our lives? Is that the answer? Not to mention that the very same parents would then have two other problems:

First of all, not everybody can get days off from work at the same time. Not even in Europe. Already people have to coordinate with co workers. For years my husband and his colleague had to decide who’d get the first, and who’d get the last three weeks. No matter how long the holidays are, they’d only ever get half of them off, which means that either you and your spouse never get a holiday together, or you’d still be stuck with a childcare problem.

Second, family holidays are already expensive as fuck. Families are a captive audience, so to speak. Shorten the holidays, shorten the main season, see prices soar.

Which all leads me to the suspicion that they don’t actually want more education, they want childcare where they’re free to take the kids out of class for a holiday. And since they are all working under the false assumption that teachers have all those school breaks as paid time off, they want to punish us and make us “work like normal people”. But here’s a heads up: If we work like normal people, I will not call you, read or answer your emails or schedule an appointment after 4 pm or at the weekend. I will absolutely not grade at the weekend. Trips? Forget about it. A 4 days class trip is 60 unpaid hours. Oh, and I will take my days off when I want.

Also, how much do you actually hate your own kids? They made it through the year, they are exhausted, there’s a heat wave and you want them to sit in class and do homework? What parents should be asking for is cheap or free summer daycare*, but then poor kids might profit as well and I guess we can’t be having that. Instead parents demand that their kids be turned into good little workers.

*My kids had that in primary school and it was amazing. I could never have organised all those activities myself.

Imagine some clever way in which I linked the two topics here

Which leads me to the second part, the inevitable whining about school  supplies. Let me get my point clear before I continue: I’m the first person to demand that we finally properly finance education and also school supplies. Schools should get both the money and time to organise and buy the things needed, including exercise books, folders and pencils. But I guess until that moment, we’re stuck with the Karens on Instagram. (If we did, they’d probably complain about not liking the colour of the pencils).

What really annoys me about this discussion is that it takes away attention from actual issues with school supplies: They can be a huge burden for poor families, especially when a kid starts school. Every year I have to collect (as a teacher) and pay (as a parent) “photocopy money”, to pay for each and any copy  we make. On top of the usual supplies, this can be quite difficult, especially if you have more kids. I always inform my students to discreetly tell me if they need more time. I’ll then put my broad back between them and administration and take the blame for not handing the money in.

Another issue is that there are colleagues who do use this as a personal self fulfillment trip with seriously ridiculous demands. I once had a colleague who insisted on fountain pens in year 8. Like, WTF?

But all that justified criticism gets drowned out by the Karens and Sabines*, usually financially safe white women, crying about having to spend two hours shopping for supplies and another two hours with labelling them, if they care to do so. Why don’t the teachers do it???, they want to know. Well, maybe because you’re not paying me. Just a guess. Why would I spend even more unpaid hours and pay with my own money, hoping that in a couple of months you will deign to pay me back? I already spend more on supplies for other people’s kids than I spend on my own kids. And again, what message are you sending to your kid? That school and education are not your priority. That you don’t really care. Lady, that’s not a good look.

*Of course it’s not the Todds and Martins who do this because they don’t even know what year their kid is in.

To finish my rant, parents and their ever growing sense of entitlement are really the worst part of the job. So if you’re friends with a teacher, remember to keep them from social media in August and maybe give them some pencils.

The Great Gardening of 2025 – Part 37 – Elevating Earth

As I mentioned, I tried to grow carrots for the first time in our garden since I was a kid. The experiment is not concluded yet, but there are some interim results. Firstly, about 10% of the carrots were destroyed or heavily damaged by voles, which forced me to harvest about 30% prematurely. Secondly,  a lot of those that I already harvested looked like this.

© Charly, all rights reserved. Click for full size.

This can be caused in two ways, and both were present. The first cause is damage to the roots by, for example, a burrowing pest. The second cause is when the root hits a stone. Multifurcated or whacky-shaped carrots are perfectly edible, of course, but they are significantly more difficult to clean and peel. They also tend to be smaller in weight than those with a single root. Thus, I reached a decision – I will build three raised beds (to be able to rotate crops between them), fortified against rodents, and filled with sieved permeable soil. I found cheap metal raised beds online that I could afford, so I bought them and I started to prepare the terrain.

© Charly, all rights reserved. Click for full size.

I started flatterooning the terrain in the place where I have cured my compost heaps, since the compost conveniently killed all vegetation in those spots, which made the job a lot easier. It was  (and will continue to be) hard work, nevertheless. For whatever reason, the topsoil in this part of my garden is relatively compacted heavy clay with lots of stones. I had to first soften it with a garden fork and break the lumps with a hoe before I could start sieving it.

© Charly, all rights reserved. Click for full size.

I run the soil first through a coarse sieve, with an approx 20 mm grid. Separating approximately 10% material from the clay in the form of large stones.

© Charly, all rights reserved. Click for full size.

After that, I run it through a second sieve, with a ca. 10 mm grid. That removed circa 15% more materiel as smaller stones and left me with finely-sieved clay.

© Charly, all rights reserved. Click for full size.

As indicated by the relatively light-brown color when wet, this is not particularly rich soil. On its own, it would tend to become very heavy when wet and compact again when dry. Unfortunately, I have to use it. I do not have a lot of high-quality soil in my garden, and I do not trust bought soils at all; I got burned that way in the past. I still have to mix the clay with something to make it more permeable to water and less prone to compaction. For that, I had to go to another part of my garden.

© Charly, all rights reserved. Click for full size.

In the north of my garden is a huge pile that consists of a mixture of old coal ash/clinker and sand. It has been there for over five decades by now, completely overgrown with grass and occasionally small trees. Any harmful chemicals are probably completely leeched into the water table by now, so I do not think using it to lighten the soil will be harmful. I have been using it for my bonsai trees for about a decade by now, and it does not seem to harm them at all. This year, I started to dig it up in a big way, and as you can see, I dug out a metal frame of unknown origins. The pile also contained several bricks, a broken metal rake, some rusted chains, and quite a few pieces of wire and plastic rope. All gifts from my grandfather. I used this metal frame to build a bigger 10 mm mesh sieve to expedite the work.

© Charly, all rights reserved. Click for full size.

When I had sieved enough soil and sand for at least one bed, I used the smaller fraction of stones to level the terrain where I had dug out the topsoil. And I placed the completed bed on top of some anti-rodent metal mesh.

© Charly, all rights reserved. Click for full size.

I decided to use a 1:1 ratio of soil to sand. That should have moderately good moisture retention, while allowing for drainage of excess. It is a pity I could not prepare the terrain for all three beds at once – the potatoes are in the way.

© Charly, all rights reserved. Click for full size.

The beds should be 322 cm long and 100 cm wide, according to the manufacturer. But I realized that if I build them 282 cm long and 140 cm wide, I will have more space (approx 20% more), getting more bang for my buck, and the beds will still be comfortably accessible from the sides. It required a slight modification of the inner bracings, but that problem was solved with material from my scrap pile in a matter of minutes. I put some smaller stones around the inner edges of the bed, and I will also pour them around the outer edges when finished to prevent the rodents from wriggling their way inside between the bed and the mesh easily. Those assholes can fit through very small gaps, and anything to impede their progress helps to lead them away towards softer soil.

© Charly, all rights reserved. Click for full size.

With the bed fully assembled and in place, I started filling it. I parked my concrete mixer right next to it, I filled the mixer using buckets with approximately a 1:1 ratio of soil/sand, and I  poured the mix directly into the bed to approximately 50% volume.

© Charly, all rights reserved. Click for full size.

With the beds half full with the arguably very poor mix, I sieved some higher-quality soil from a place in my garden where my father composted grass so long ago that it got mixed into the earth by earthworms alone. And I soaked the charcoal I made in the winter in NPK fertilizer.

© Charly, all rights reserved. Click for full size.

To fill the rest of the bed, I used a mix of charcoal/fresh compost/good soil/poor soil/sand at a volumetric ratio of 1:1:2:2:4. This should be enough nutrient-rich mix for most crops. It should get better with time, when plant roots permeate it and add more organic matter.

© Charly, all rights reserved. Click for full size.

One bed is now filled and complete. I might add some old garden hose around the upper edges – these cheap panels still have some sharp edges where they connect, and one can quite easily scratch on them.

© Charly, all rights reserved. Click for full size.

And since I still had some pea seeds left over, I planted them in the new raised bed. They might not have enough time to get a harvest, but they will test whether the mix is viable, show me how well plants fare in it, and they should improve the soil.

Now I am going to sieve more soil and sand so I can continue with the remaining two beds after I harvest the potatoes.

The Great Gardening of 2025 – Part 36 – Stuffed Squash

Last year, we had such an overabundance of squash that we had trouble utilizing them all. This is one of the recipes we used to do it. The generic idea for the stuffing was mine; my mother then polished the culinary details. The goal was to prepare the squash in such a way that the finished meal is complete with no side-dishes or accompaniments.

The ingredients:

Any type of pumpkin/squash of a size that fits into a baking tray (pattypan, marrow, courgette, etc.), circa 1500 g.
Boullion cubes
200 g of protein – here we use dry soy meat and cheese 1:1, but it can be replaced with tofu, ham, smoked meat, hotdogs, or salami if you prefer, at any ratio to your liking.
5 eggs
2 White bread buns
2 cl of cream
3 medium-sized onions
~250-500 g Green bean pods, canned or fresh
butter or vegetable fat
Spices to taste

The process:

Cut the squash in half and scoop out the insides. If the seeds are not formed yet, the content can be mixed into bouillon with other vegetables (peas, lentils) to make a delicious soup. Ripe seeds can be roasted. Unripe seeds with hard shells but still filled with liquid need to be discarded.

Prepare the dry soy meat according to taste. We prefer to cook it in a chicken bouillon or in water with sugar, salt, and soy sauce for 20 minutes, then let it drain.

To make the stuffing, cut the buns into small cubes and wet them with cream. Add in the spices, finely minced onions, eggs, soy meat, and cheese cut into small pieces, and mix everything thoroughly. If necessary, it is possible to make the mass firmer by adding bread crumbs.

Put the squash in the oven at 180°C for 10 minutes. It releases some water that needs to be scooped out; otherwise, the food will be too soggy.

Fill the squash with the stuffing, roll it in baking paper secured with a string to keep moisture in, and bake for 30 minutes at 190°C. Tinfoil can also be used.

Cut the string and remove the baking paper.

Add bean pods around the pumpkin, with some water (if needed) and a spoon of butter. Bake uncovered for a further 30 minutes at 190°C until the stuffing develops a nice, firm browned crust and the beans are cooked.

© Charly, all rights reserved. Click for full size.

Three people had three lunches from this one squash, so one person could have lunches the whole week.

The nice thing about this recipe is, it can easily be modified to make it vegan. One can easily change the spices too; instead of the bean pods, any vegetable can be used to fill the tray to mix things up, including mushrooms, potatoes, carrots, or frozen vegetable mix. The variations are limitless to prevent becoming oversated and bored with it.

The Great Gardening of 2025 – Part 35 – Weather Woes

Any farmer, homesteader, or gardener will talk at length about the weather at any given opportunity. And as you have no doubt noticed over the years, I fit the stereotype to the T. Today, I will not so much talk as whine. Sorry about that, I need to get this off my chest.

We had a drought in the spring, which seems to be the rule these last few years. We did finally get some rain in July, which made me a bit optimistic. The soil got a nice soak, and whilst the underground waters are still below average, they are no longer “extremely below average” nor “strongly below average” – just “mildly below average”.

Unfortunately, unlike the previous year, the rain did come with a significant drop in temperature as well. The previous year, we had these average temperatures – June 17°C, July 19°C, and I was complaining that the summer was cold. This year – June 17°C, July 16°C. Even worse.

This difference is not significant when it comes to clothing or heating, but it is huge when it comes to some plants. Two-thirds of July we had daytime temperatures below 20°C, and on some days we even had night temperatures below 10°C. That has led to the near failure of some crops – Hokkaido pumpkin, butternut squash, and corn. All pumpkins, melons, and cucumbers need temperatures above 20°C at least part of the day in order to grow, and this year they just did not have that at my location.

Butternuts still did not produce a single female flower, and their growth is stunted. The Hokkaido stopped producing female flowers and started dropping female buds before they even opened. And the few fruits that were on the vines already are stuck at apple size for weeks now. It is very unlikely now that I will get more than one very small fruit per plant for Hokkaido, and almost impossible to get any ripe fruit for the butternut – the expected growing season is not long enough anymore.

A lot of the corn is also still stunted and did not produce any flowers. Some did finally produce female flowers, but not very many, and small plants will produce small ears.

All in all, I can already say that the Three sisters experiments did mostly fail, but not due to anything that I have done; just the weather was crap.

And the garlic continued to rot, not to dry, even under a roof. I might end up with less garlic (in weight) than I planted. It is already the case for some variants (Rusinka and Havel)

At least not all is bad. Cold, wet weather is still better than a hot drought. So to end today on a high-ish note:

It was really good for raspberries; we have enough jam and juice for at least two years.

The pea harvest was acceptable – the damage it suffered was from voles, not the weather.

Runner beans are thriving, and I might get a big harvest. They liked the weather so much that they are now dangling the vines several dm above the support tops. At the end of August, I will start harvesting green bean pods from the tops of the vines, so the bottom ones ripen faster. I will likely be able to can enough bean pods to last for years.

Apples, pears, plums, and aronias continue to grow and ripen; they look extremely promising. I hope to be able to fill the cellar with rows and rows of jars with dehydrated fruit and jams.

Walnut branches are so burdened with nuts that I have to bend to walk under them, despite cutting all low-hanging branches just two years ago.

Two of the three potato variants did recover somewhat – Marabel and Deli. I might get a decent harvest there. The Esme seems to be the most susceptible to drought; it did not bounce back, and the harvest will probably be tiny.

Tomatoes and peppers in the greenhouse continued to grow and produce fruit, albeit at a slower pace. Today, the first tomato started to blush. Thus, I might get the harvest with just a small delay compared to previous years. And unlike previous years, the tomatoes outdoors have not succumbed to blight yet. Maybe the improvised rain shelter did actually help, although it is still too soon to be definitive about that particular issue.

I harvested all the onions – I will write in detail about that some other time – and the harvest was acceptable, albeit not spectacular. In their place, I already sown a second batch of spinach and peas. We shall see how that goes.


The Great Gardening of 2025 – Part 34 – Processing Pea Pods

I got sick for a few days. The weather is too cold for this time of year, and I did not dress appropriately while working in the garden, which triggered (probably) a mild strep throat infection that would probably not develop in warmer weather. After a few days of being in bed, drinking paracetamol and elderberry tea, I might be finally getting better today – the throat pain subsided, and both teas started to taste awful. That is a peculiar thing – I strongly dislike the smell and taste of elderberry juice, yet I always try my best to keep a stash in my cellar. Because when I get sick, I get a craving for it. And once I heal, I start hating it again.

But before I got sick, I managed to harvest all the peas I sown two months ago.

© Charly, all rights reserved. Click for full size.

I did not manage to do it all in one go; I had to spread the work over several days. It was approximately three buckets of pea pods overall, which my parents shelled in the evenings while watching TV.

© Charly, all rights reserved. Click for full size.

I got about 4500 g of green peas from 500 g of seeds. About 500 g was lost to voles and drought, but 4500 is still a respectable amount that made the whole endeavour worth it. Now they are in the freezer awaiting further fate. We are still considering whether to keep them there and slowly use them in soups and foods, or to thaw them all and preserve them in jars.

And whilst I was sick, I was able to take a picture of a frequent visitor to my windowsills.

© Charly, all rights reserved. Click for full size.

I hear kestrels chirping all the time, but they are not easy to take a picture of. I am very glad to see them. They are an invaluable vole predator, and if I could convince them to nest nearby, I would.

The Great Gardening of 2025 – Part 33 – Juicin’ n’ Jammin’

These are recipes we used for the excess of raspberries and the first marrow pumpkins. For all of them, the raspberries were first pressed through a juicer, and the still-wet seeds were wrung through cheesecloth to extract more juice. We learned that the raspberries must not be cooked first, because when pressing cooked raspberries, they release too much juice, and the outgoing seeds are so dry they block the juicer completely. (Edit: if you do not have a juicer, heating the raspberries to near-boiling first is thus advantageous for pressing them by hand).

Apricot and raspberry jam:

2600 g raspberry juice
12 apricots cut into small cubes
3000 g white sugar
16 g vanilla sugar
16 g vanillin sugar
1/2 teaspoon salt
100 g of gelling mix
1 teaspoon of citric acid

Raspberry jam (sweet):

2600 g raspberry juice
2000 g white sugar
16 g vanilla sugar
16 g vanillin sugar
1/2 teaspoon salt
100 g of gelling mix
1 teaspoon of citric acid

Raspberry jam (sour):

1700 g raspberry juice
1500 g white sugar
16 g vanilla sugar
24 g vanillin sugar
1 dcl rum
1/2 teaspoon of salt
100 g of gelling mix
3 tablespoons of citric acid

Apricot and pumpkin jam:

850 g of young marrow pumpkins, cut into small cubes.
12 apricots cut into small cubes
1 big apple cut into small cubes
16 g vanilla sugar
24 g vanillin sugar
1 dcl rum
1/2 teaspoon of salt
50 g of gelling mix

The gelling mix is a commercial mixture consisting mostly of apple pectin. It is necessary to add it to raspberries, since they do not gel particularly well by themselves, even if most of the moisture is boiled off.

The sour jam was made specifically for me; I do not like sweet jams that much. The apricot-marrow pumpkin jam is an experiment of my mother’s. Based on how a pie made with the foam tasted, it should be very good.

The jams are pretty straightforward – slowly dissolve the ingredients by heating them together without boiling (the pumpkins and apricots release enough water by themselves when heated), skim off the foam, and while still hot, pour into sterilized, pre-heated jars and close. After cooling, the lids form a firm vacuum seal.

The skimmed-off foam can be put into the refrigerator and used for cooking. We used ours in pies, and I was mixing it with yoghurt and oatmeal for breakfast.

© Charly, all rights reserved. Click for full size.

This is only one batch of jam.

We still had enough raspberries left, and new ones keep ripening. So I am dehydrating a lot for fruit tea still. I also wanted to try to make raspberry juice, something we haven’t done since I was a child. For this, we filtered the pressed juice through a cheesecloth overnight. We used a very simple recipe that my mother found somewhere on the Czech internet. Thus, this recipe, unlike previous ones, is not written with the actual weights we used.

Raspberry juice:
1000 g raspberry juice
1500 g white sugar
1/2 teaspoon of citric acid

The juice was again slowly heated until everything dissolved, then it was briefly boiled, and the foam was skimmed off. Then it was poured into pre-heated and sterilized bottles.

© Charly, all rights reserved. Click for full size.

To be on the safe side, I heated all filled bottles to about 80 °C for twenty minutes. I would not like for it to explode in the cellar.

© Charly, all rights reserved. Click for full size.

And lastly, for all that we made, I printed labels. My mother cannot write them by hand anymore, so I bought printable 52.5×35 mm labels. One label with the name and manufacture date on the front, one label listing all the ingredients on the back. I am listing the ingredients because we are occasionally giving these things away, and it is important to have the info on hand in case of food allergies or preferences.


The Great Gardening of 2025 – Part 32 – Greenhouse Growth

We finally got some good rain. The groundwater table is still below normal, but the situation is less critical, and the vegetation did get good watering. A few more rains like what we had this week, and the drought might be over. At least now I do not need to spare water even if it does not rain for a month or so again, and I have enough surplus to give my greenhouses a good soak.

© Charly, all rights reserved. Click for full size.

Blue grapes are starting to color, although they still have a long way to go. I do not know what causes the drying of the leaf edges on this plant. It does it every year and does not seem to be weather-related. These grapes are delicious, although they do have seeds. It looks promising so far.

© Charly, all rights reserved. Click for full size.

The white grapes do not show any meaningful damage on the leaves, and they have even more fruit. In addition to that, this vine grows so fast I have trouble keeping it confined to the greenhouse. These grapes are seedless, even more delicious, and usually I also get a bigger harvest. And since this year the vines were not damaged by late frost, I might get a really substantial amount.

© Charly, all rights reserved. Click for full size.

My fig trees got too big and I had to cut them back severely. I might not get any figs this summer, but I might still get some later in the autumn. The summer figs are usually better tasting, but in order to get them, the trees need to be left unpruned in the spring. We shall see if some of the bigger ones start ripening in about a week.

© Charly, all rights reserved. Click for full size.

I am trying to grow ginger this year again. I had not much success so far, and I learned that my mistake might have been putting it in direct sunlight. Ginger allegedly likes it warm but shady. So this year I put it under the grapevine in slight shade, but it does not look very promising so far. The weather is apparently not warm enough for ginger, although it is plenty warm for everything else. The gingers are barely starting to poke out of the ground just now.

© Charly, all rights reserved. Click for full size.

Tomatoes thrive, both inside and outside the greenhouse. And at both locations, they began to bear fruit, with more in the greenhouse. The plants are so far healthy, so I won’t spray them in the greenhouse with fungicide anymore. I might spray those outside once more, though. They are shielded from rain, but not from fog and dew, so they are still more susceptible to blight. The fruits are still reasonably far from ripening for one more round of fungicide to be safe.

© Charly, all rights reserved. Click for full size.

And outside the greenhouse, I counted 12 potential Hokkaido squash. The first one is now fist-sized.

© Charly, all rights reserved. Click for full size.

The main Three Sisters patch is now alight with bright red bean and bright yellow pumpkin blossoms. It does look kinda pretty and promising. First corn plants started to show female blossoms too, so that might not be a complete waste of resources in the end. And I am still impatiently waiting for the butternut pumpkins to take off. So far, they still grow very slowly and show no sign of blooming. But as long as the plants grow, there is hope I will get some use out of them, and we still have about 50 days before first frost. When I was a kid, it was not unusual to get the first frost in the second half of September. In later years, though, it usually comes in the second half of October or even later. We shall see how the weather turns out – it is a factor I cannot influence, yet it has a huge impact on the outcome of my labor.

The Great Gardening of 2025 – Part 31 – Pumpkin Precursors

The pumpkins started to grow and appear to be accelerating now.

© Charly, all rights reserved. Click for full size.

The butternut squashes are the least advanced since they are the last that were planted. Funnily enough, one of those surplus ones that I planted with red beets is the biggest, and I had to start teasing it onto the aluminium trellis. I think that these grow faster than those planted in the lawn because the soil is more porous here.

© Charly, all rights reserved. Click for full size.

The first female flower of the Hokkaido pumpkin showed up. It was probably pollinated and is starting to convert into the fruit now.

© Charly, all rights reserved. Click for full size.

Some Hokkaido plants are getting bigger and they started to crawl out of the 50×50 cm squares onto the grass. I probably won’t be able to mow the grass between and around the poles again, which is OK, this was always the plan. I will be chuffed if I get two fruits per plant by the end of the season. If I get more, I’d be thrilled.

© Charly, all rights reserved. Click for full size.

I started to harvest the marrow squash already. When harvested this small, they do not need to be peeled, although they do have prickly hairs that need to be rubbed off. They are sweeter than zucchini and are really juicy and tender.

© Charly, all rights reserved. Click for full size.

That is why this first harvest was simply chopped into slices, covered wth spice and tossed in a baking tray with a duck for the last 20 minutes of baking.

If things go well, they should now accelerate in growth until we are no longer able to eat them fast enough, and they get bigger and with harder skin. I will write about the use of the bigger fruits in due course, with recipes.

© Charly, all rights reserved. Click for full size.

And lastly a picture of a longhorn beetle that I captured in my coppice with my phone. It was a fast moving critter, I would not be able to go inside for proper camera in time. But I think this pic is worth publishing anyway. I am not an entomologist, but it was found on a willow, so I think it is a musk beetle, Aromia moschata. It is beautiful, although its larvae might destroy some trees in my coppice in due course. Which is not a big problem, the trees need to be replaced each decade or two anyway.


The Great Gardening of 2025 – Part 30 – Raspberry Riches

I mentioned the raspberry growth behind my garden already, there is even a picture in one of the older posts. Here is a new one.

© Charly, all rights reserved. Click for full size.

It is just outside my garden, on the east side of the fence. It is an ideal spot for raspberries – they get full morning sun, but as the day gets hotter in the afternoon, they become shielded by my copicce poplars.

It is a mixed growth of probably domesticated, wild, and hybrid raspberries. Some shoots have prickles, most do not; some have fruits consisting of a lot of small drupelets, some of just a few big ones. Technically, it does not belong to me, but I take care of it and harvest most of the fruit. And anyone who goes by can harvest that fruit as well, and nobody, not even the owner of the meadow, can object to that. The Czech Republic has roaming laws about accessibility to landscapes, so a meadow is freely walkable unless it is currently being grazed by cattle or for similar safety reasons. And wild fruits and mushrooms are a common good that anyone can take. So even when these raspberries technically grow on someone else’s property, I am neither trespassing nor stealing.

Shortly after the Iron Curtain fell, some of the new forest and meadow owners tried to restrict public access to their land. Yet others tried to collect fees from people who took wild fruit or mushrooms.  There was a very public education campaign teaching people what is and is not allowed.

I also have to mow the grass about 1 to 1,5 m adjacent to my fence. The owner uses the meadows surrounding my house mostly for hay production, and the tractor cannot mow that close. And even when they used the meadows as pastures, there was a gap between the electric fence and my property that I still had to mow. That is how the growth got established in the first place when I was a kid – my father did not mow the grass around the garden, nor did the tractors, and thus raspberries took hold.

Occasionally, I flatten and subsequently fertilize the whole growth to rejuvenate it, forgoing that year’s harvest. But this is one of those years when I have a huge harvest.

© Charly, all rights reserved. Click for full size.

The fruit is so aromatic that even my stunted sense of smell can enjoy it.

We have several kg of fruit already, and we should get even more in the next week or so. Luckily, we finally got some rain, and although it was not much, raspberries did benefit from it. I cannot water them; that would really be too much strain on my water resources.

© Charly, all rights reserved. Click for full size.

So far, most of the fruit goes into the freezer. Once the harvest is over, it will be thawed, juice pressed out of it, and cooked into jam that lasts for years. However, I did take about 1 kg and dehydrated it.

Dehydrated raspberries are not very good food. They are sour and have the consistency of coarse sand. So why make them? Because I plan to mix them with sweet dehydrated pears in the fall, put the mix into a food processor and blend them together. The resulting powder makes for a very tasty and aromatic fruit tea in the winter.

The Great Gardening of 2025 – Part 29 – Lessons Learned

So far, I have had very little success, since most of the growth season is still in the future, and thus only time will tell. Unfortunately, I had several definitive fails already. Some anticipated, some new.

Let’s start with the radishes. In the greenhouse, they were a definitive success. I harvested over 3 kg of radishes from sowing two packets. Outdoors, they were a failure; I harvested barely over 0,5 kg from one packet. Some were woody, some bolted before bulking, and all were heavily damaged by flea beetles. The cause of all that was likely the same that led to the failure of spinach: an abnormally warm and dry spring. The season essentially started a month earlier and got a rude interruption a month later.

The basil was a complete fail. It was heavily damaged by the late frost and completely dried in the subsequent drought.

Next, the strawberries. I had some, but just enough to eat them raw for breakfast for a few days. This was expected. I essentially started them anew this year, so they did not have deep enough roots to cope with the drought and the heatwave. No amount of watering can help with that.

© Charly, all rights reserved. Click for full size.

All of the garlic Havel and a few plants of the other varieties got some fungal disease, and I had to harvest them prematurely in order to try and salvage something. It is still questionable whether I will have a lot of garlic or none at all. I do not know what specific fungal disease it is; it might be Botryotinia porri.

© Charly, all rights reserved. Click for full size.

I have no slug damage worth speaking of this year, but the vole infestation has reached unprecedented levels. My garden looks like Emmental cheese.

They dug under the onions, although they did not eat any. They also dug under and ate some of the carrots, forcing me to start harvesting them prematurely to prevent losing them completely. They ate the roots of several bean plants. And they started to try to dig their way to the roots of my newly planted trees as if they were honing in on them – holes started to appear around the wire mesh circumferences that I used to protect them.

I tried to put down traps, but the fuckers learned how to trip them and take the food out afterwards. In the end, I had to resort to poison to at least reduce the pests before they completely overrun my garden. To reduce the risk to cats, hedgehogs, and other mammals, I am putting it directly into the burrow entrances and covering it with a bucket. I did not have to do this for decades, and I hope I won’t need to do it again.

If not for the voles, planting carrots in the egg trays would be a success, although I did not water them all quite enough. Some got big, some remained tiny.

So the lessons:

I won’t grow radishes outdoors anymore, only in the greenhouse as a pre-crop. The weather is too strange now, and older wisdoms and pranostics no longer apply. I can no longer rely on my books, Google,  or even the seed packets for proper planting/sowing times.

I need to wait to plant basil outdoors for later, and I need to water it a lot. It seems rather thirsty. I did not give up on it this year yet – I bought seedlings in the supermarket in the vegetable aisle. The weather is now cool and cloudy, ideal for hardening them off before planting them outdoors.

Next year, I will do minimal disruption to the strawberry growth that I planted this year. Strictly speaking, this is not a new lesson, only a reiteration of one already learned.

To grow garlic, I need at least three beds with more permeable soil that I can disinfect, and I probably should spray my garlic with some fungicide, just as I do with potatoes and tomatoes. I am also making sure that no peels or offcuts of garlic get onto the compost pile; from now on, I will burn it all.

And lastly, to grow carrots and other root vegetables, I need rodent-proof beds.

Those two last lessons coalesced in the conclusion that I need at least three separate raised garden beds that I can fill with a custom soil mix. I wanted to build them from materials I have lying around, since they were rather expensive the last time I looked. But before I started to build, I checked again and I found three very nice 322x100x36 cm raised beds at a discount price I could afford, so I ordered them. I will reinforce the bottoms with wire mesh, and fill them with a mix of soil that I am reasonably certain is healthy, sand/clinker (I have two piles over 50 years old, of coal ash, clinker, and sand in my garden, overgrown with grass, I use it to lighten the soil for bonsai already), compost, and biochar. Then I can rotate garlic, carrots, beets, and bush beans between these beds to ensure the soil is not overtaxed by just one crop planted in it repeatedly, and that species-specific pathogens do not accumulate. I will probably add sunflowers or hemp in the rotation a few times, in case there are still some bioavailable heavy metals in the old coal ash piles.

And that is that for now, I will continue to grow, and we will see what comes out of it.


The Great Gardening of 2025 – Part 28 – Bloom Boom

I was able to mostly water the garden adequately, and most plants now appear to have deep enough roots to thrive. Except for a few fails, about which I will write another time. And when the plants get their roots deep enough, the leaves get nice dark green color and they start to bloom.

© Charly, all rights reserved. Click for full size.

Though the first picture today is not a bloom, it is my first bell pepper ever. It was tiny (just 70 g), but according to my father, it was delicious.

© Charly, all rights reserved. Click for full size.

The bell peppers continue to bear fruit, and the tomatoes just started to blossom last week when I took this picture. They are much bigger now, and the first berries are starting to show up. So far, so good. Due to the heat wave, I did put a shading net over the greenhouse, tomatoes do thrive best in temperatures up to 35°C and with direct sunlight, the greenhouse could easily overheat in this weather.

© Charly, all rights reserved. Click for full size.

The humble pea had lots of white blossoms everywhere I planted it. The pods are now in their flat stage, and I expect them to bulk up within two weeks or so. After that, I can harvest the peas and plant a second round of the same. Or I can try for spinach again. At least this supply of pea seeds had very good germination rate, and I should get at least my money’s worth and some of the time too.

I already harvested the first variety of pea that I planted, the one with a poor germination rate. I got just about what the packet cost out of that,too.

© Charly, all rights reserved. Click for full size.

The three sisters patches are doing OK-ish. The beans finally started to climb the poles. Normally, once they do that, the growth accelerates significantly.

© Charly, all rights reserved. Click for full size.

The purple blossoms of the runner bean are beloved by pollinators of all kinds – bees, bumblebees, and butterflies. I like them too, they ad color to the garden. Some of the other beans started to blossom too, but most did not, and there are still some that did not catch onto the support.

© Charly, all rights reserved. Click for full size.

The marrow pumpkins started with female flowers this year, which is unusual. Normally, pumpkins start with male flowers to attract pollinators and only later add female flowers. This way does not make much sense, because female flowers are a bigger investment, and without any male flowers around, they simply dry and fall off uselessly. But after about a week, male flowers started to show up too, so from now on, I should be getting some pumpkins.

© Charly, all rights reserved. Click for full size.

This week, the first Hokkaido pumpkin started to bloom, with male flowers as is proper. Pumpkins and beans are the OK part of my three sisters experiment. The -ish part is corn.

So far, most of the corn is still stunted. And those plants that looked big and healthy started to bloom now, but only male flowers. I suspect this is corn’s reaction to the wonky weather. I might still get some harvest out of some of the large number of plants that I planted, but it just appears corn is not worth the effort in my garden. It is too unreliable. Out of the four years I am trying to grow it, only the first year I had a definitive success; every following year, it was a lot of work and a lot of failure.

© Charly, all rights reserved. Click for full size.

Potatoes are not doing well; the weather is too dry and hot for them, even with watering. I will get some, but it won’t be spectacular. They started to bloom last week, and in about two months, they will be ready for harvest.

© Charly, all rights reserved. Click for full size.

And last, some weed that sprouts every year in my gladiolas. I never bothered to identify the species, and I am generally leaving it be. It does not spread, and it has nice, big white blossoms.

Next time, I will unfortunately have to write about some of the fails I had this year.

The Great Gardening of 2025 – Part 27 – Sewage Surprises

I mentioned a few times that I have a sewage treatment facility at my home and that I do get some use out of it outside of it cleaning water. I will say a bit more about it today, since it is rather important these days.

I have a five-stage system:

  1. 3-chamber anaerobic septic tank – here the water undergoes the first stage of biological cleaning where it separates solids and the slowly decompose and ofgass. The sludge that is left behind needs to be pumped out and disposed of approximately once a year.
  2. Biofilter – essentially a column of plastic foam where some further biological shenanigans happen. The water that comes out can, under certain circumstances, be let out. In my case, it undergoes further cleaning because…
  3. Pumping station – the septic tank and biofilter have the water surface too low below the ground, so the biofilter is permanently and completely flooded. It was not supposed to be like that, and we had to insert the pumping station during production to compensate for a mistake in the project.
  4. Gravel reed bed – a 5×10 m hole, 1 m deep, lined with heavy-duty foil and filled with gravel. I actually built this first, illegally, to clean grey water only. It was a significant improvement over what we had before, which was simply to let uncleaned grey water to seep into the ground. To this day, many households here still have some semi-legal arrangements like that.
    The gravel bed is planted mostly with Phragmites australis. The reeds clean the water further, and although they are most effective during the vegetation season, they do work in winter too. In the summer, they use up nitrogen and phosphorus to grow and create biomass. In the winter, some of that biomass dies and provides carbon for bacteria that also use the nitrogen and phosphorus. At the very end of the gravel bed is a charcoal filter, where most particulate matter and remaining chemical pollution (still mostly phosphorus and nitrogen compounds) are further absorbed.
  5.  Seeping pond – a shallow (~50 cm at most) pond where the water seeps into the soil around the edges. Around the pond are planted willows and my mighty walnut tree. The willows provide me with firewood and long sticks for growing beans, the walnut provides me with food and shades the pond completely most of the summer. In the pond is a big growth of duckweed, which cleans the water even further – although that is no longer strictly necessary, since water is tested before the pond, after the charcoal filter. Ammonia is a bit of a problem, but not really.

I tried to have fish in the seeping pond and they did survive the summer, but not the winter. I would need to have active aeration in the pond for that – when sudden -20°C came, the fish suffocated under the ice. But the pond is full of life even without my interventions.

© Charly, all rights reserved. Click for full size.

I have introduced duckweed to the water, and it does not look very appetizing (to a human), but it is actually a sign of healthy water. I never had a harmful algal bloom in my pond, which is caused by cyanobacteria. Those thrive in environments with excessive phosphorus pollution but a lack of nitrogen, and they do release nasty chemicals into the water. This water is not drinkable, and it is not clear, because there are dead leaves, etc., in it, but it is healthy.

© Charly, all rights reserved. Click for full size.

This year, the weather seems to be especially favorable for the duckweed; the pond is completely covered. Thus, I finally rigged a sieve with a long handle to scoop out some of it. I am composting it – it adds nitrogen and phosphorus to the compost heap and the life cycle of shit is thus completed. When taking it out, I took out some other life forms too.

© Charly, all rights reserved. Click for full size.

Damselfly larvae are a frequent occurrence. I do my best to toss them back as soon as I notice them. They are the main reason why I do not simply throw a pump into the pond when I need water for irrigation anymore. However, this year I got a surprise that made me really happy.

© Charly, all rights reserved. Click for full size.

Alpine newt (probably) –Ichthyosaura alpestris. I did post about frogs in the pond in the past, but newts are even more sensitive to chemical pollution than frogs. That is why I was happy to see one. Especially since this year is very dry and the amphibians need every help to survive they can get.

© Charly, all rights reserved. Click for full size.

For smaller amounts of irrigation water, I can use watering cans to scoop water out of the pond. But since I expanded my gardening this year, right when it seems we will have another climate-change-induced drought, I have to use it to irrigate my crops. And in this picture, you can see the pump under the water level in the last stage of the gravel bed, before the water goes through the charcoal filter. It is see-through for several decimeters even before that last filtering, and it is safe to water crops that are a long way away from harvesting and that are not eaten raw. Just to be on the safe side, I still do not use it to water strawberries or anything similar that could get splashed. Potatoes, tomatoes, onions, peas, beets, and bonsai benefit greatly, though.