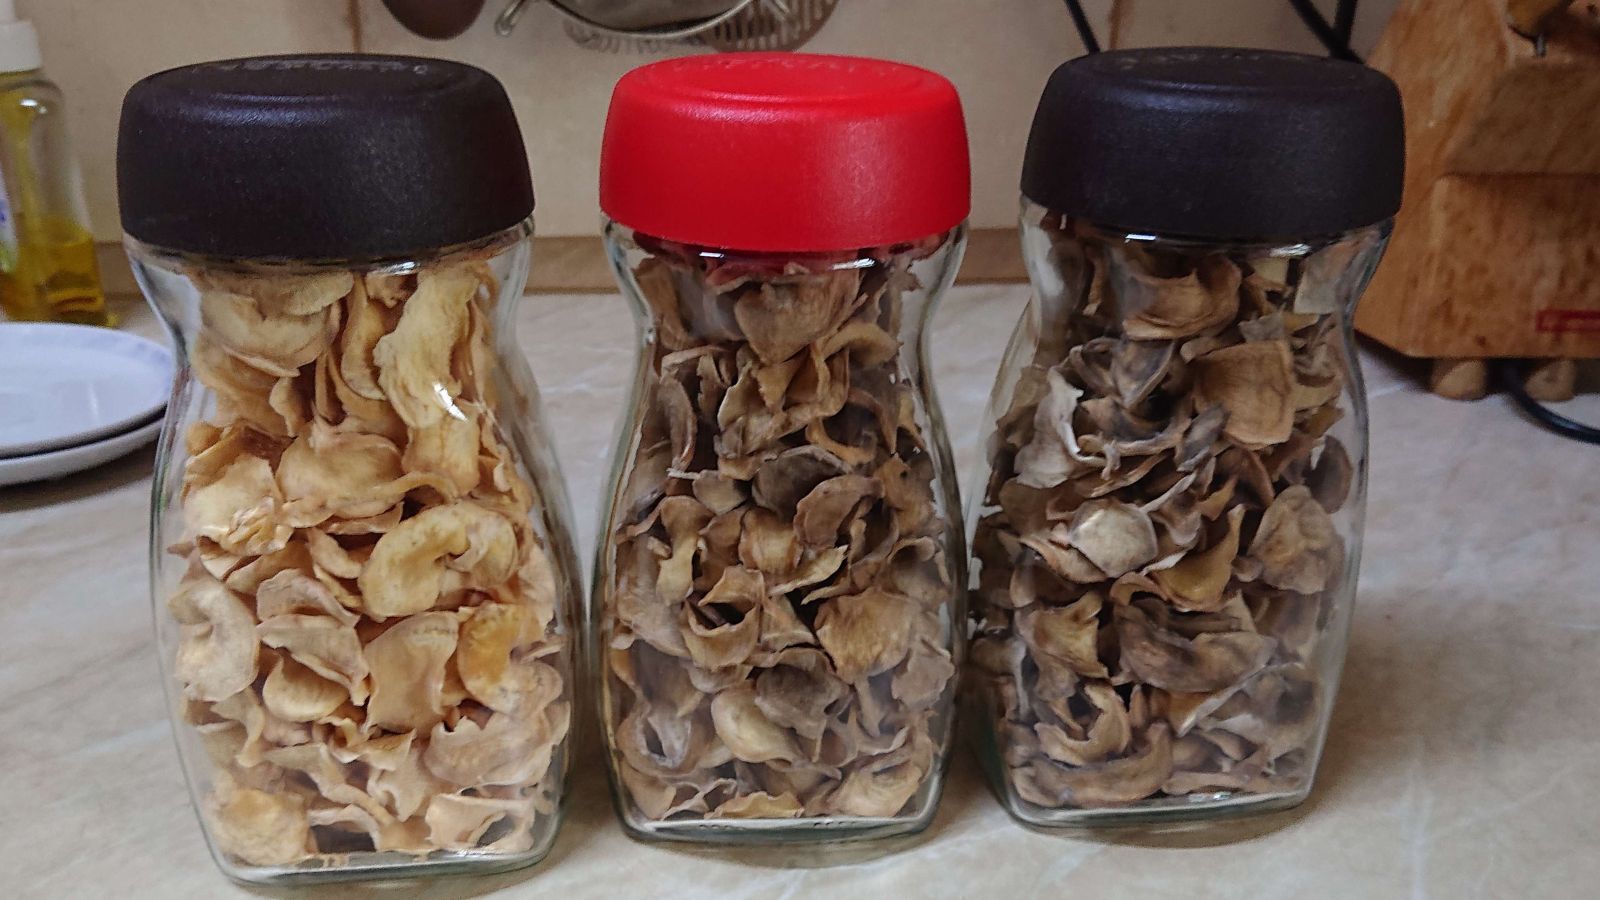
I repotted my citrus trees and laurels. While I was at it, I harvested all the laurel leaves/bay leaves that I could. It is not a huge harvest, but it is enough for our needs for the whole year.

© Charly, all rights reserved. Click for full size.
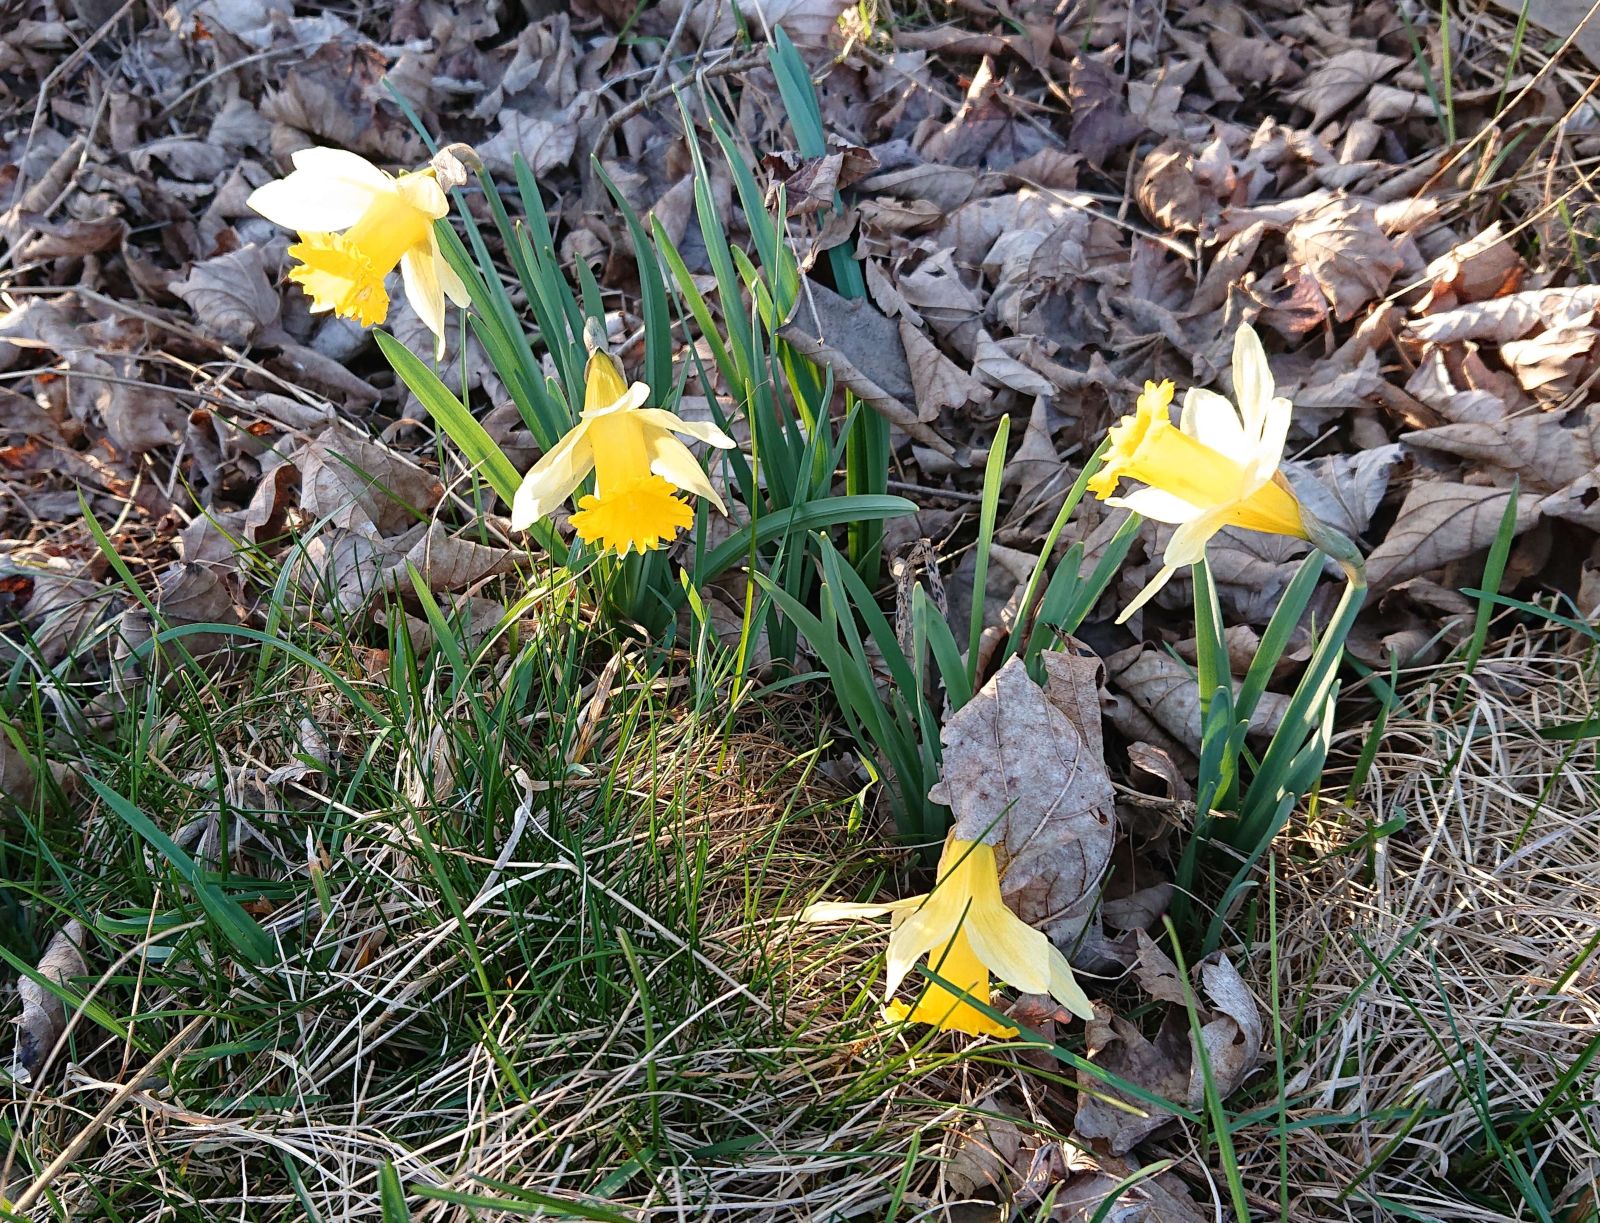
My last big apple tree started to blossom.

© Charly, all rights reserved. Click for full size.
This is a graft from the dead tree that I grafted a few years back on some unspecified apple tree that sprouted from the roots of another dead tree planted by my grandfather. The rootstock is very hardy since I originally tried to kill it, and only when I failed, I tried to graft it. It is the only successful graft I have ever done.

© Charly, all rights reserved. Click for full size.
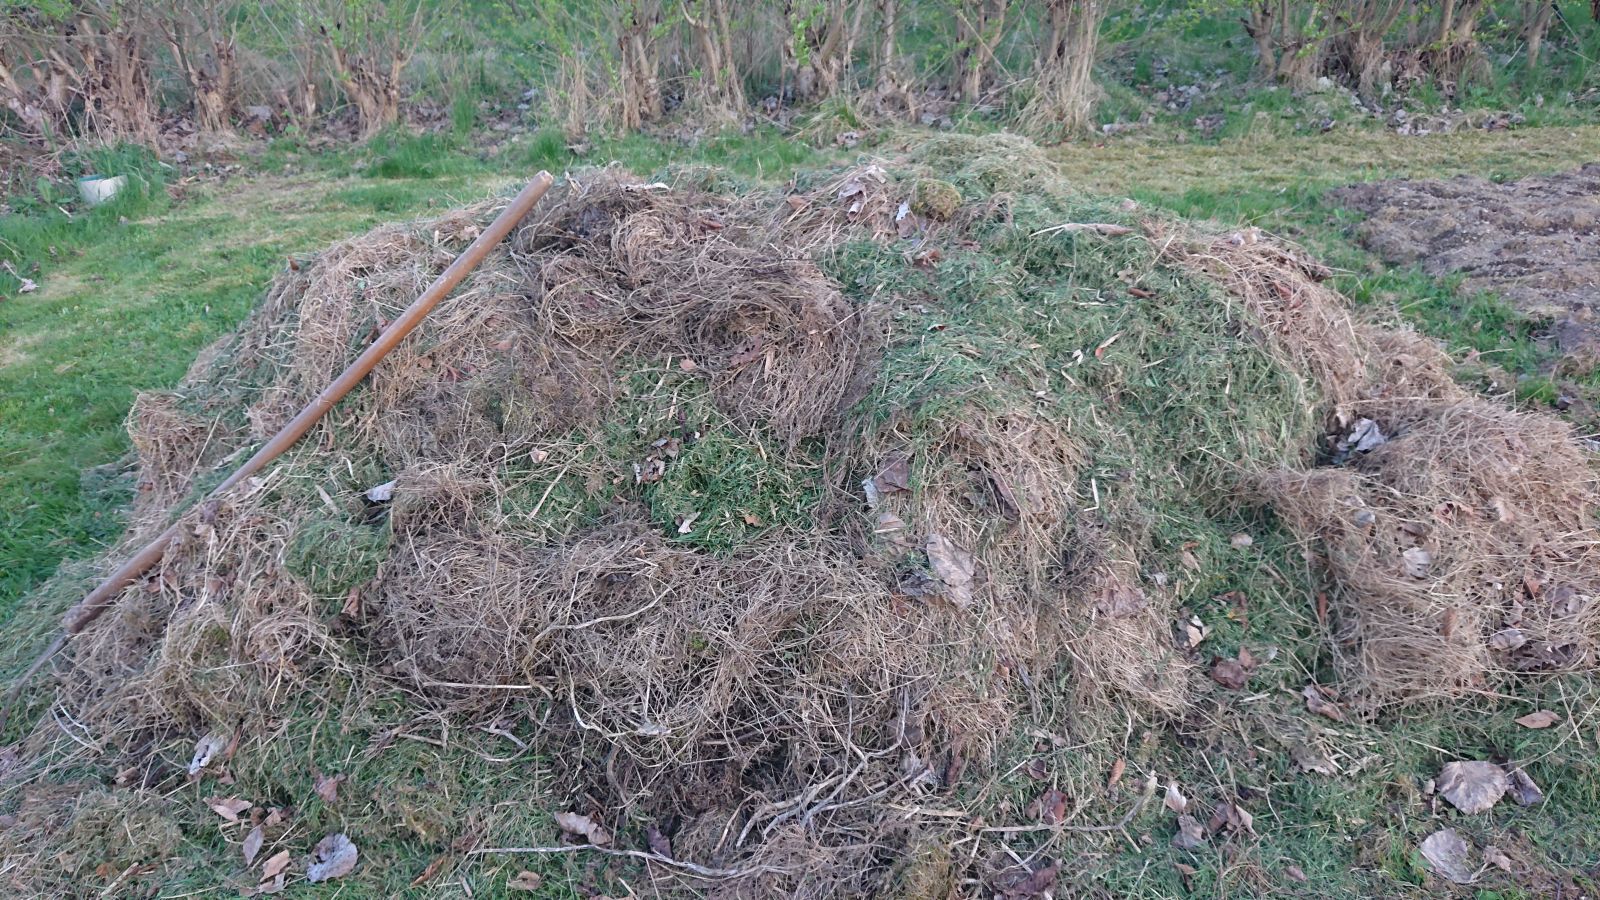
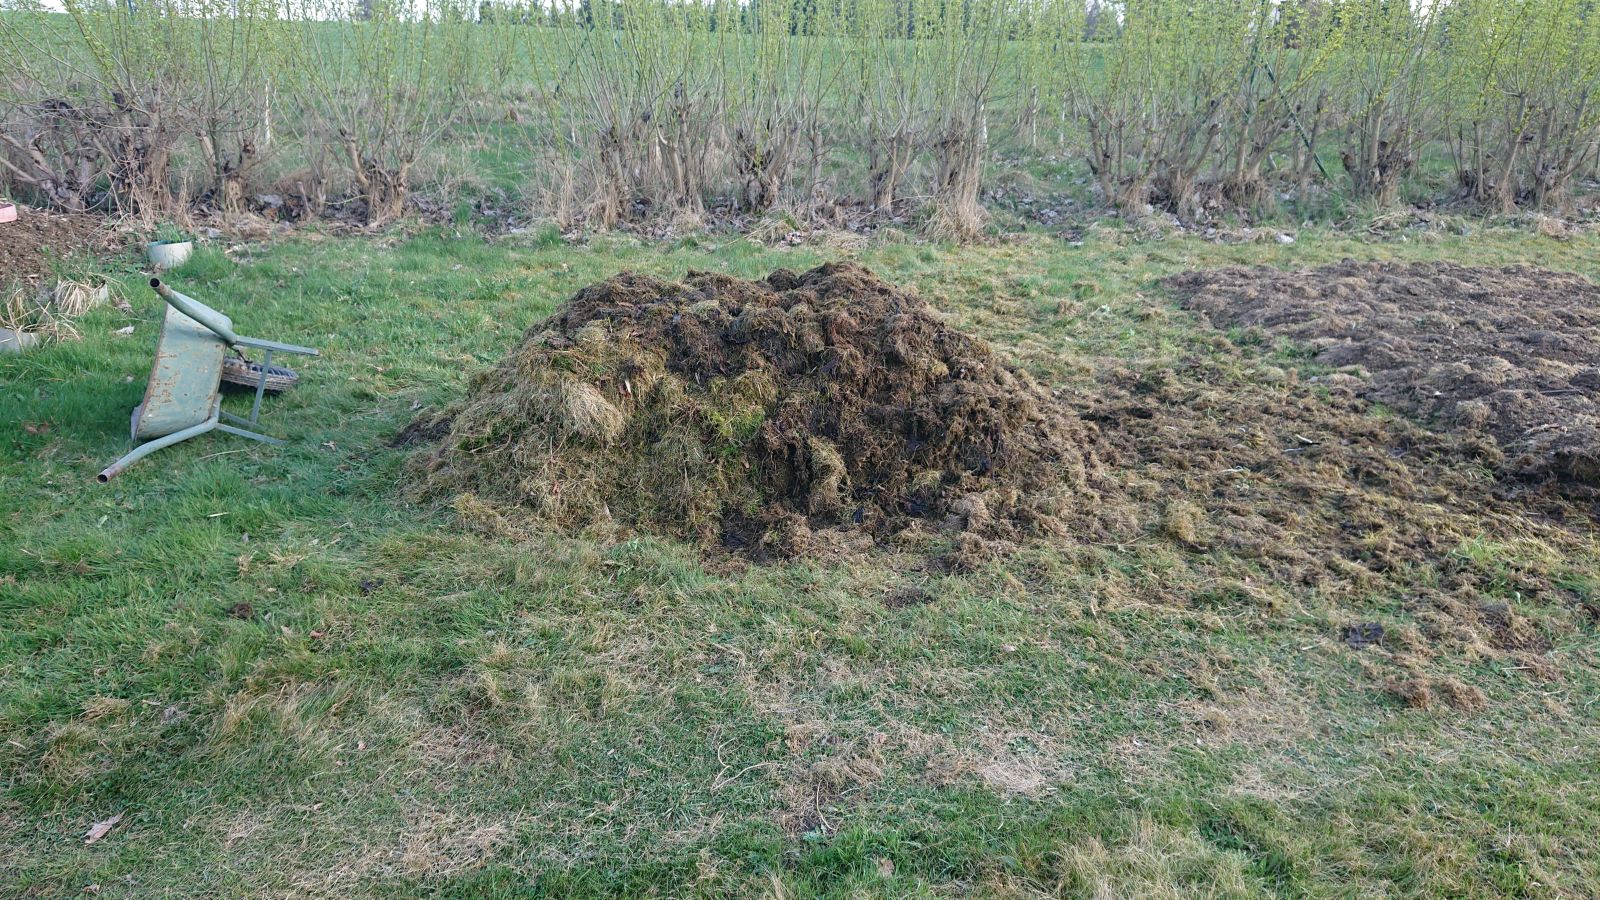
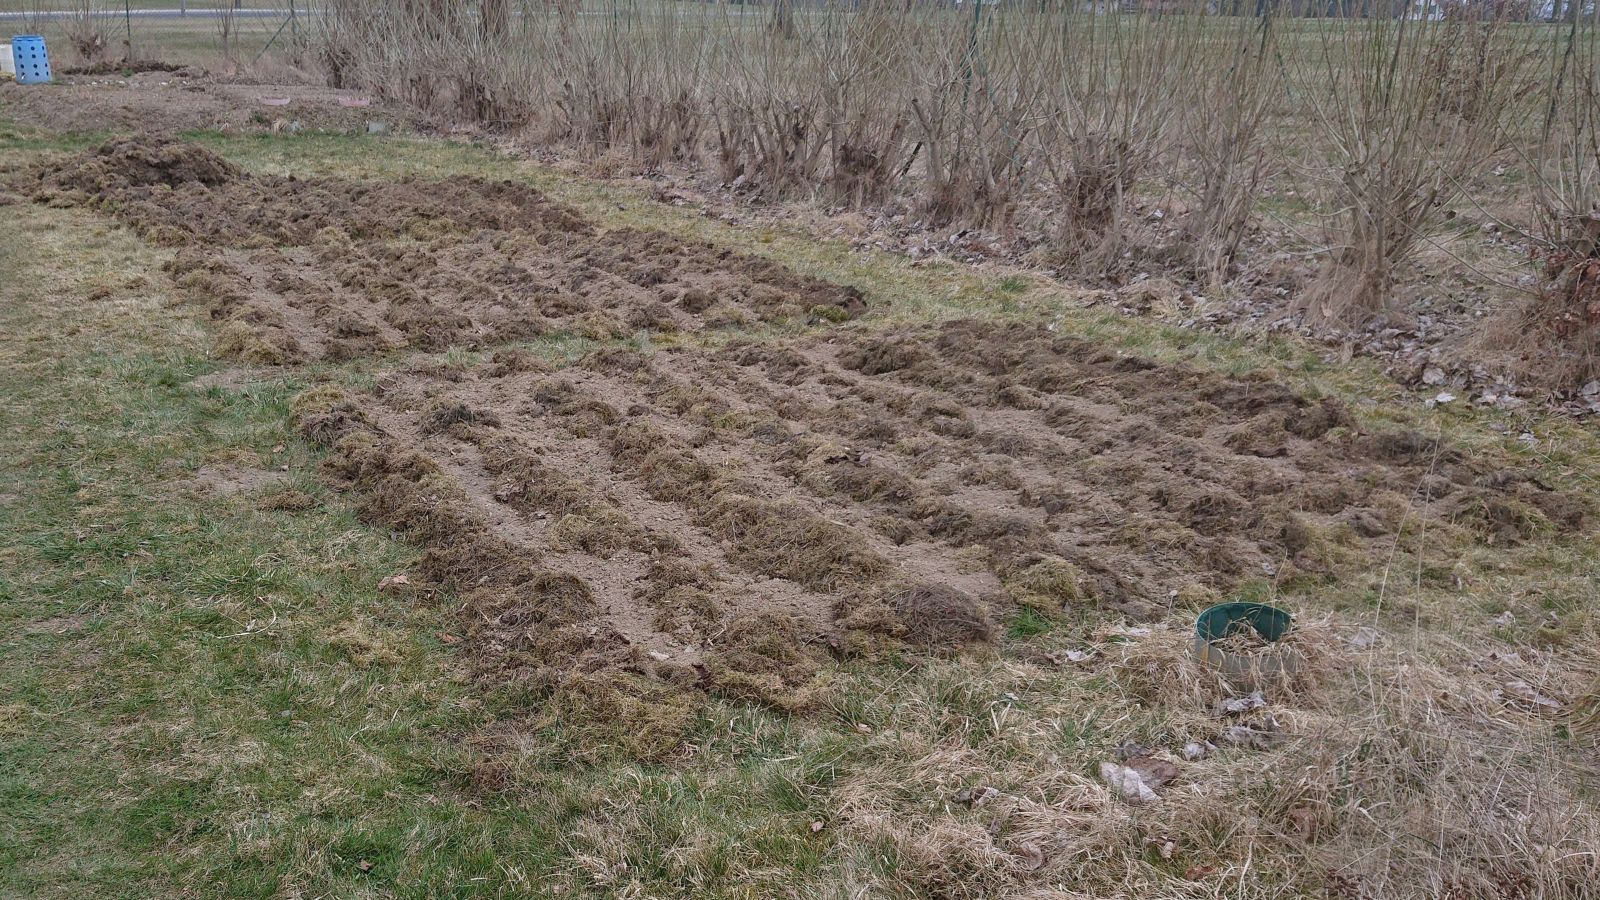
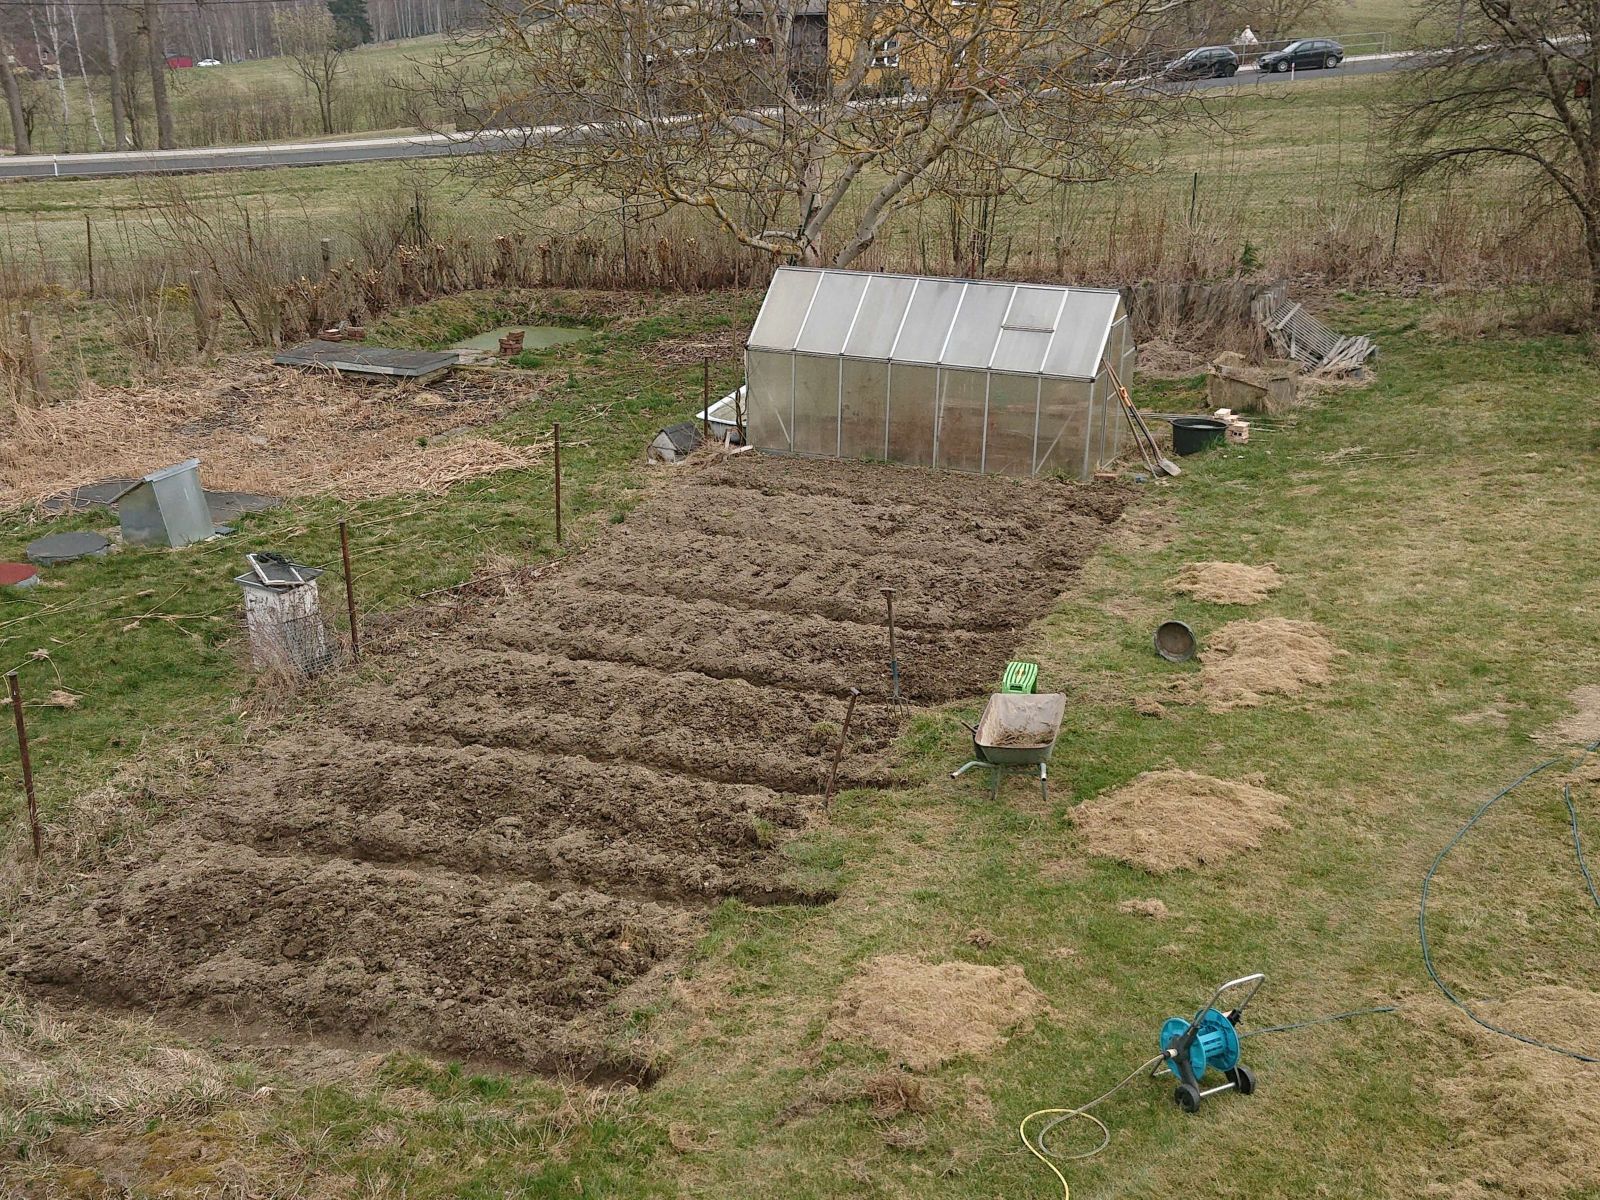
The compost pile was heating up very unevenly, so I decided to not wait until Friday and I turned it today. I also added all the grass clippings and dead leaves I had elsewhere. Now it is all in one huge pile of moss and grass, and leaves, approximately 2 cubic meters in volume. When forking it over, I also noted that the moss started to heat up and decompose too, but unevenly as well – there were completely dry patches in it where nothing happened whatsoever. So when I was done turning and mixing it all, I poured approximately 200 l of water into it from the seeping pond at the end of my sewage cleaning facility. When I measured the temperature at four different points in the evening, it was already over 30°C in all of them, so it is heating up. I might pour some more water on it during the week since it is not raining, and it should not be possible to overwater a compost pile.
A little note on making a compost pile – it is important to lay the material in flat layers and for the whole pile to have a flat top, especially when making it from longer dead grass like old hay or straw. If you pile it in a cone or round heap, the grass on top can work like a thatch roof, effectively shielding the center of the pile from water.