Let’s start with the spring part and some explanation about how certain pieces are done.
While blue is and will always be my favourite colour, occasionally I want some other colour as well. In this piece I went for greens and yellows.
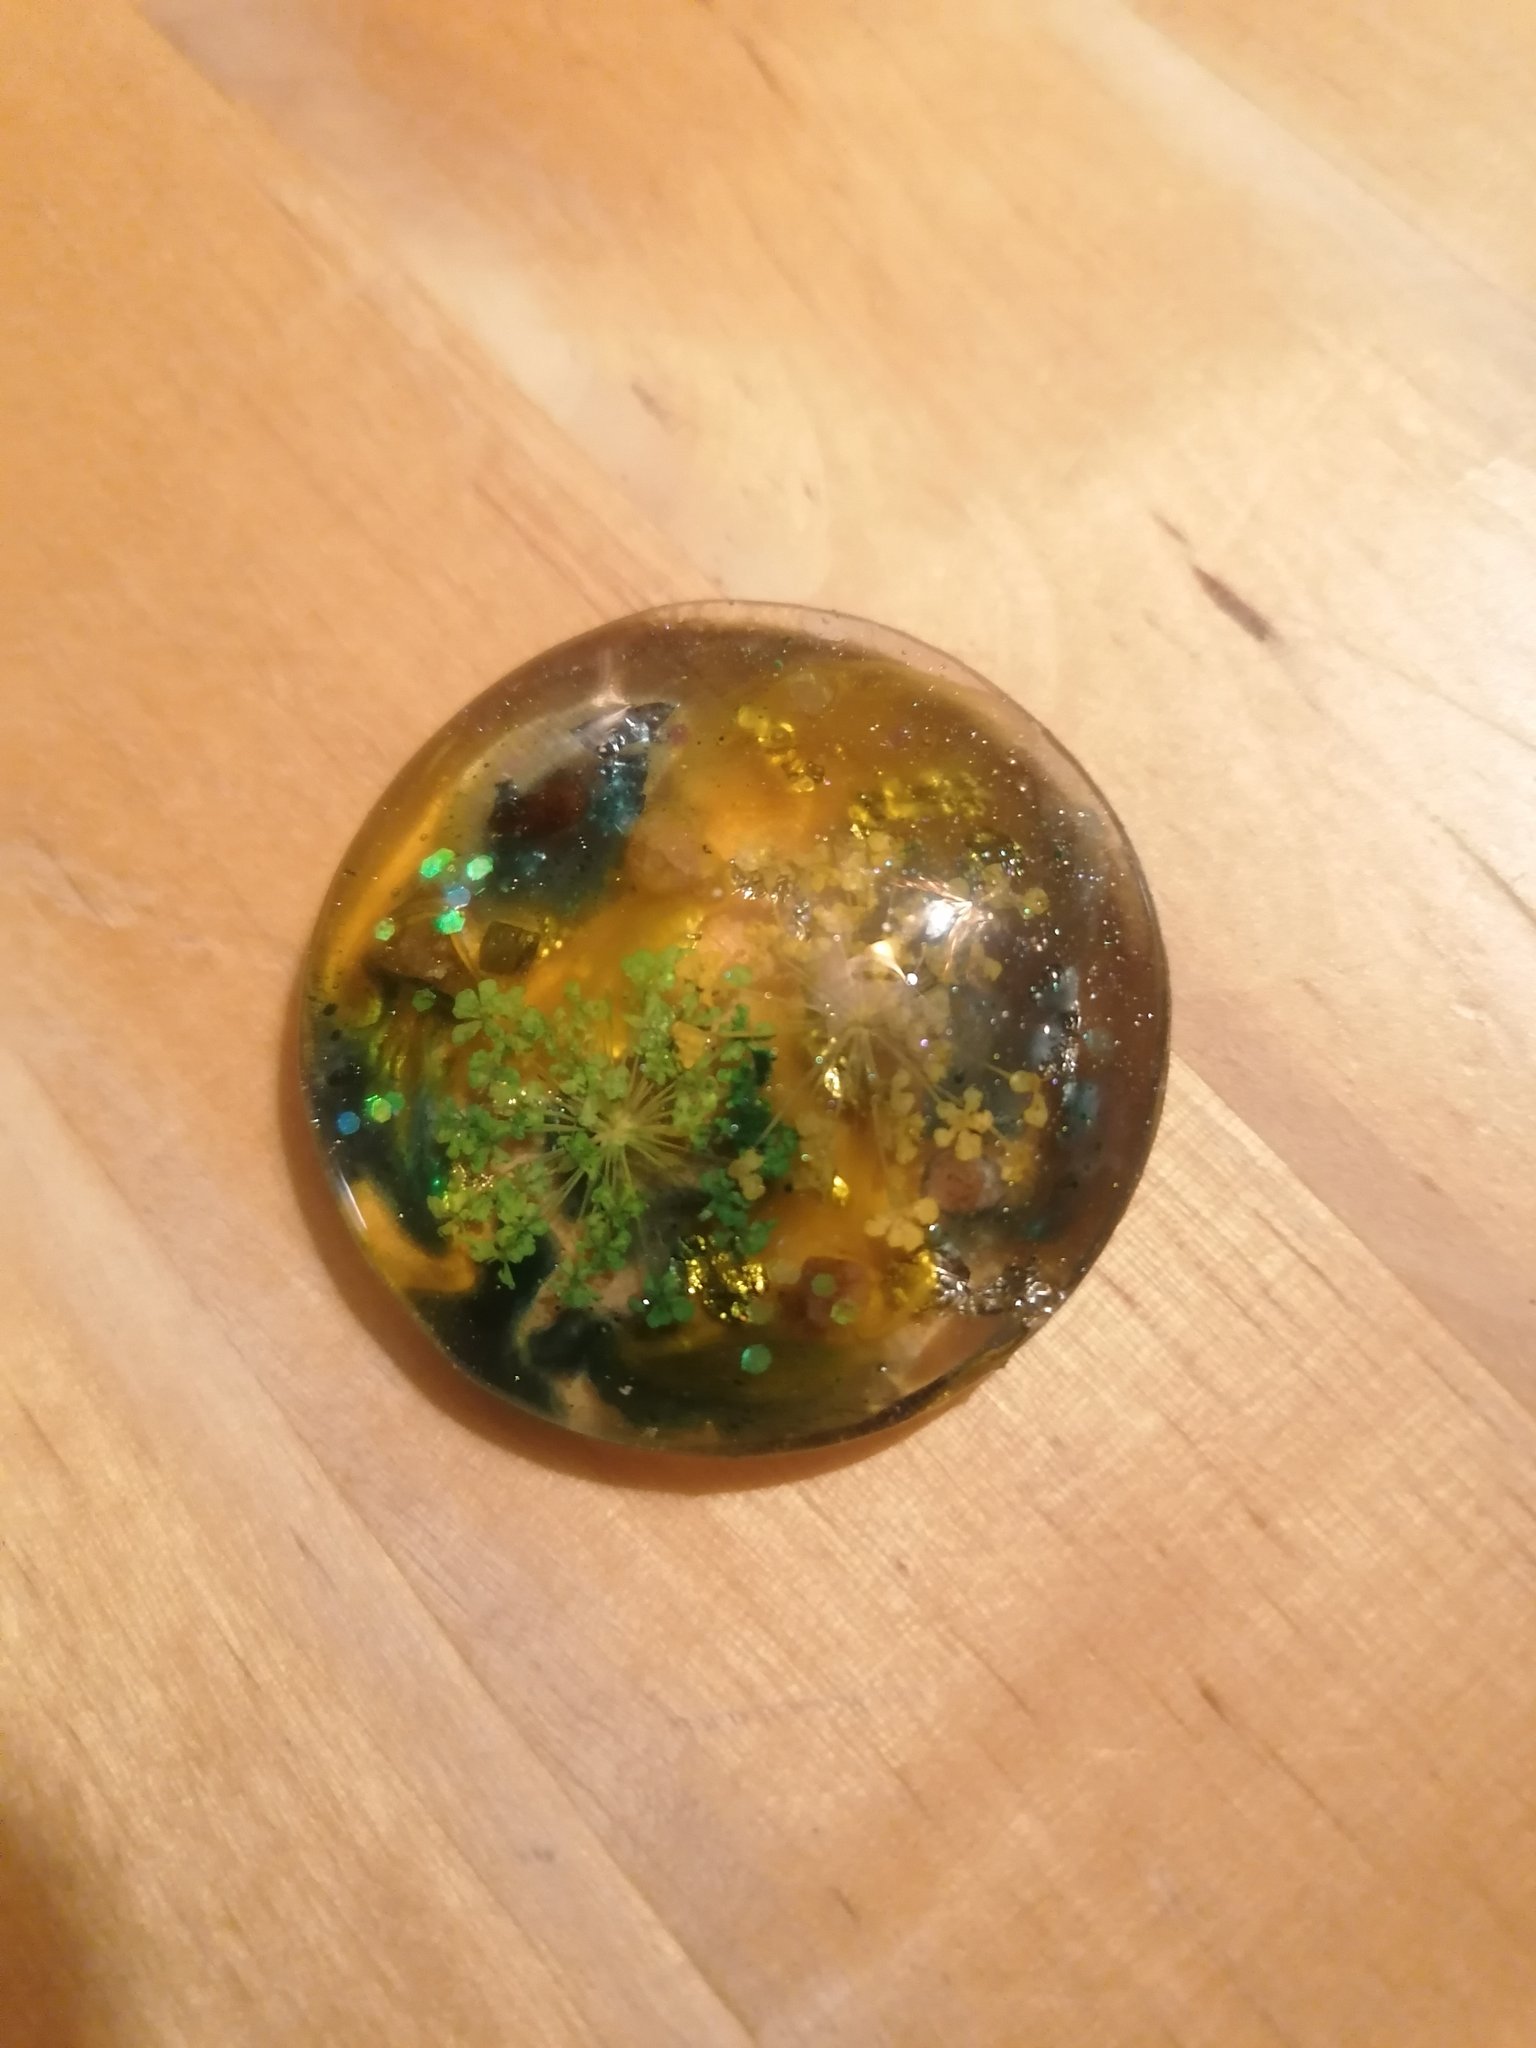
©Giliell, all rights reserved
I’m not quite sure what to do with it. Most certainly a necklace, as it’s about 2″ wide, but I don’t think I’ll just screw an eyelet on. More like some easy wire wrapping. This piece has been worked “top to bottom”. All these UV resin pieces have many layers, which means I’m constantly working on 2 or three projects at once, adding a layer to one while the other one is curing under the UV lamp. There are two ways you can go: bottom to top or top to bottom. Most pieces are worked bottom to top: you start with a base, which can either be a free form, an epoxy blank or a bezel, and then add layer after layer.
When working with a mould, or in this case a concave blank, you add things to the bottom side (though of course you can add stuff to the top as well). This gives you a watery or ambery feeling as the light is bent and reflected.
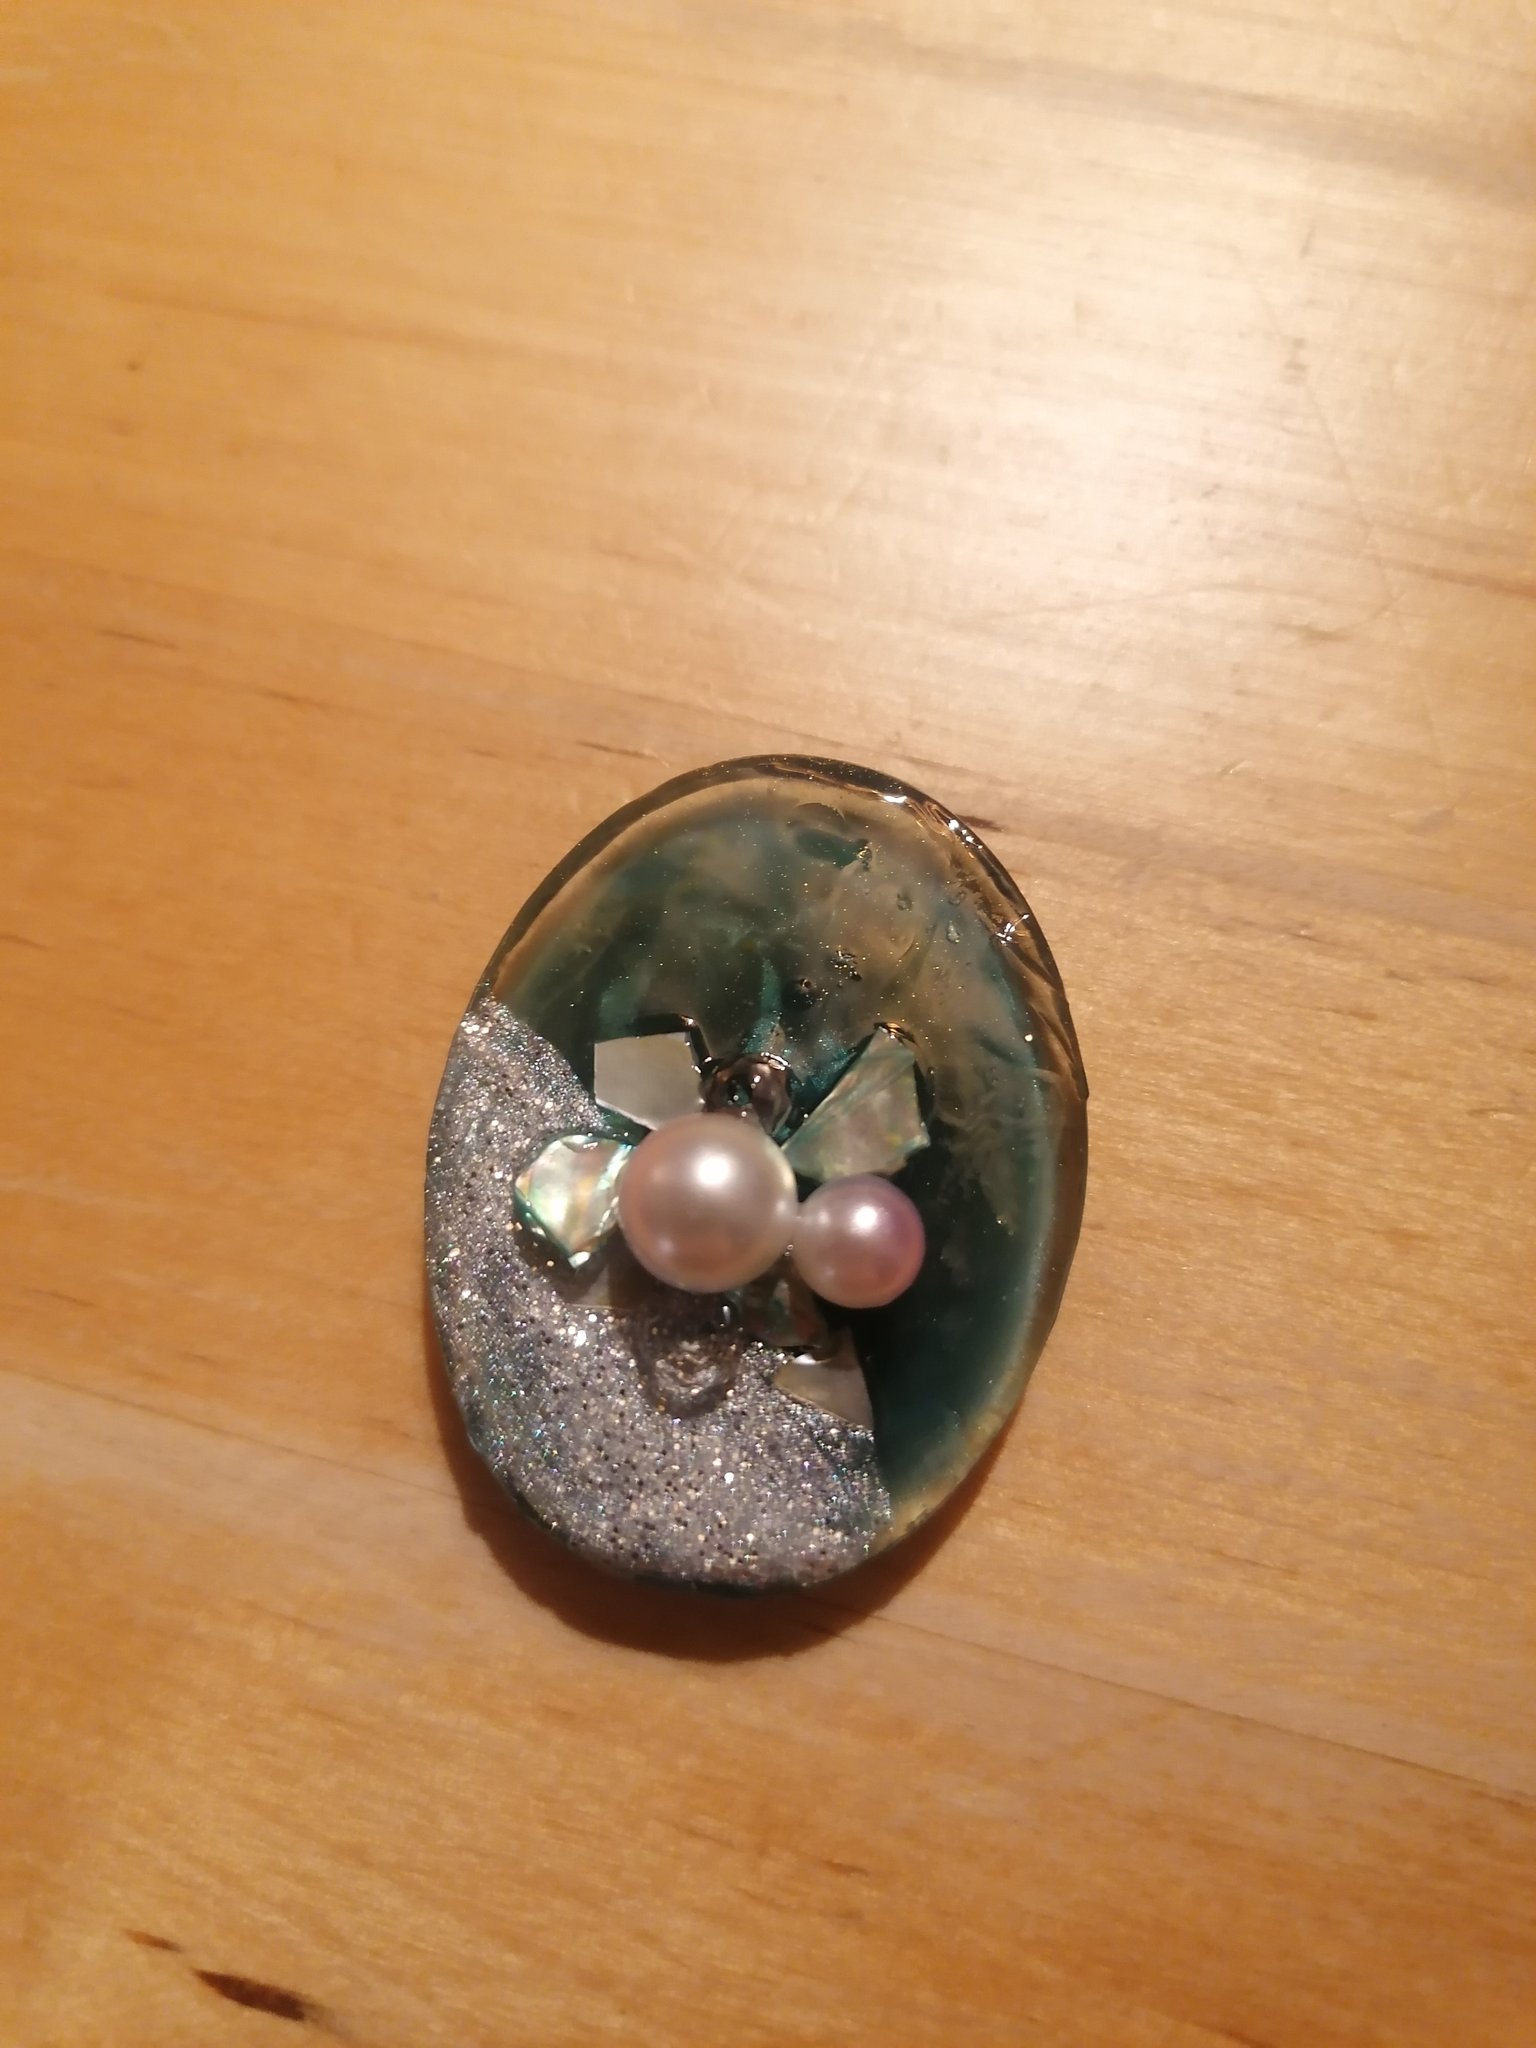
©Giliell, all rights reserved
This on the other hand is bottom to top. The seashell and the pearls are sitting on top of the blank with a blue background.
©Giliell, all rights reserved
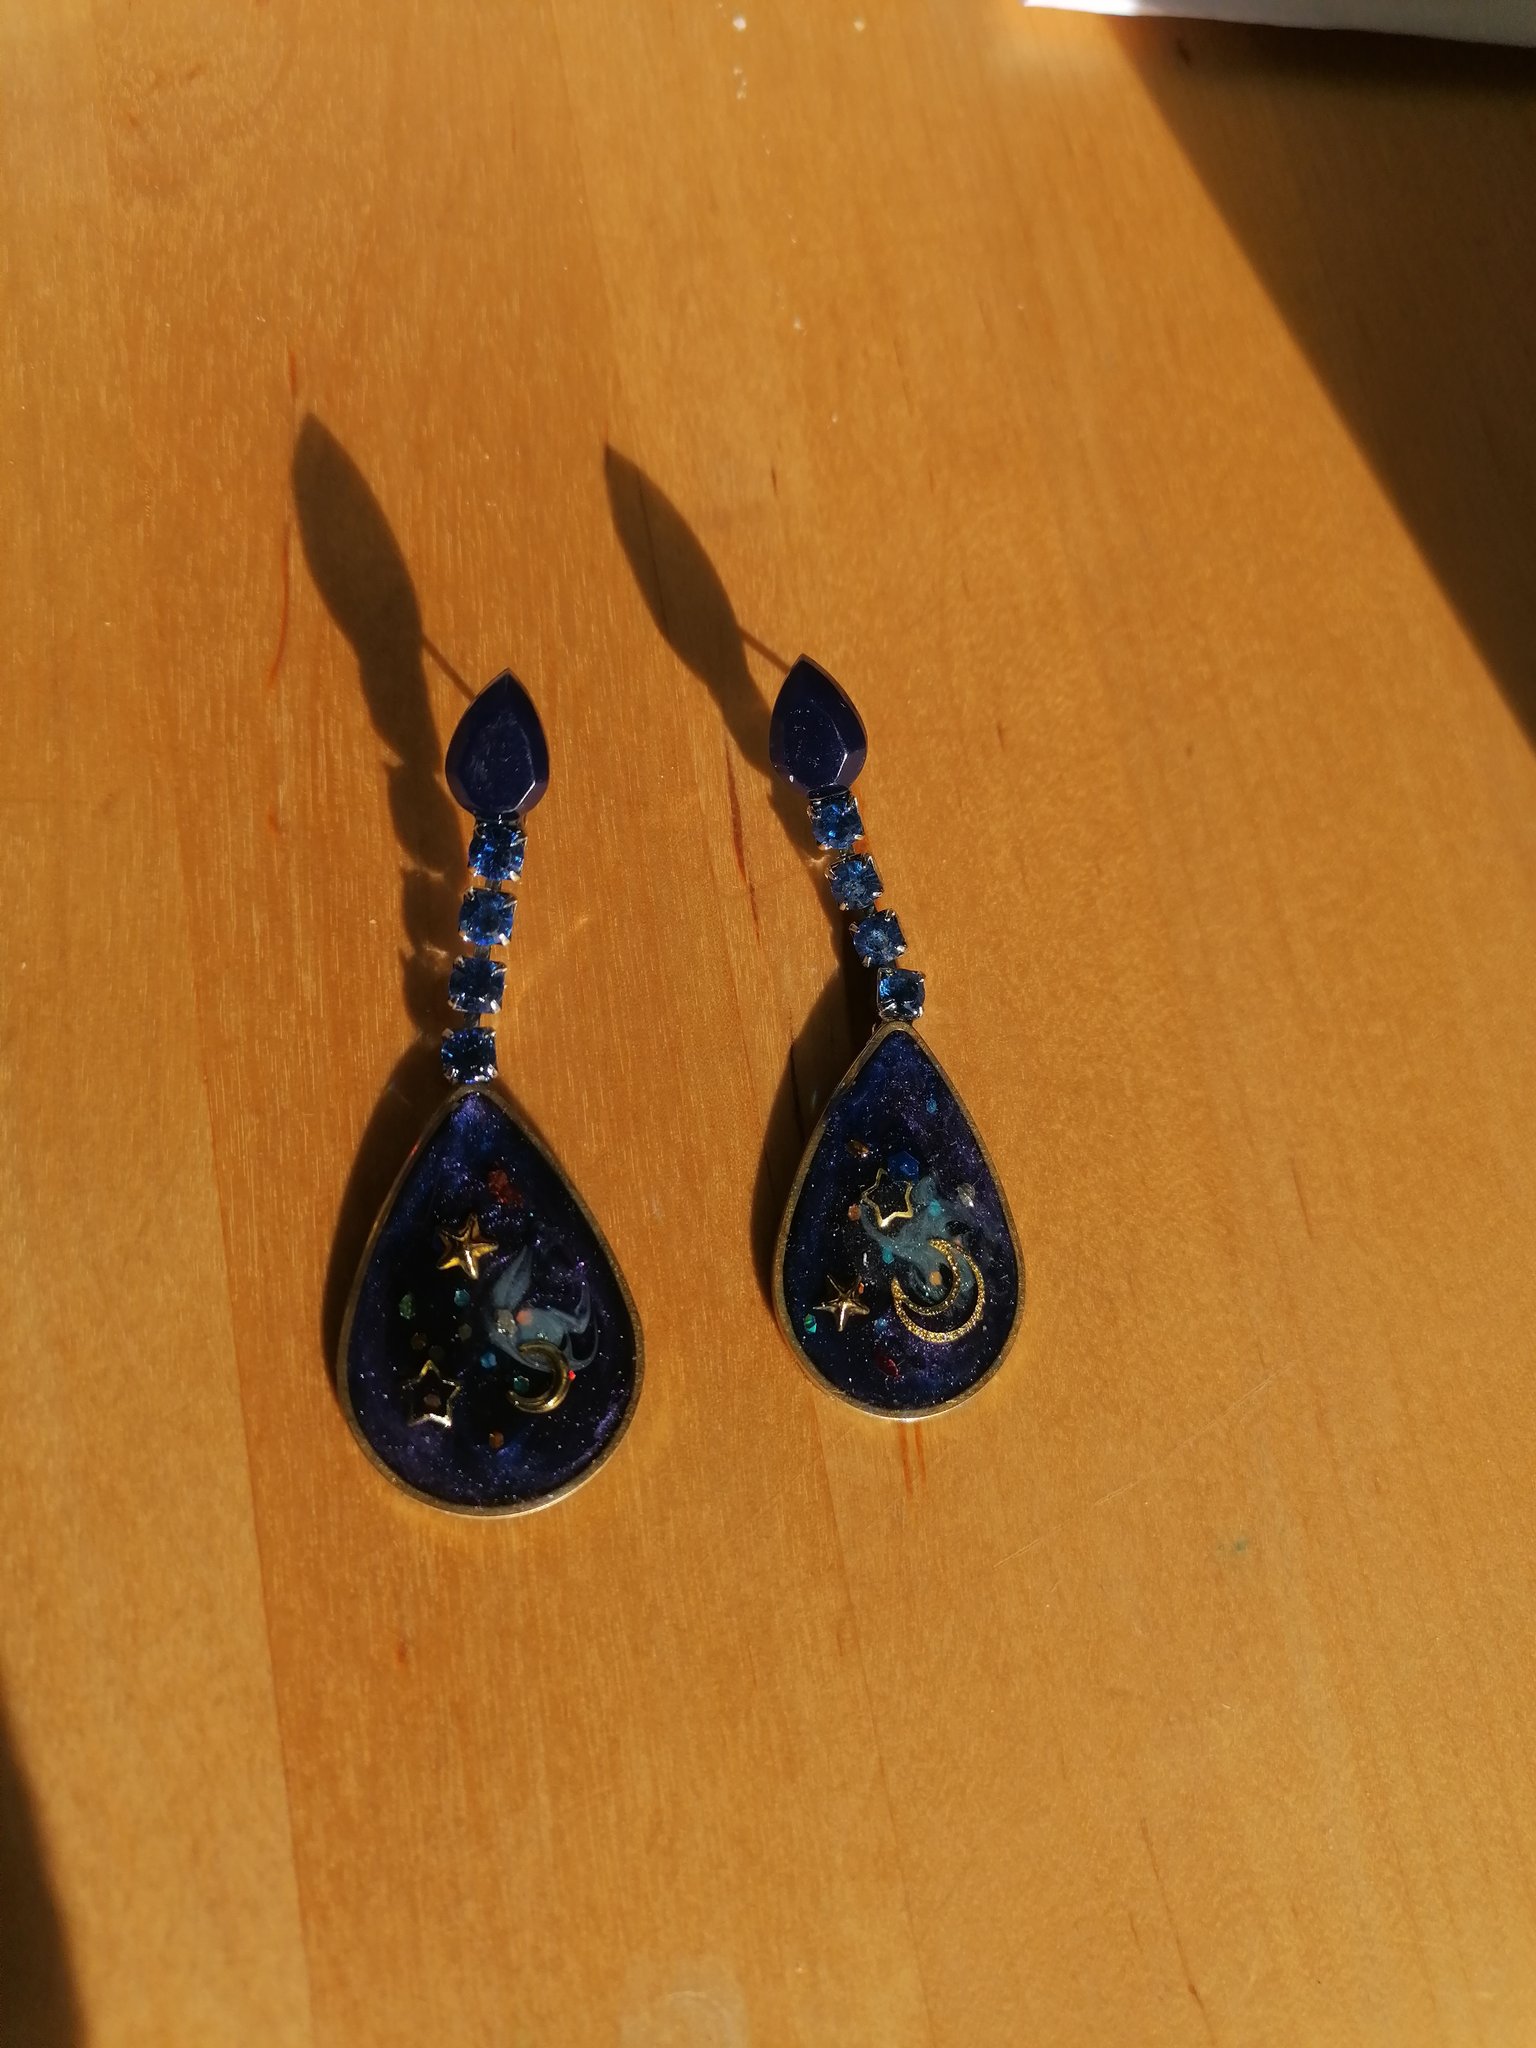
Starry night earrings. What can I say, I love everything galaxy themed…

©Giliell, all rights reserved
Not yet sure what to make with this one. This one has also been worked top to bottom in a mould as opposed to the other way round that full spheres are worked.

©Giliell, all rights reserved
A little fun with some left over resin from the oval pendant.

©Giliell, all rights reserved
Sparkly earrings with blue rhinestones and home dyed pink baby’s breath.
©Giliell, all rights reserved
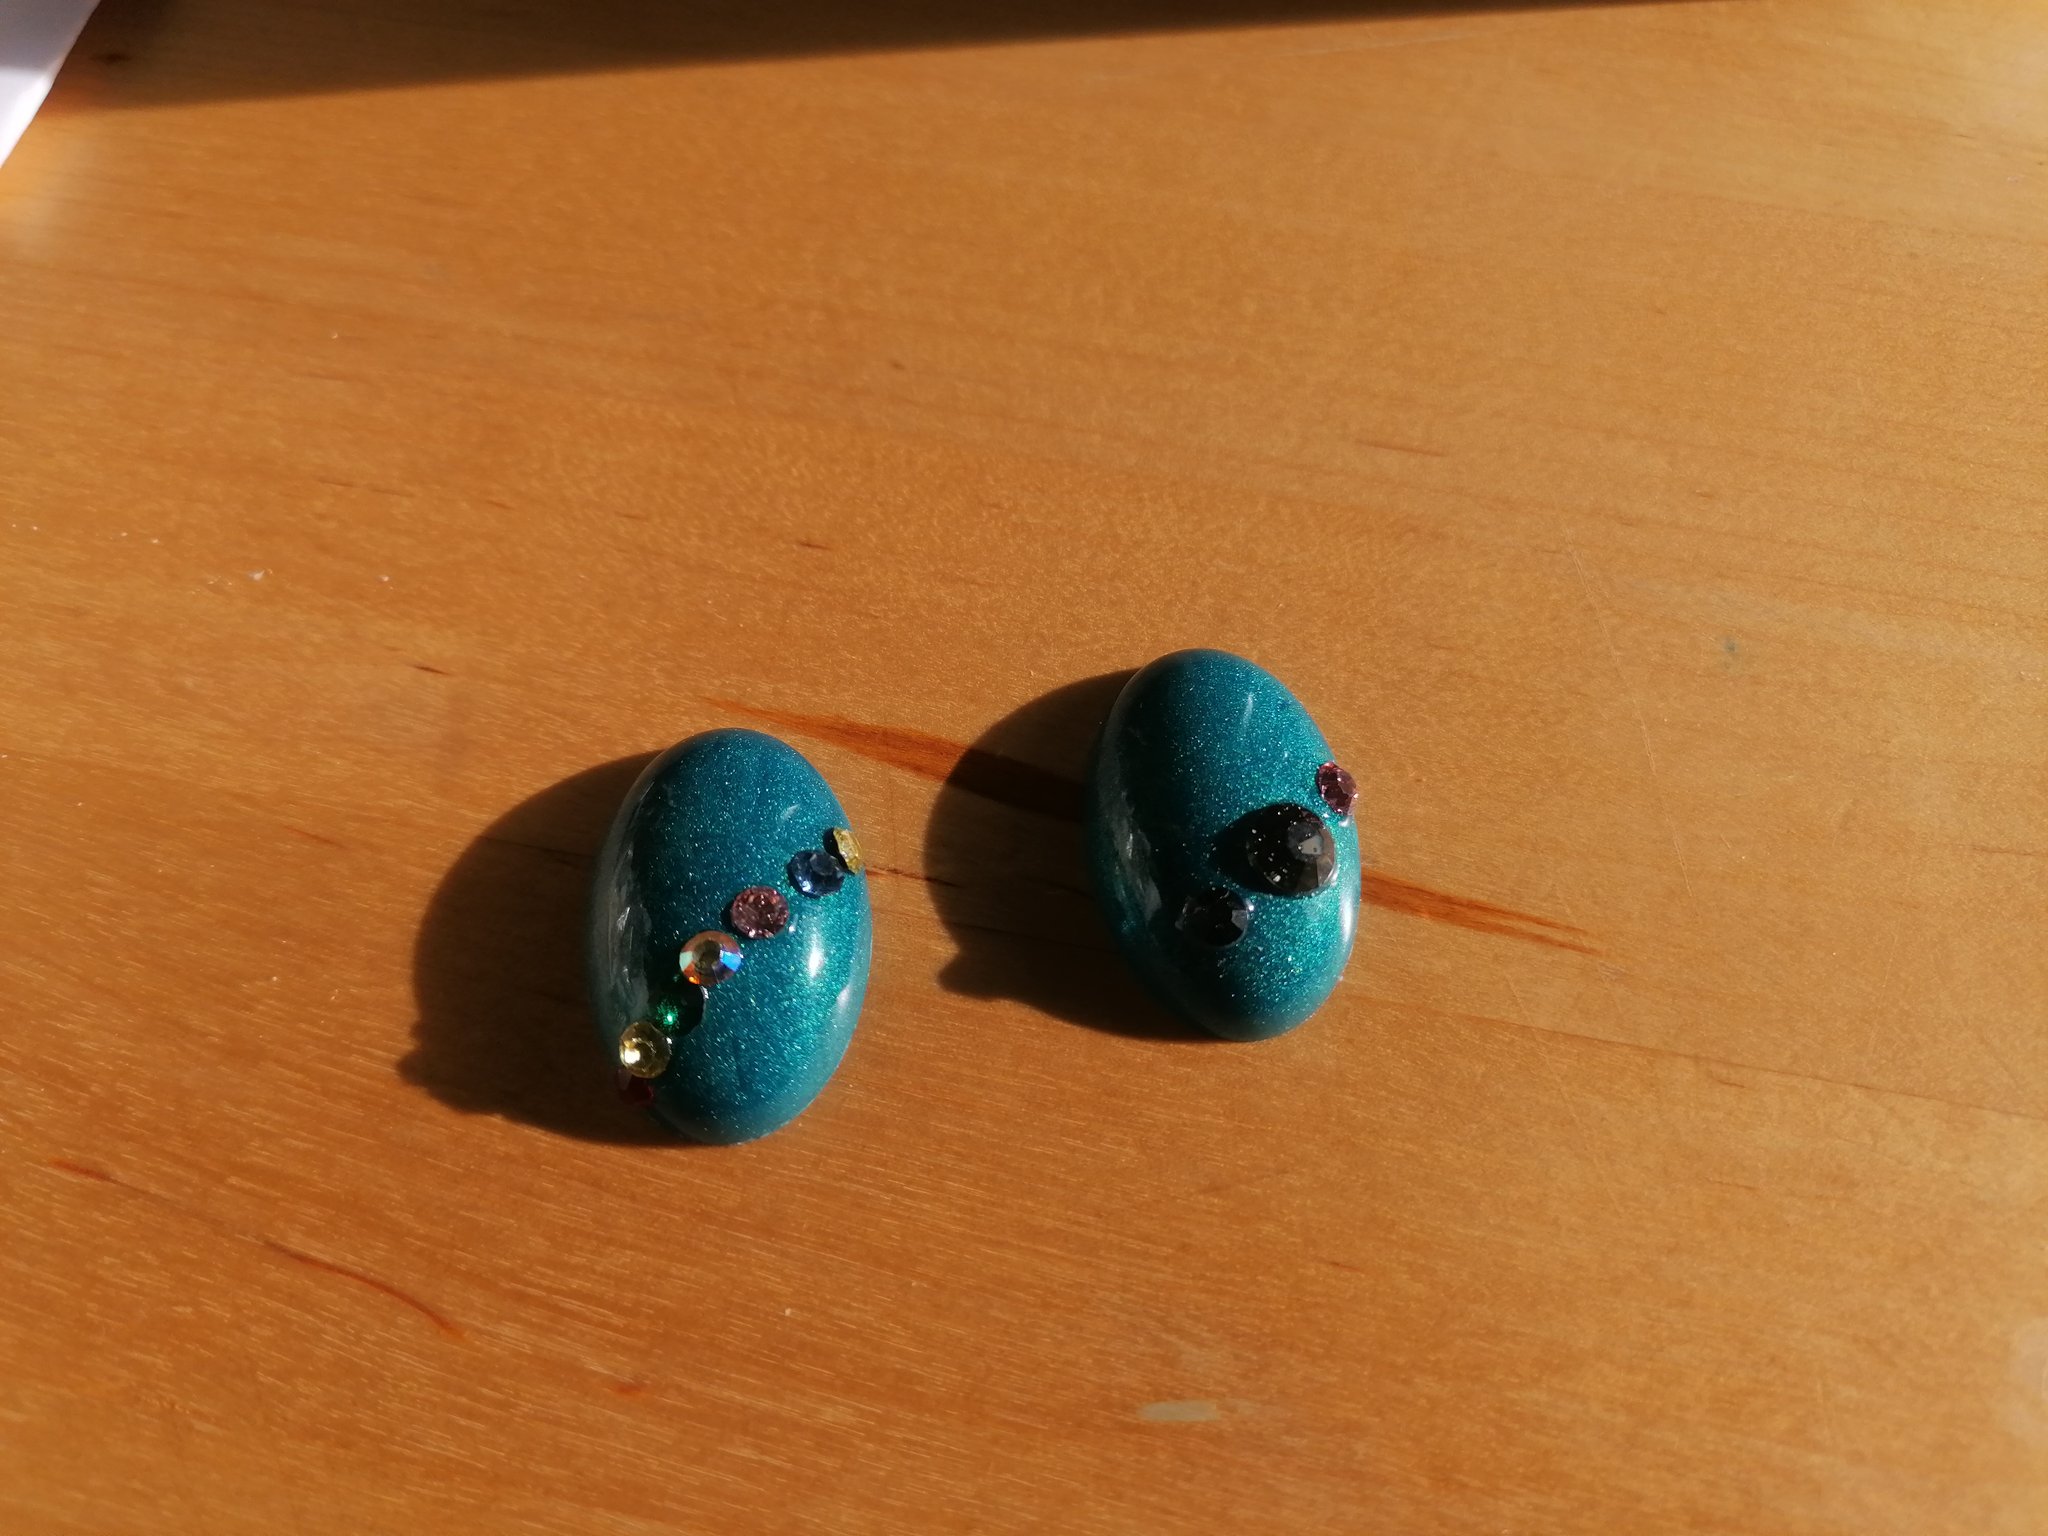
These were easy. I drilled some holes into the turquoise blanks and glued in the rhinestones, and now I’m again unsure. They would make rather large earrings, but also rather small pendants…
And last, but not least, Hekuni Cat’s die:

©Giliell, all rights reserved
Hmpf. I’m constantly looking for good UV resin. I found some on Etsy and I really liked it, and I got 200 ml and when I tried to reorder, the seller no longer exported to Germany. Then I found some from a small German company, which wasn’t too expensive and I decided to give it a try. The website helpfully informed me that if I added another 489 € worth of good I’d get free shipping, but I declined. I was really keen on trying it out and thought that the die would be a good project for it.
Oh dear. First of all, it stinks. So. Much. I put on a normal N95 respirator and it was still almost unbearable. It can only be worked with wearing the half face respirator I also use when finding some hidden asbestos in the house. Then it came out rather runny, but quickly started to thicken, so it was a nuisance to get into the mould. I thought that this meant it was already curing, but then it didn’t cure for a long time and all the inlays pretty much sunk to the bottom.
When it had finally cured I noticed it had shrunk so much that there was a big hole inside and I needed to fill that one up with more resin. What I will say for this resin is that it cures extremely hard. Which made cleaning the project up difficult, of course…
Hekuni Cat, if you want another one I’ll make you a new one. If not, or in any case, I need your address. Youc an send it to Affinity submissions, voyager will surely pass it on to me.
So many pretties!
Where is the company that no longer sells to Germany? Just wondering if it’s in the UK we could maybe work something out, it sounds as if the one you used for the die is most unsatisfactory.
Can you make a couple or 3 more turquoise ones, and string them together like the berry earrings for a necklace? Or put them along a shorter chain (not quite choker but lying across the collar bone)?
rq
That sound like an idea.
Jazzlet
No, China. They say it’s due to delays ’cause of Covid. I bit and ordered on Amazon.