This is this year’s last bowl of slightly more than 3 kg of tomatoes.

© Charly, all rights reserved. Click for full size.
Some of them still need a bit of ripening, but they all should get to a point where they are edible. So I added up all that I harvested this year, and the final number was pleasing – 27 kg.
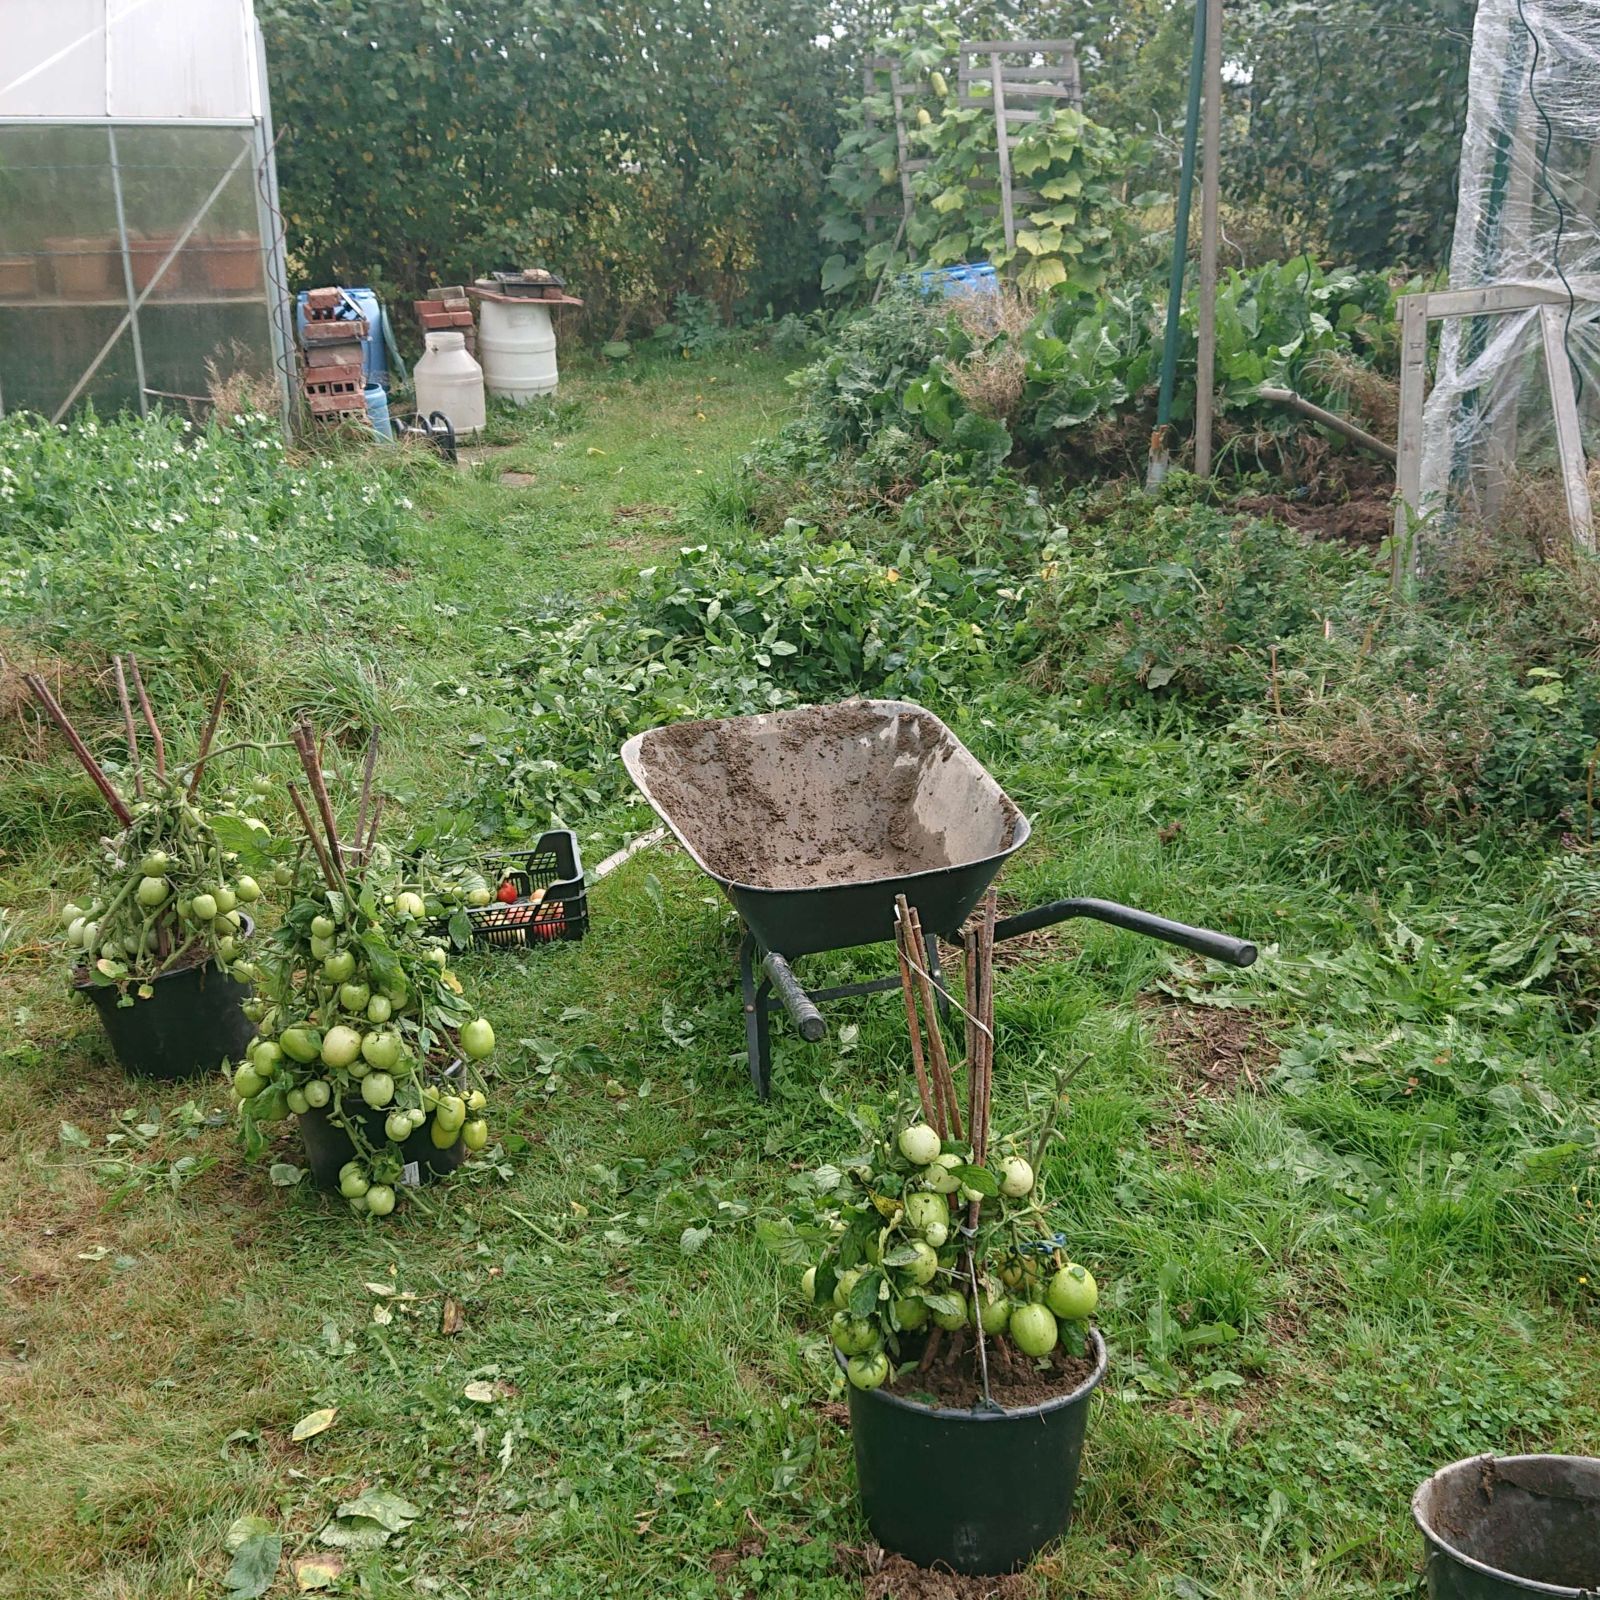
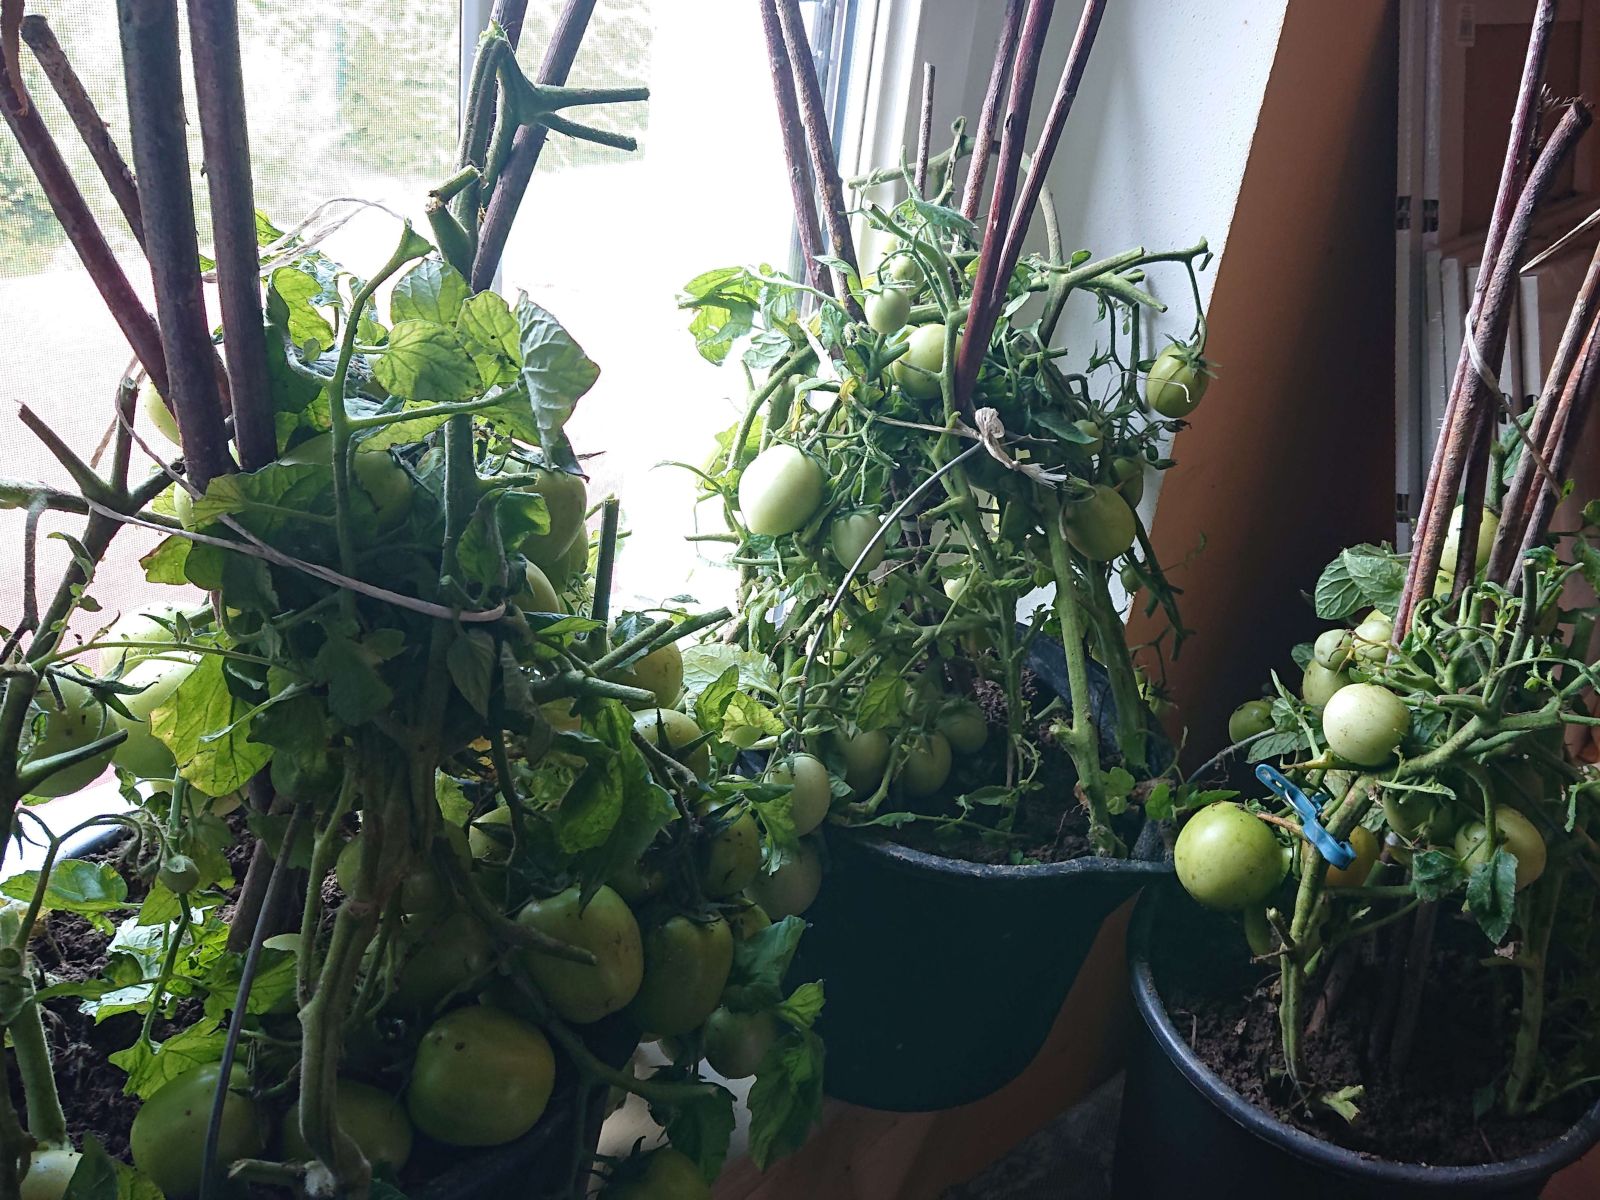
The harvest was slightly more than last year, but from the greenhouse alone, it was slightly less than last year – last year, I had 25 kg just from the greenhouse. Which is perfectly understandable, because this year, I tried growing bell peppers in one part of the greenhouse instead of tomatoes, and I compensated for it by growing tomatoes outdoors under a shelter. And not only did I manage to shield them from blight, the ripening in buckets was successful more than I expected – virtually all the fruit ripened, and I harvested almost 10 kg of tomatoes this way.
Overall, I am satisfied with this crop. We have enough tomato sauce for pasta and tomato concentrate for pizza for a year.