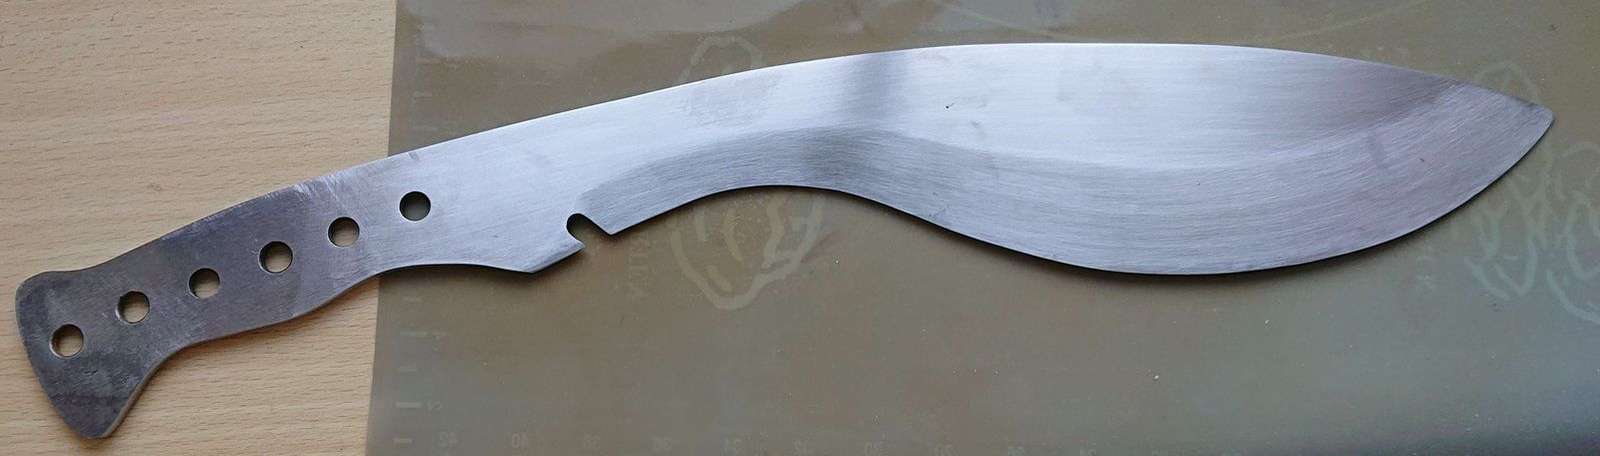
As I said because this blade is supposed to go “only” to 100 grit, that in no way meant that polishing it will be an easy task. I had to polish it on the belt sander to 150 grit in fact, and then remove all perpendicular scratches with 100 grit wet&dry sandpaper manually with scratches that follow the curvature of the blade. It was a bit of work not only due to the steel being hard but also because the surfaces are fairly big and wide when compared to even the biggest knives.
© Charly, all rights reserved. Click for full size.
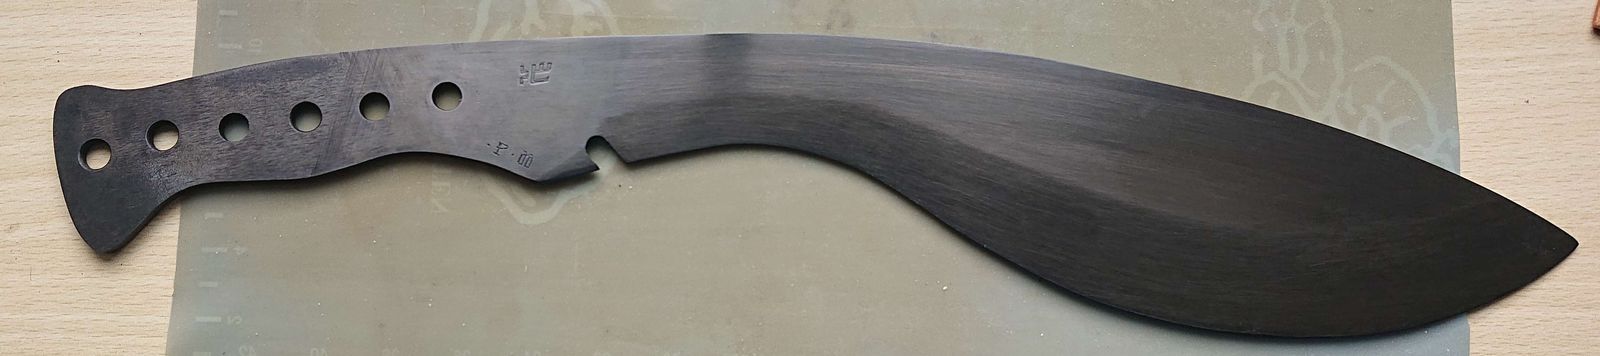
After it’s been polished, I etched the logo and number and put the whole thing into oak bark extract overnight, then I washed it off, made the handle scales, and put it into the extract overnight again. Today morning it had a nice dark grey color all over.
© Charly, all rights reserved. Click for full size.
You can see the boundary between the hardened blade and soft tang near the sharpening notch. I forgot to tell the customer about that, I hope he won’t mind. In my opinion, the boundary is really neat and it is just another small detail. A good sign is that there are no such sharp boundaries anywhere on the blade. I have tested the whole blade by scratching but this is yet another confirmation that the whole blade is properly hardened and tempered.
Today was glue-up time. You have seen that already, but this time I think I have a nice picture to illustrate the construction of the handle here.

© Charly, all rights reserved. Click for full size.
For kitchen knives, I only use dowels 6 mm in diameter, 2 bamboo ones in the middle, and two metal ones on the front and back. However since this tool will probably encounter a lot of impacts, bends and vibrations, I have decided to use 2 metal pins and 3 beech wooden dowels with 8 mm in diameter (the third pin is there for the lanyard). The wooden pins are there for the glue to have something to really adhere to and the metal pins protect the assembly against shearing forces. And because none of them go all the way through, there are no visible pins on the outside. Except the one for lanyard, which must go through the wood otherwise the end would most likely split sooner or later due to the lanyard.
And so today, after the glue fully cures, the machete is 90% finished. All that remains is apply linseed oil to the handle. But before I do that, I will have to make the sheath otherwise I would have to wait several days before the oil hardens. So tomorrow is leather cutting and maybe leather glueing and stitching day.
It’s enormous! I didn’t quite realize just how big it was until seeing the handle in your hand.
I look forward to seeing it completed. I think your client will be delighted.
I believe the customer will be pleased, I know I would be.
Again; that’s a beautiful, if ugly, tool.