Origami: Waterbomb Curve

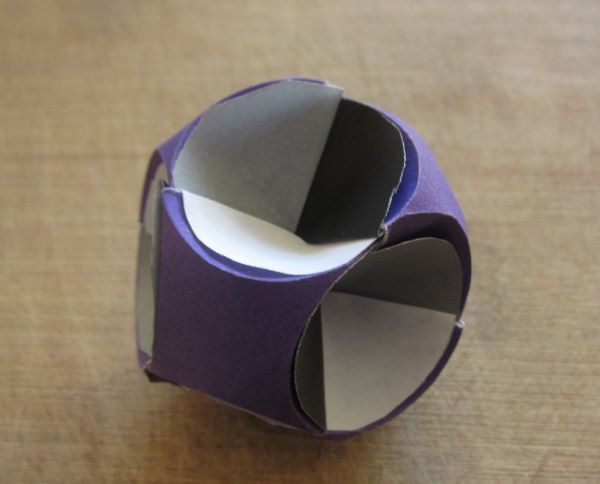
waterbomb curve

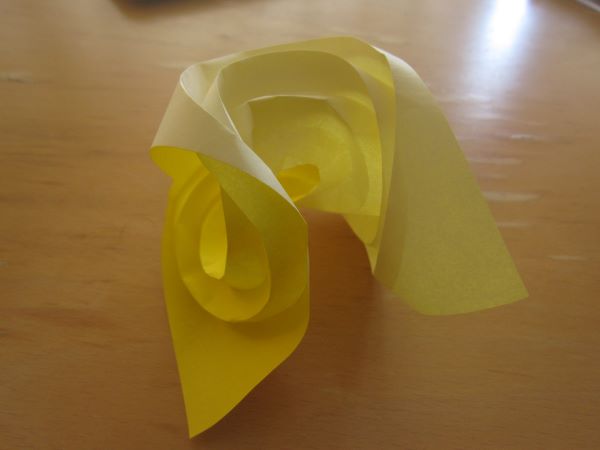
Waterbomb Curve, designed by me

This is a variant on the so-called waterbomb tessellation (a photo of which you can find somewhere in my blog archives).

A neat thing about the waterbomb tessellation is that it naturally curves into a sphere-like shape.  The tensions in the paper cause the tessellation to have an overall positive Gauss curvature,* like the surface of a sphere.  So I was thinking about how cool it would be to patch together multiple waterbomb tessellations, some concave up, and some concave down.  This here is the result.

*My understanding of differential geometry tells me that what determines the shape is mean curvature rather than Gauss curvature, but if you don’t know what that is then never you mind. ETA: On second thought I’m not sure this makes a lick of sense.

Origami: Budding Sonobe

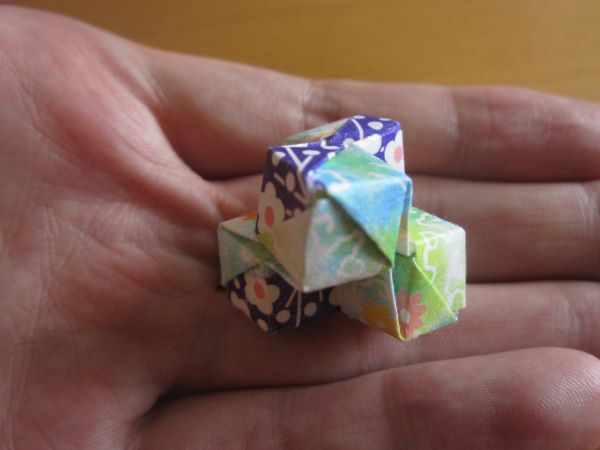
Budding Sonobe

Budding Sonobe, my design, made from Sonobe units

This is one of those origami models that other people seem to like much more than I do.  I think it’s over-designed.

I thought I’d have it recursively branch multiple levels, and at each level one of the branches would have a “mutation”.  You can see the pinwheel design on the upper right branch, the pink cube on the left branch. All this on top of the blue/orange/red/green color scheme.  I didn’t branch very many times because it didn’t seem structurally sound enough, and also I wasn’t too fond of it.  But still, some people like it.  If you like it, maybe you can tell me why.

My guess is that people like it for its intricate design.  I think it uses… *counts to self* …60 pieces of paper, each one 3.75 cm.  The whole model fits in my palm.  Each sheet is folded into a Sonobe unit, which is just very standard and flexible origami unit.  If I were to try it again, I would keep it intricate but reduce the design entropy.

Origami: Tarantula

tarantula

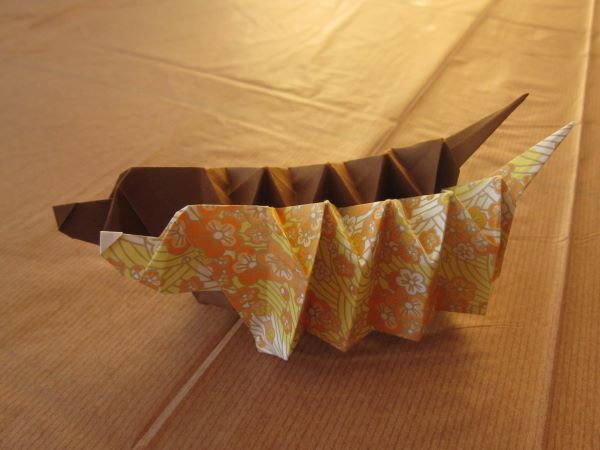
Tarantula, designed by Robert Lang

I hope PZ appreciates all the unsinks I needed to do to make this.

An unsink is when you invert a pyramid, changing it from pointing inward to pointing outward.  Often you only have access to one side of the pyramid, so you can’t push it out, you have to pull it.  You can see a sequence of unsinks in this instructional video for the tarantula, timestamp 7:06.  Although I actually thought the hardest fold was pleating the legs, which consist of up to 40 layers of paper.

I just made this last month!  Lately I have been trying out complex one-piece origami models.  I am not as skilled at this sort of origami, and my tarantula doesn’t look as clean as most others on the internet.  That’s fine though–I will get better and return to the tarantula in the future.  (Or maybe next time I’ll just use better paper!)

[Read more…]

Origami: Passiflora Ornata

Passiflora Ornata

Passiflora Ornata, designed by Ekaterina Lukasheva

This month, I checked my photo folder for any Christmas-oriented models.  Here’s one, from the days when I couldn’t take good photos, lol.

As you can see, there are four colors of paper: Green, Red (with a white back), silver foil, and patterned green.  The silver foil and patterned green are just small squares inserted directly into the model.  When most people look at this, they think, “Shiny!” but when I look at it I think “Inserts are such a good idea, I should use them more often!”

Origami: 3.6.3.6

3.6.3.6, sourced from Eric Gjerde’s Origami Tessellations, which credits it to Shuzo Fujimoto.

This month, I felt like posting one of my really old models, this one made in *checks notes* 2014. This is surely one of the very earliest tessellations I tried making.  But surely this was after practicing a few times, because these aren’t exactly a cake walk to make.

Providing a back light for the tessellation illuminates its structure.  The tessellation consists of a series of hexagonal twists and triangular twists.  Adjacent twists are connected by pleats, which are darker because the light is going through three layers of paper instead of one.

I looked up the symmetry group, and I’m pretty sure this is p6 wallpaper group.

Origami: Orthogonal maze

it's not really a maze, since there's no clear entrance or exit

Orthogonal Maze, designed by Erik Demaine, Martin Demaine, and Jason Ku

Okay, so it’s not much of a maze, but you know, it could be.  There are detailed instructions on how to fold any orthogonal maze, and even a web-app that will generate crease patterns for you.  I gave it a go, with a small (15cm) square of paper.  I wasn’t going to manage much of a maze with this size, so I just made something symmetric instead.

My impression is: it’s hard!  I’m not confident I would be able to fold a larger maze by this method.  The issue is that some of the maze components are really difficult to fold, and some of the others pull apart too easily.  I think if I wanted to fold something larger, I’d try to workshop the design a little more, or find a different method.  But I also made this years ago, so maybe if I tried again I would be better at it.

Origami: wobbly cube

Wobbly cube

Wobbly Cube, a one-shot design by me

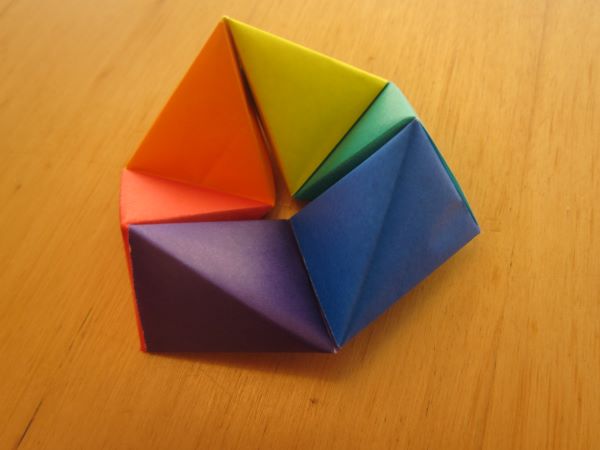
This was one of my experiments in curved creases.  I basically cut out 12 identical S-shaped strips (with ruler and compass), and then creased them along their centers.  Then I quickly invented a scheme for secure attachment.  Not much more to say about that.  I like how it turned out.