One really great thing about knife-making is that it seldom turns into an F-35 program. On the other hand, if it did, I’d be important, rich, set for life. It’s amusing to me to ponder the cost-scale and effort-scale between ancient weapons and modern, and that a dagger is still a better weapon in many ways.

That’s the rough-forged blade. Some smiths spend a lot more time forging, but I feel it’s mostly wasted – you’re going to need to start grinding stuff away and as long as the underlying material is straight and correctly laid out for the eventual end-point, it’s going to turn out the same. Also, I could have spent a lot of time working on those unpleasant-looking bits down on the tang, but I know that they’re going to be mostly ground away. Why waste the time fixing something that is going to be rendered to dust?
The tip is where the action is, in this blade, so I did pay a lot of attention there. And, in the rough shape, it looks good. There is a bit of a hump-back a way back from the point, but that’s also going to go away.
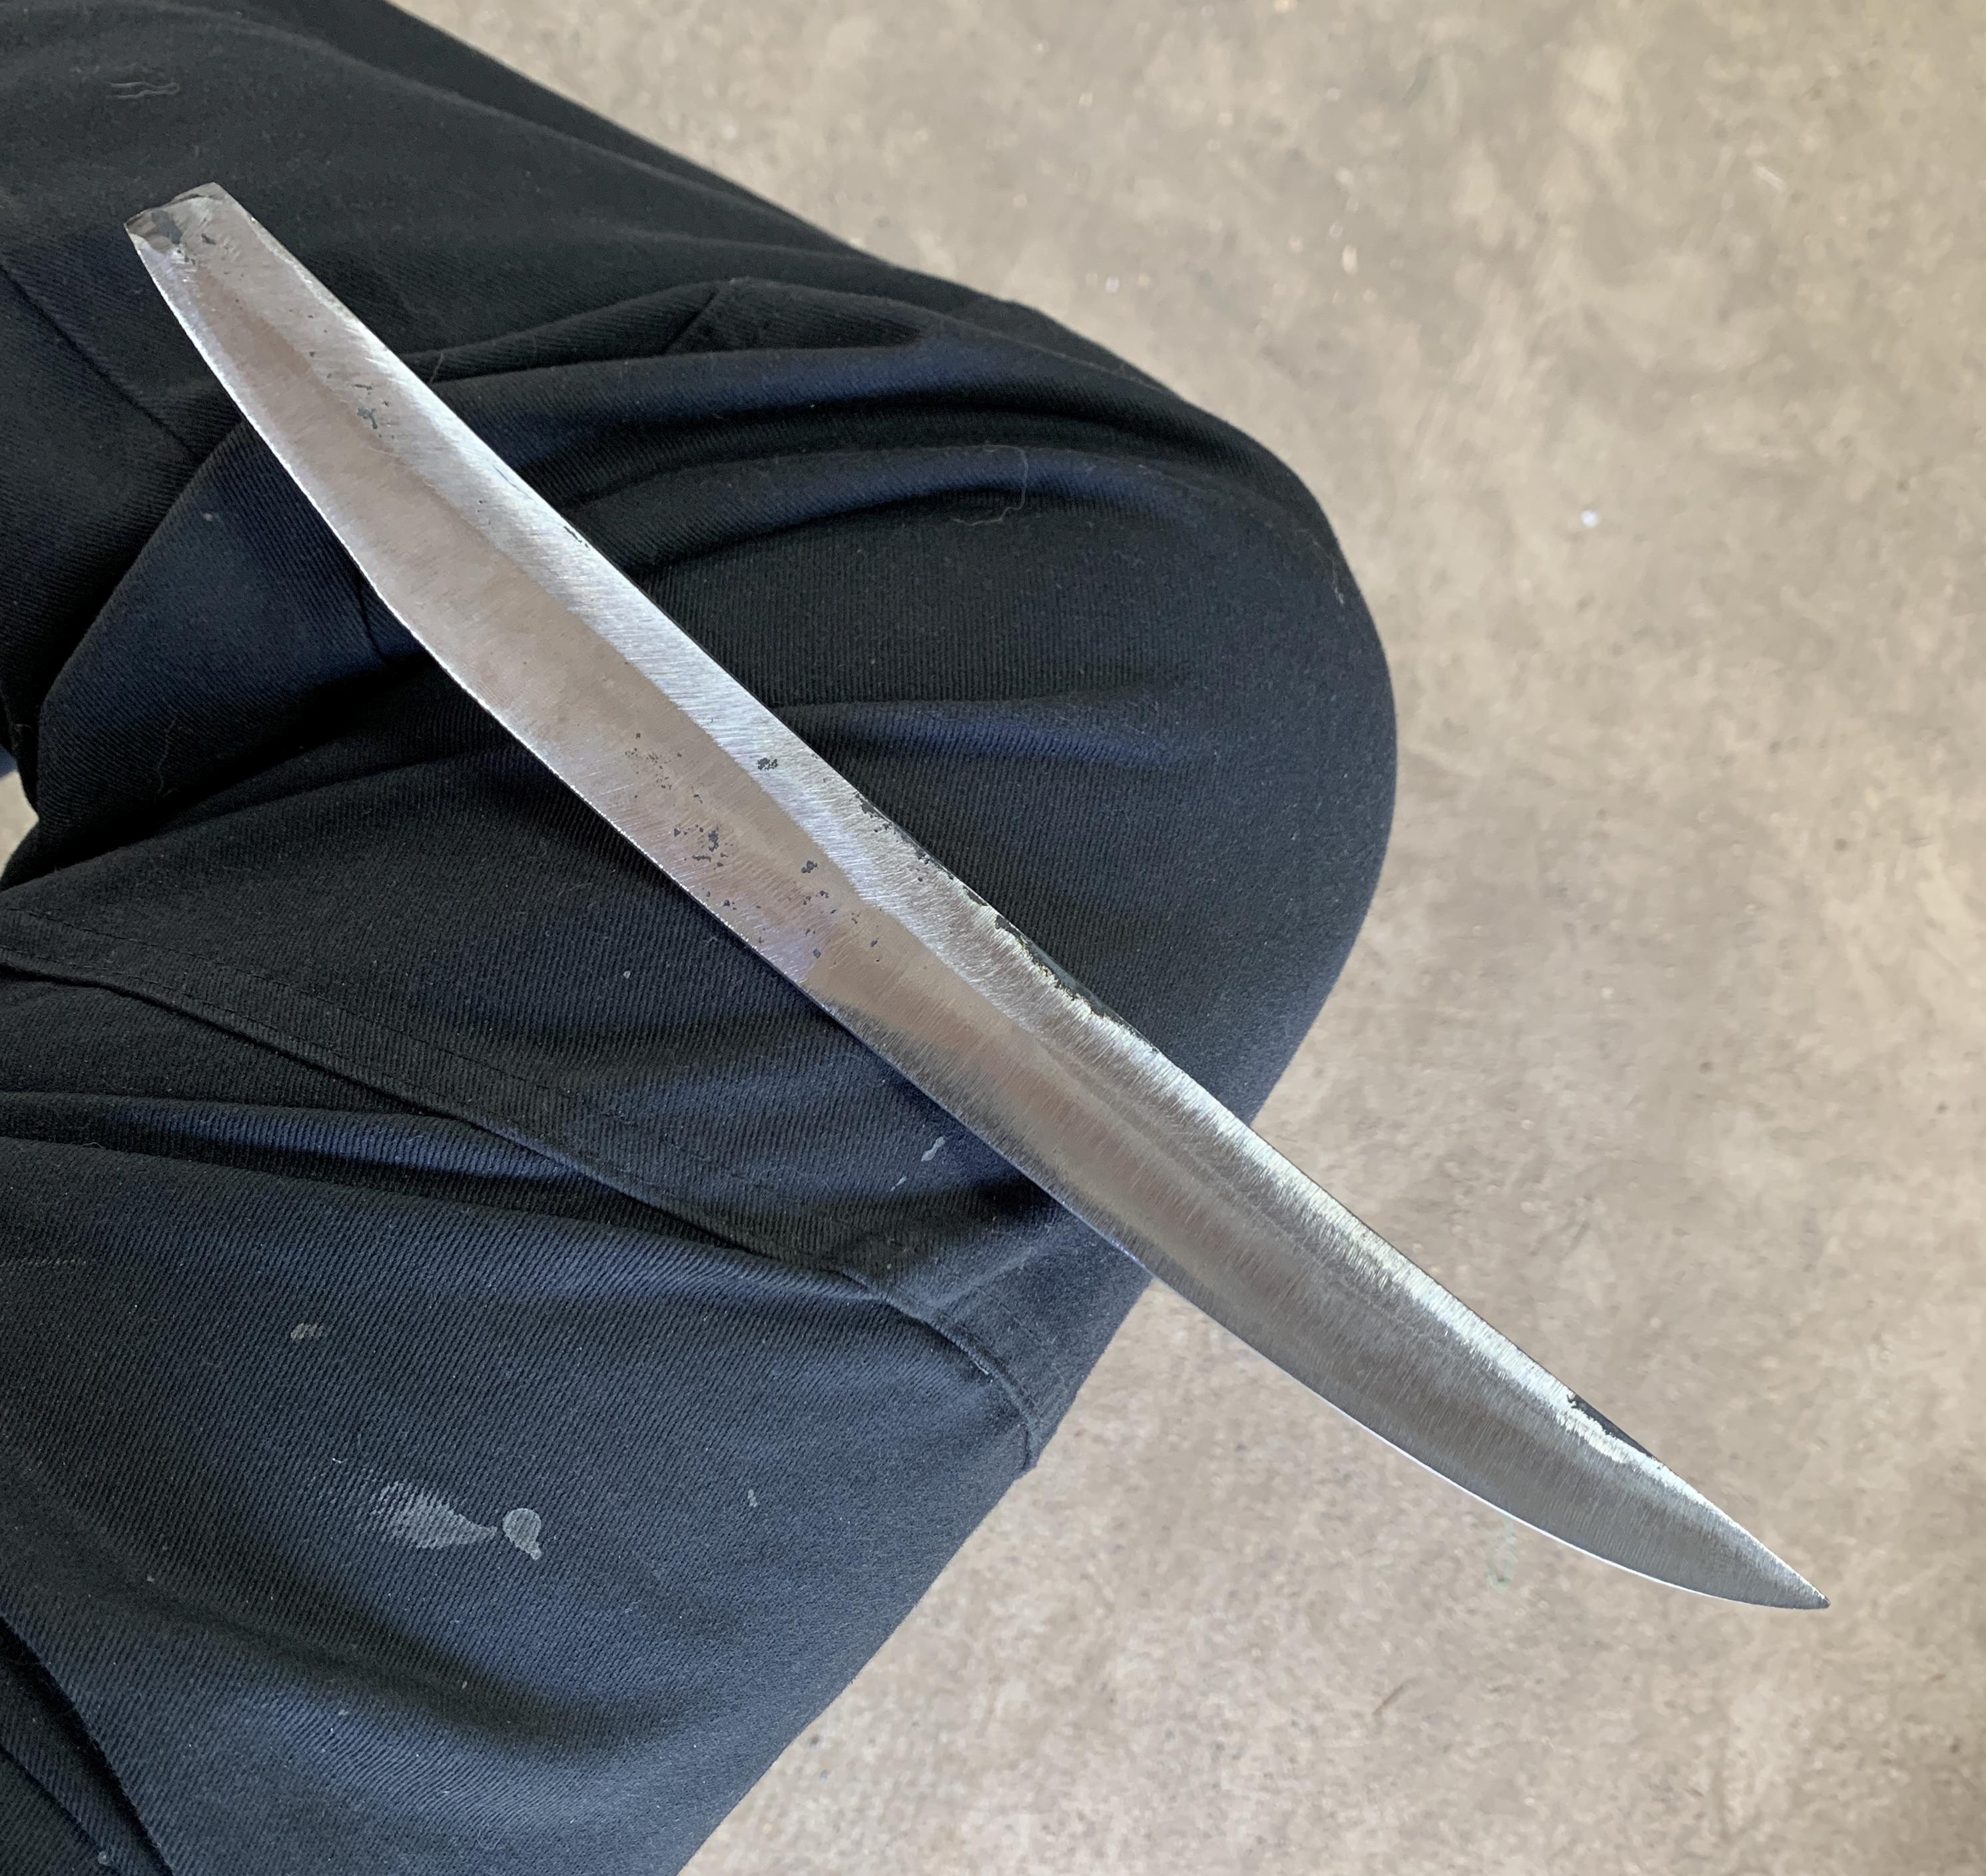
That’s about a half hour to an hour, on a 36-grit belt. A fresh 36-grit belt rips little chunks of steel off and turns them into dust like nobody’s business, so it mostly takes a gentle hand to stand back and let the machine do the work. I don’t know how many beginner knife-makers I’ve talked to, who all want to buy a big 2hp (sometimes a 3!) motor and a variable frequency control so they can get the motor turning at 1700 RPM instead of 1750. I suggest, usually, that the machine will do the work and if you need to be fighting against a 3hp motor you’re doing something wrong – but, no… That’s not how beginners do things.
Once the grinder has been used to further refine the shape, then it’s time to start, um, further refining the shape. From here, that’s all there is. See what I mean about sharpening it? If you draw those imaginary edges down and refine them, they’re going to meet at a pretty acute angle and the blade will be sharp. No need to rush things. In fact, grinding on a really sharp blade is not a whole lot of fun. (especially when that 3hp motor snatches it out of your hand and hammers it into your leg)
A file will definitely not grab your work-piece and throw it anywhere. That’s a plus.
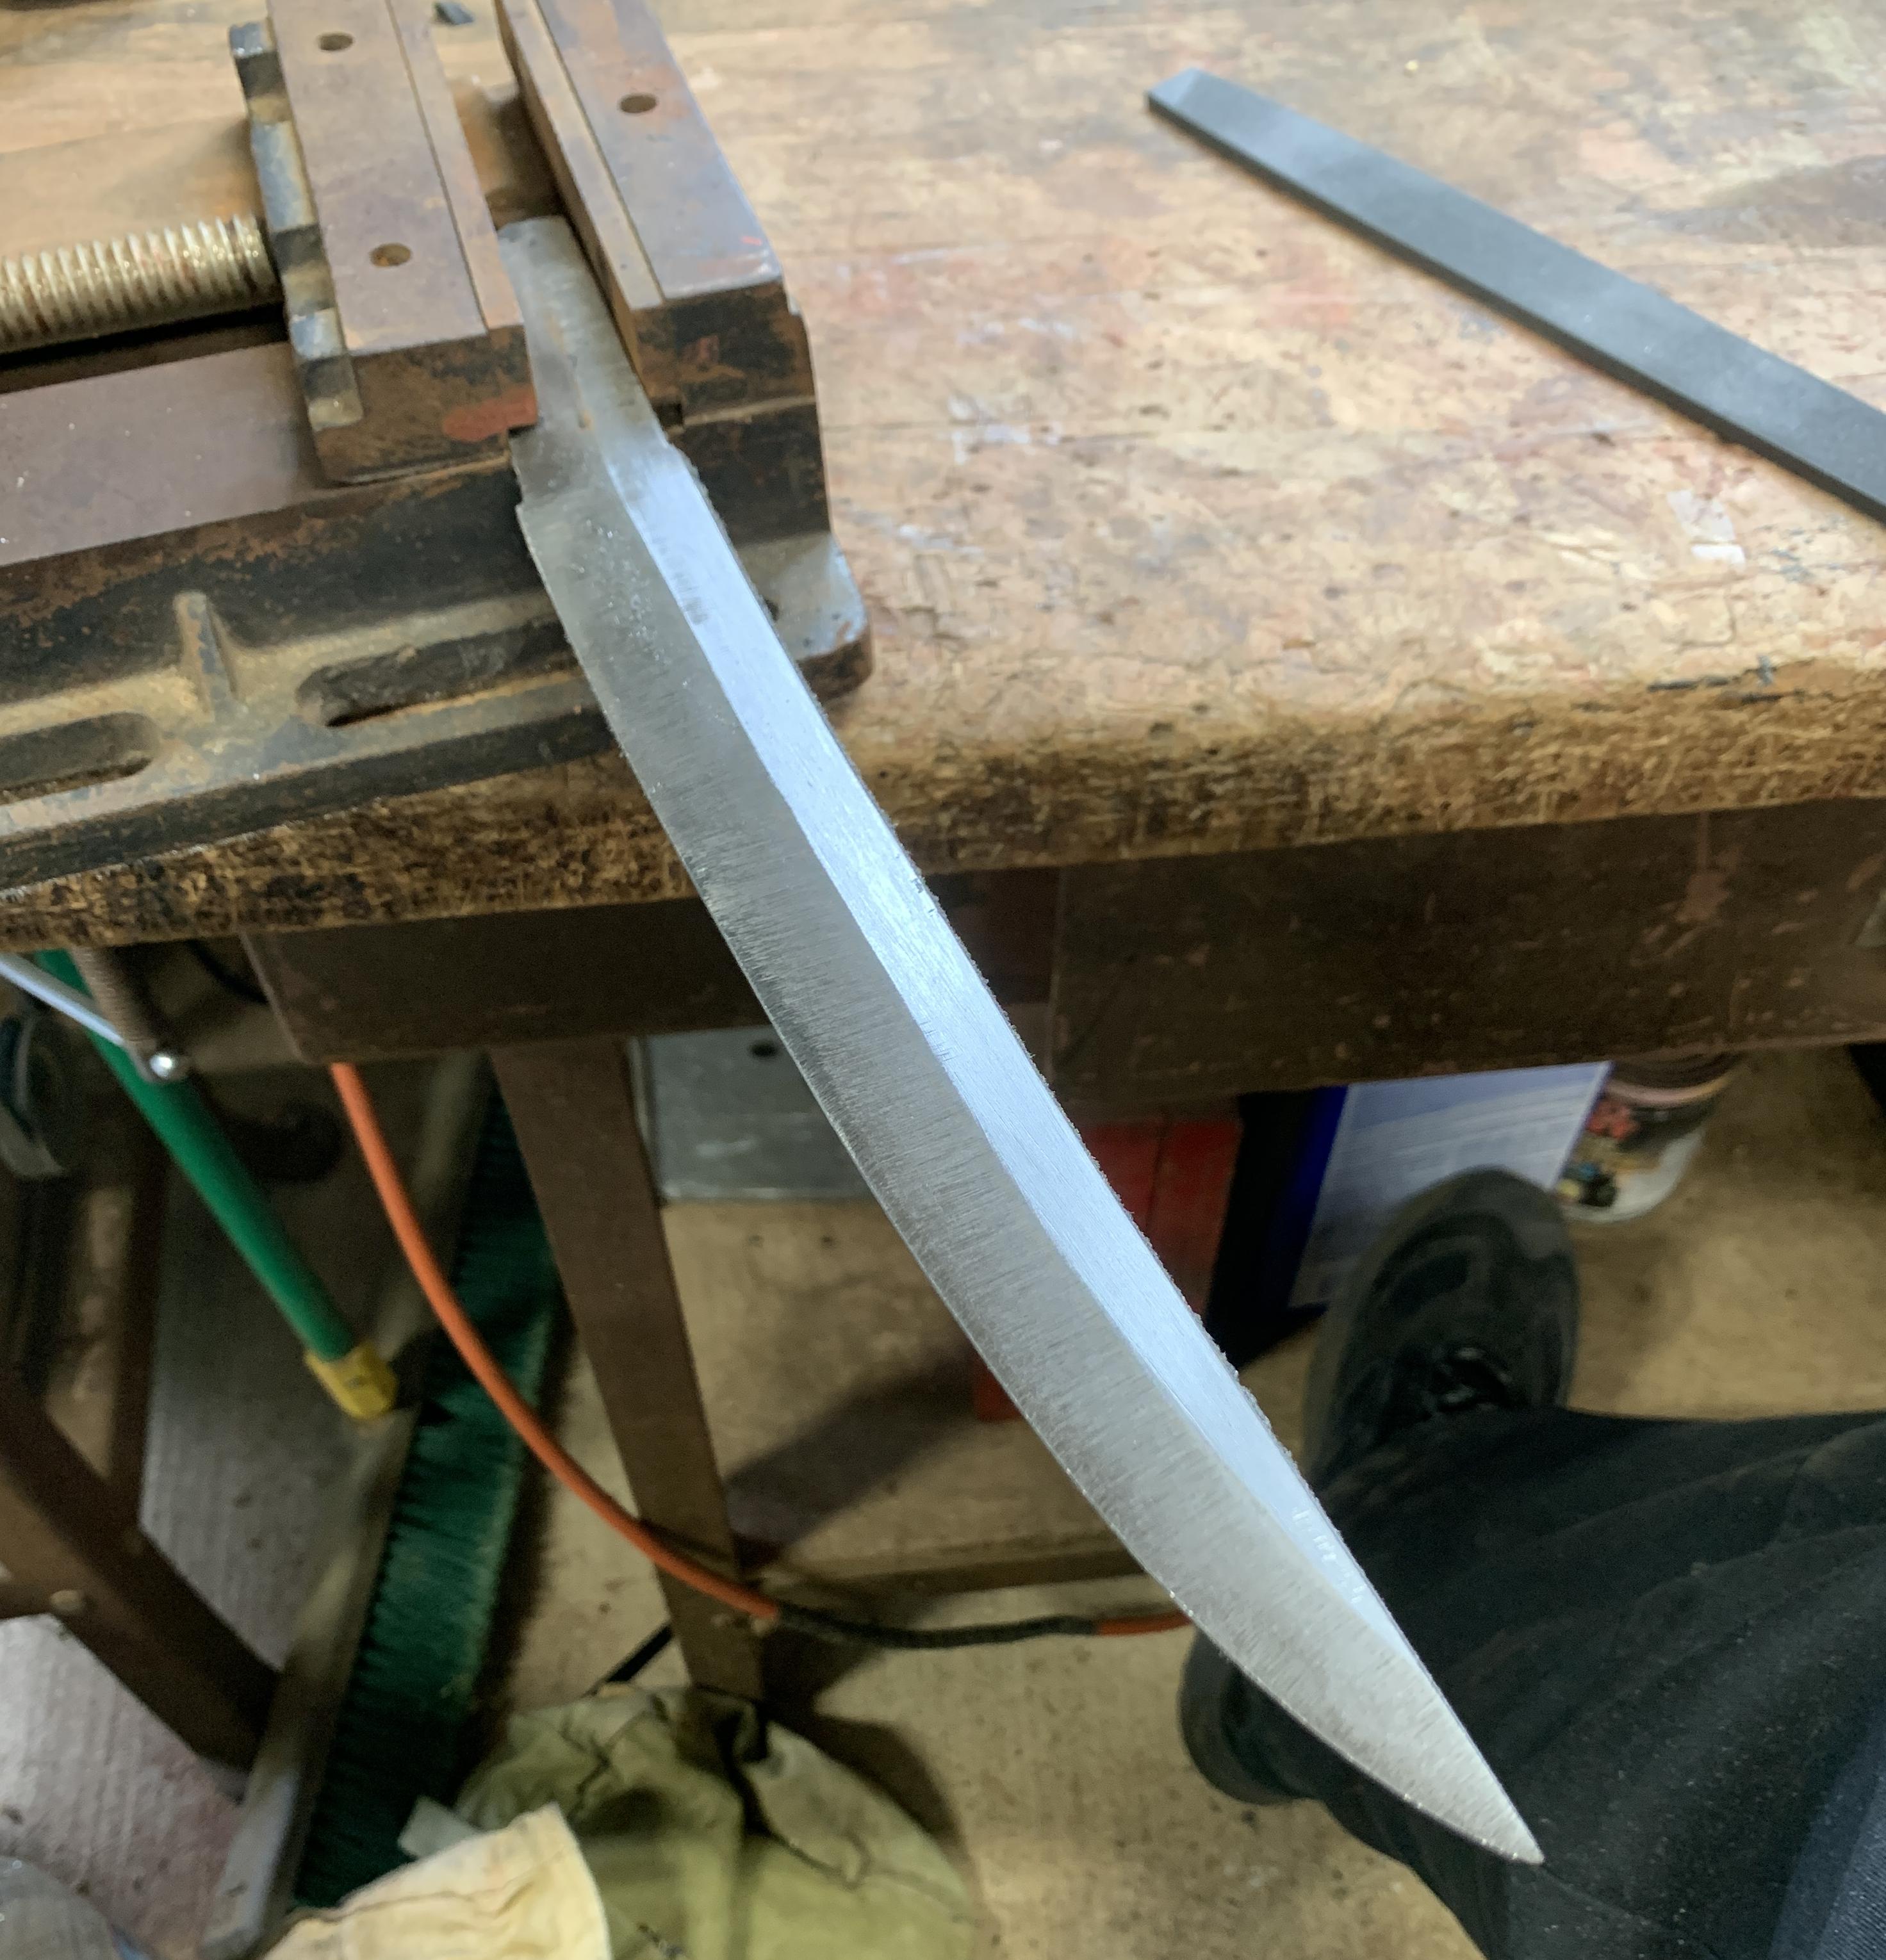
I didn’t mention this, but it’s important: at this point the blade is still entirely soft unless it has work-hardened somewhere. If it has work-hardened that means I am applying too much stress or heat and the problem is me not the grinder or blade. This is the result of about an hour with a double-cut large, flat, file. From there, we switch to a mill file. The double-cut is good for removing metal at specific points and you can sort of “skate” it along and let the flatness of the file produce a nice crisp line like the above. Further refinement! The mill file is designed specifically to make flat planes – you push it back and forth (tang on the right means cut on the push, tang on the left means cut on the draw) and things get very flat very fast. It’s absolutely necessary to do this stage while the blade is soft because once it’s quenched the file will not cut the martensitic edge. A grinder will still do it just fine, but this is the time and opportunity to get some major flatness happening with the files, so we take the time.
To me, it’s meditation. I cease to be, and become the file, rocking back and forth with Sampson’s head resting on my leg. I know a guy who is really into filing blades – he pretty much skips the grinder entirely, and his cuts are sublime, his planes ridiculous, and his lines are crisp as a fresh apple.
Am I making this all seem to easy? It’s not, really. But nor is it insanely difficult. It’s a matter of having the right tools and the time and someone who can come along and correct you if you start heading off into the weeds.
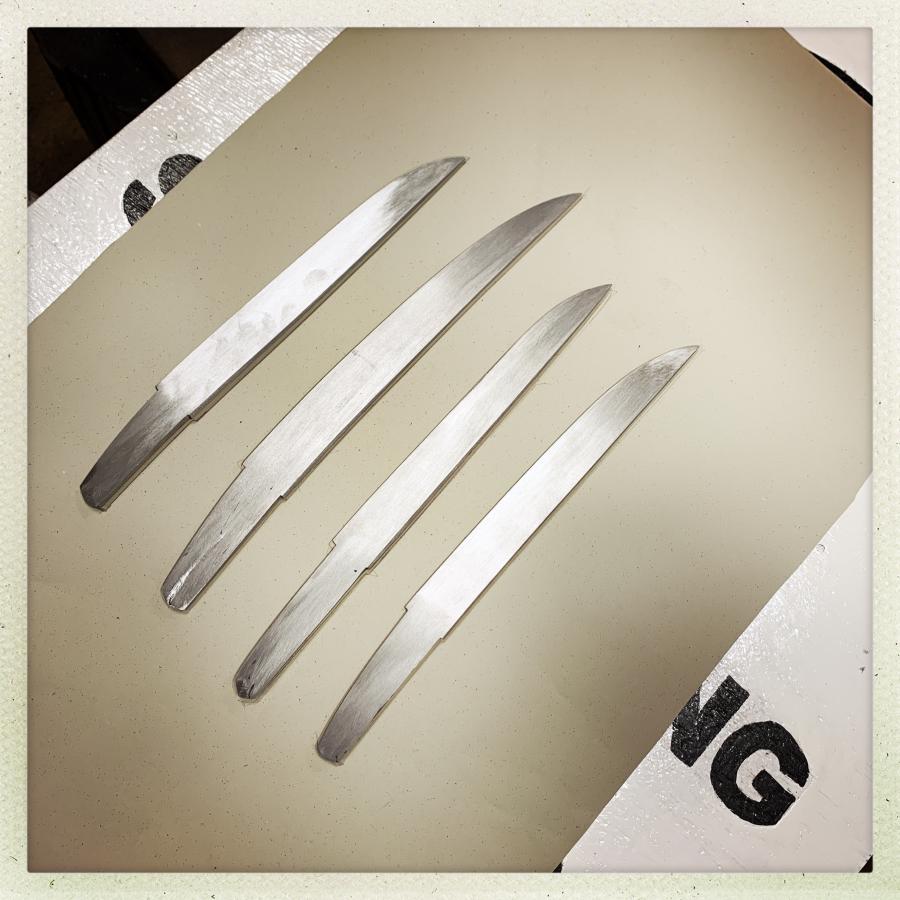
Still unquenched. The edge pattern on the top left blade is fingerprints not a temper-line.
We take a break and do a class photo.
One of the temptations I have to fight is to hammer and carve a curve into the osoraku blade. It hasn’t been quenched yet and its curve will change when I do that. This is the state of the blades prior to quenching them.
The next step from here is one I miraculously did not photograph, which is claying up the back of the blade. I was just too busy doing it, to remember. First comes a thin skim coat of clay that is designed to stick to the metal and not offer any thermal protection, then the maker designs a blobby edge for the temper-line. Temper lines don’t exactly ever do what we want, so it’s not a precise drawing – you kind of blob it along and hope. I wanted something gorgeous and radical (naturally) so I attempted to make a temper line with isolated blobs floating in a long line. That rendered as about 8 “flying spaghetti monsters” on each side – a little bar near the edge with 3 or 4 noodly appendages reaching to the edge. Higher up and away from the FSMs was a solid region with a wavy line going all the way to the back. Doing the clay-up is complicated and fun and stressful: if you get it wrong you can build a stress zone into the knife that more or less invites it to snap. You have to think about the tip of the blade – “if I were hammering into and through a piece of armor plate, where would I want to be strong, and where would I want to be hard?”
I have some pictures of the blade after quench, which will be in the next installment, and it shows the effects of the clay, but not the results in the temper-line. You don’t really get to see the temper line until the blade is fully polished. More “further refinement” to do.
Fascinating!
Judging by the curve of your blade in the images above, yours is the second from the top in the group photo, isn’t it? The longest and most curved one.
It looks promising, I do hope you get a really pretty blade out of this.
i’m not letting you use my 3hp grinder now :P
that looks very nice at the moment, i hope it survived the quench.