Today was all set-up for the big day: quenching. In order to minimize blade bends or change of a stress-riser triggering a crack, the solution is typically Japanese; you simply remove as much asymmetry as you can because that’s what causes the bends.
It also becomes another exercise in successive refinement. Once the blade has been rough-ground into shape, it’s ready for a finer grinding/planing to get all the surfaces flat and smooth. For that, we used a flat bastard file, which defines a straight surface as you pull it back and forth. The file only cuts in one direction, so if you have the tang to the right, it cuts on the push and to the left, on the pull. It’s 5 hours with the blade in a vise (moving it around in the vise periodically) as everything gets much smoother and flatter.
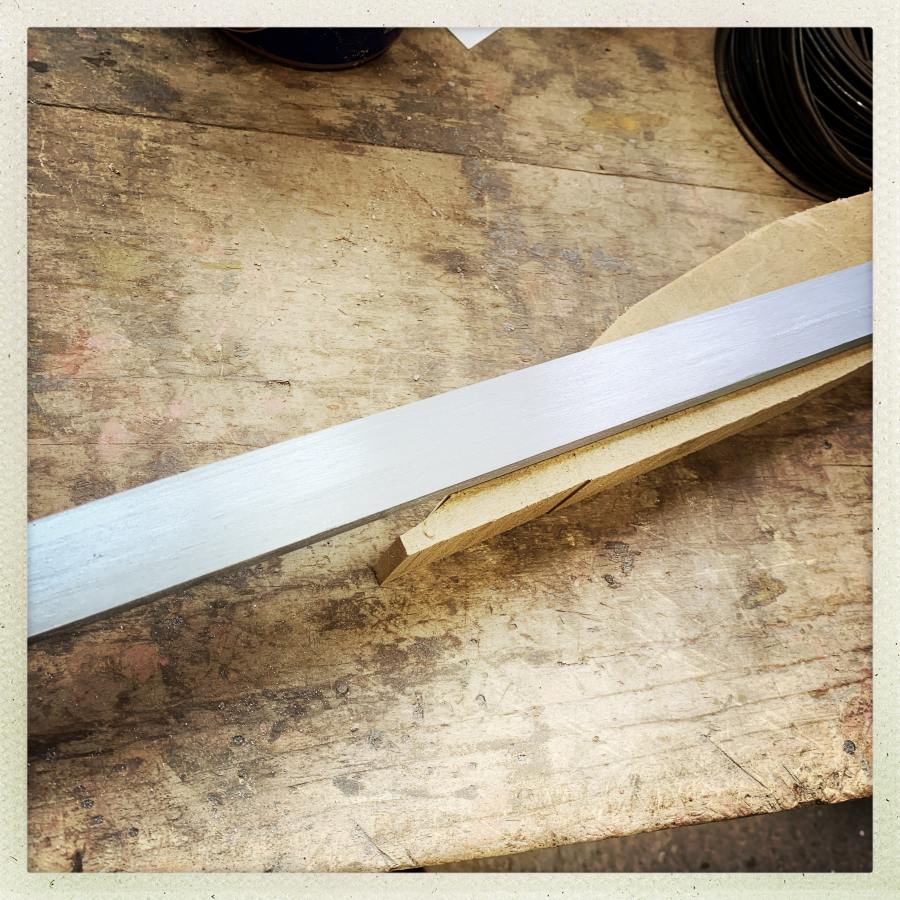
It’s hard to see the details in the metal, but those surfaces look vastly better than they did yesterday. Will it be good enough? We’ll see!
The Mune (the ridge down the back of the blade) is a good example of what’s going on. Before I planed it flat and straight with the draw-file, it meandered a bit; perhaps a few thousandths here and there. Taking my time, with the blade clamped in a vise, I was able to bring it into a very clean line with a crisp straight edge. The blade is still nowhere near done being ground into shape, but if the Mune is wriggly, when the blade is quenched, the extra metal on either side of that line is going to pull/push the martensitic edge all over the place. Remember that the edge gets larger during the quench, because martensite crystals are slightly bigger than pearlite. That’s why the katana takes on its characteristic swooping curve, and it’s my job to plan that out in advance.
How? Well, when you position the tempering clay closer to the edge, the area of martensite that is formed is smaller: the blade gets less curve. By deciding how close the tempering clay goes to the edge you can tune the expected curve of the blade. That sounds tremendously touchy-feely and like “intuition coupled with decades of practice” but that’s Japanese sword-making for you.
Once the blade has been scraped more into shape, it’s time for the clay for differential quenching. This is the most fascinating and dramatic part of the process, especially when it works. If it doesn’t work, I may hear the “tink” of doom from the quench tank, as the edge of the blade snaps under its inner tension. Then, depending on where it snaps, I have knife instead of a sword. Let’s not have that happen. The process is simple, in principle: you put clay along the back of the blade, exposing the edge, then you heat it up to normal temperature and dunk it in hot water. The hot metal exposed to the water crystallizes into martensite but the clay on the back holds the heat a bit longer so the back of the blade does not crystallize. The transition-line where that conversion happens shows up in the metal as a cloudy, wavy line – the “Hamon.”
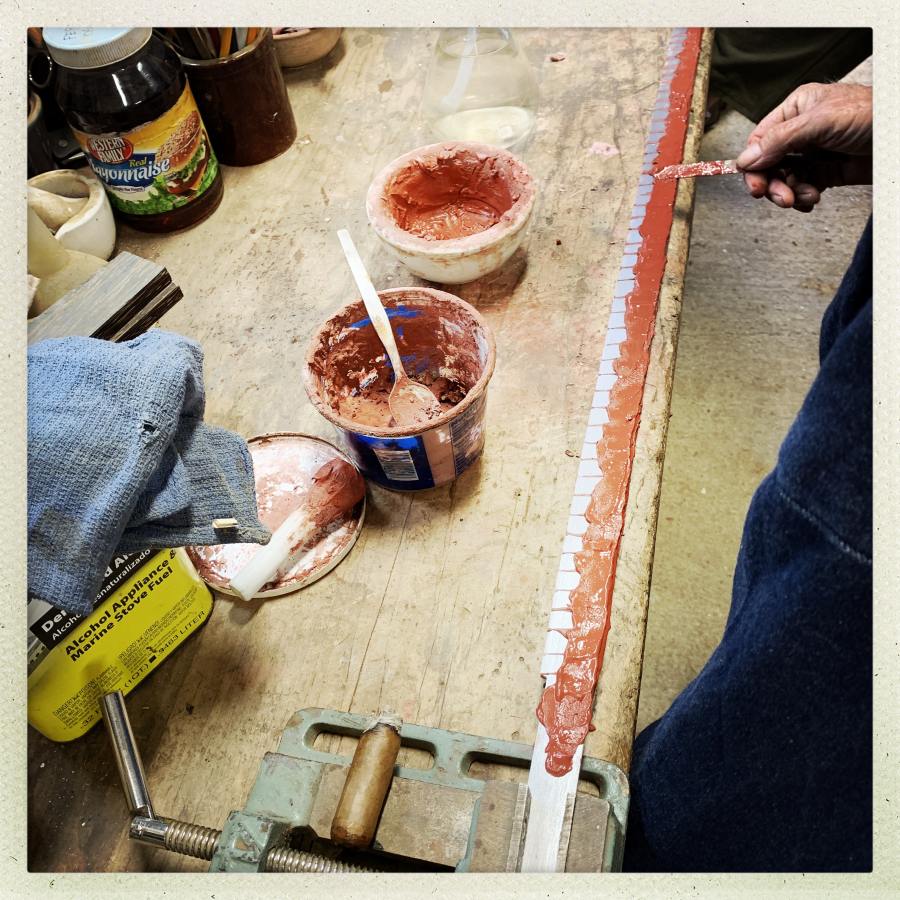
Different sword-making schools have different techniques for applying the clay. The Bells like to have little “risers” that ensure the martensite edge has small tendrils of less hard metal. Walter Sorrels, another bladesmith, uses little crosses. Prashant, one of the other students in the class, writes his name down the edge using runic script. It won’t be readable, and probably not even visible, but that’s a really clever idea and the rest of us are quietly envious.
The clay is refractory clay mixed with some red iron oxide (FeO2) – first a wash is done and allowed to dry, to help keep it from falling off during the heating. Apparently some sword-makers have trouble with crumbly clay and wrap the blade with a fine web of wires to help hold it on. From my experience doing wet plates, I recall the technique of “subbing” a plate with egg white before pouring the collodion, and it makes me wonder if that would work well on a sword blade. That idea gets filed away in my future “to do” list – perhaps I can come up with a variant technique that helps others get better outcomes.
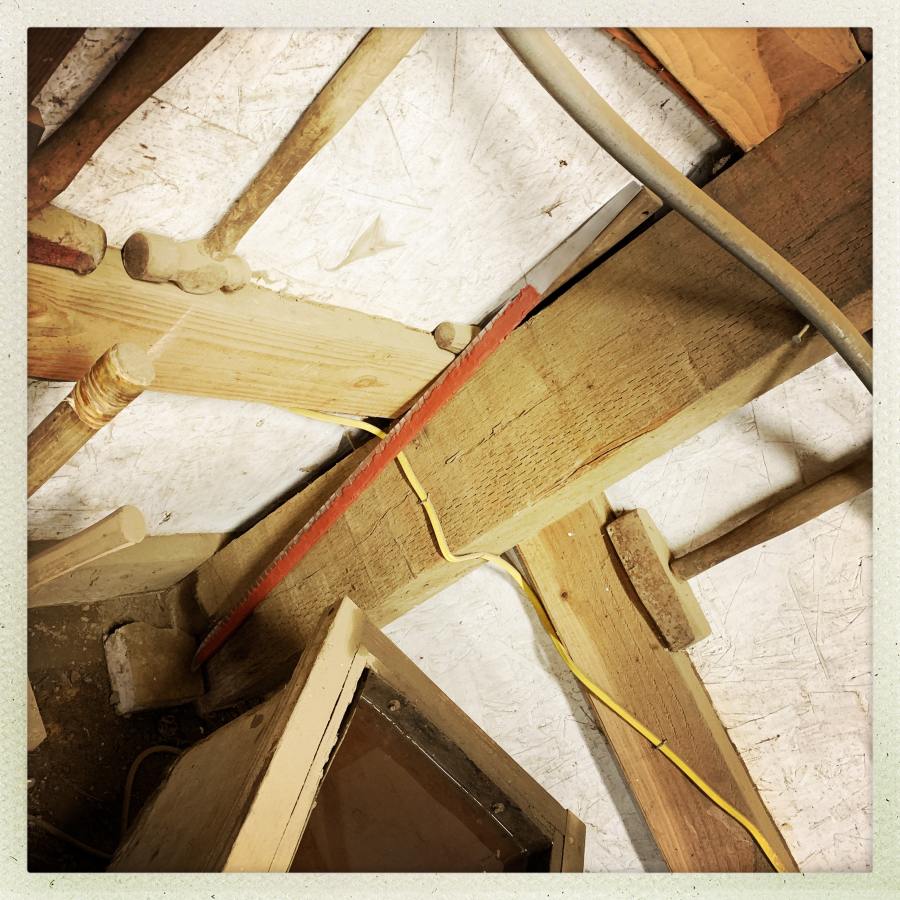
The completely clayed blade is put where no dogs or kids will knock it over, to dry for saturday’s big event.

At the point where it’s clayed for quenching, the blade’s edge is about the thickness of a quarter. After it’s hardened, the process of straightening and shaping resumes, until the bevels meet on the edge and suddenly it starts to get sharp. The thickness of the edge at quench must (of course) be as even as possible, or the curvature of the blade will be disrupted by uneven expansion in the martensite. The back of the blade is also about the same amount oversized; in principle everything will be reduced to the right dimensions through successive waves of precise grinding and finally polishing. Once the edge is hardened, it will be a lot harder to grind; it feels like glass.
The traditional Japanese smith uses a “Sen” – an ultra-hard spoke shave sort of thing with a single cutting edge. They remove metal remarkably fast, but the flat surfaces of a file are much better for keeping things planar.
I hope it all works out as you have planned!
It’s getting very exciting! That is an amazing process. It makes me think that people who lived a really long time ago were much smarter than we are today. How clever to think of using clay on part of the blade like that.
This sword is going to be beautiful.