Finally, I am back on more solid ground; we have switched to grinders and rasps for shaping the blade preparing for the quench.
In the morning, the blade was covered with decarbonized metal, which is very hard stuff and needs to be ground off – usually using a less expensive angle grinder wheel. I really like angle grinders so this was not much of a problem for me.
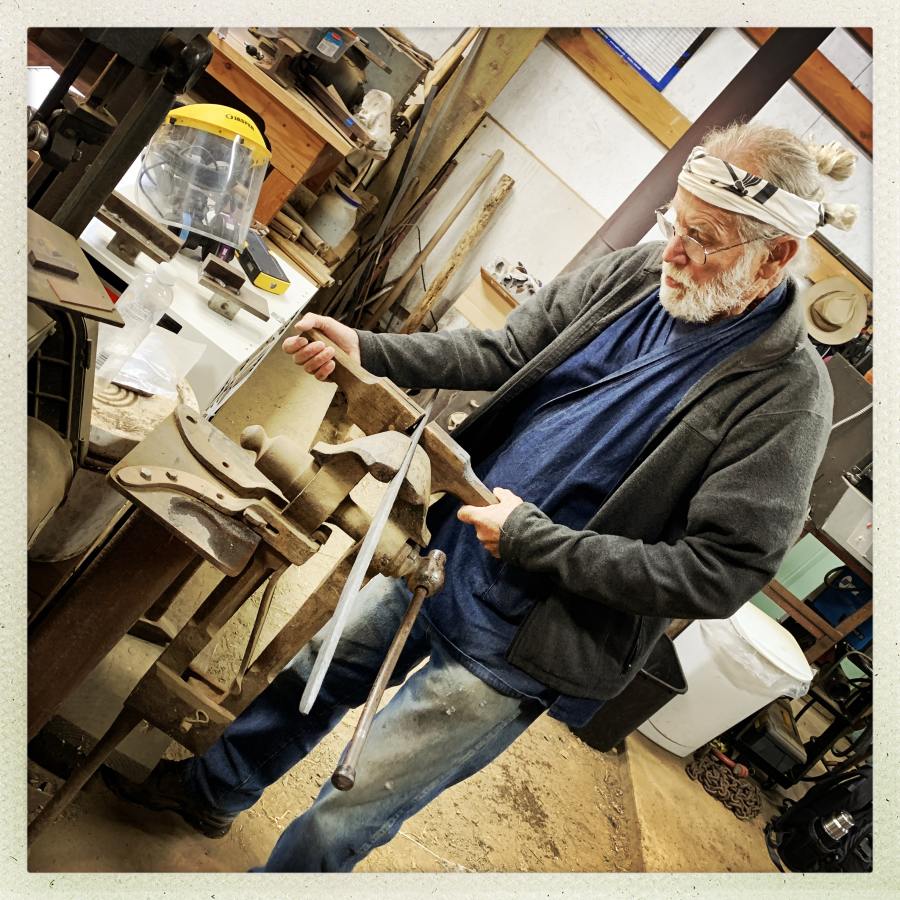
We started off with a very careful straightening session, featuring “The Persuader” – trying to get everything lined up as correctly as possible because, once you start grinding, your intent is to continue to preserve and enhance the blade’s shape. If it’s bent or bulging somewhere, you’re trying to grind it back into correctness, which means that if you ever did correct the bend, now it’s got a ground-in “un bend” the opposite direction. All of this is possible because the blade is not hard yet.
From there it’s the process we spent yesterday and will spend today on: refining everything in successive passes. Each time you go over the blade and correct something ${here} it reveals a problem ${there}. So we keep chasing the ideal shape and it gets closer and closer to it (ideally) over time.

The angle grinder is pretty coarse and when we switch to the belt grinder we can start doing larger flat areas. The size of the blade is a blessing and a curse; on one hand it’s easier to see the symmetry we are trying to achieve, but it’s more awkward to position on the grinder belt. Once the angle of the flats is roughly set, though, it’s easier to follow them.
By the end of the day, this is what the blade looks like:

There is no curvature shaped into the blade; that’s all done at the quench, when the martensite along the edge crystallizes and expands (slightly) more than the pearlite on the back. We had a lengthy and fascinating discussion about how to manage that process exactly and it’s pretty much a matter of practice and judgement.
Today, more shaping and tweaking and working on the flats with draw-files to straighten the lines even further. Then, with luck, we’ll clay the blade up so we can quench them saturday morning.
I took a bit of ferric chloride and rubbed a patch of the steel down with it so I could see how the differential twist damascus looks:

pretty drama
When you quench it, the hamon (temper-line) tends to follow the structure in the steel a bit. The edge of this thing is going to look like a fire in the distance.
Oy has envy.