The original sheath the customer provided as a template has the tip reinforced with plastic. I cannot do that of course. Making a metal cape would be an option, but an expensive one since I would have to make multiple metal templates to press it and then solder it, polish it and all that jazz. So I have convinced the customer that reinforcing the tip with 4 mm thick leather should suffice. Which I think it should. But I did make an extra step to make that thick leather just a bit harder – I heated it to 70-80°C in water and kept the heat until it shrank to about 80% of its original size.
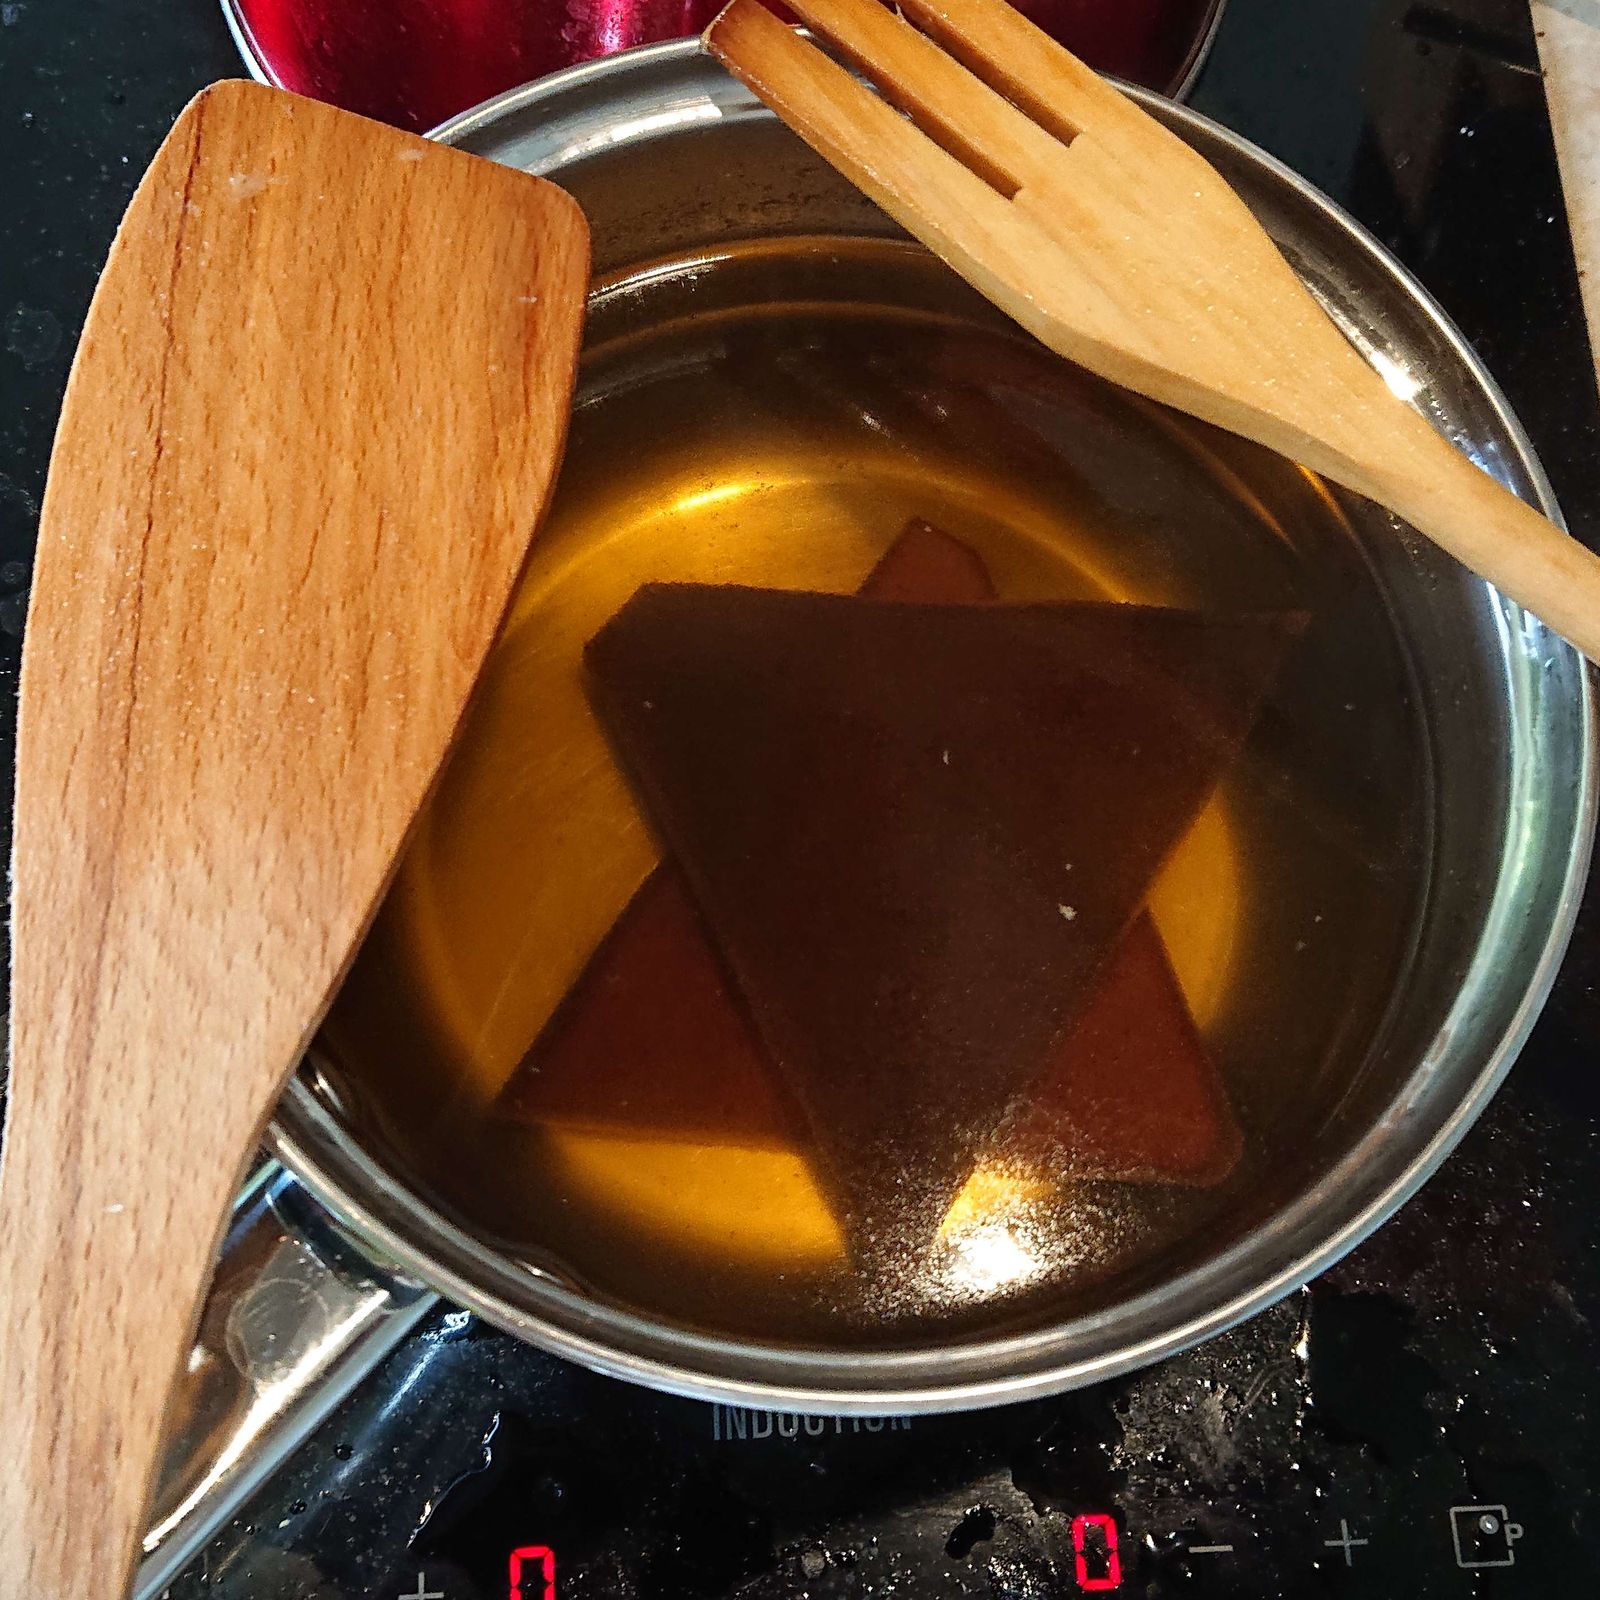
© Charly, all rights reserved. Click for full size.
This makes the leather inflexible and somewhat brittle in bending, but very hard. Hard as plastics in fact. Caskets or boxes can be made that way. It has several caveats that need to be taken into account, however.
- After it is taken from the hot bath, it remains pliable for some time but not very long and it keeps shrinking for a while. If it needs to be formed in a specific shape, it needs to be pressed into the form quickly and left to cool down and dry in form.
- Because it shrinks, any decorative carving that is done can only consist of outlines. Any fancy pressing or stamping simply won’t work. And the shrinkage has to be taken into account – as well as the fact that the shrinkage is not completely regular in all directions and predictable.
- As it shrinks, it gets also significantly darker, dark brown. So it reduces the possible dyes that can be used to change the color to any shade you wish, as long as it is black.
- It needs to be heated up carefully. If overheated, it curls up and becomes way too brittle.
- If there is a risk of any bending stress, it should be reinforced with fabric or untreated leather. It is hard and scratch resistant but breaks when bent.
For my purposes, I needed two flat plates, so I left them to cool down and dry under two flat pavement bricks.

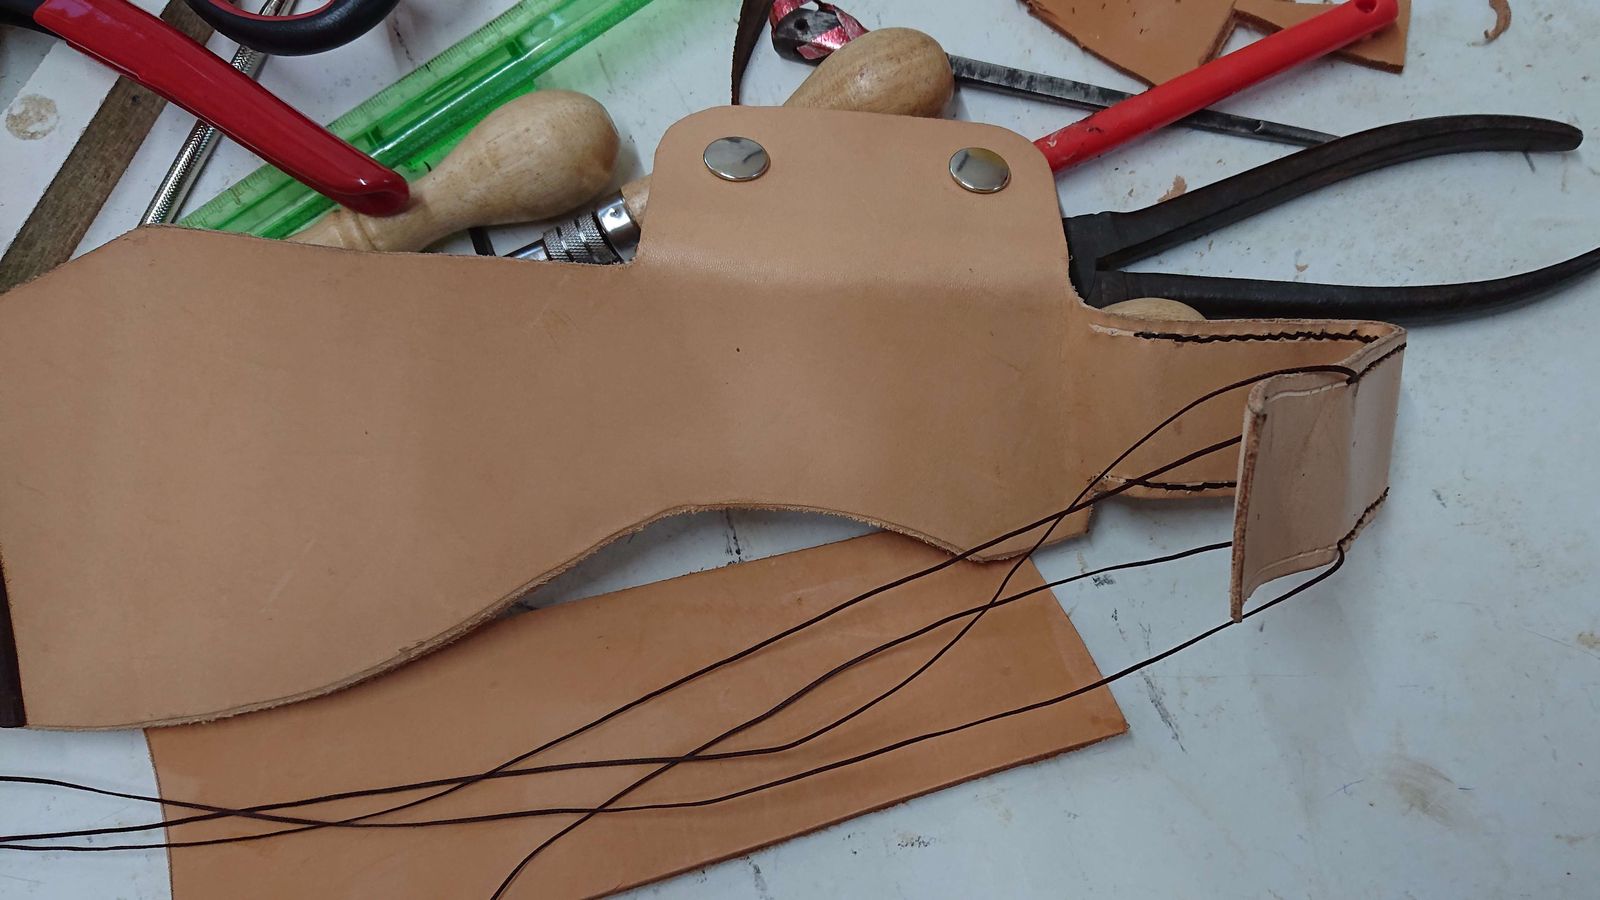
© Charly, all rights reserved. Click for full size.
On the top, you can see the already dry pocket taken out of the form. On the right is a glimpse of my impromptu cardboard template for the sheath.
Working on a complicamaticated thingamajig like this the ooo is very important – order of operations. If one glues and sews together some parts it can make some other parts impossible to add or modify, so I had to think carefully about how to progress. For example, on the outside, I had to first sew on the pocket flap, and only after that I could sew on the pocket itself.

© Charly, all rights reserved. Click for full size.
The kukri sheath is wide open on the back and the blade itself is thus held in place with a flap with two snap-fasteners. To avoid rubbing of metal on metal, I have pressed the lower part of the fasteners on an extra piece of leather and glued & sewn that onto the sheath.
© Charly, all rights reserved. Click for full size.
When making the belt strap, I had to form it, glue it and sew it together about 90% of the way, then I had to leave it with the threads hanging, glue the eye shut, and sew the rest. The strap is sewn from two layers for several reasons – I have used relatively thin leather and I was afraid it would not support the weight of the whole assembly, which will be over 600 g, and the way the sheath was cut, on the strap it would be the suede side of the leather facing out, and on this one, it is not particularly pretty.
I have possibly slightly overengineered the whole thing – there is double stitching along the edges as well as stud reinforcements and I have spent several more hours with it than I planned to. I do hope that it bears out in durability, I need satisfied customers to spread the word.
I have now applied some dye to the finished product and it hangs outdoors in the shade to dry. I have also applied linseed oil to the handle and it hangs outdoors in the sun to dry. Tomorrow I will condition the leather, and sharpen the blade and I am nearly finished. All that will be left is to make a small sharpening stone that fits into the pocket. I hope that won’t take too long, a few hours at most. Although I have some funny over-engineering ideas there too…
It is fascinating watching this project progress. Thank you for documenting the steps.
Charly over-engineering something he makes? Never! ;-)