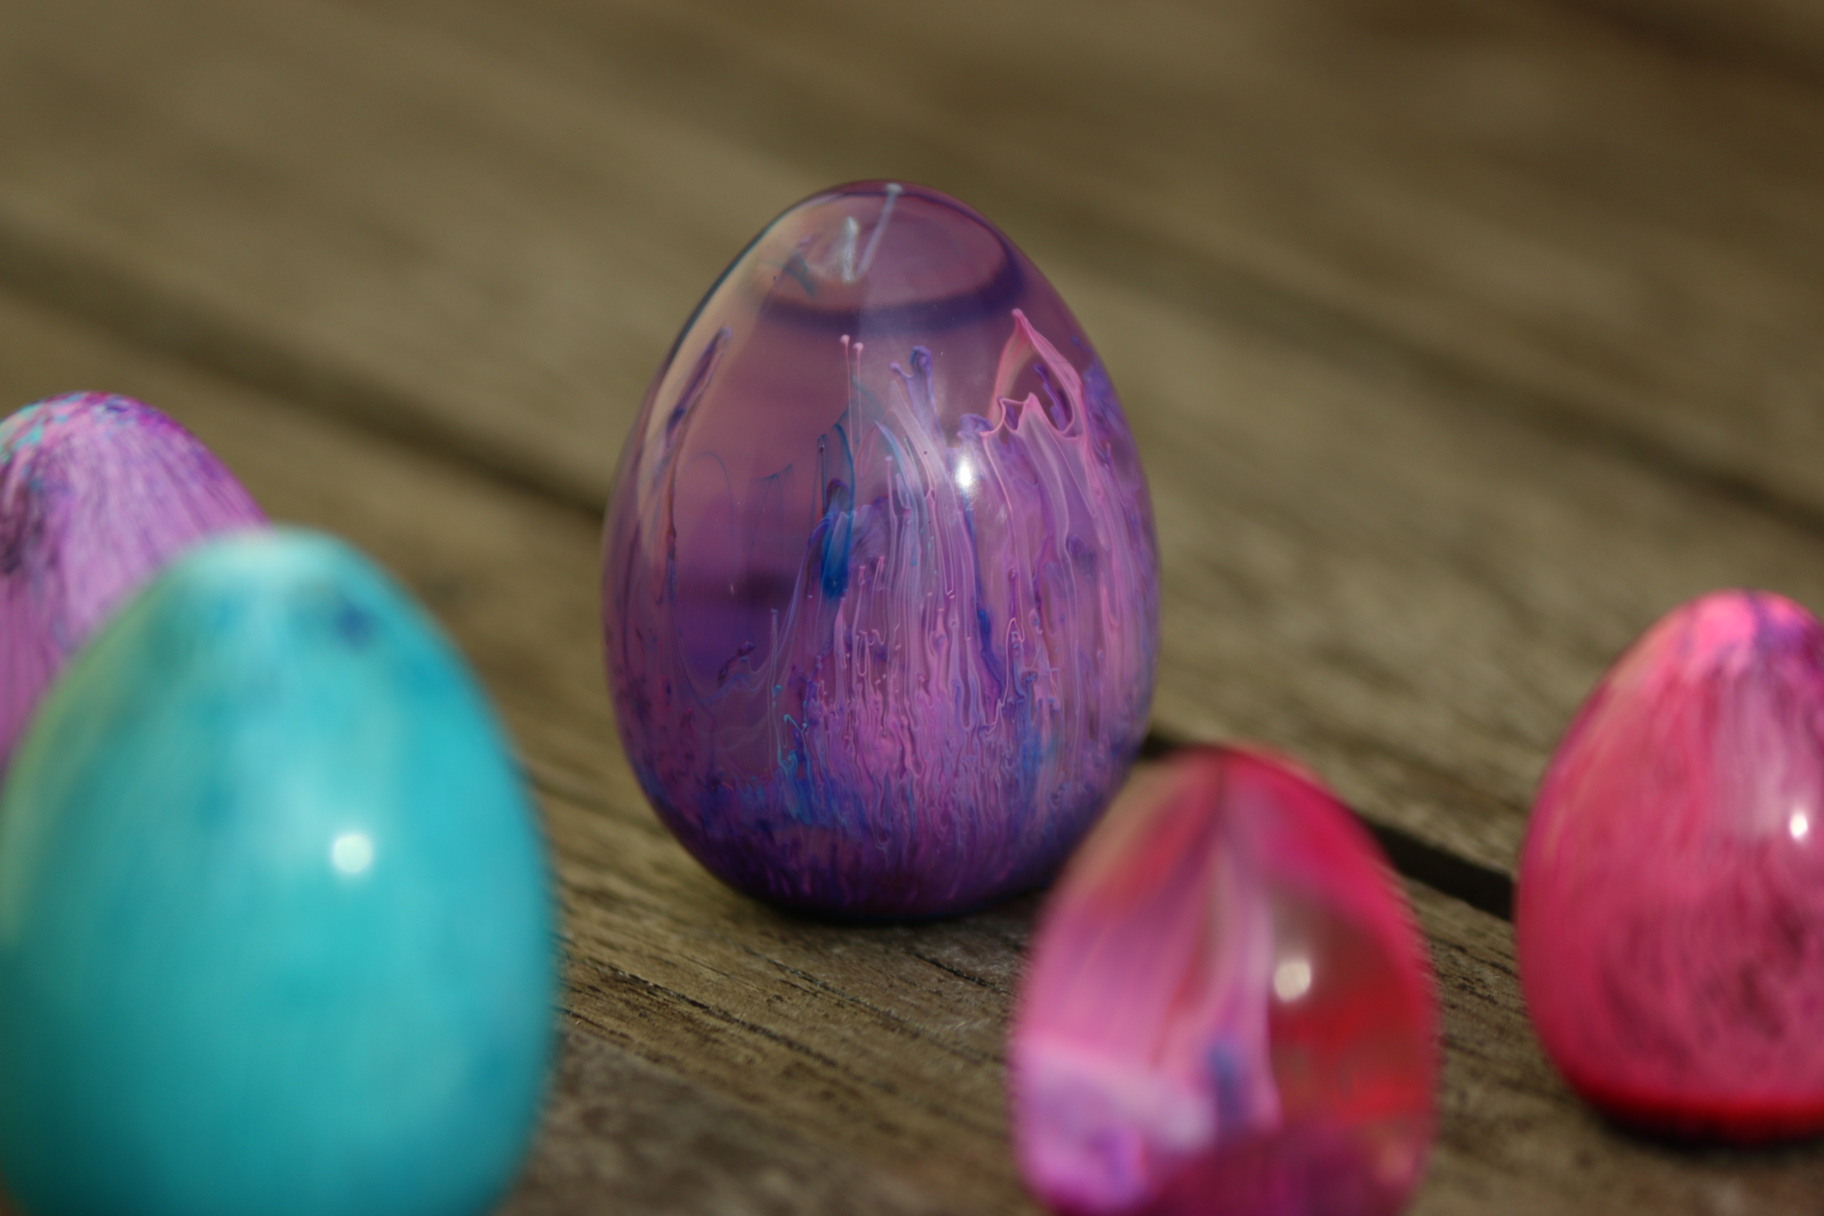
I’ve been using my holiday to get some creative work done. Let’s start with the items that gave this post its title: Dragon eggs:

©Giliell, all rights reserved
Working with alcoholic ink is always such fun. You never know what you get until it’s done. The effect is created by dripping the ink on the resin. You always need to add some white ink. This is heavier than the resin, while the other ink is lighter. The white ink takes the colourful ink down with it, creating what is often called a petri dish effect. I love them and now I#ll have to do something with them.

©Giliell, all rights reserved
©Giliell, all rights reserved

©Giliell, all rights reserved
©Giliell, all rights reserved
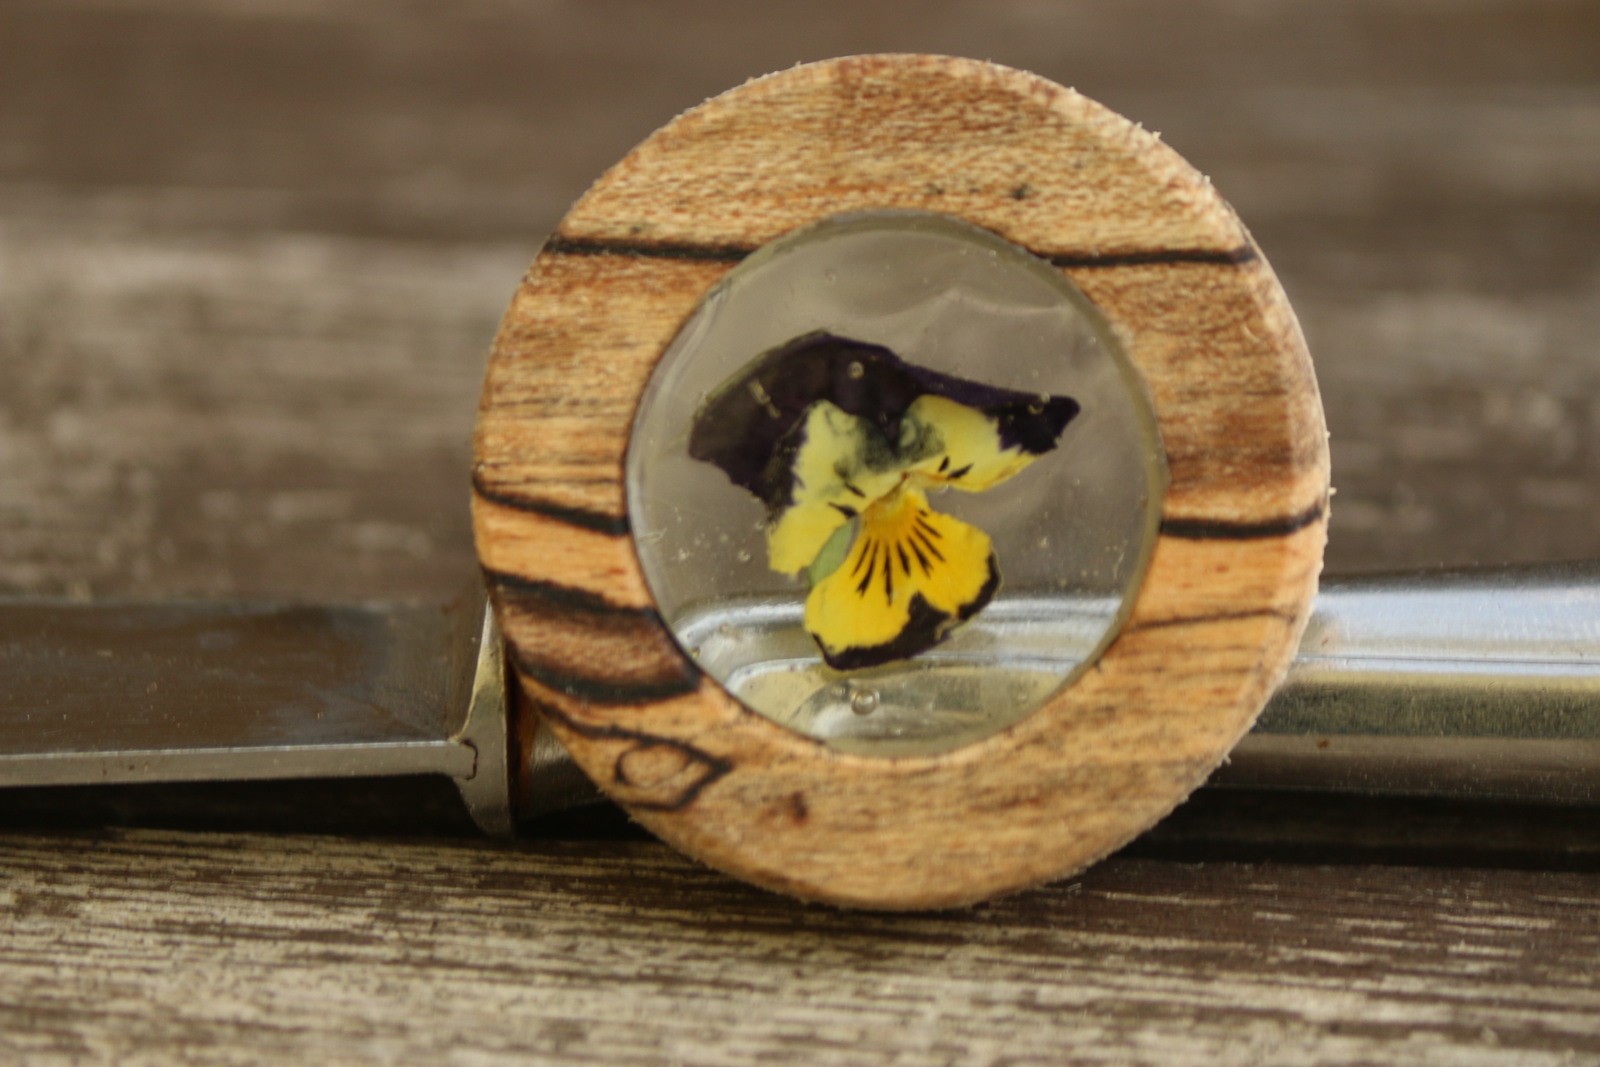
Next one is another wood and resin project. A while ago Marcus sent me some of his spalted maple. Did I mention that Marcus like to send challenges? These pieces were really thins, way too thin to do the usual “break it and then sand it down” method. So what I did was making bezels to go around the resin.
First I glued the thin board to another thin board of craft wood to add some thickness. Next I took my drill and the various hole saw attachments. These are the results in “raw form”, after cleaning them up a bit:

©Giliell, all rights reserved
It’s also an interesting example of how easily our eyes are fooled: the hole in the centre of the top left one is exactly as wide as the hole in the other three, but it looks much smaller.
After cleaning them up I treated them with bees wax so the resin wouldn’t soak into the wood. This can create ugly bubbles and also mess with the overall result, especially with such light wood.

©Giliell, all rights reserved
Aren’t they pretty? I think the large one will not have any resin added but just have a leather cord added.
Given that they are treated with wax they will not stick to any tape properly anymore, which is the usual method for creating a “back” when working with an open bezel. Thankfully my UV resin is very thick, so I can harden the bottom layer before it has time to run out. I’ll need to get myself some more fluid UV resin, but for this job, it’s the right thing.
©Giliell, all rights reserved
©Giliell, all rights reserved
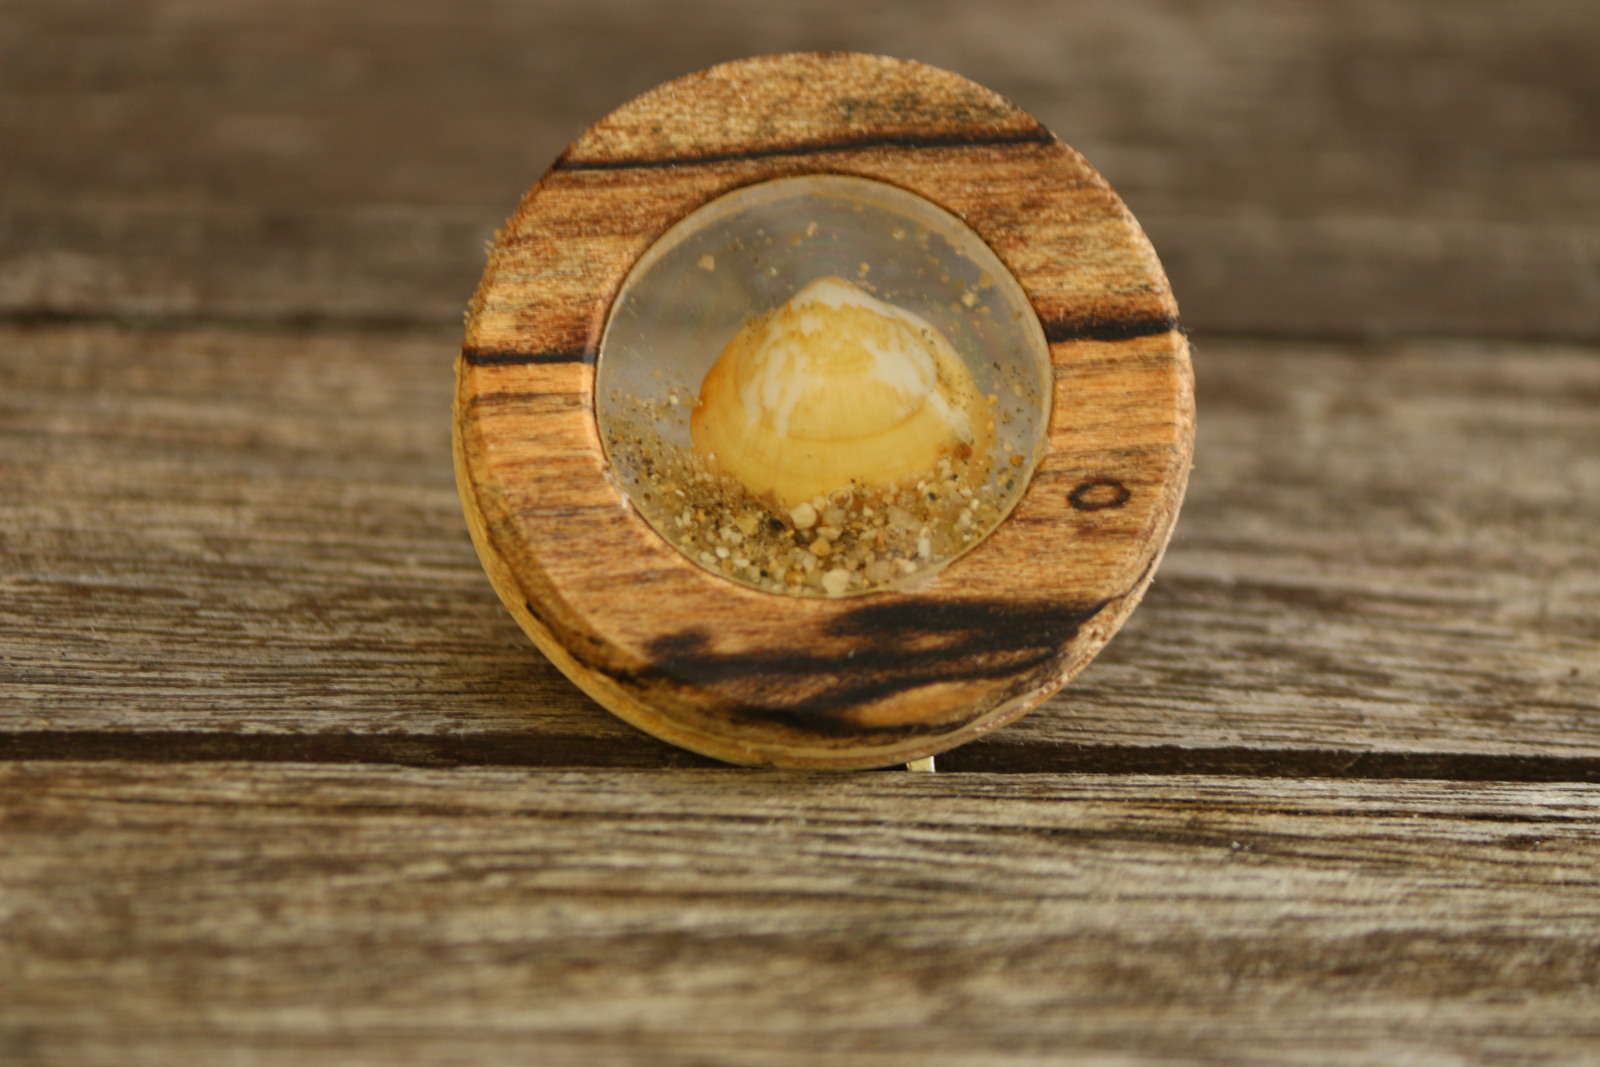
I love them. I will see what to do with the remaining one and likely make some more. They lend themselves to nature themes and I would not want to use some bright colours here.
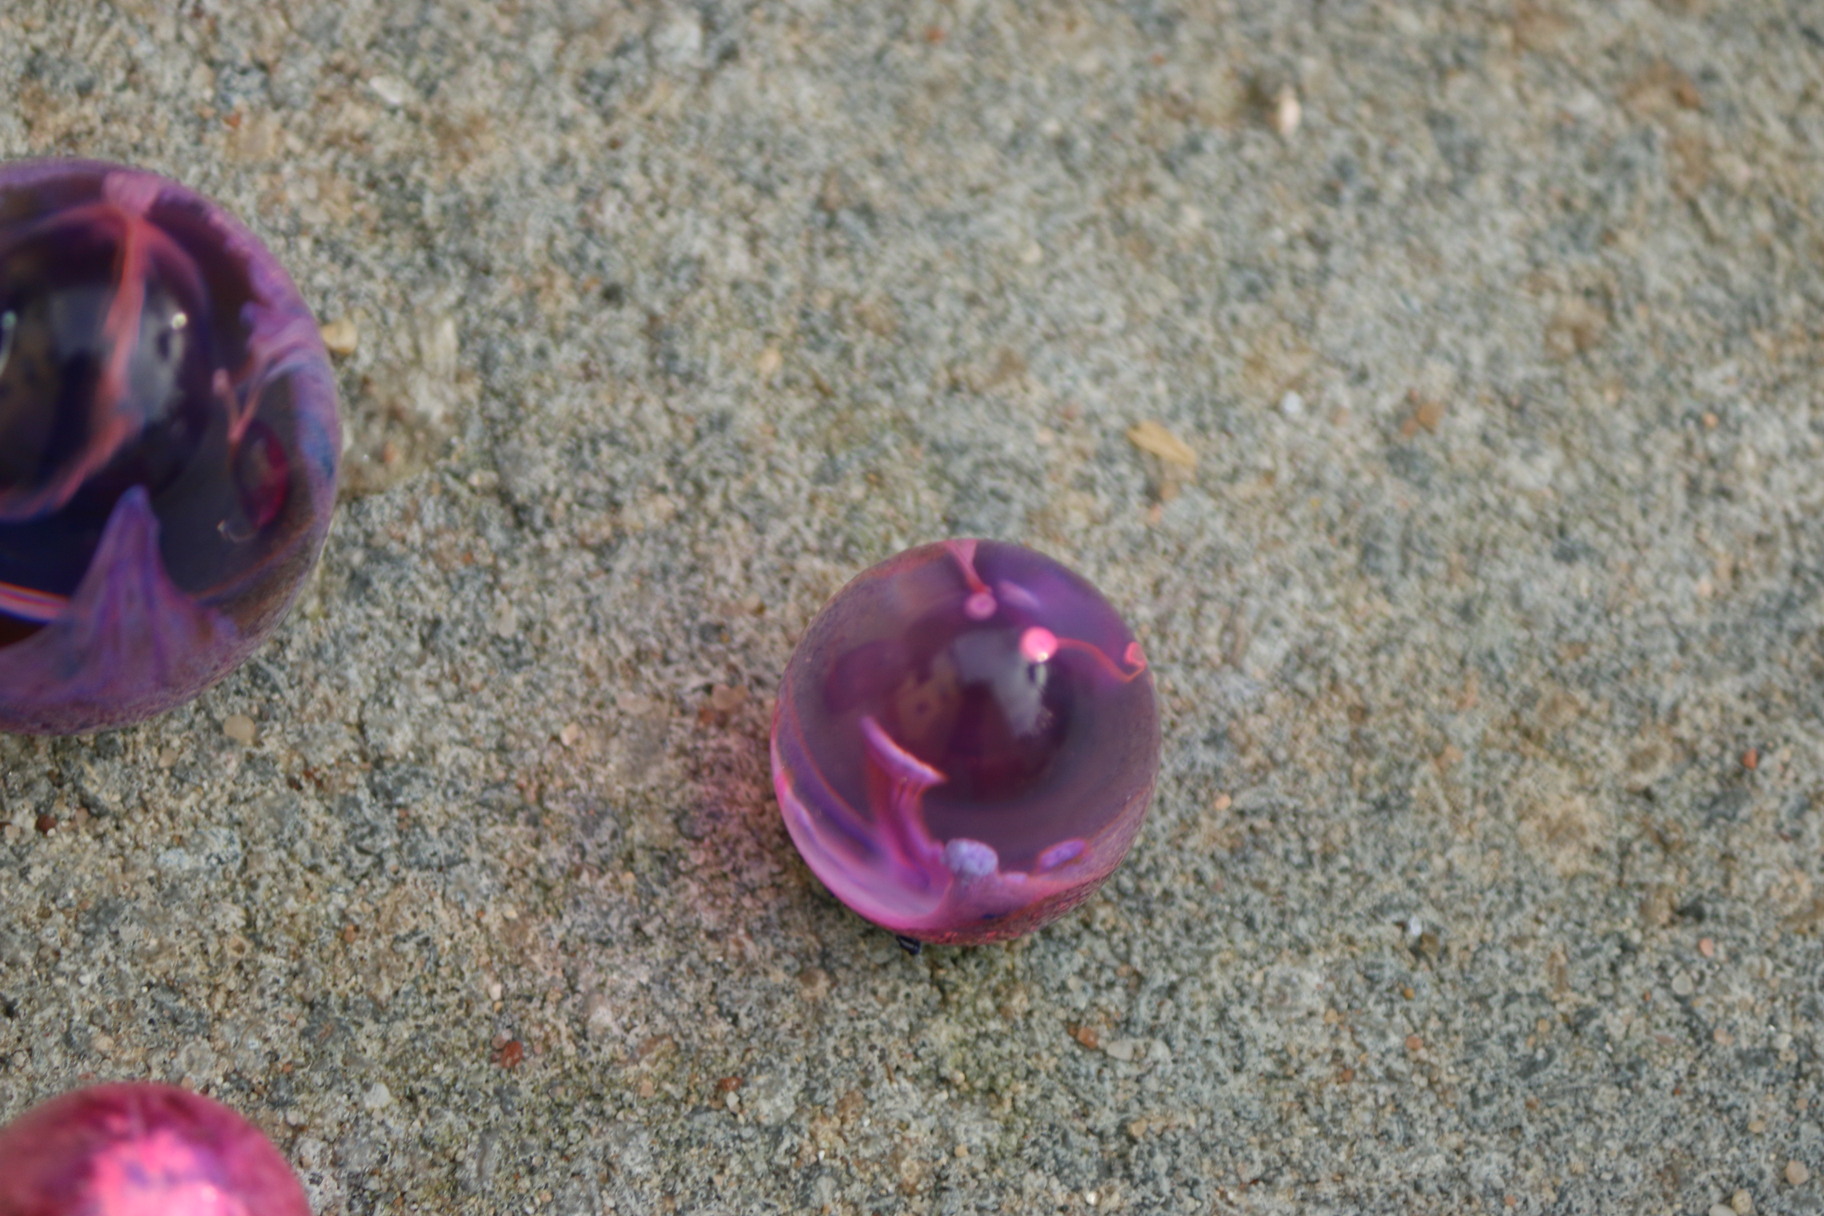
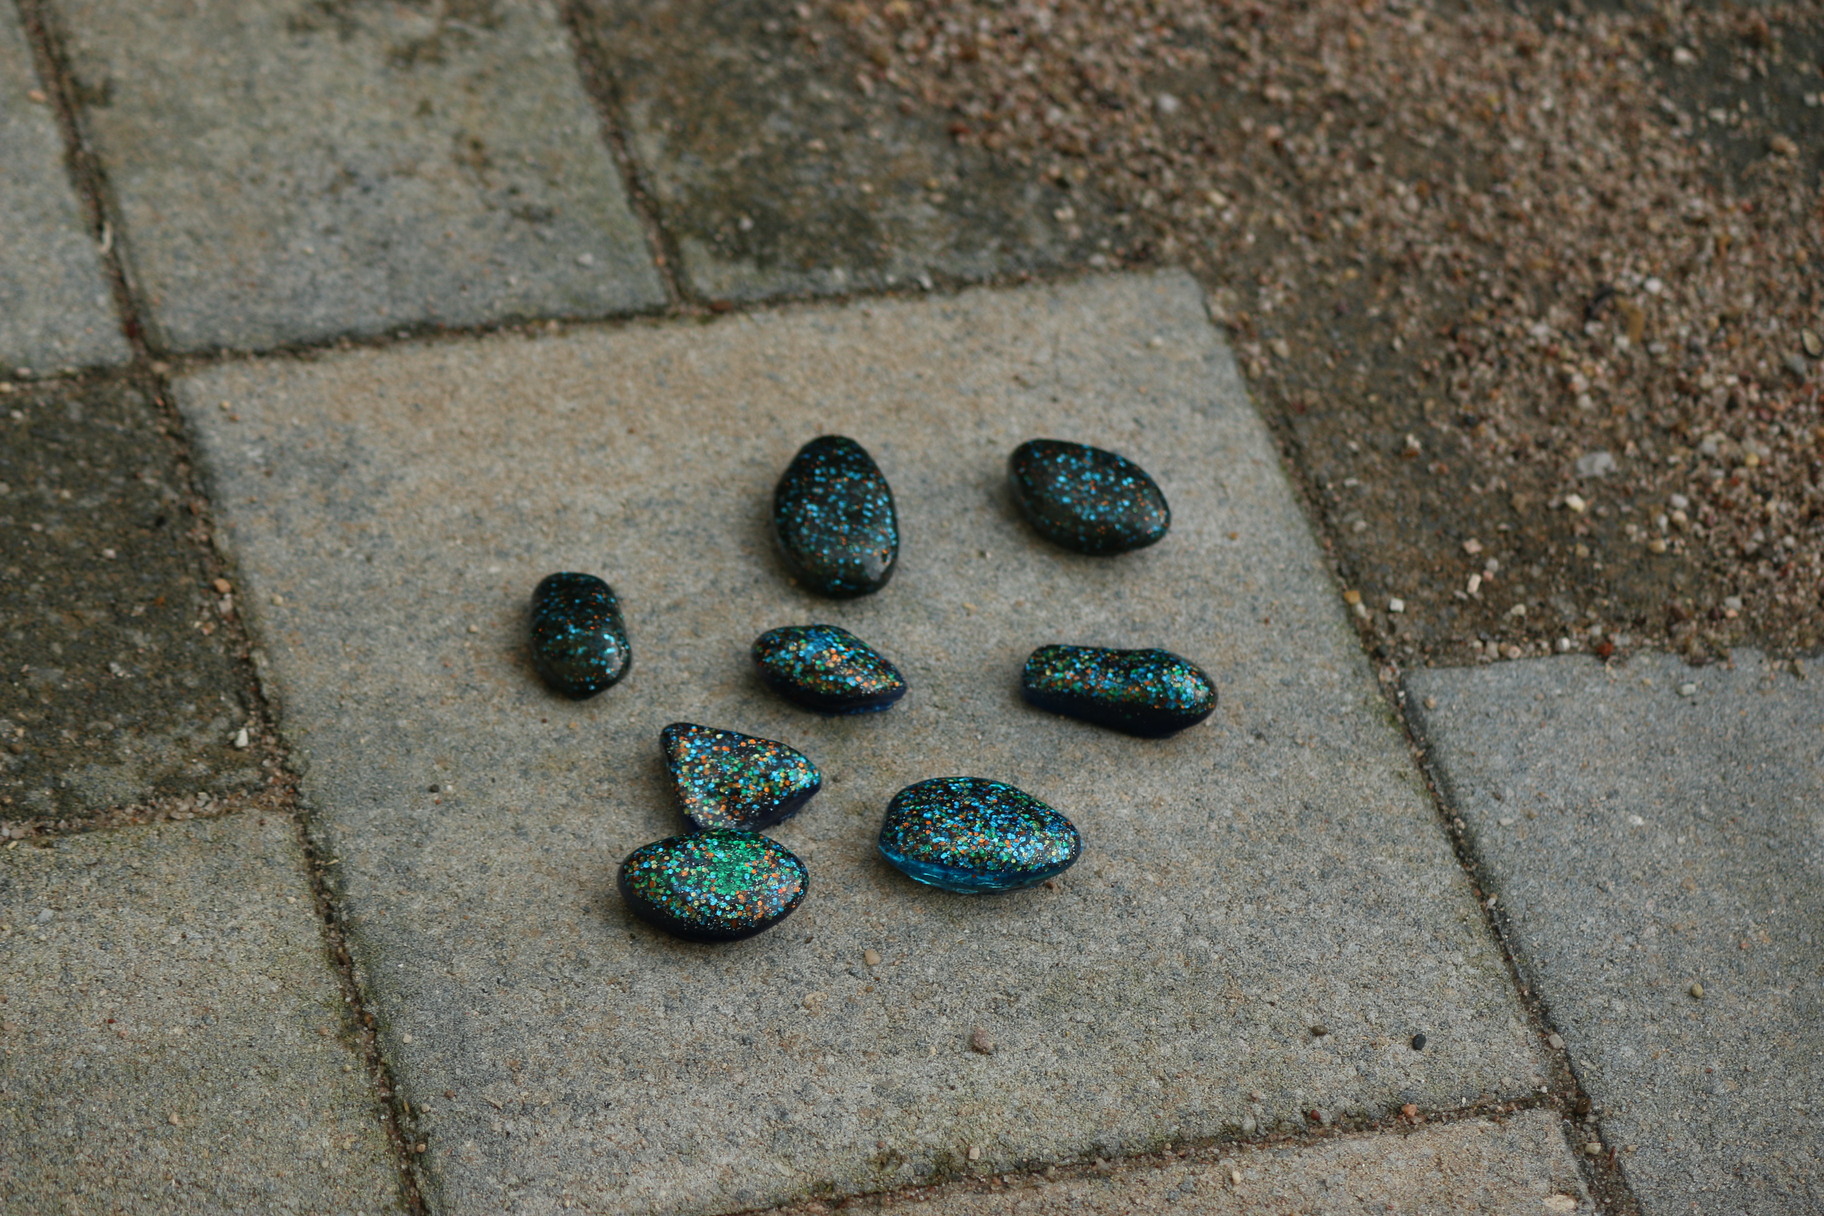
Talking about bright colours: A little fun on the side: Galaxy pebbles
©Giliell, all rights reserved

©Giliell, all rights reserved

©Giliell, all rights reserved

©Giliell, all rights reserved

©Giliell, all rights reserved
I’ll glue some magnets to the backs. They are very, very easy to make: just add so much glitter to the resin that it looks more like coarse concrete than resin. If you want some fun project with kids, go for it!
Next is an example of “not wasting anything”. When I give casts their final shape I often end up with small pieces. You probably remember the bog oak pendants where I used every scrap with some bog oak, but that still left some chunks of resin. I cut them into smaller pieces, polished them and now I’ve got a pretty bracelet:

©Giliell, all rights reserved
I’ve got some more pics but that project failed and I’ll not sully this post with them so stay tuned for “Resin: a learning opportunity”
Beautiful. Nuff said.
Wow! Creative + clever art! The portholes are a brilliant idea -- flip the resin/wood enclosure idea around.
These are so lovely! I particularly like the dragon eggs -- really cool.
Beautiful! You are so talented.
By the way, I used some of your resin beads in a decoration for my studio, and I smile whenever I look at it.
Gorgeous, I don’t know which I like most.