The lining inside my portable mini forge is starting to fall apart, and instead of repairing it I have decided to build a completely new one. I have observed a few problems with the old one, how to achieve the best circulation of the hot gasses etc, and I think I can do a better job at it now than I did then.
I started with a rummage around my junk-pile. I thought about the hows and whats and I selected a few pieces of steel v-profile, a few treaded rods with matching nuts & washers and a long piece of stainless chimney duct. Then I made a sketch (sorry for the grime, it occurred to me to make the pictures only after I have done all the work).

© Charly, all rights reserved. Click for full size.
It is slightly bigger than the previous one, but it should still be easily portable. And the fireclay bricks fixed at the front and back will save me some time preparing for my work. I hope. I see no reason why it should not work as expected, but proof of the pudding is always in the eating. In my previous job, I have always reminded engineers that reality, not their expectations, is the ultimate arbiter of what works and how.
After I was done with the sketch, I started to make a list of parts. I have decided to not weld it together, but to use screws. Partly because my welding sucks big time, partly because the fireclay bricks are all miss-shapen and of different sizes and I wanted to have a bit of room to play and partly I reasoned that if it all goes south, I will be able to disassemble it easier. This has meant however that I had to ad a lot of nuts, screws, and washers and that has proved to be a bit of a problem. A lot of the M8 nuts and screws in my junkpile were rusty beyond rescue and I had trouble getting all I need.

© Charly, all rights reserved. Click for full size.
However, I have managed to get everything I need without having to go shopping. I cut the steel profiles to size, wire-brushed them, drilled holes, then filed some of the holes to an oval shape in order to be able to adjust the size of the holders for fireclay bricks and I assembled it to try it out. It seemed to work alright, so today I disassembled it all again. Then I degreased every profile thoroughly with acetone and I spray-painted them with silver stove paint (not the duct, since that is already stainless and the paint would probably not hold on it anyway). When the paint dried, I could finally assemble the whole thing together.
Here it is.
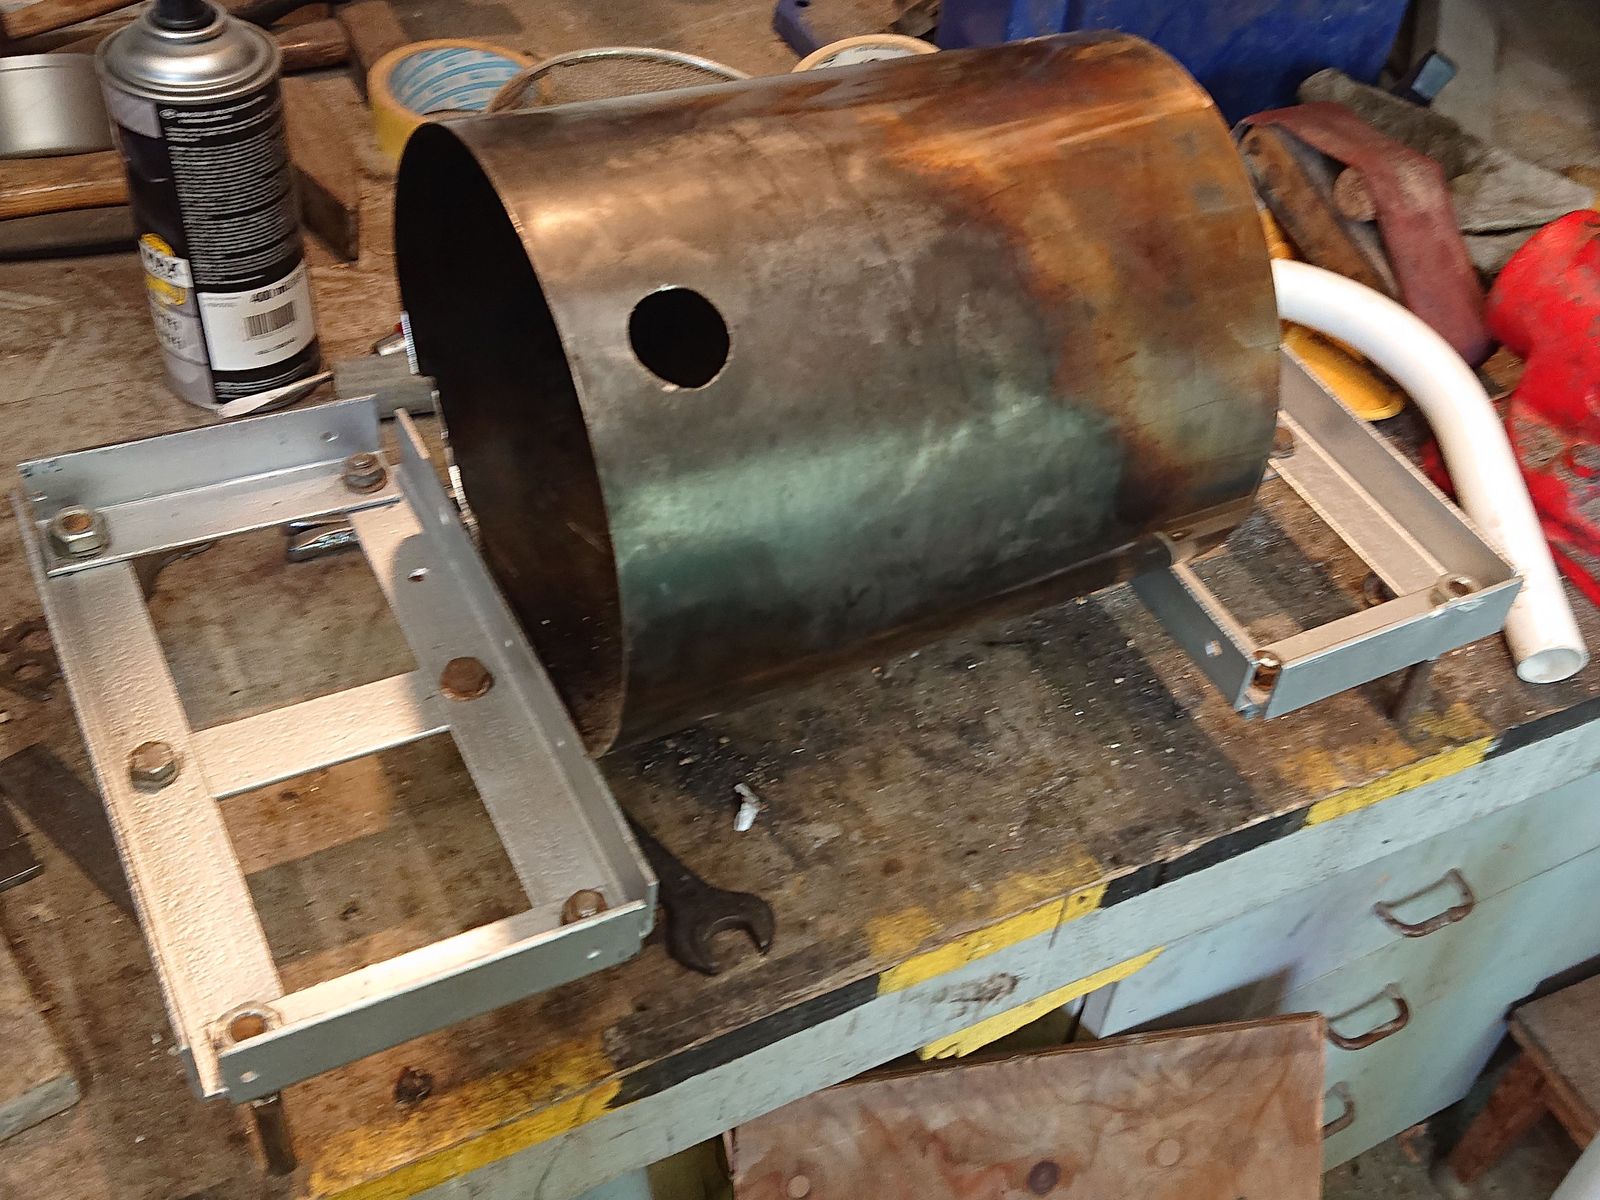
© Charly, all rights reserved. Click for full size.
Today I have made the mold for the inside – the actual chamber and the in- and outlet. This time with my old trusty method “just wing it, mate”. Tomorrow I hope to fill it with refractory cement.
I will post about how that went.
Are you going to go with a more standard propane burner and a tank? Eventually you’ll want to be able to reach welding temperature.
@Marcus, I only have one type of propane-butane tank available, and currently only one type of burner. Welding temperature is not an issue that concerns me right now, I only need to be able to get relatively even temperature at around 1050°C over 200 mm length and that is my goal. It should be possible because I got that with my previous forge even when it was already falling apart.
If I ever get to forging, especially forging damascus, then I will have to build another forge with a bigger burner, possibly even a forced-air burner. But that time won’t come for at least quite a few months.