© Charly, all rights reserved. Click for full size.
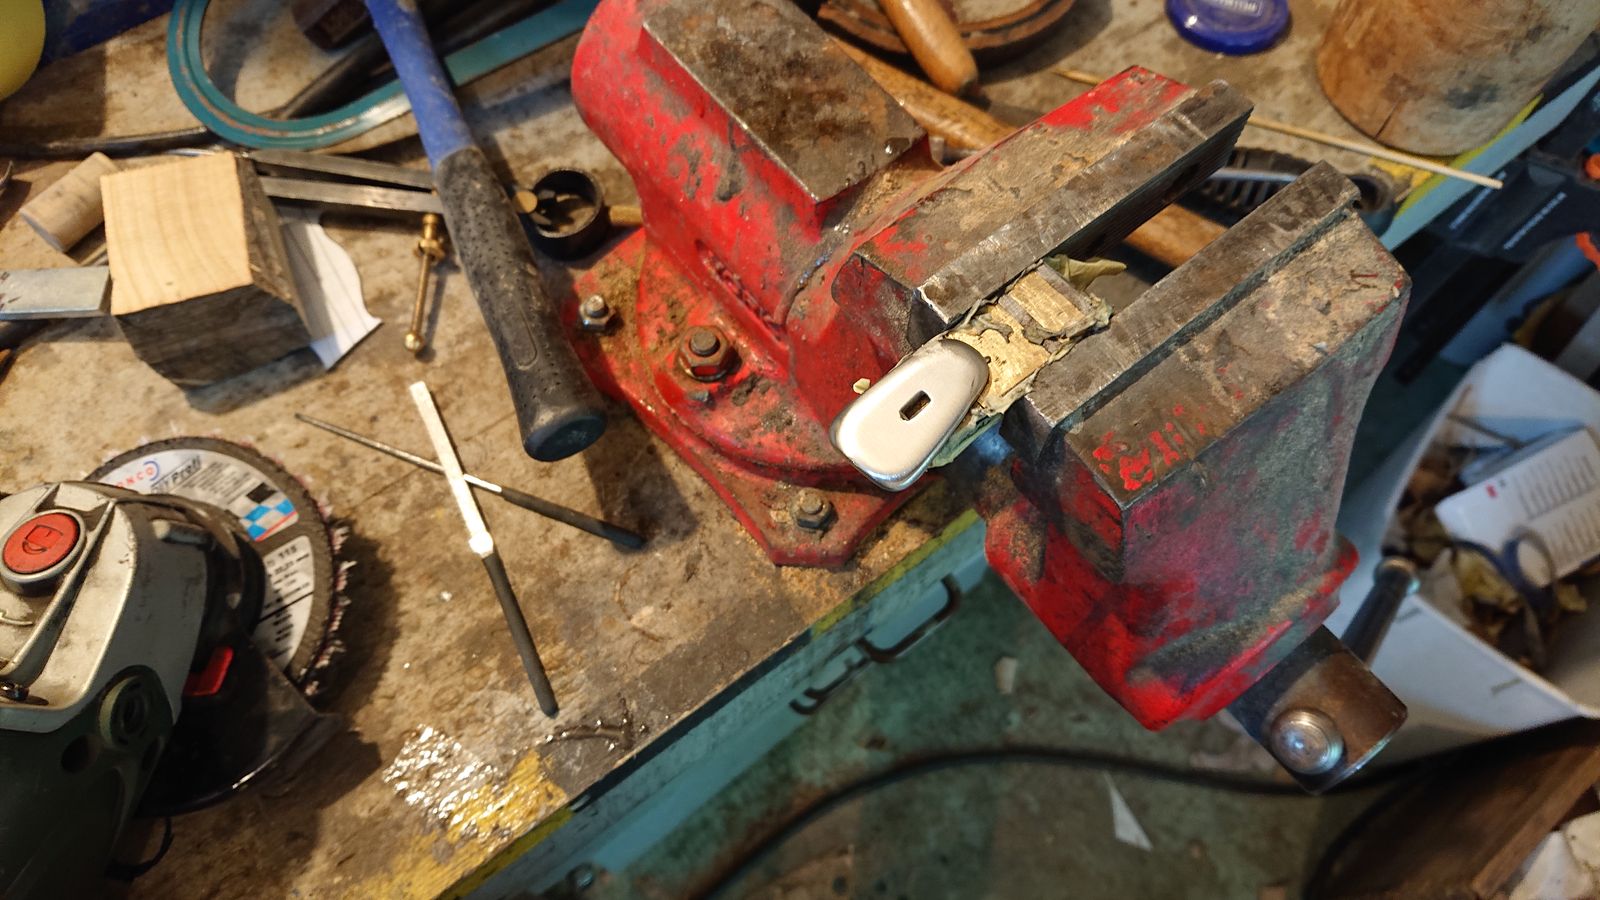
The HDD magnet proved to be very useful when polishing the bolster/handguard. It proved to be strong enough to hold it when grinding on the belt grinder, but also when polishing with the angle grinder. I did not intend to use the magnet in this way, but now I will because it has proven itself to be extremely useful for holding these tiny things steady. Shame that other metals that I am going to use for these things – aluminium and brass – are not magnetic.
The next thing I have done after the bolster was fitted was to make the handle. That did not go too well as you may remember. The first piece of wood had cracks, on the second piece of wood I messed up the drilling and the third time was the charm. It is a nice piece of wood and looks great when the grip is fully shaped, but I do wish that I have managed to get the grain alignment a bit better. But grain alignment is not something that anyone else fusses about that much, so I should not fuss about it either. Here you can see the grip roughly cut and shaped on the belt sander.

© Charly, all rights reserved. Click for full size.
After the grip was shaped, I have also glued to ti the end cap/pommel thingie and I have decided to sign the blade before assembly. For that, I have tried a new thing, which unfortunately completely and utterly failed.
I have bought photosensitive lack that is used for etching PCB boards. The idea is, you spray-paint your metal surface, you print your design, you put your design on the surface and use UV light to quickly deteriorate the paint on illuminated areas. Then you wash out the deteriorated paint with a 1% solution of NaOH and voila – you can etch.
The paint did not deteriorate under UV lamp as advertised and the NaOH solution did not wash it out of the illuminated areas. I have followed every step of the instructions, multiple times, and it just did not work. So I tried to increase the NaOH solution concentration – and it washed off all of the paint. So until and unless someone shows this particular product to me to work, I am considering it an unfortunate waste of money.
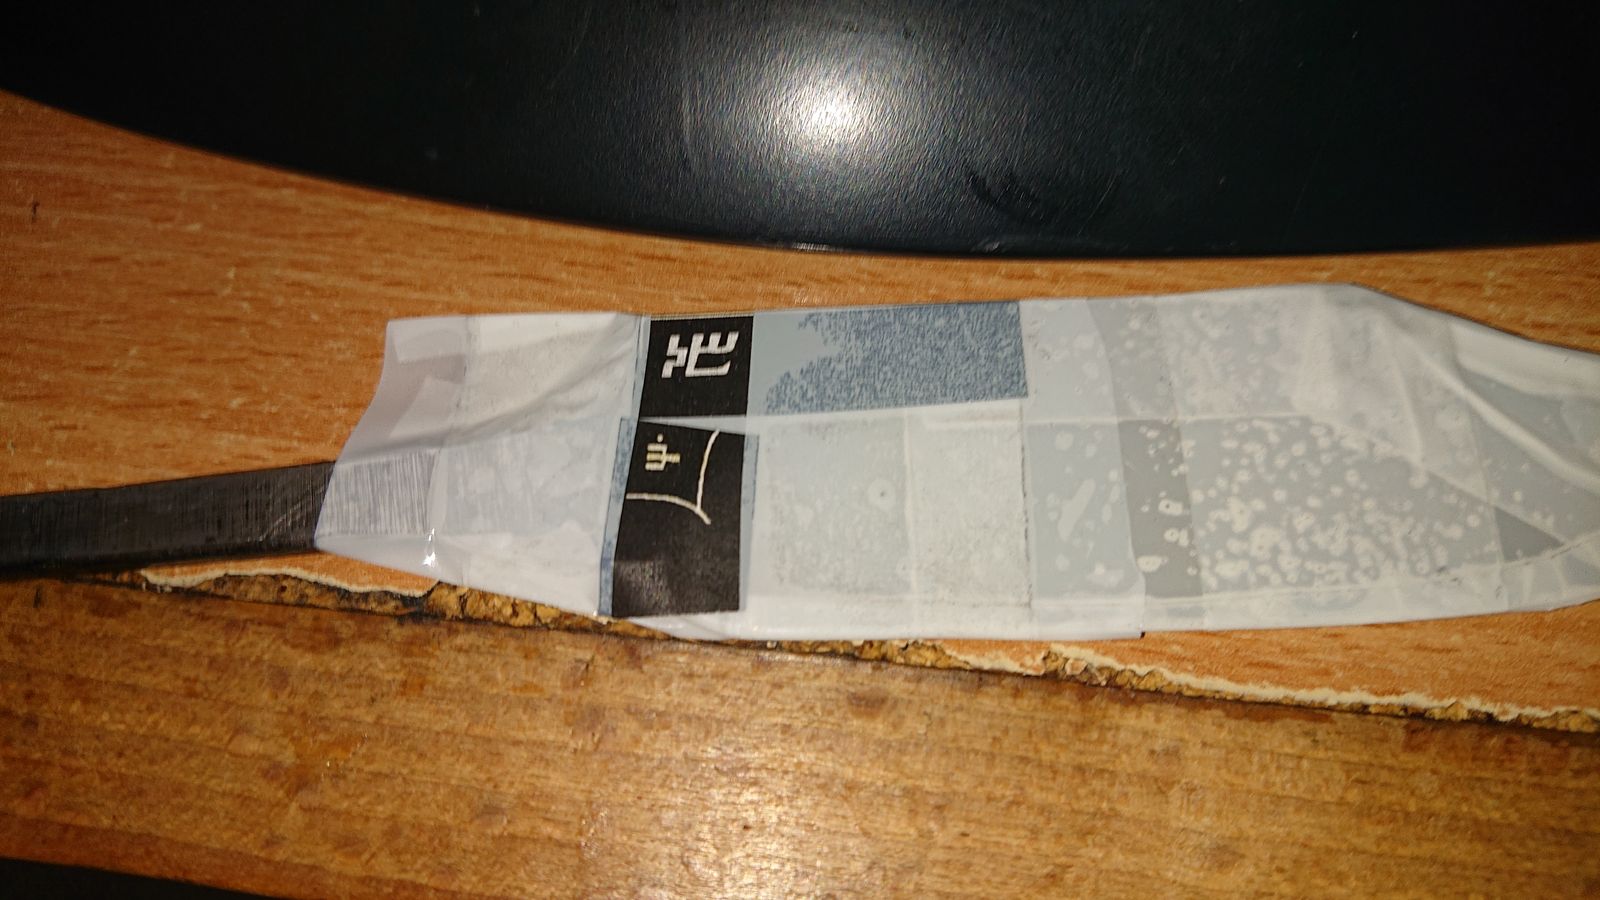
I do not want to make my signatures too big, and I want to number the blades from now on, and the wax is not very conducive to tiny fine details. So I had to revert back to how I did things in the past, with slight improvements. I have covered the blade with plastic adhesive tape. But this time I have used double-sided tape on the parts where the signature and numbering were due to go, and then I glued to it one print of the now useless stencils for the failed photo etching. Then I cut out the letters with shaving razor and a pointy scalpel blade.
Because I did not want to damage this blade, I have first tested this new technique on the failed machete (that fail has proven quite useful, I have hardened piece of steel for experimenting).
© Charly, all rights reserved. Click for full size.
Etching in a cup with solution works, but it takes a lot of space and a lot of solution to immerse the whole blade. So I have built myself a new thingie that allows me to perform etches with very little solution.
I took a piece of graphite and ground it flat to about 20x30x5 mm. On top, I glued a piece of wood and covered it all with excess epoxy glue to protect it against moisture. The next day I drilled a 6,5 mm hole into the wood down to the graphite. Lastly, I took a piece of 8 mm brass pipe, cut M8 thread in the hole and on the pipe, and I screwed the pipe into the hole so far that it has a solid connection with the graphite.
For the etching itself, I have simply put a piece of felt soaked in diluted FeCl3 solution on top of the design, between the blade and the new graphite electrode. Anode (+) on the tang, cathode (-) on the brass pipe and after five minutes the job was done. The etchings are clean and nice looking.

© Charly, all rights reserved. Click for full size.

© Charly, all rights reserved. Click for full size.
Just like last time, I have no pictures of the assembly. Imagine me slathering epoxy mixed with wood dust all over the tang, hammering the handle onto it and then peening the end of the tang whilst being in a constant state of panic that something goes wrong. Nothing went wrong, although I am not happy with how the peen turned out. But the customer did accept in advance that peened tangs can be a bit unseemly. Even unhardened stainless steel does not like to be peened and tends to crack around the edges. And I did not dare to try and weld soft steel stud at the end of the tang, this steel allegedly does not weld well. But maybe I will try something different for the second blade. This one is unfortunately stuck with this, although it might get a bit better with some more polishing.
So the knife is now more or less finished and functional. The last thing to do is to clean and polish the wood to about 300 grit and then impregnate it with boat lack.

© Charly, all rights reserved. Click for full size.
Yay! That etching set up sounds perfect for your very specific need.
That knife has beautiful lines. I can’t wait to see the unveiling.
Also, you’ve learned a lot making this knife. You’ve solved every problem and improved on several parts of the process -- so, well done! Now, comes the part where you practice, practice, practice.
I am excited for the big reveal!