Yesterday we saw the birth of a couple of little Mermaids, today it’s two steps back in the process: mould making.
I have long wanted some more natural looking moulds and with the mermaid moulds being so frustrating I finally decided to use the materials Marcus sent me last year.
I’ll only show the process for the pebbles, but describe the squares as well.
While you can embed almost everything into silicone, if you want a mould that creates shiny resin pieces, your positive has to be smooth as a baby’s butt, so my first step was to cover some pebbles and pieces of wood in resin.
©Giliell, all rights reserved
The problem with the wood was that the cut sides soaked up the resin, staying rough, so I decided to cover the whole thing again the next day. This times the sides became smooth, but the resin decided not to stick to itself on the top…
After I covered my pieces in resin I created the “mould box”. Marcus made those four pieces you can clamp to each other, allowing for variable sizes. You just need to put some putty into the cracks to seal it, something that worked well here, but not that well with the wood pieces, so I drowned my kitchen table in silicone and then had to somehow scoop it up again because I didn’t have enough to replace it.

©Giliell, all rights reserved
The resin had created a flat foot on the pebbles that I worked a little with sanding paper, so i could put the flat on the surface and pour the silicone on top with little worries that they’d rise to the top…

©Giliell, all rights reserved
All poured, now wait…

©Giliell, all rights reserved
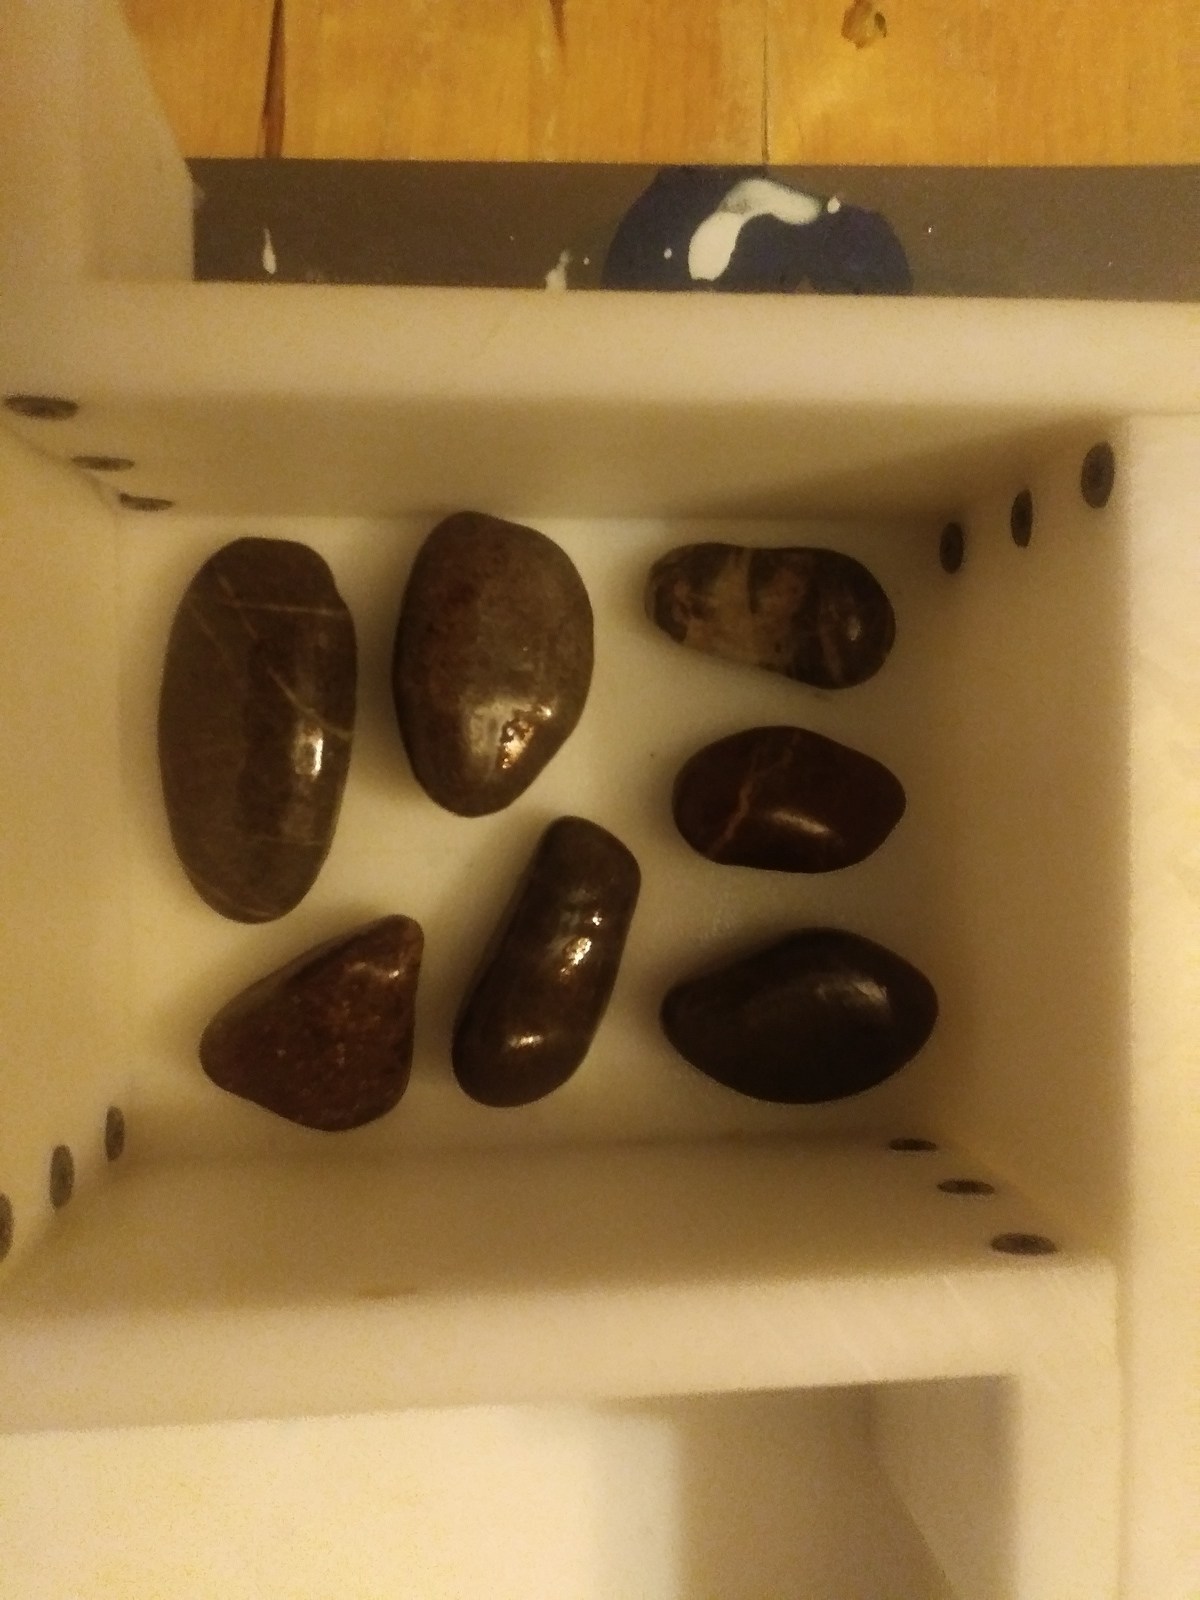
This is the mould with the pebbles still inside. They came out nice and clean and I
really like that mould. Now for trying it out…

©Giliell, all rights reserved
The green one on the right was a different mould, one where I tried to make all round pieces. Those still need some working on.

©Giliell, all rights reserved
©Giliell, all rights reserved
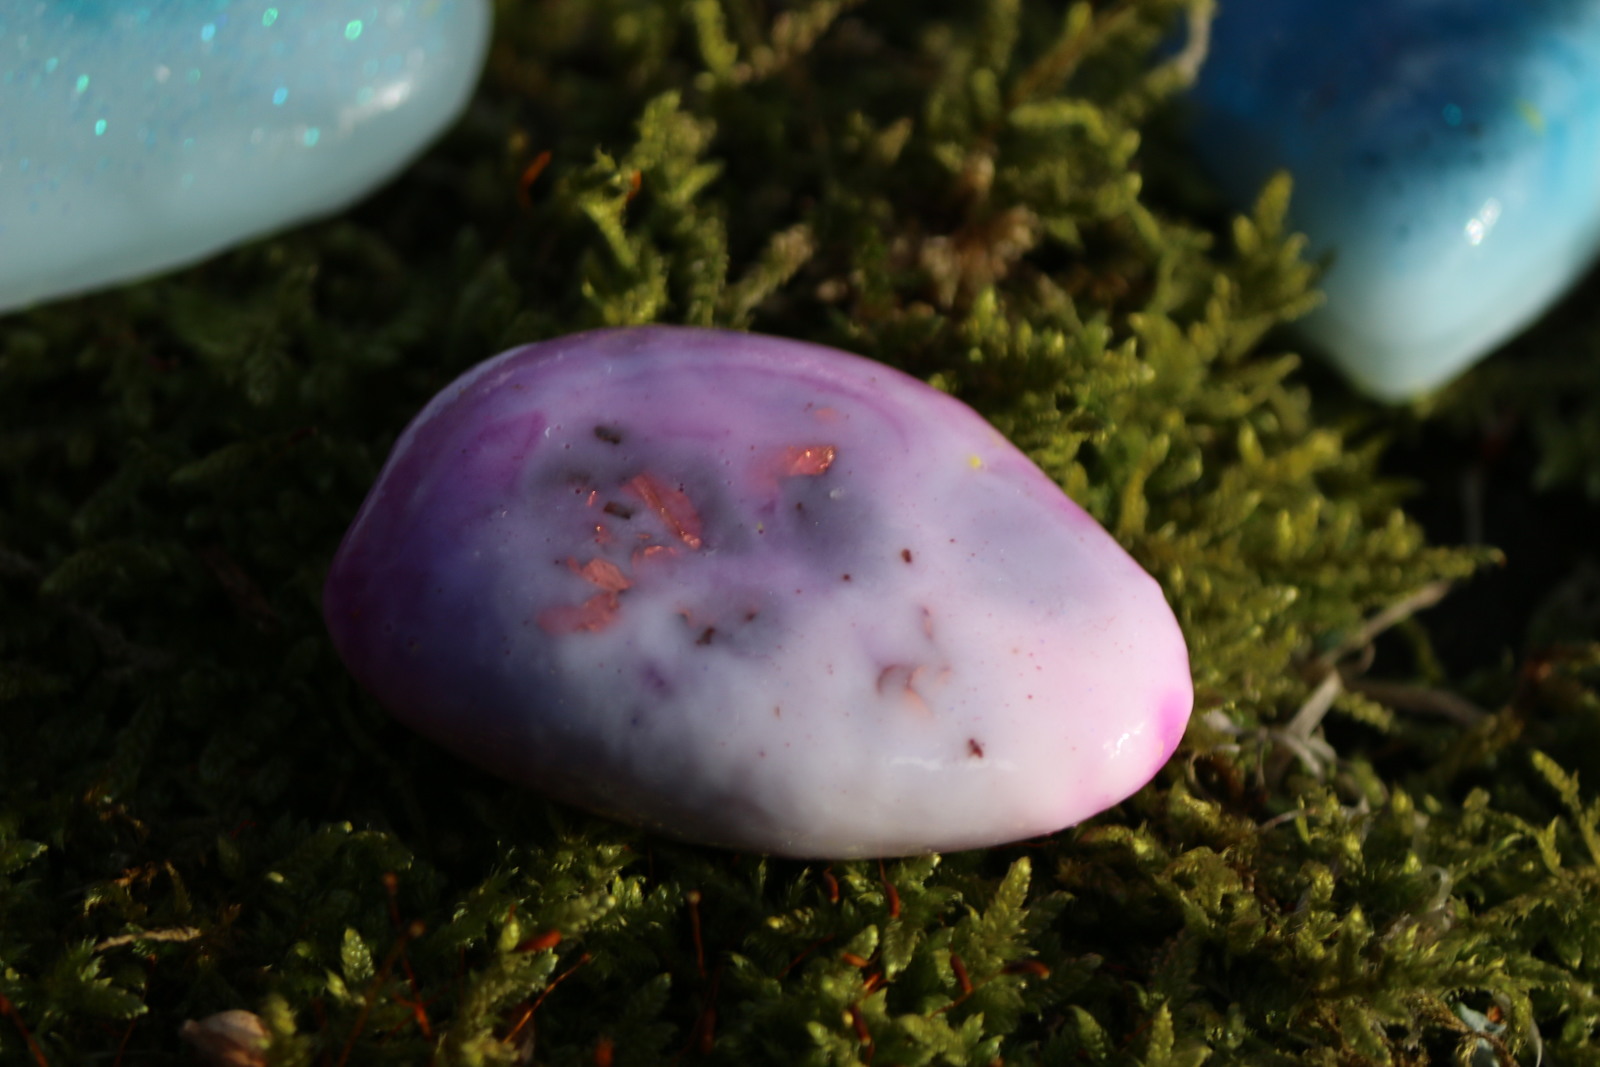
You can see that they’re really glossy while also really pebble-irregular.
The square ones are fine for making pieces that you sand down, but due to the issues with the resin not that nice and clean. Afterwards I remembered that Marcus had once sent me a “book club” block that would have made a nice clean mould…
I also tried some small globe shaped moulds, which still need some tinkering, so the next time I need to order resin I’ll also order some more silicon.
Another trick for sealing mold boxes is to use a thinnish bead of vaseline goop. It’s quick and easy to clean up but it takes practice to get a good seal. Tape also works but if the silicone gets out, the tape is a lost cause. I clamp the heck out of my mold box flip it over and put a bead of vaseline along the bottom, and press it firmly into place.
I modify objects a lot. For example I made a mold of a wingnut (I want solid silver wingnuts) using a real wingnut with the center hole filled with clay. The resulting mold has no cavity. You have to use sulphur free clay with some urethane molding compounds but silicone works with almost anything. Paint some denim with vaseline and you can make molds of cloth!
If you ever put anything in silicone that is lighter than the silicone you need to glue or screw it down. There’s a screwhole for that in the bottom piece. Also: smaller molds use less silicone. You can get the mold box pretty tight up on the object -- 1/4″ of silicone is enough.
I simply used play dough, that worked quite well.
Hmm, though with the not pictured round moulds I’ll need more material. They’re split moulds and the rubber then deforms the mould.
I like the results, that violet one with hints of gold is particularly good.
A trick for making round molds is to use a paint cup, a plastic cup, a tupperware, or something like that. Attach your object to the bottom then pour the silicone. You can just cut the cup with scissors and slice down the sides a ways to release the object. To keep the mold from losing shape or leaking when cast, wrap it with string and tie it loosely.
Fabulous, Giliell. I love the things you make. You’re so creative. Several of those pieces look like seaglass. I could cheat my collection and add “resin glass,” but then I’d need to scatter them on the beach and try to find them. Otherwise, it would be too much cheating.