I am not done with the polishing yet, since the hardened layer was too thin and I had to start all over again with hardening. This time i made it during the day with controlled temperature. And also a different hardening mixture because the thinness might have been caused by phosphorus in the steel, which inhibits dissolution of carbon. I shall not go into technical details here, maybe another time in another project, but the result is twofold – the dagger has now really, really hard surface, maybe too hard, it eats abrasives. And it has a few discoloured spots, which I was trying to avoid by using charcoal. It is a beautiful blade nevertheless so I had to solve the conundrum how to keep it from scratching. I cannot just lay it on the workbench, because there will always be abrasive grains from angle grinder, sandpaper etc. and highly polished surface gets unseemly scratches in a blink. So I decided to start on the scabbard.
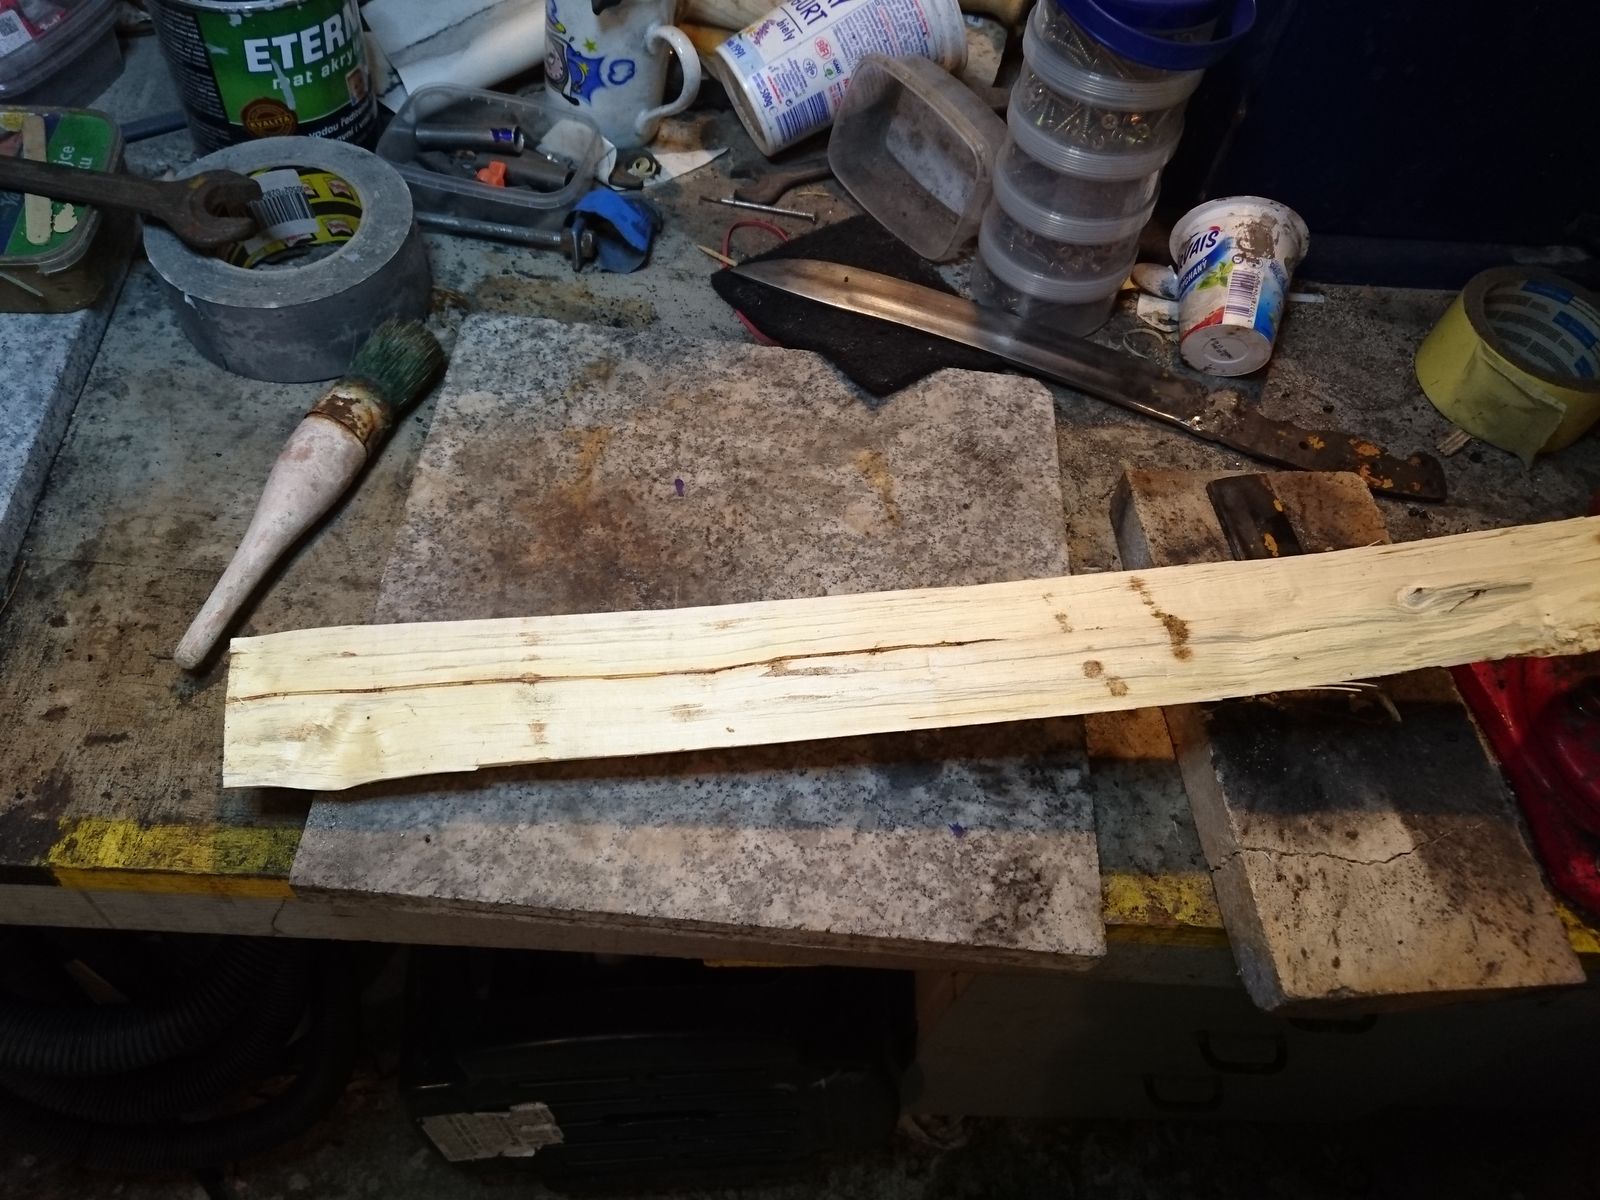 I intend to do proper, wooden scabbard and for this I have set aside a piece of fast growing poplar (Max 4 (Populus maximowiczii x P. nigra)) that I grow in my garden for firewood. It is very light, porous and soft wood, feels in hand like balsa but does not split or break very easily – it tends to keep hanging on threads. That makes it an ideal material for a scabbard. Since it is a modern fast growing hybrid, it is not authentic material, but it is closest to authentic material (P. nigra) I can get my hands on straight away. The piece I have here is from a four year old tree that I harvested this spring.
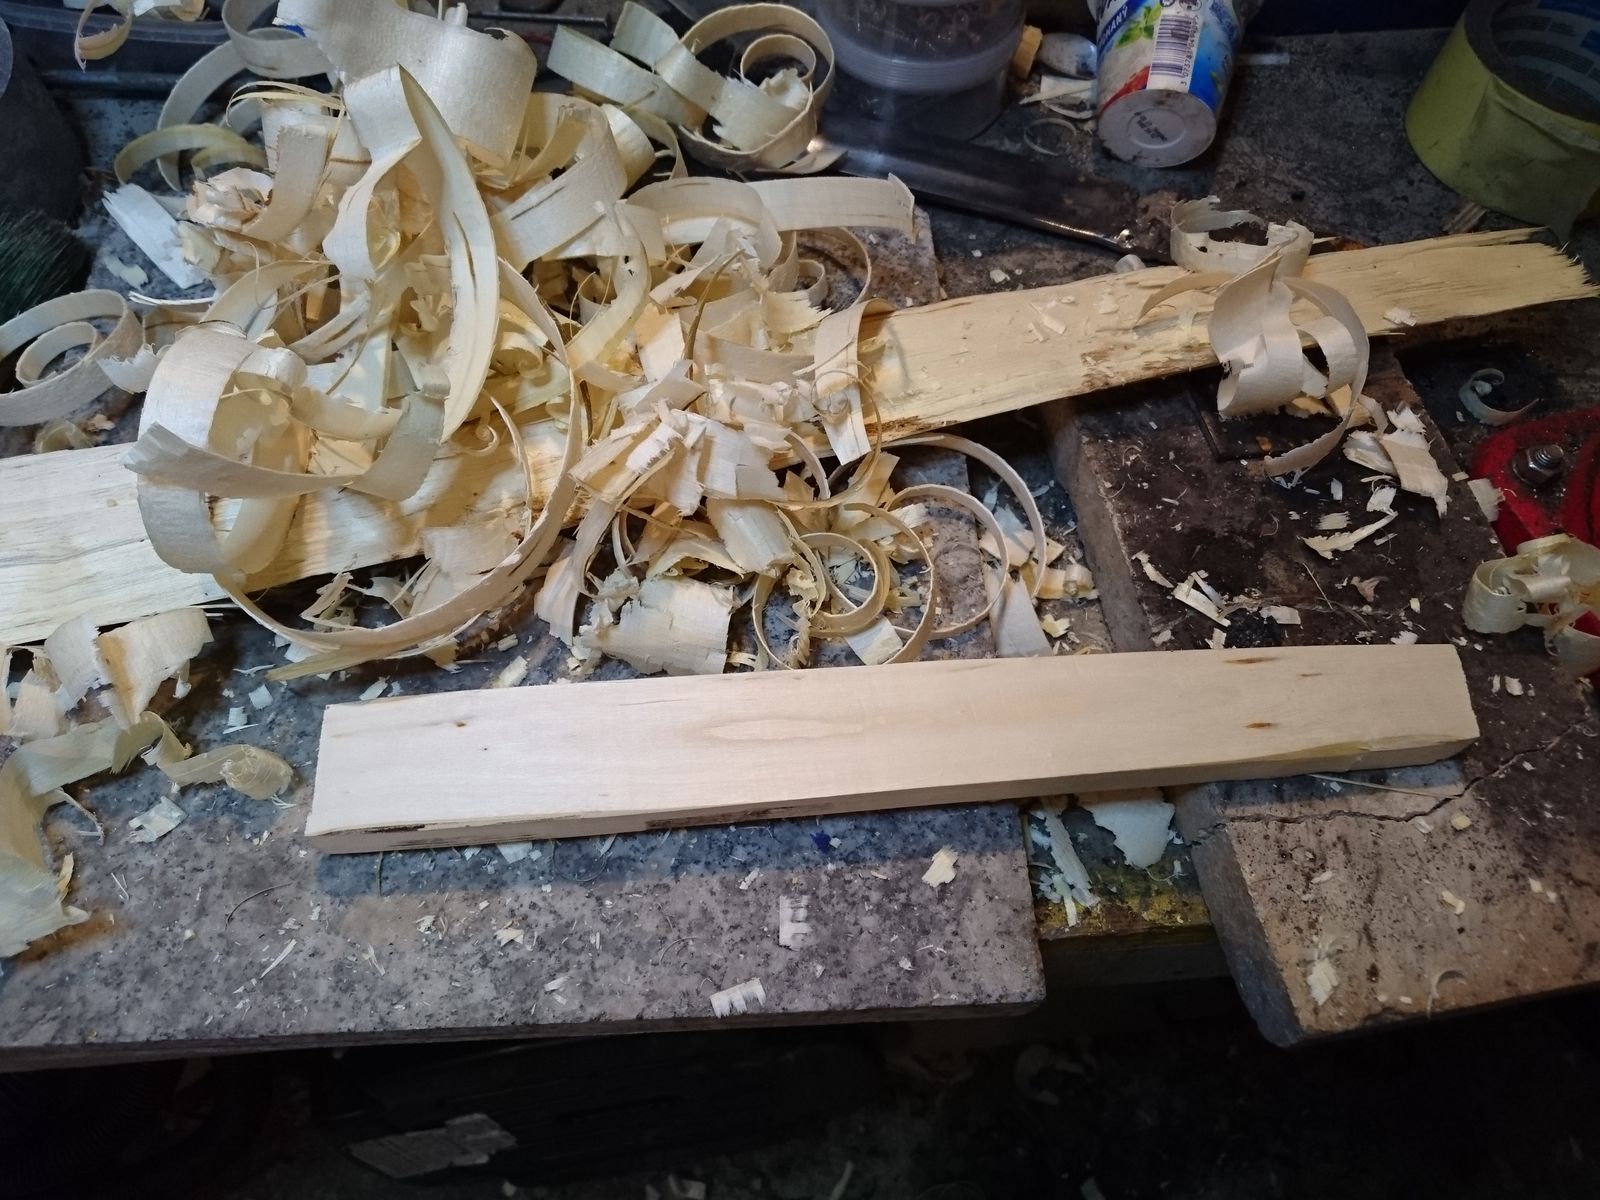
Cutting a rectangular block with a draw knife and a plane, cutting the block in two halves and facing them, all was a matter of mere minutes. The wood is extremely easy to work with.

A scabbard must be tight enough for the knife not to fall out with its own weight, but not so tight as to make it difficult to pull it out. So I had to cut half-blade grooves in both halves (I also took this opportunity to use my belt grinder to sharpen all my chisels and carving knives, it was long overdue in any rate). For this a bit harder wood would probably be slightly easier to work with, because with wood this soft I had to be really careful not to cut too much. I did however cut a little more than for a perfect fit, because after the grooves were cut, I had to rough the halves with a hacksaw blade for greater surface and therefore better glue adhesion which takes about half a mm off. There is a special type of plane for that, but I do not own it and even if I did, this is too small surface for a plane. The hacksaw blade is an old and tried trick. Only because the blade teeth are asymmetrical it is important to turn the blade around in order to get symmetrical grooves, or check the direction of the teeth and make them match.


Thus prepared wooden halves were then glued using a hide glue that I cooked from sinews a few years back.
 I do not like working with hot hide glue, but not only is it a medieval authentic material, it has one huge advantage over modern glues – it can be redone and repaired with the help of steam over boling water multiple times, so any mistake can be corrected.
Not that I ever make mistakes that must be corrected. The mistake I did not make and therefore did not have to correct this time was forgetting that since the scabbard is hollow, the warm gooey snot gets squeezed not only on the outside, where it is of no consequence, but also on the inside, where it constrains the already tight fit. I also most definitively did not make the scabbard too tight the first time so it was nigh impossible to get the dagger in and out. But after a few days and multiple attempts … What am I saying. After I glued it and clamped it over night it was fit and ready.
Later I left it dry naturally in the sun for a day and I heated it with hot air pistol with the blade inside so the wood forms better around the blade and also to dry it as much as humanly possible. After that all that remained was to cut it to proper length and chamfer the edges. Now I have safe storage for the blade during final polishing and a piece of work done at the same time.
A job well done. What type of handle will the blade have?
I am making it after a dagger in the game Witcher 3, although there will be modifications.
The handle in game is turned out of wood with decorated rondel and nearly round guard.
A fine piece of safety equipment.
The scabbard brings into my mind a Finnish saying: Tulee tupenrapinat! Literally: “There will be a rustling sounds as the puukko is pulled from the sheath!” Puukko is the Finnish utility knife. Pulling it from a sheath or scabbard made out of birch bark would produce a rustling or scratching sound. Someone who uses the saying isn’t necessarily saying you’re going to get stabbed, but they’re implying the time for talk will be over and other measures may be taken, either by them or somebody else.
Tuppi is a sheath or a scabbard for a smaller knife, huotra is a scabbard for a sword in Finnish. Dagger is tikari.
@Ice Swimmer “Tulee tupenrapinat!”
I do not see the word puukko anywhere in there?
I know a little bit about puukko and its contstruction and I want to make one at some point in the future, but I did not know that the sheaths have wooden core from birch. I thought they are made from leather only. Interesting thing to know. Properly dried and kept birch is very, very hard wood and not at all easy to work with. Good for handles, but it must be a pain to make a scabbard core out of it.
Charly @ 5
My ancestors probably only had one thing in a tuppi, a puukko, so puukko is implied. Tulee means “comes” or “there will be”, tupen is the genitive of tuppi (sheath or scabbard) and rapinat is the nominative plural of rapina, rustling or scratching little noise.
I’m not sure which wood was used for the core or as it is called in Finnish lesti* or lesta. Birch is possible but may not be the only choice. Some sort of wooden core must have been common, as a sheath just made of (soft) leather is dangerous, if the tip of the puukko works its way through the leather.
However, what I was talking about was a sheath made of birch bark. I don’t know if that kind of tuppi has a wooden core as well. Birch bark (tuohi in Finnish) that we have here is a tough material, which was used a lot in various purposes, from shoes and backpacks to roofing material.
__
* = The same word is also used for a shoemaker’s wooden insert, “last” in English.
Thanks for the info. Birch bark, before it turns into stone on old trees, is very tough and weather-resistant material. I read it was also used to cover bows because it is strong in tension in one direction.