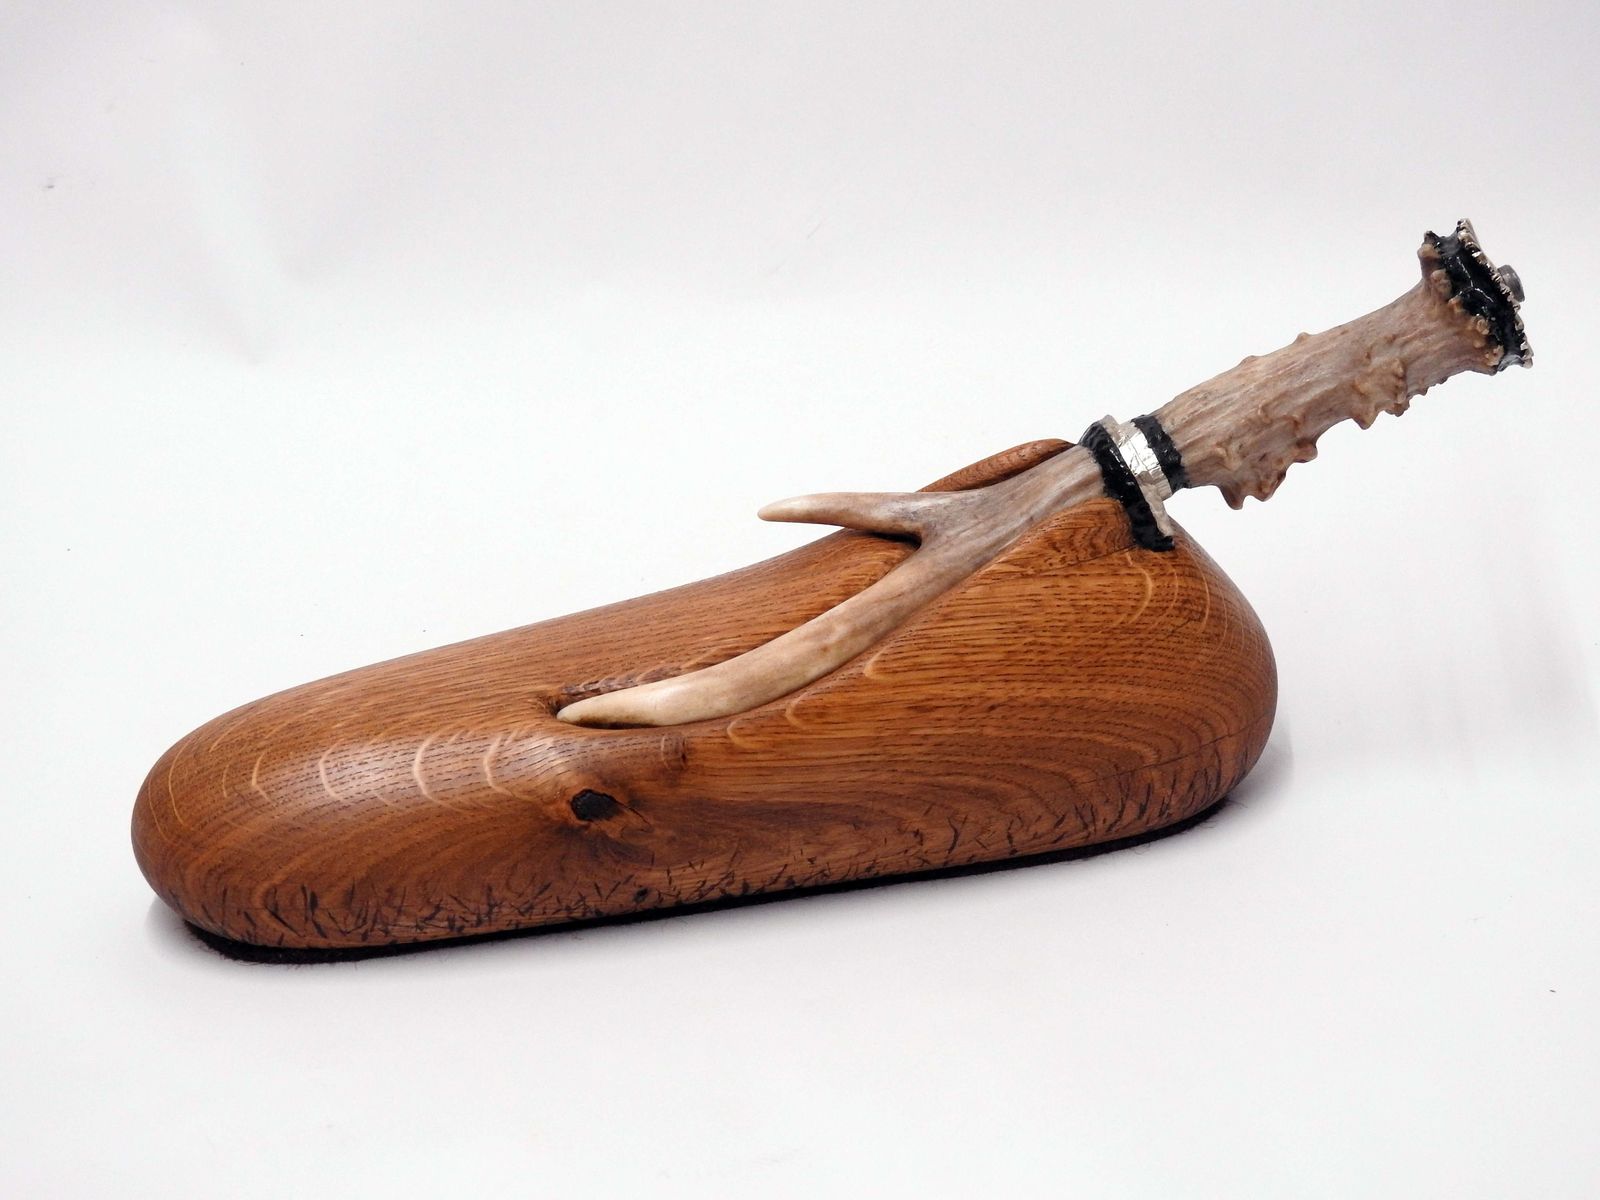
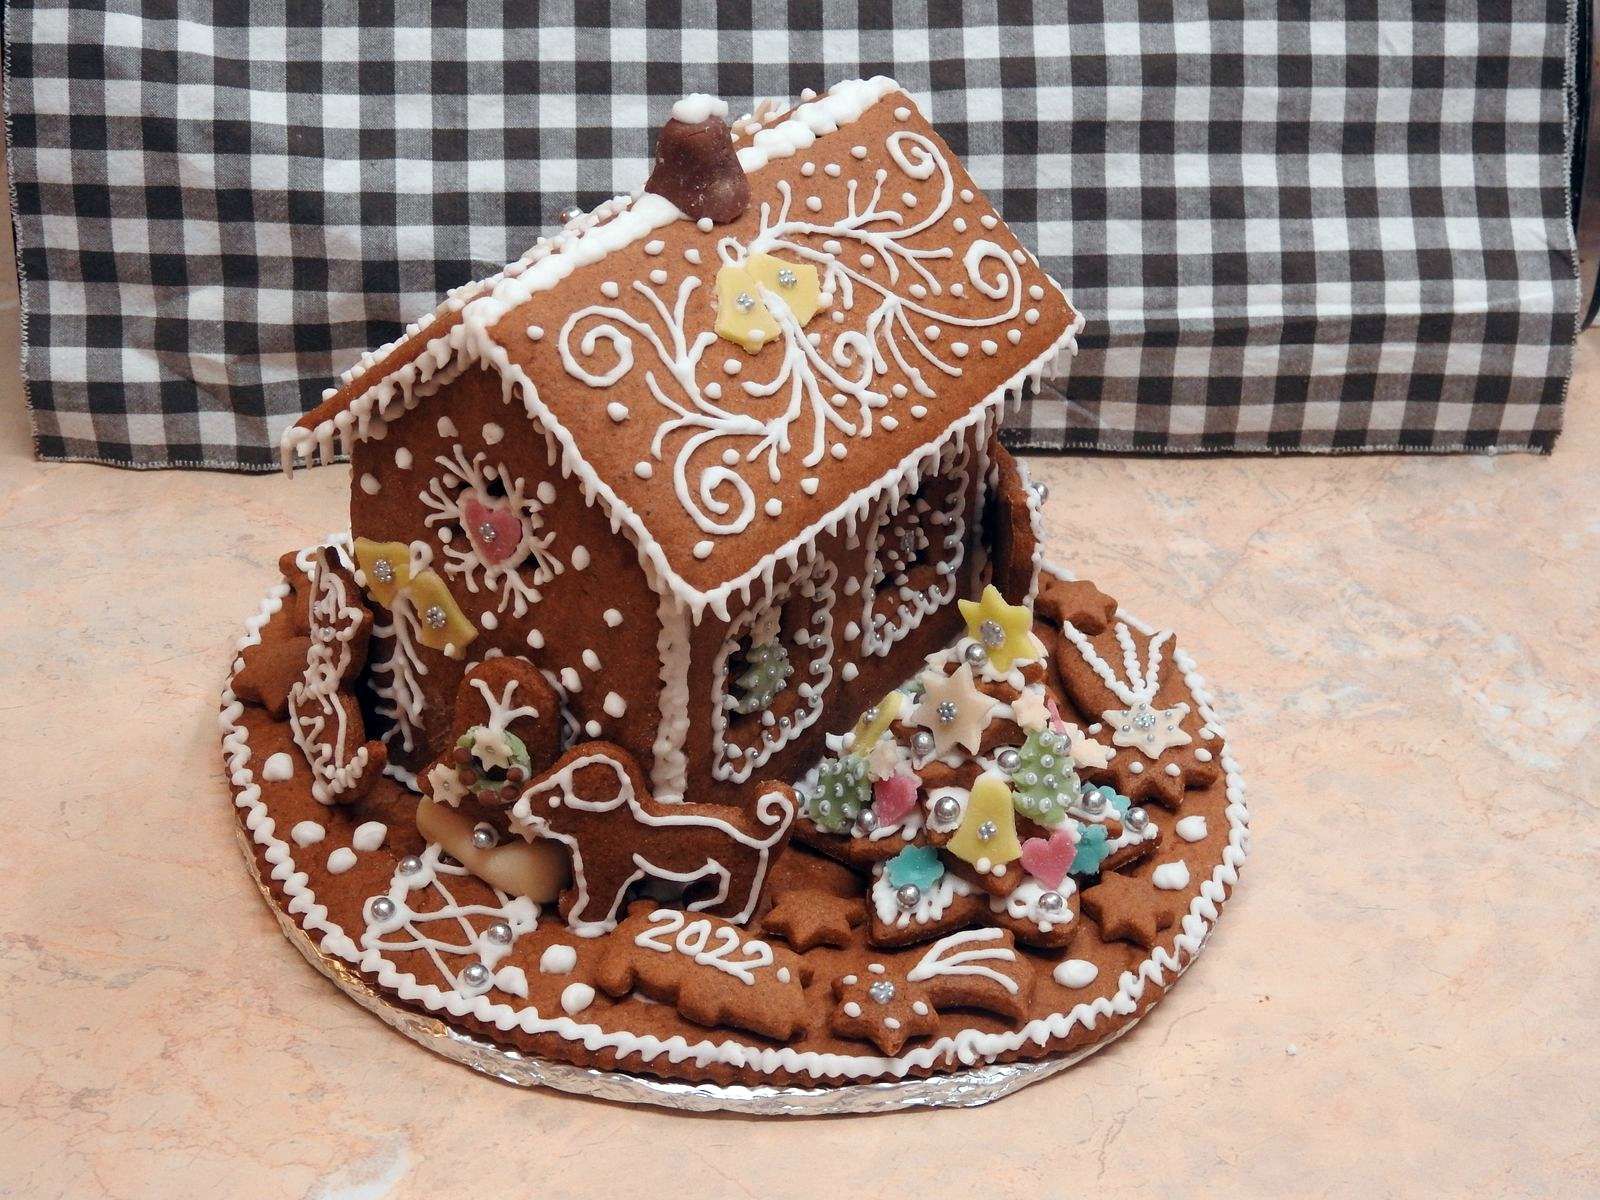
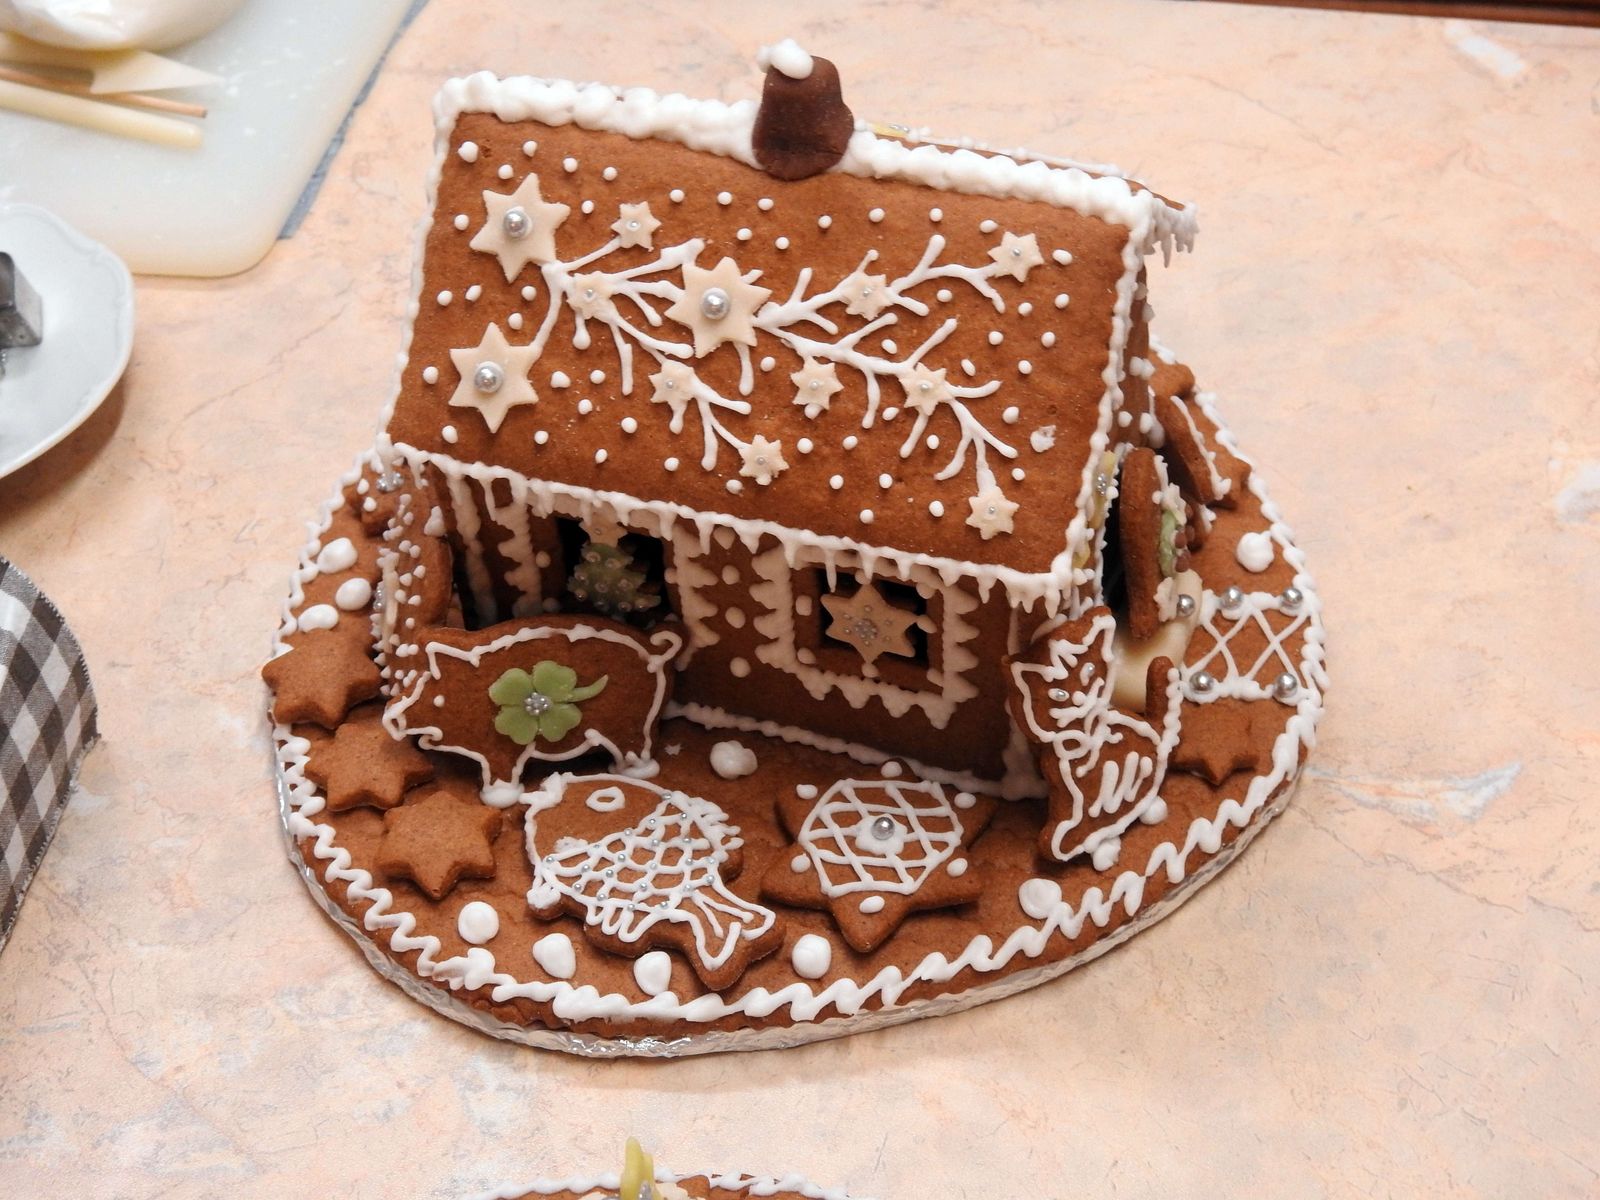
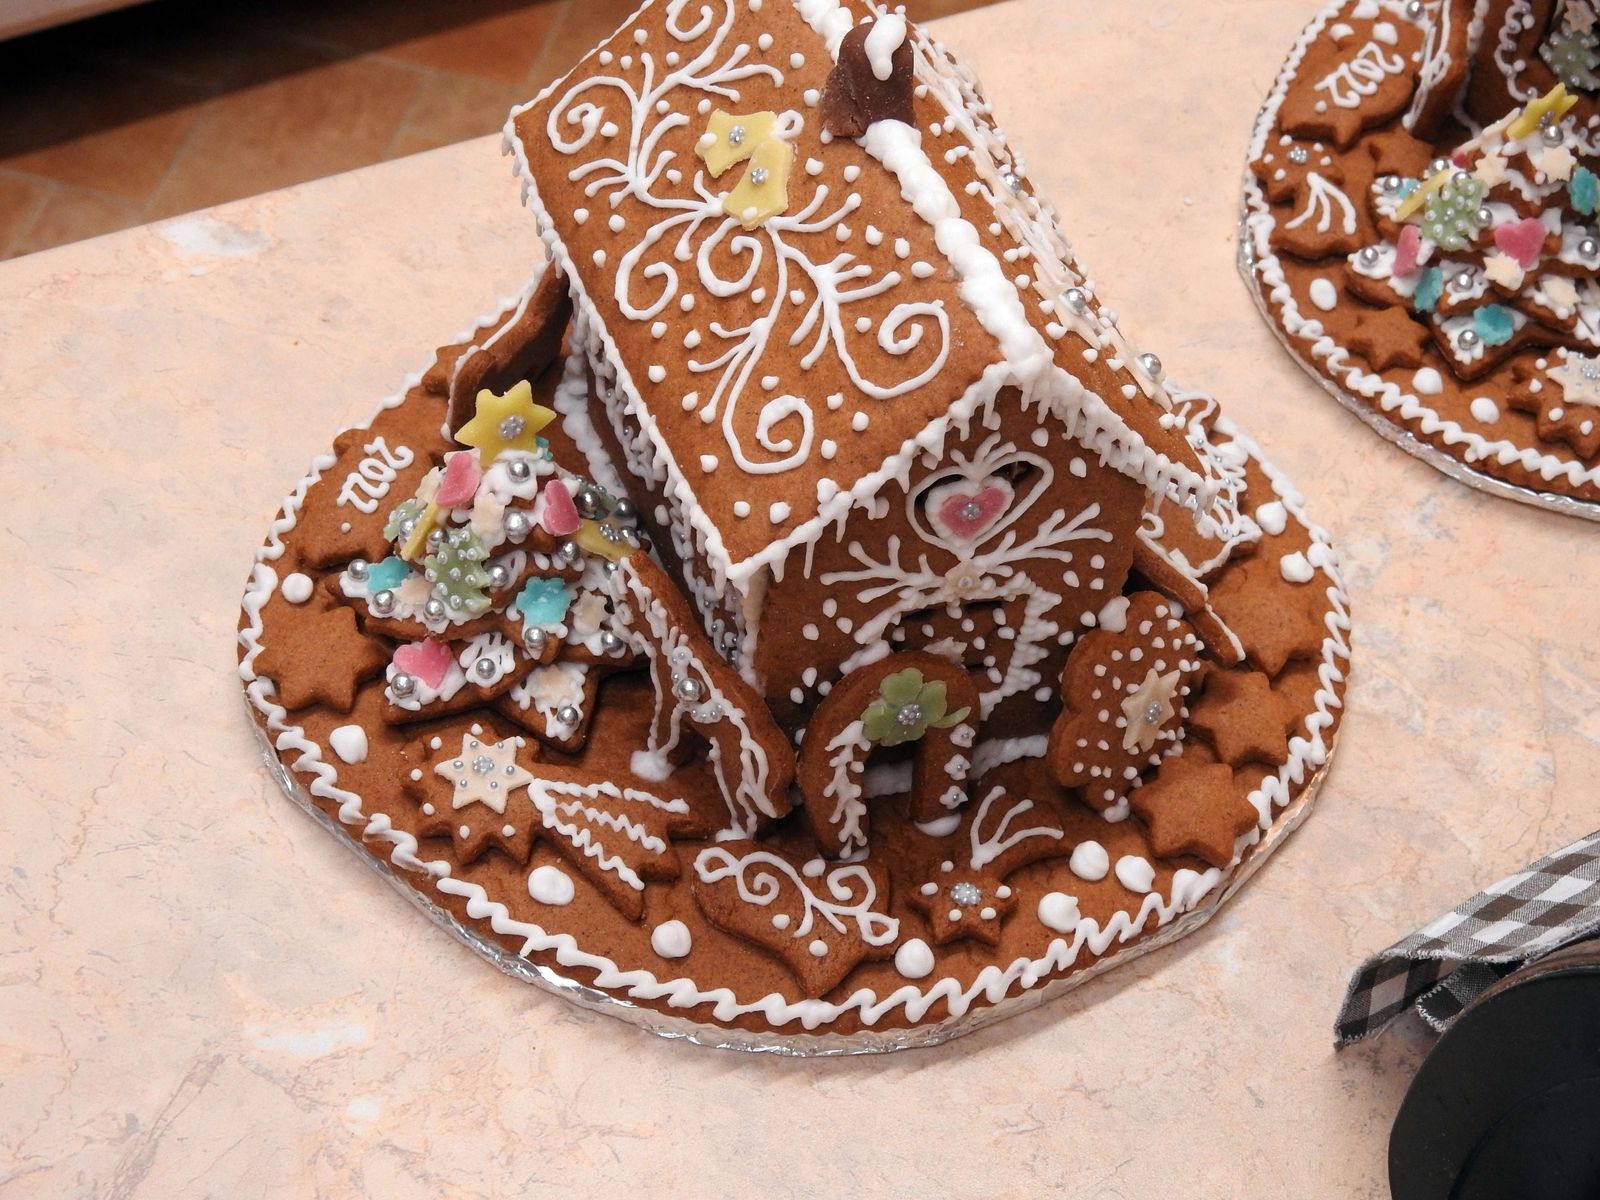
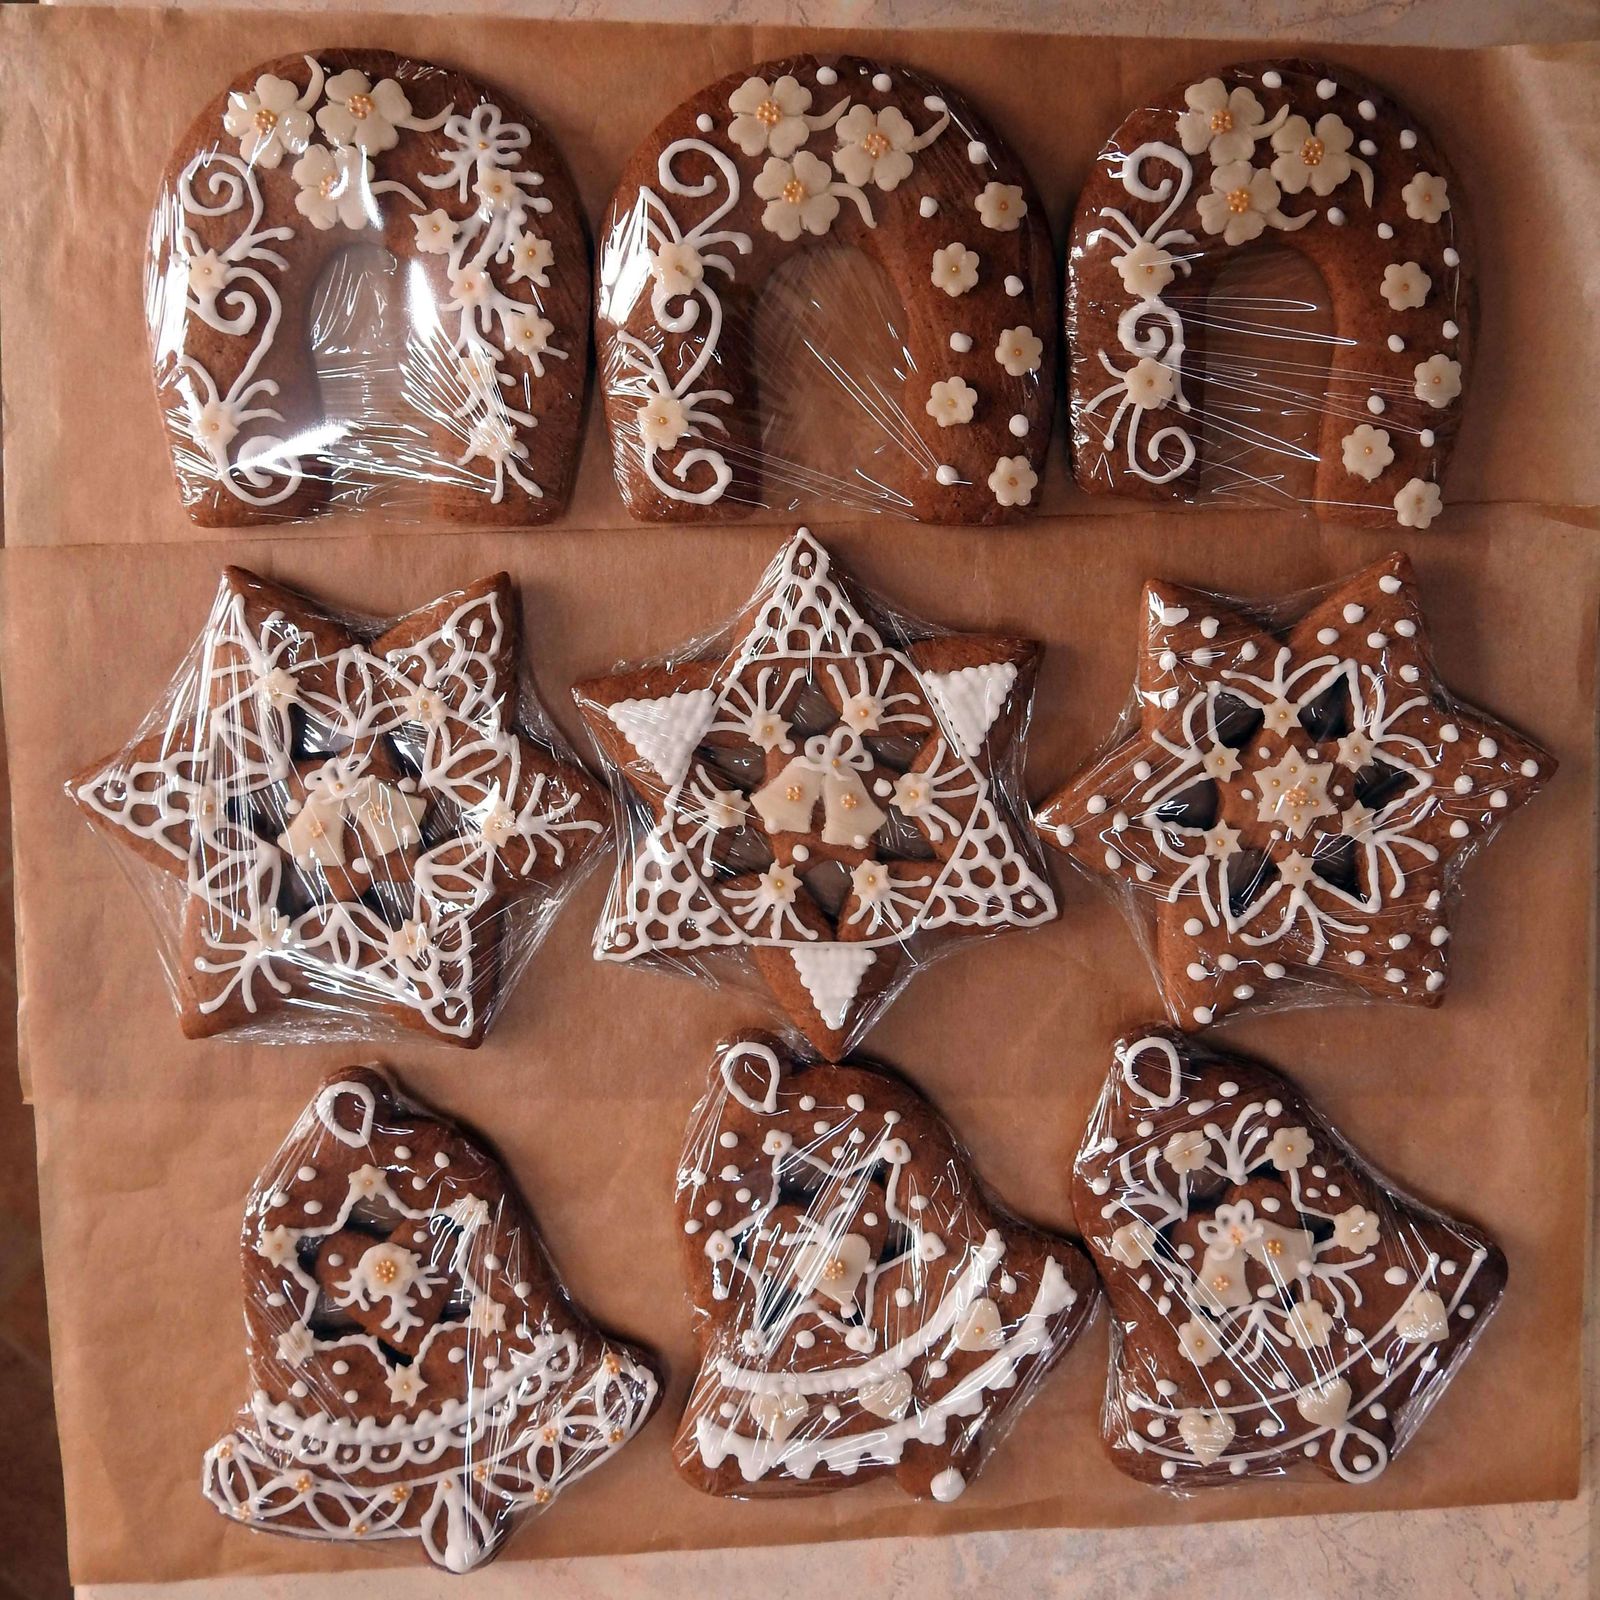
I almost forgot to publish my mother’s creations for this Christmas season.

© Charly, all rights reserved. Click for full size

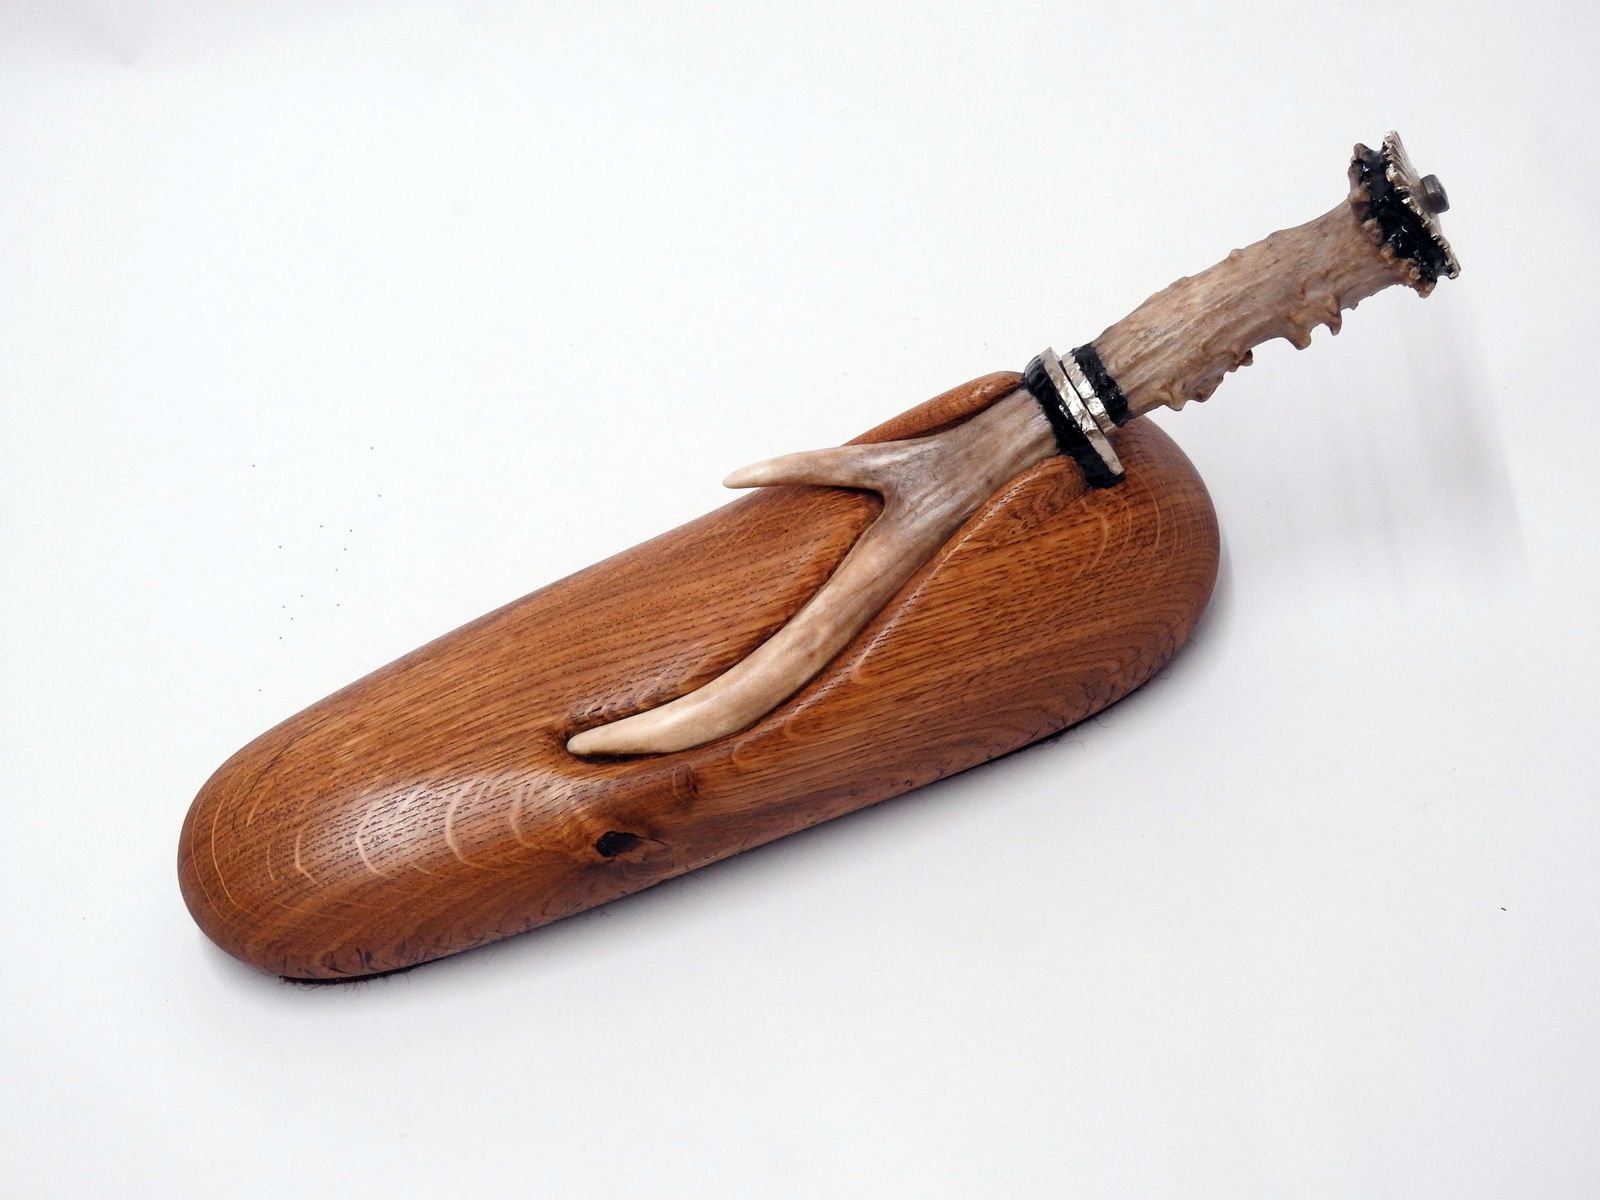
© Charly, all rights reserved. Click for full size
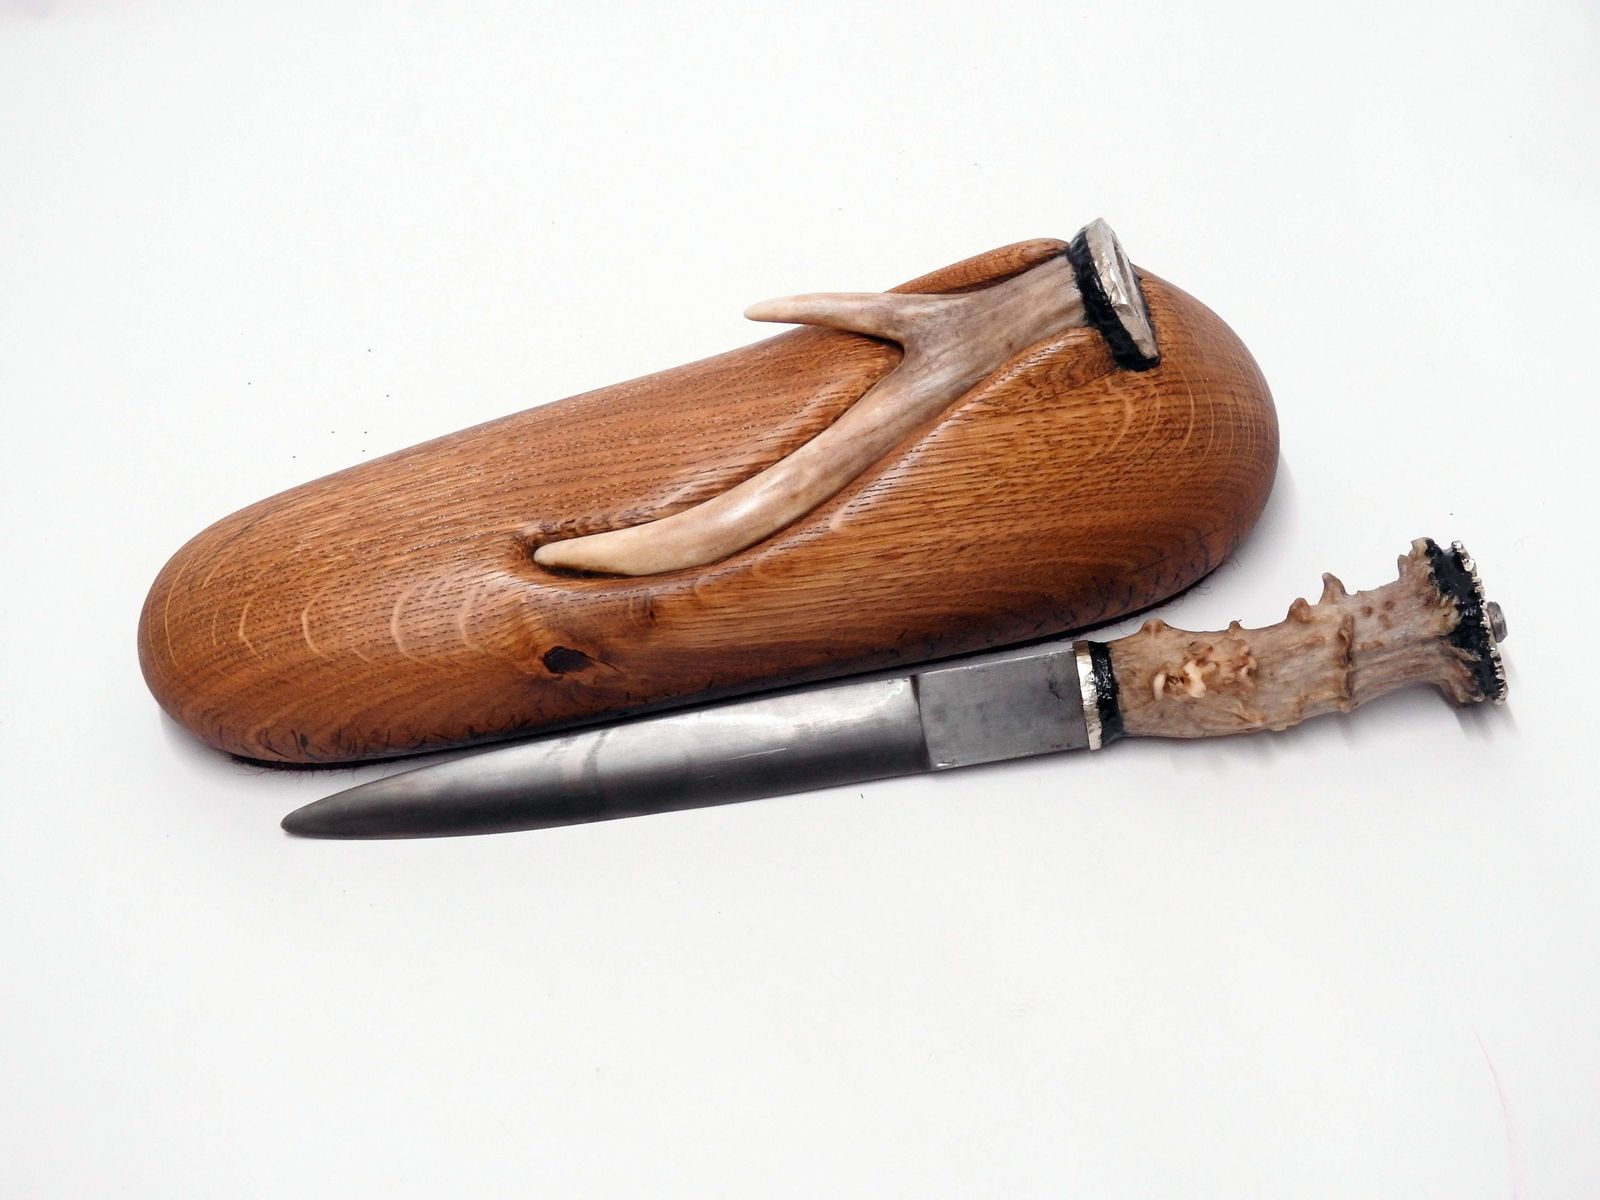
© Charly, all rights reserved. Click for full size
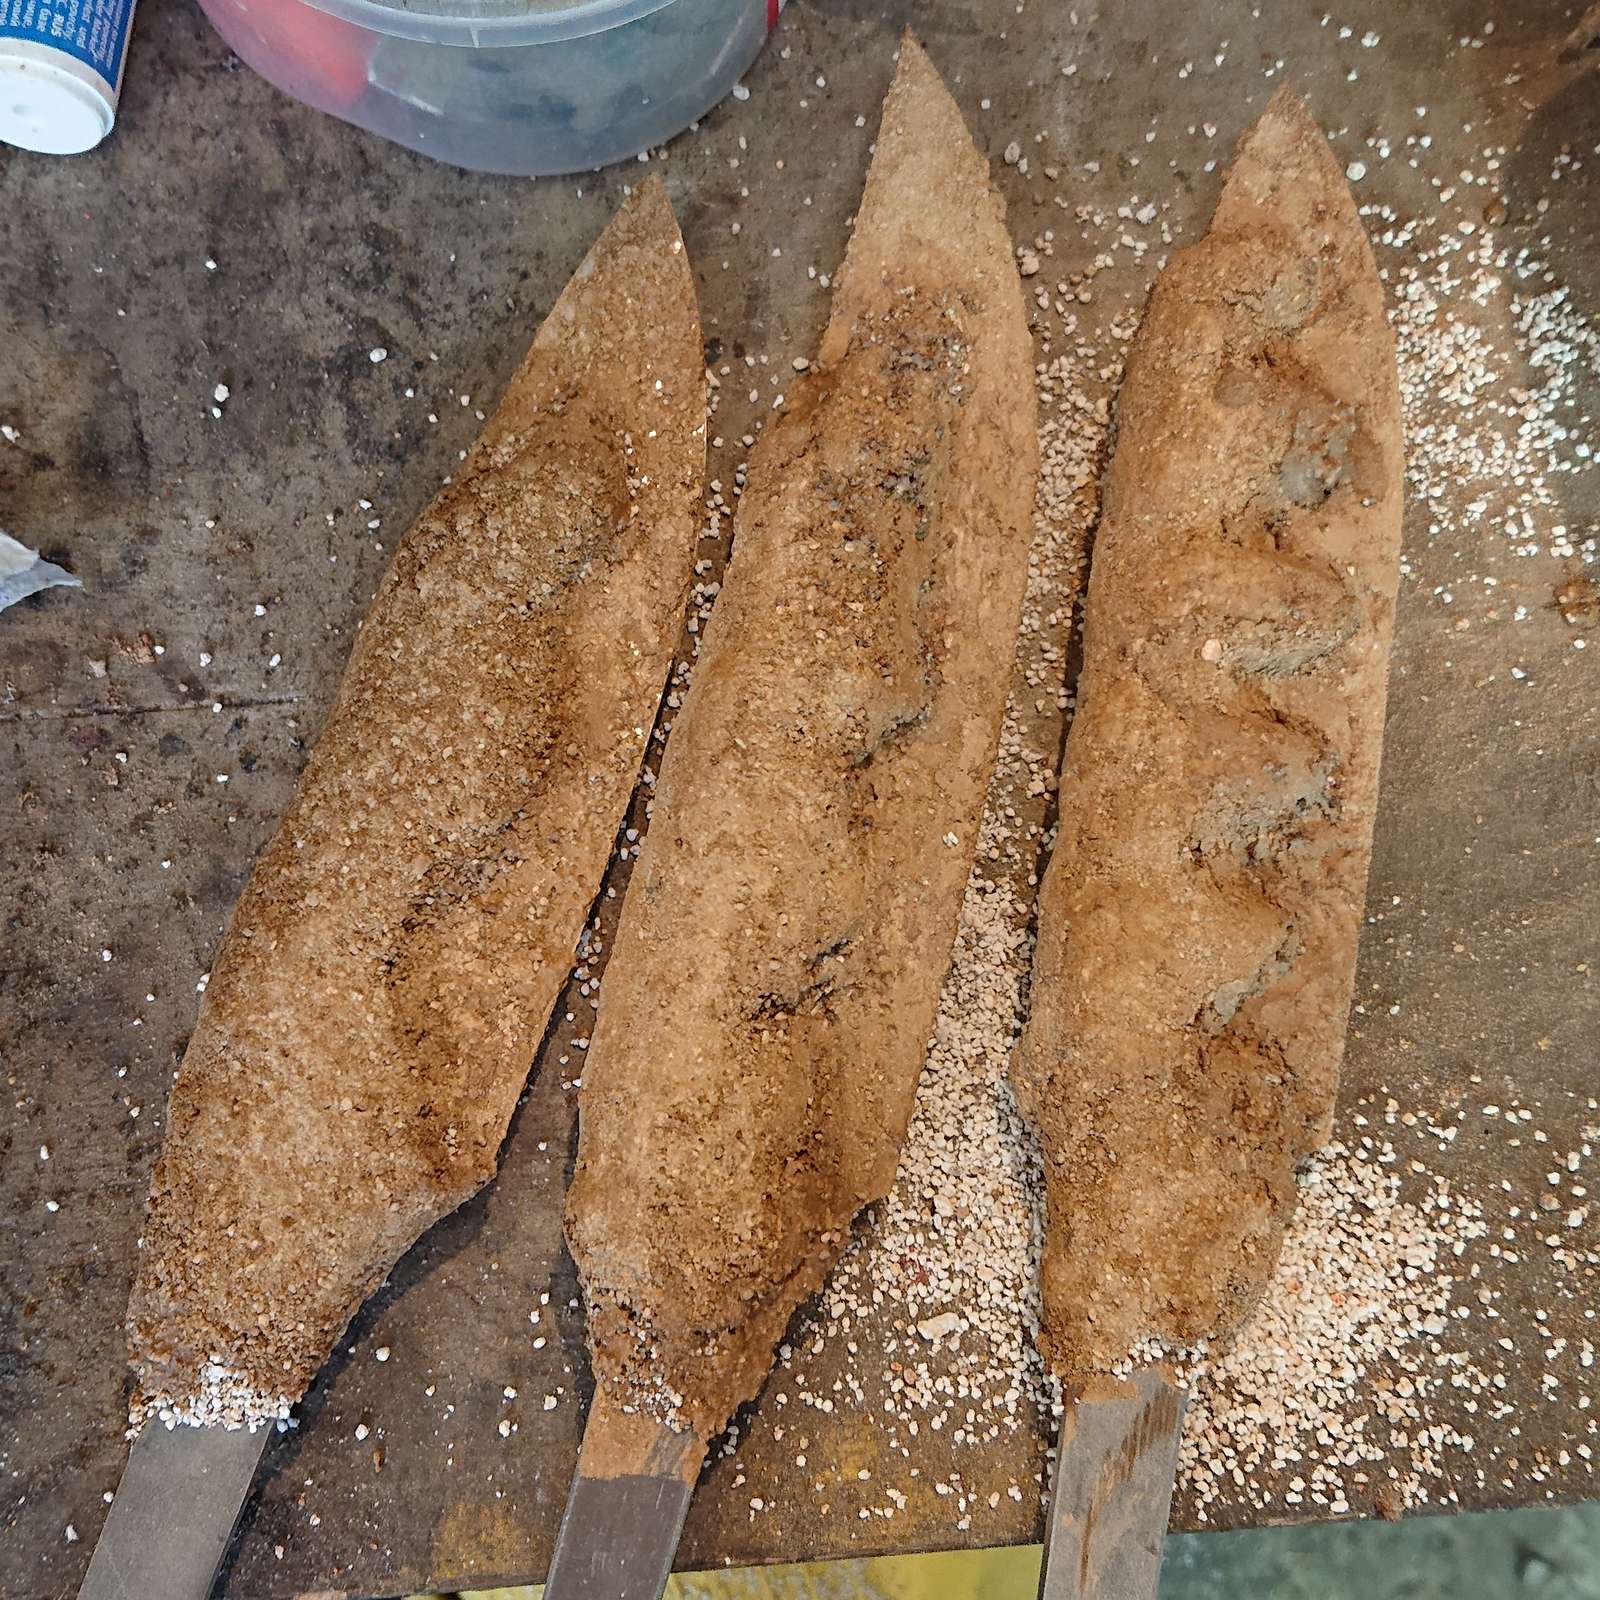
© Charly, all rights reserved. Click for full size
© Charly, all rights reserved. Click for full size

© Charly, all rights reserved. Click for full size

© Charly, all rights reserved. Click for full size
© Charly, all rights reserved. Click for full size